Little Lamb Fusion Mineral Painted Dresser
Hey friends and happy Tuesday! I am so thrilled to share my painted dresser with y’all. I found this sad little abandoned dresser at the thrift store the other weekend, and I thought it would be the perfect project for Fusion Mineral Paint. If you’ve read my previous blogs you’ve seen that I’m a HUGE fan girl of Fusion Mineral Paint, and I am so excited to be partnering with them on this blog. They were nice enough to gift me with some paints, waxes and brushes to try for my project. Grab a snack and some coffee friends, and I hope you’ll enjoy reading about my little lamb fusion mineral painted dresser along with a few tips I’ve learned along the way.
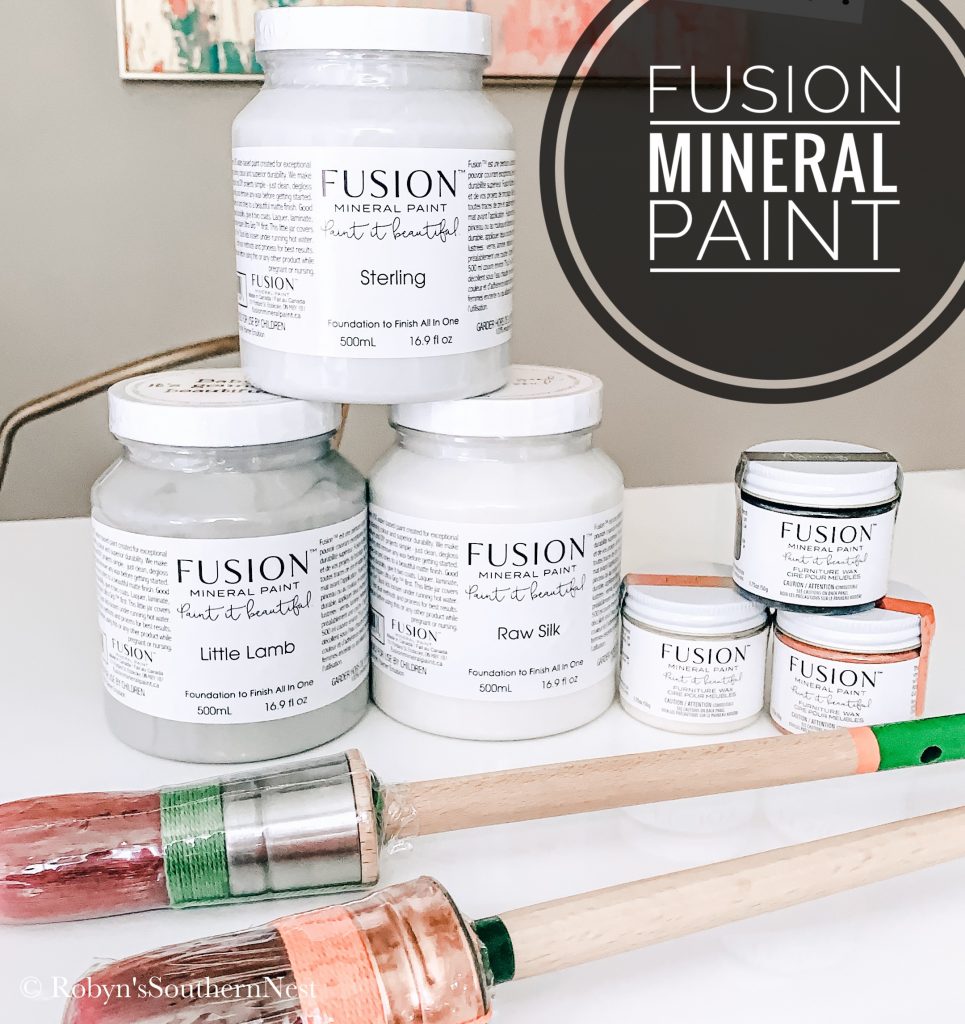
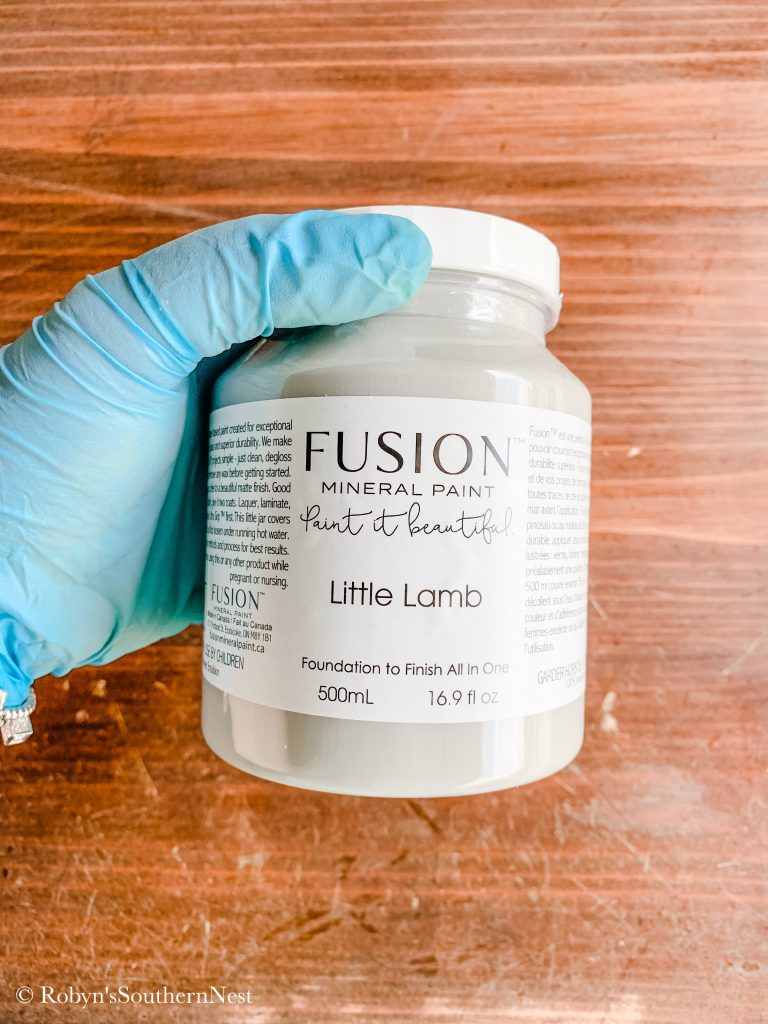
Just a little background on this amazing product…here’s a quote from their website, “Fusion™ has taken us over 10 years to develop, test and refine, and our hard work has truly paid off. Fusion’s™ results are nothing less than spectacular, providing furniture painters a best-in-class paint that features; an environmentally conscious formulation, zero VOCs, superior durability, easy one-step application and significantly improved strength. Delivering an exceptional matte finish, this 100% acrylic paint requires minimal prep work!” (Fusion Mineral Paint website). How amazing is this! It’s honestly the easiest application I have EVER used when it comes to a paint. It goes on like a dream! I also love the matte finish, and their color choices are amazing. I just want to paint ALL the things!
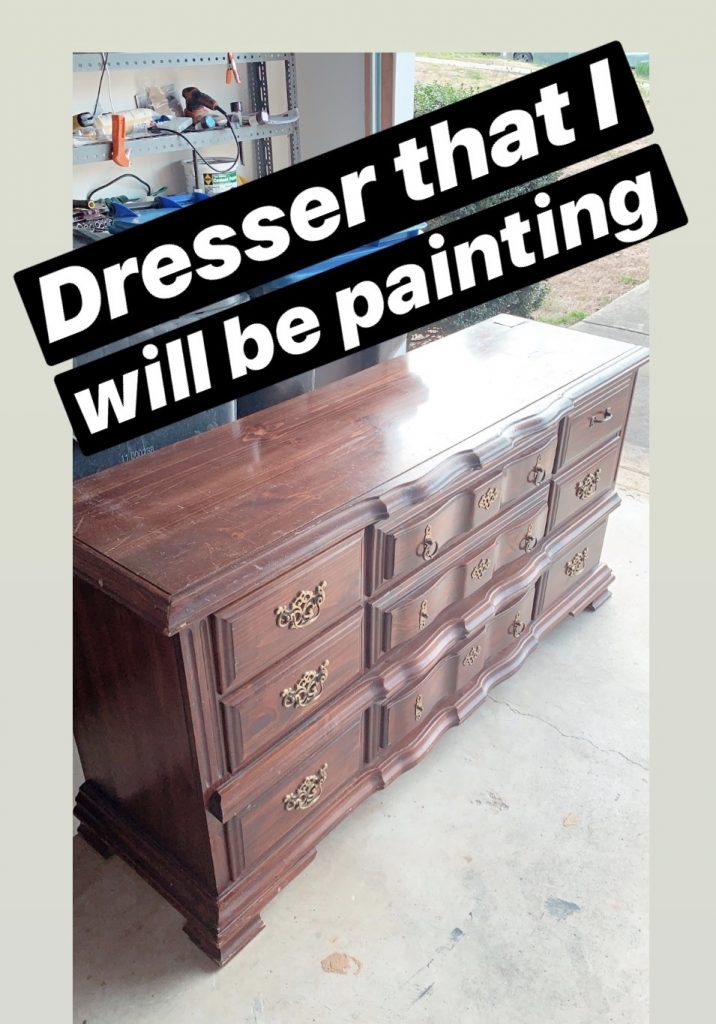
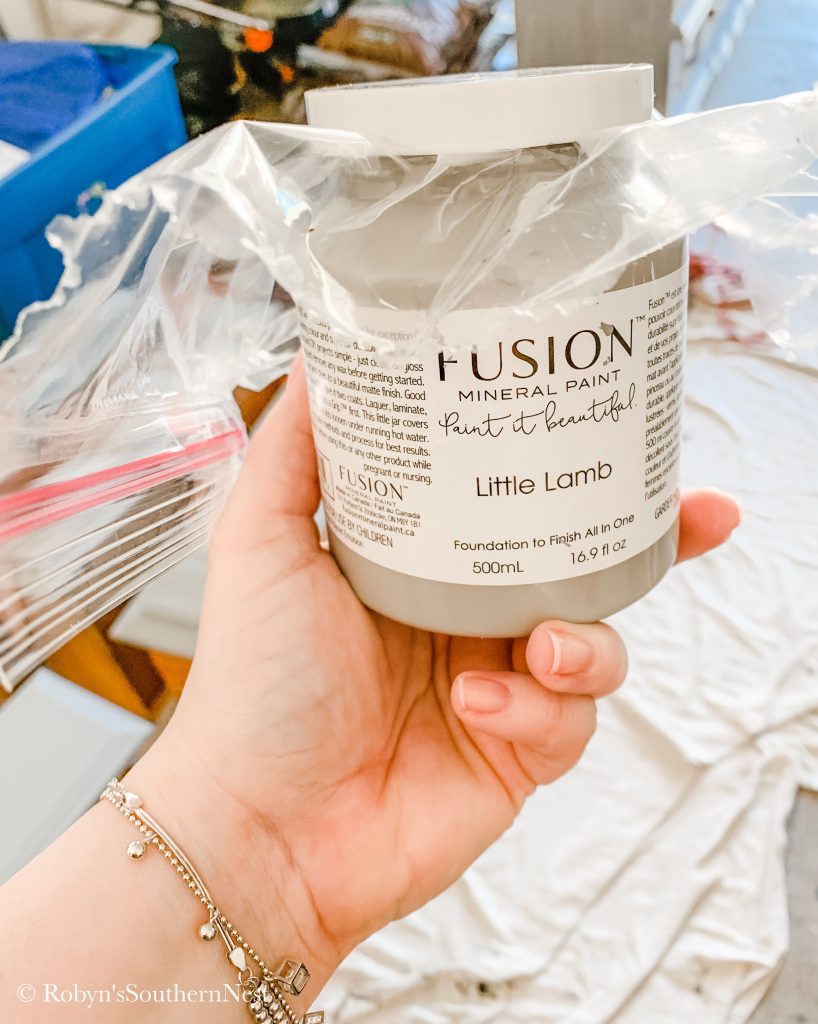
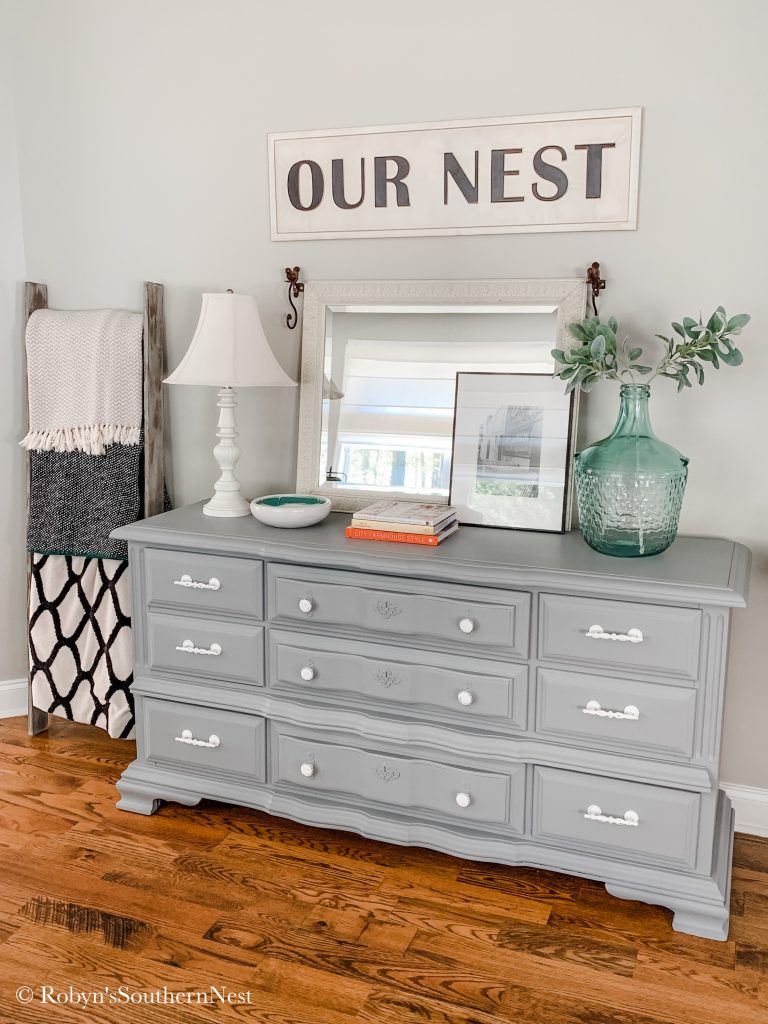
I chose Little Lamb for this dresser, which is a lovely medium gray. Here’s a little before photo of the dresser that I shared on my Instagram stories when we first brought her home. She had definitely seen better days…poor girl!
Prep
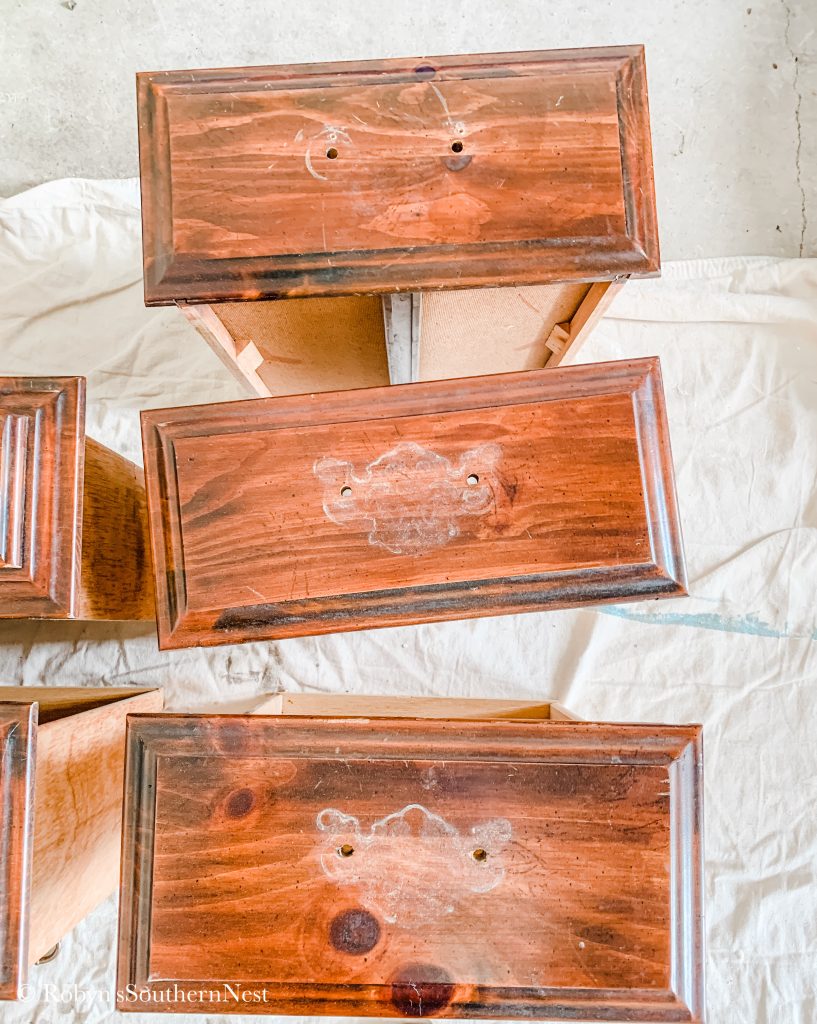
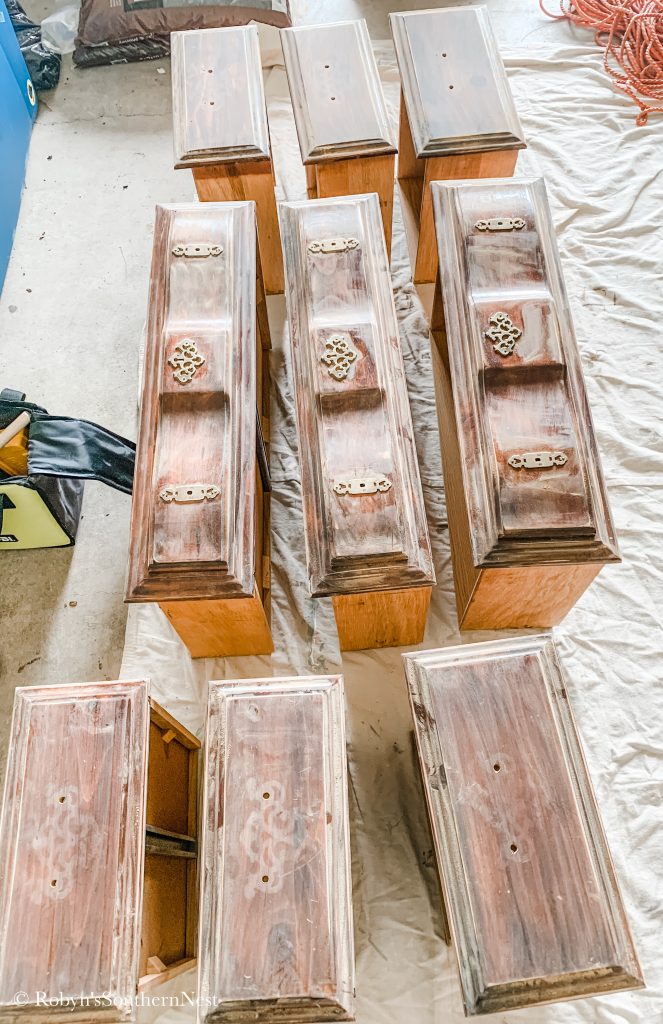
To prep this dresser I took off all the hardware from the drawers and arranged them in the order I took them out in. I highly recommend doing this step, so when you go to put the drawers in again they are in the right spots. You could also number them if that’s easier for you as well. This is especially important for furniture that is older and the drawers have formed to their tracks.
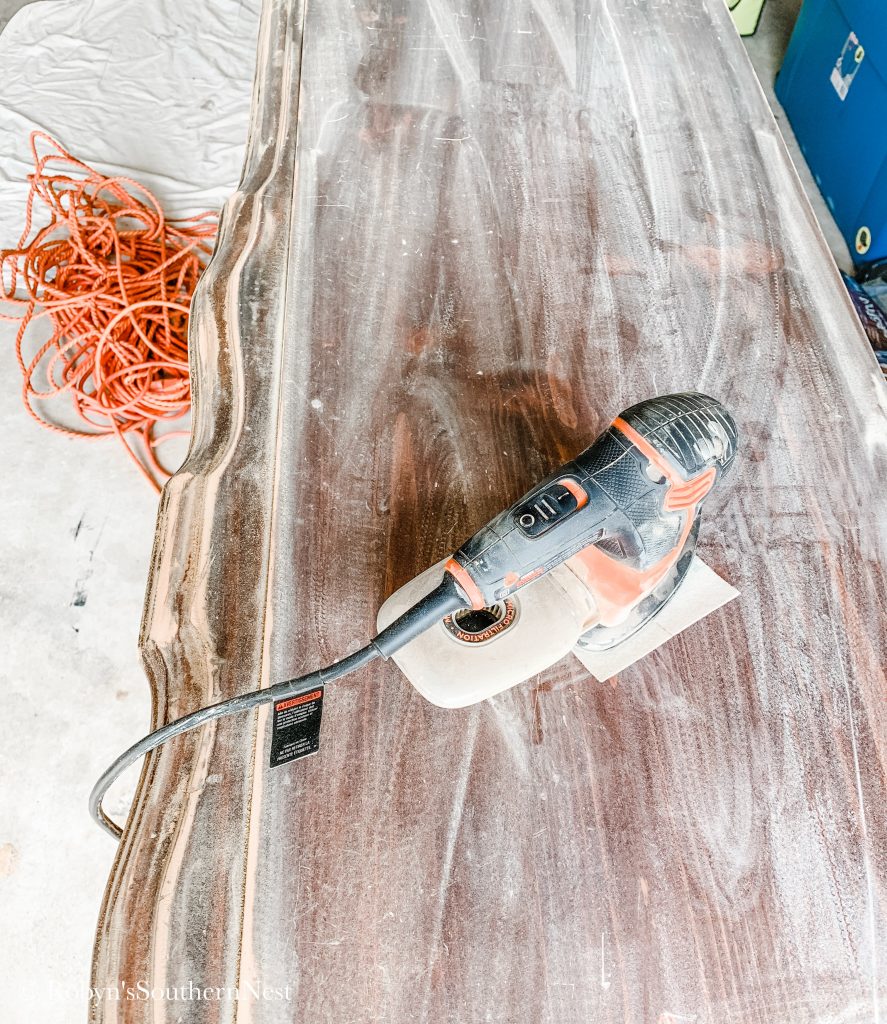
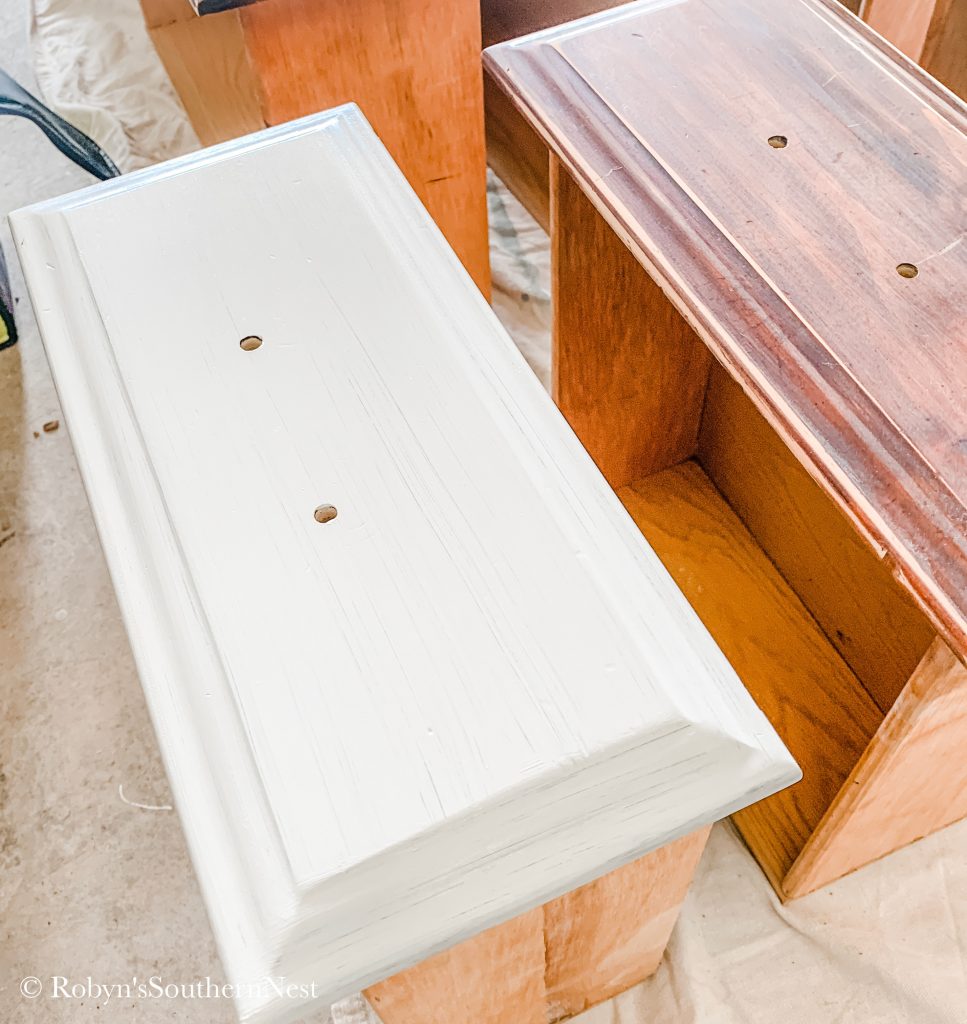
I then sanded down the base and all the drawers using my Mouse by Black and Decker sander. I love this sander. It’s my tried and true best friend! You don’t have to sand your items before using this paint. I just find it easier to sand it them, especially when you have a lot of smooth flat surfaces. I especially wanted to sand the top of the dresser as well as the drawers because those take on the most wear. It did have some deep scratches, but that just adds character. I knew that it wasn’t going to be brand new looking, so those flaws don’t bother me.
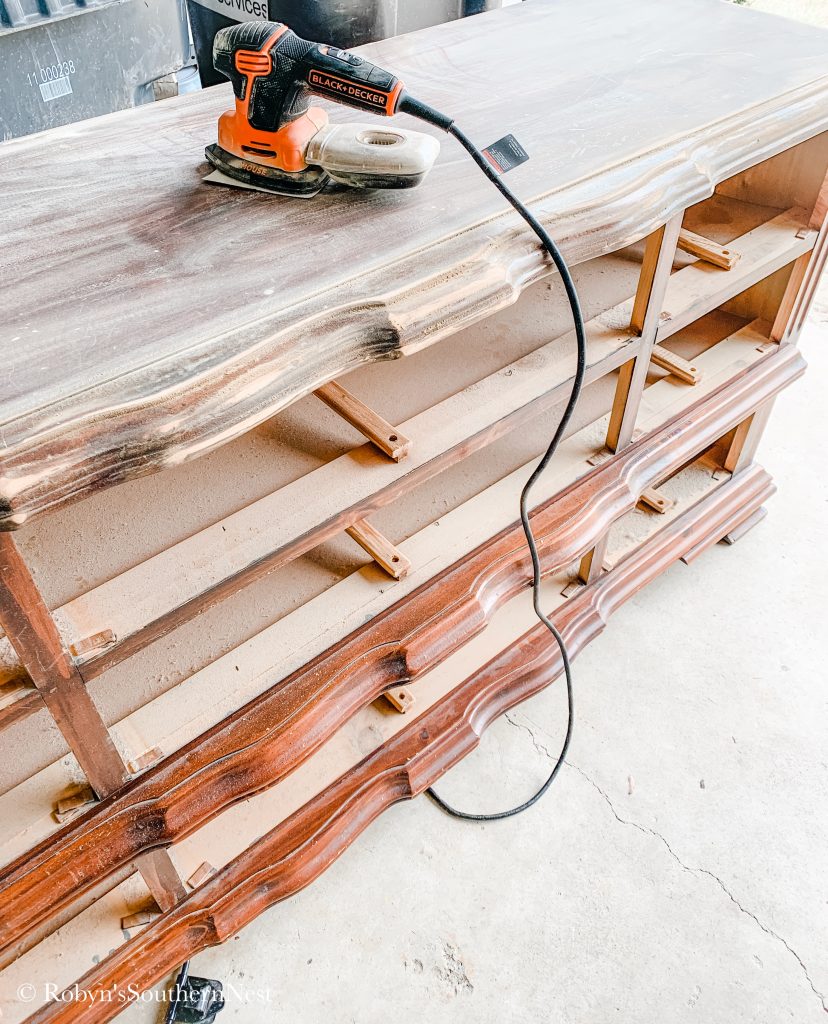
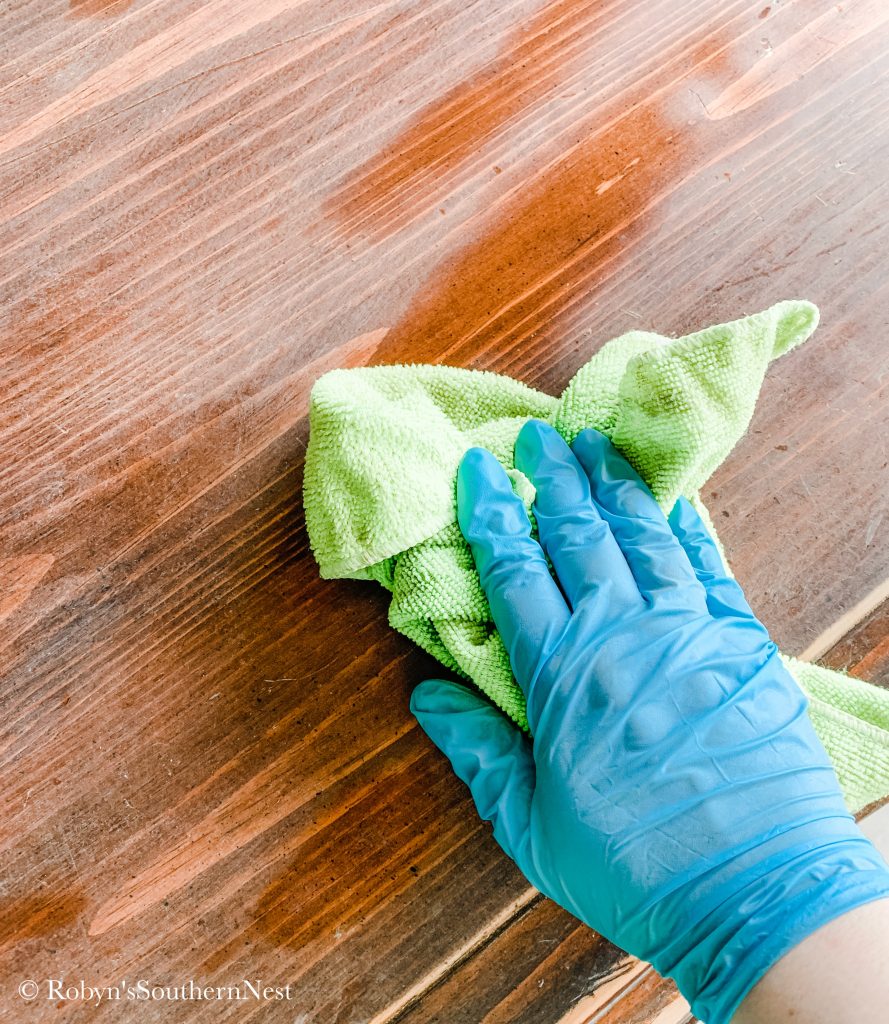
After sanding everything down I just took a damp microfiber cloth and wiped it down to get all the dust off of it. I let it dry for a good 15 minutes before painting it. Kind of funny, when I was prepping this dresser I found this coupon that expired in 2017 for a Big Jack Sandwich that came off of a chocolate candy bar.

Painting Time
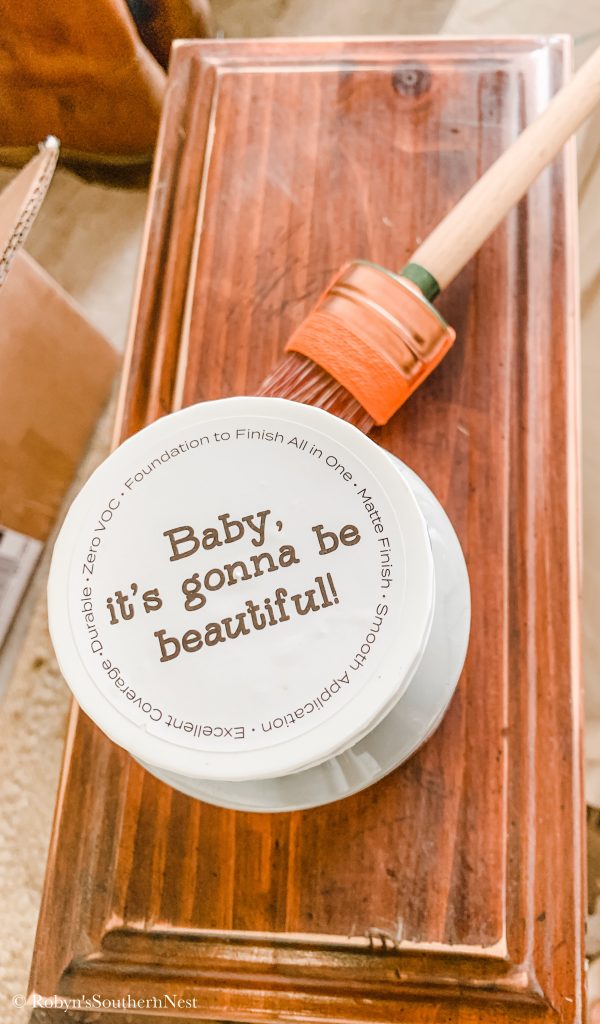
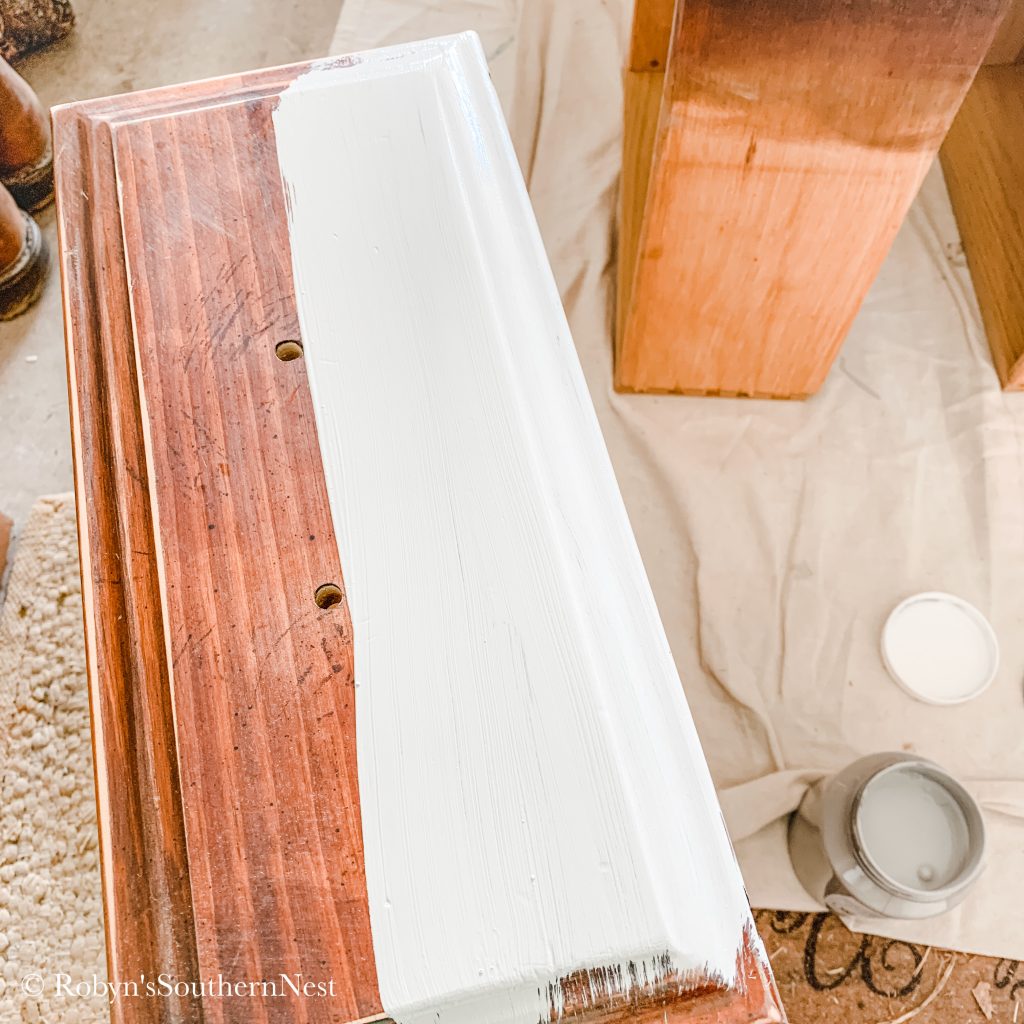
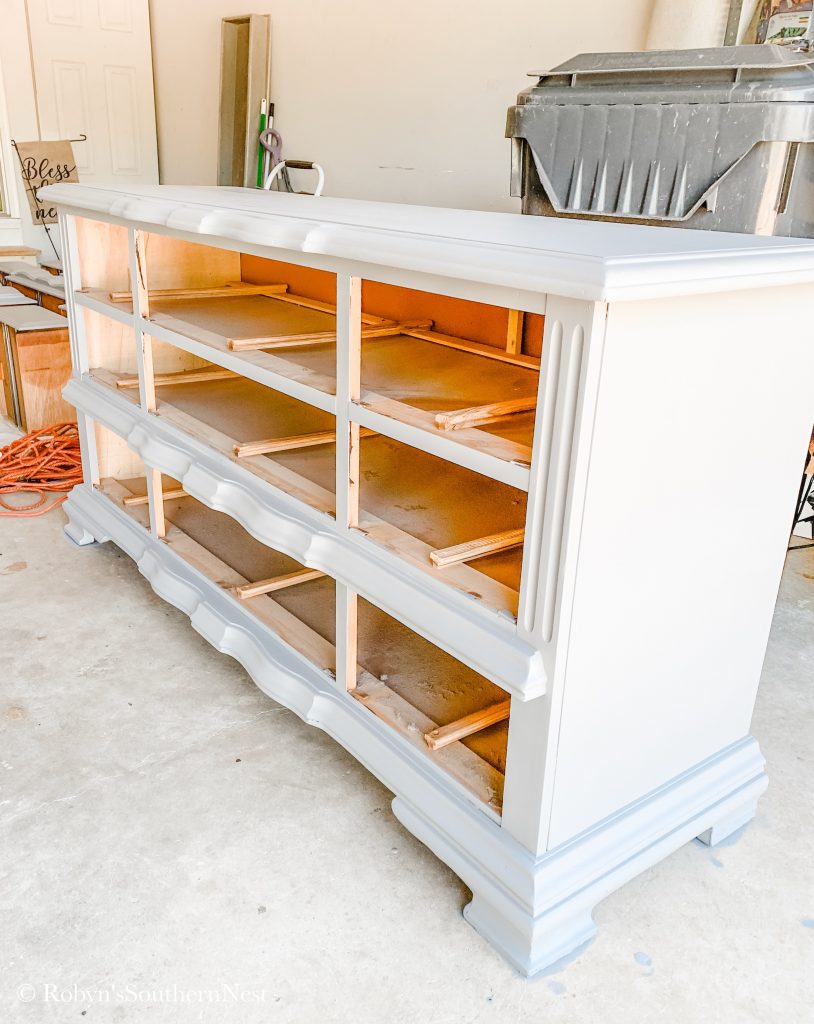
I painted one coat and let that dry for 24 hours since I didn’t have time to do it right after. Here’s a picture just after the first coat! Look how smooth it goes on with just a few strokes! I also tried out one of the brushes they sent me, and I am hooked! Brushes seriously make all the difference when you’re painting. So invest in a decent brush and take care of it. For this project I chose to use the Staalmeester blended Oval #40.

Another tip I have, when you’re finished painting for the time being, take a plastic sandwich bag and put that over top of the paint and then screw on the lid. This will make it much easier to get the lid off again when you go to open it. Sometimes the paint will adhere to the plastic top and it’s difficult to open.
Please excuse our messy garage. That’s one project that I need to tackle soon!
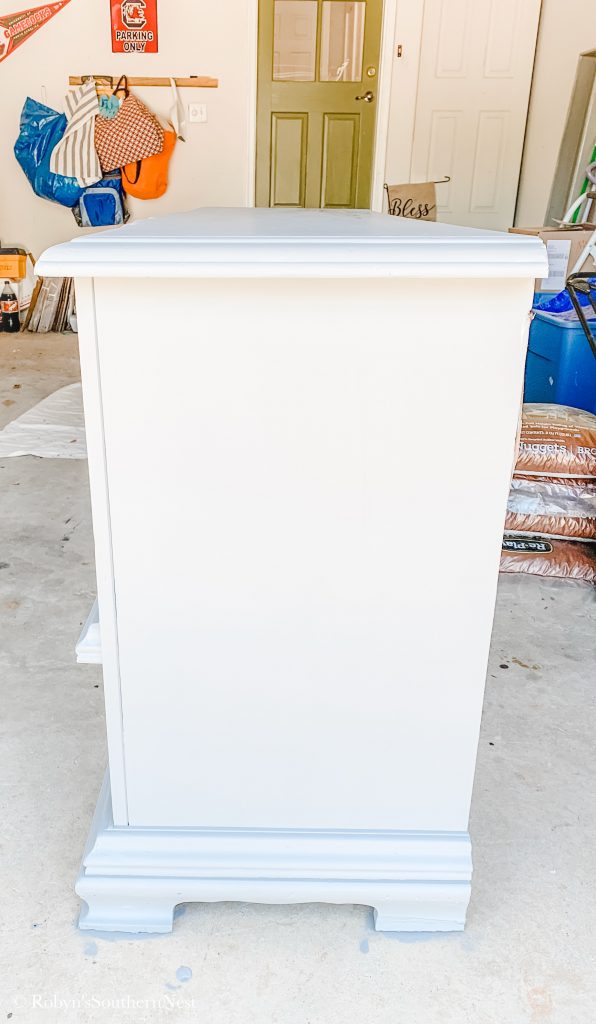
I painted one last coat on the dresser to make sure I didn’t miss any spots. I do recommend doing two coats to give it that extra professional looking finish.
Finishing Touches
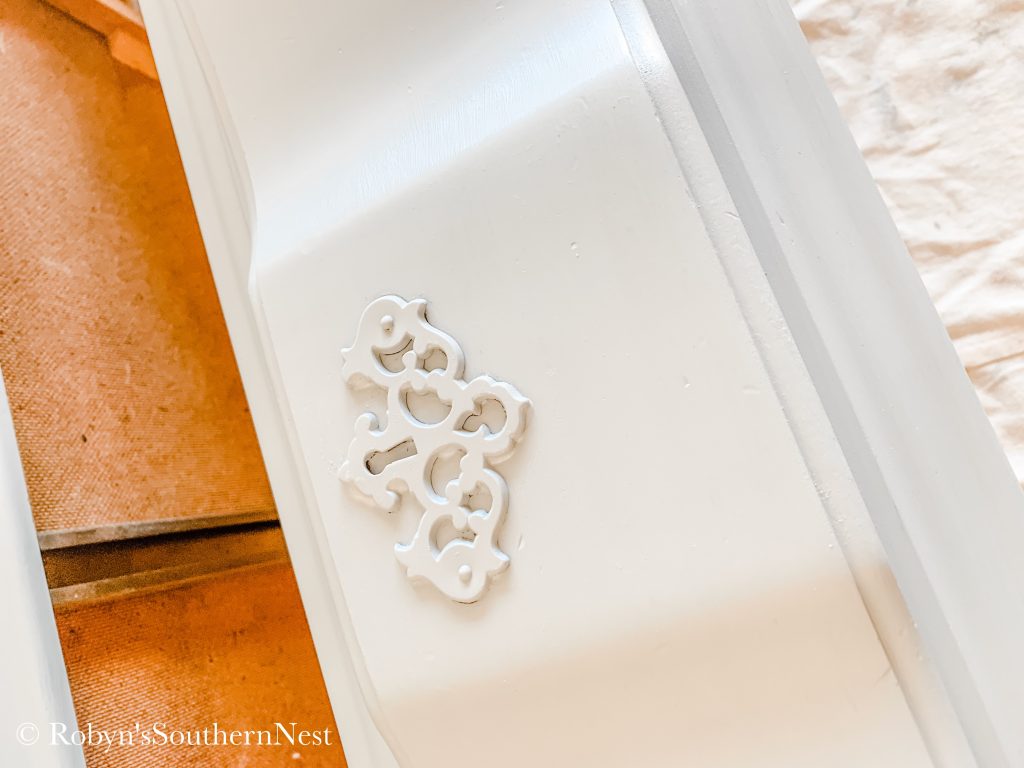
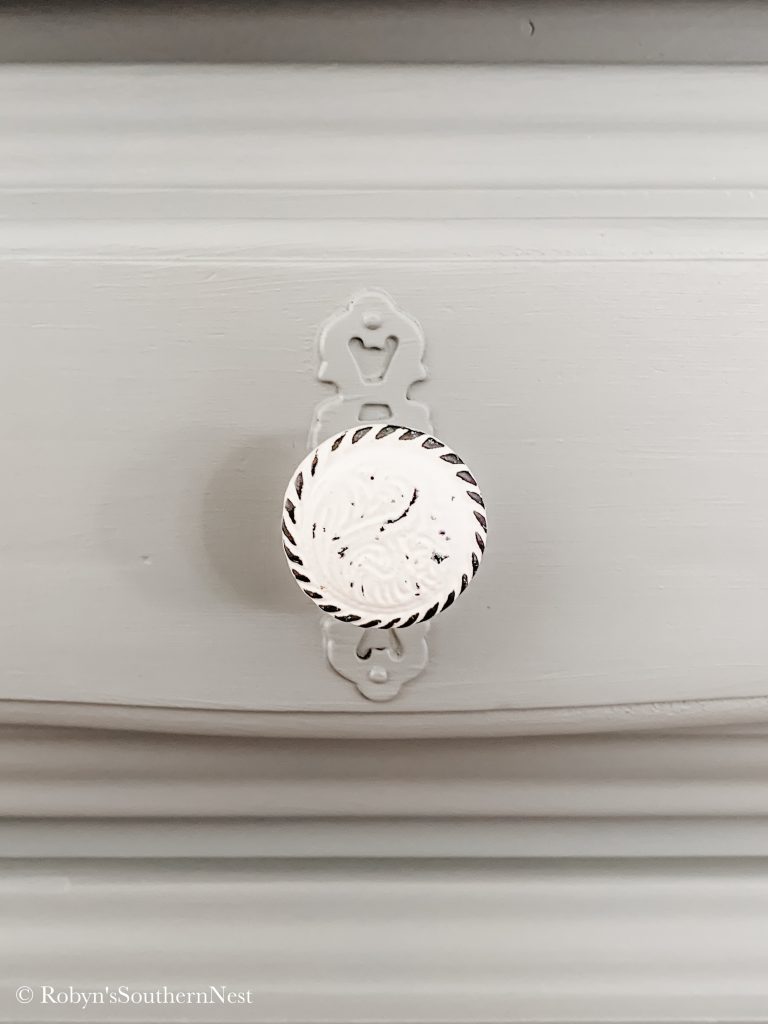
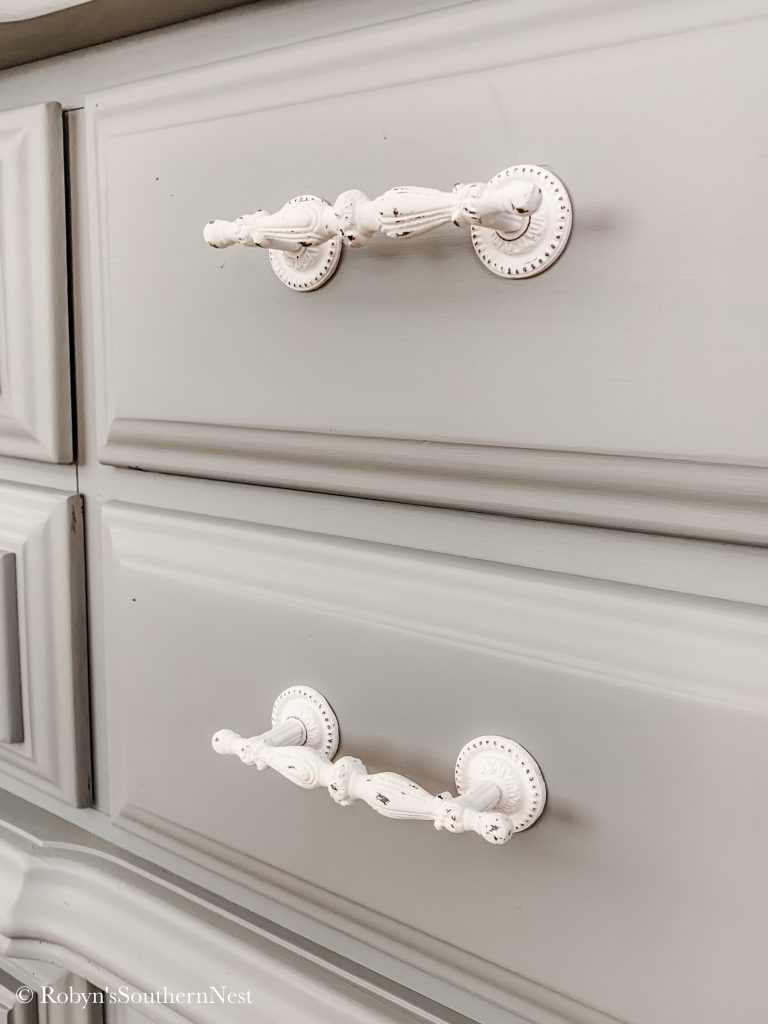
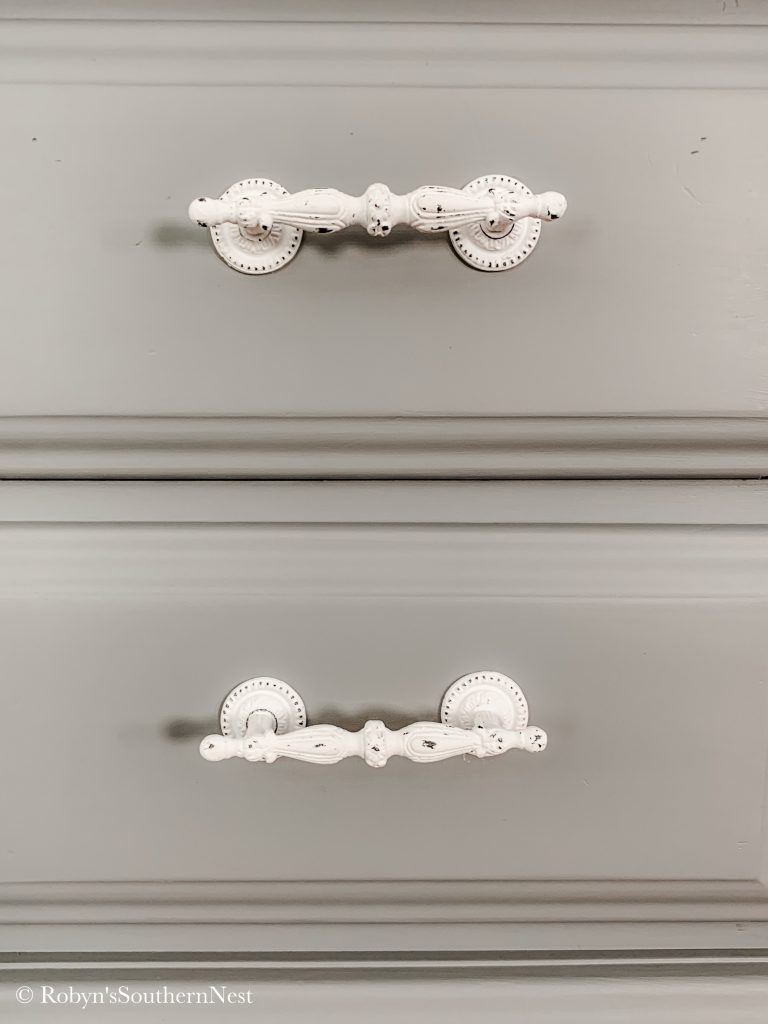
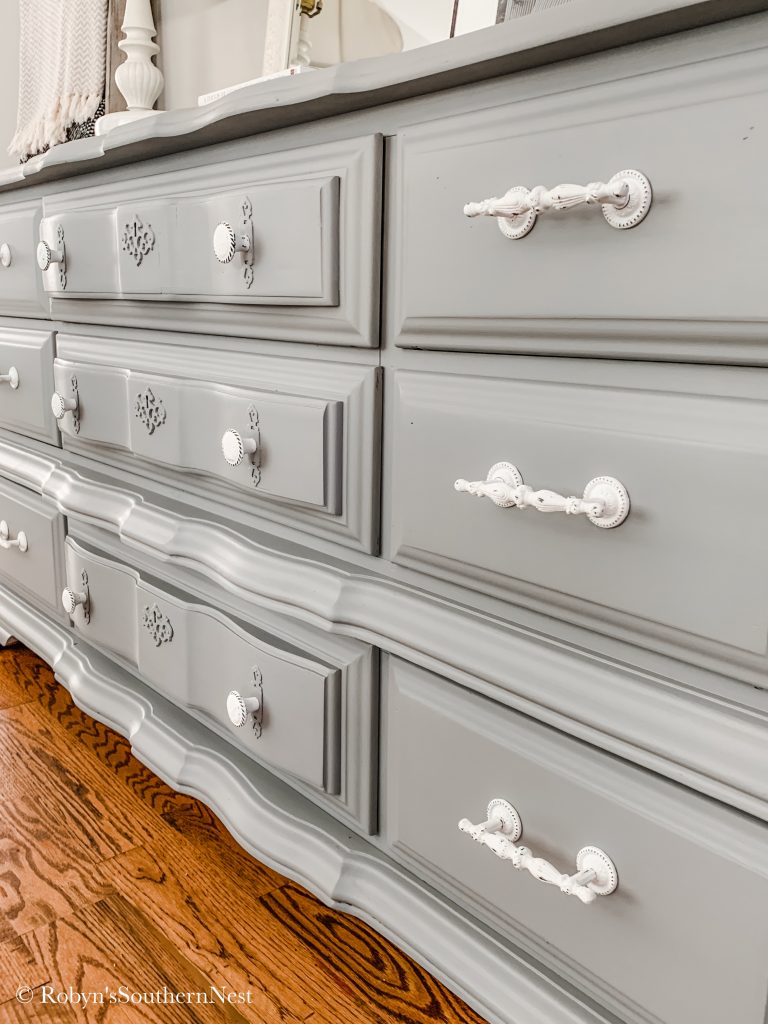
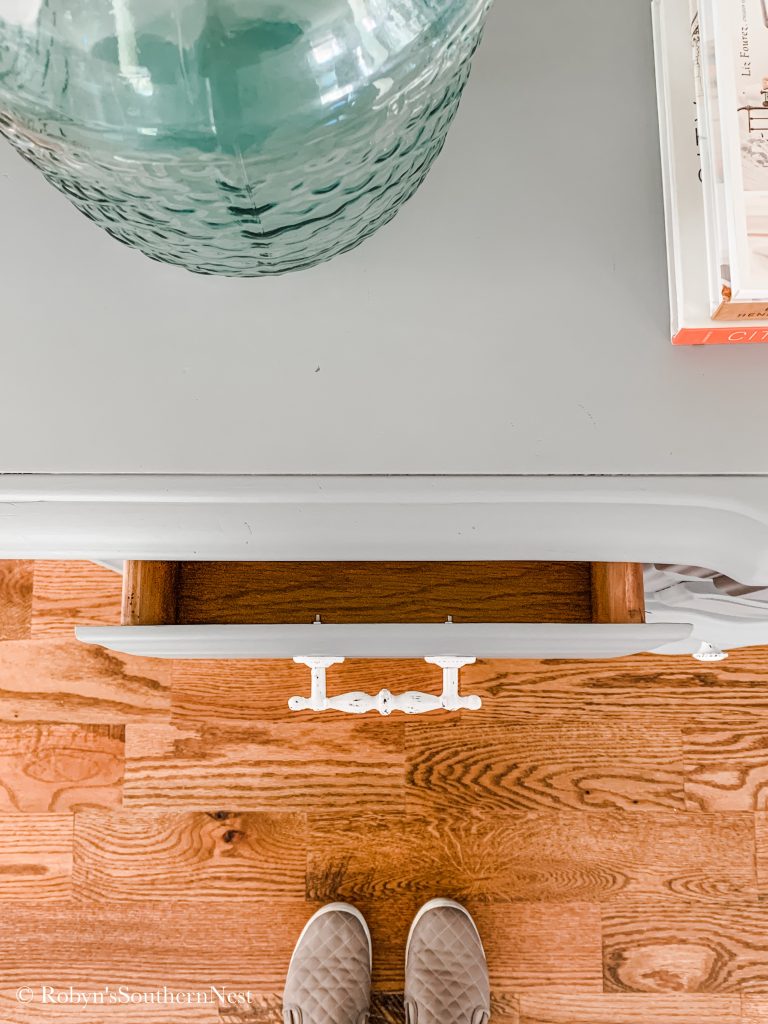
Lastly, I added some new hardware. The hardware on a piece of furniture to me is like putting on mascara. My husband was like, “Let’s go to “Knobby Lobby”.” This friends, is why I married this man! I had planned on going the next day, but after dinner he was ready and willing to go along with me. On top of the fact that he called it “Knobby Lobby”! I loved the white chippy look to these pulls and knobs. I’ve used the knobs before on my living room cabinets, so I knew those would look amazing. Sometime it’s a gamble trying to find pulls with the right distance from center, but thankfully we found some that were perfect. We had to get three from one store and the other three at another, but mission accomplished! Thanks to my sweet husband! Thank you babe if you’re reading this. 🙂
Reveal
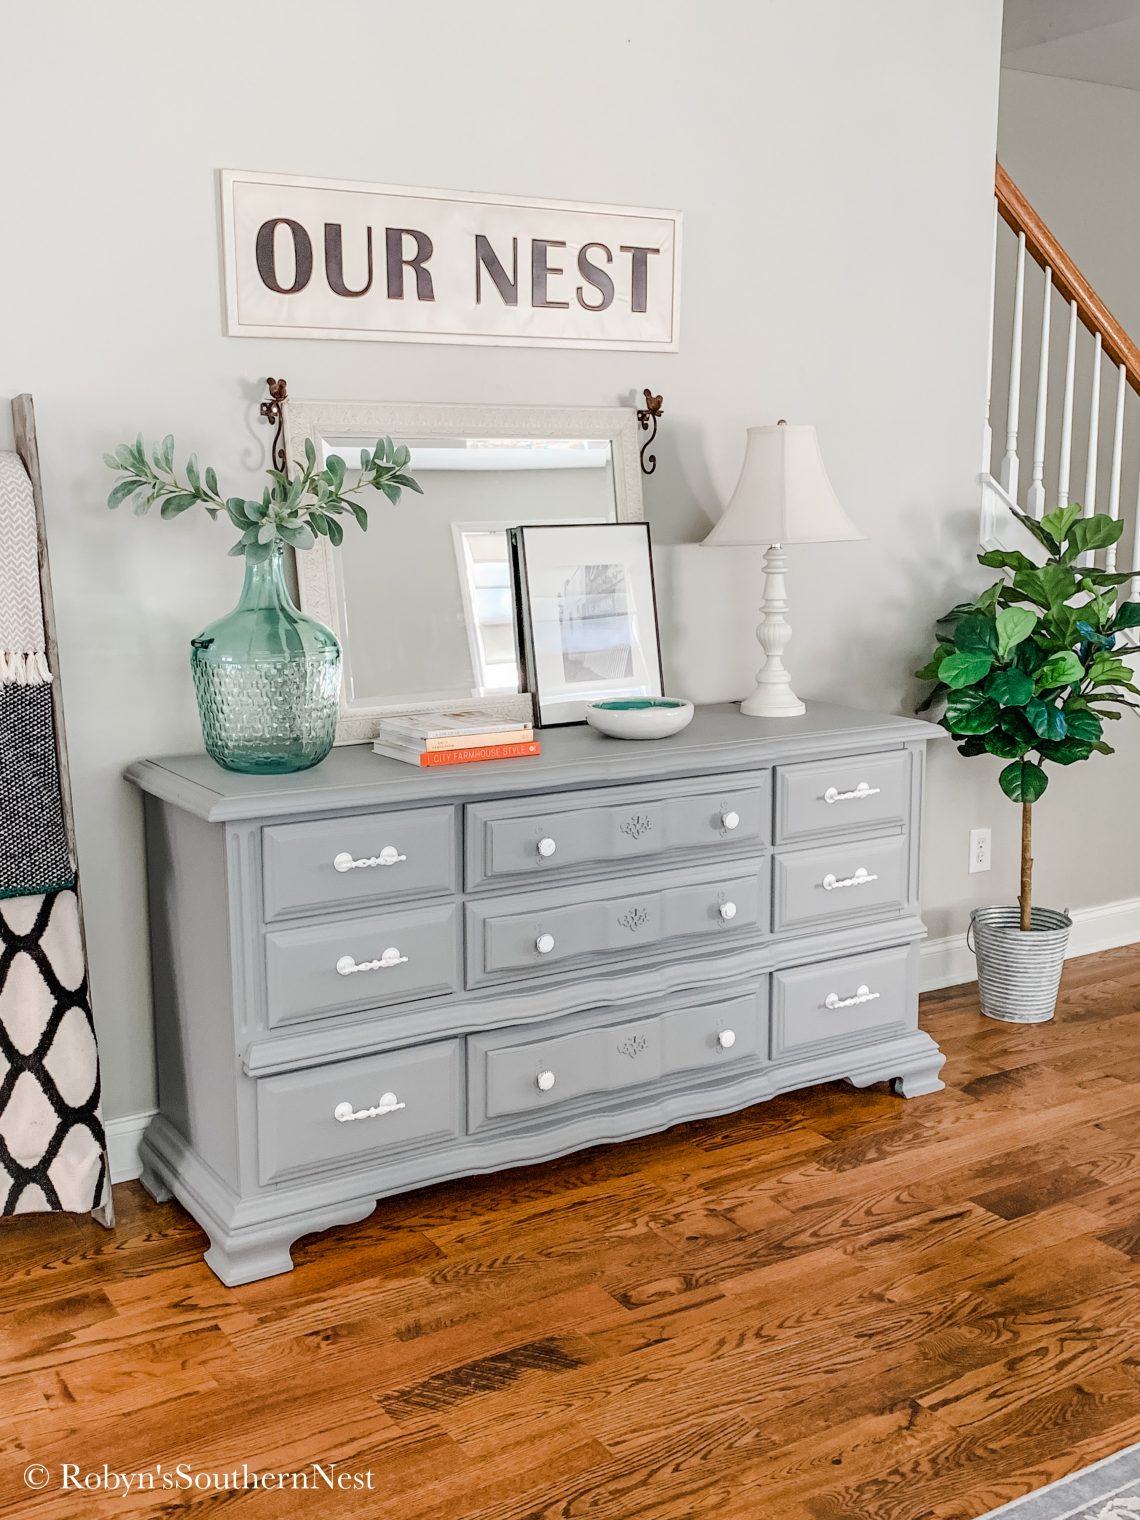
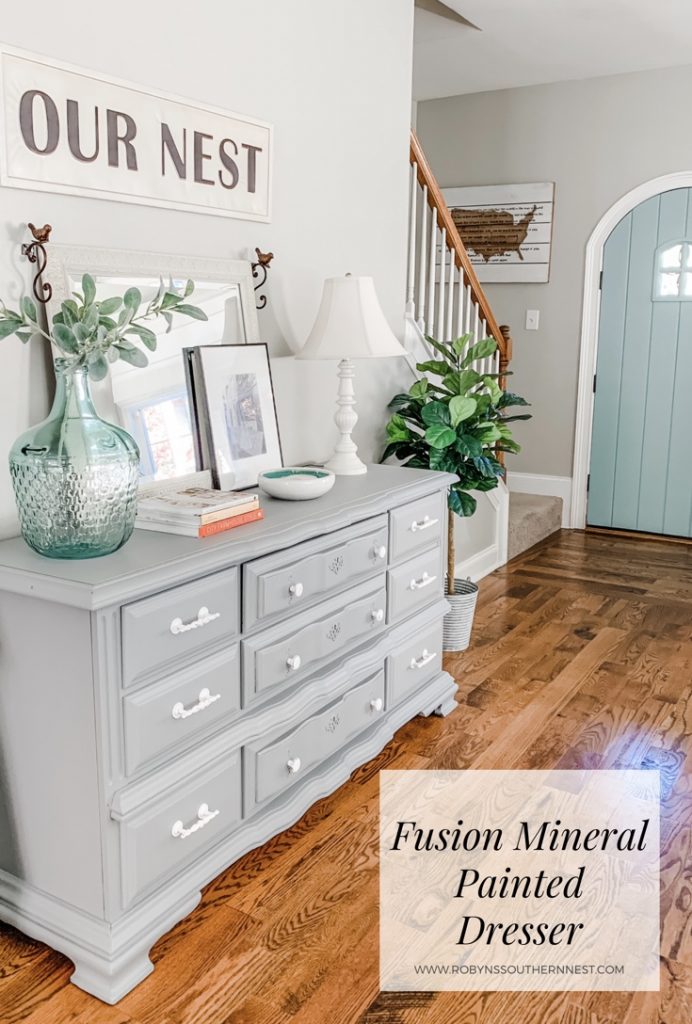
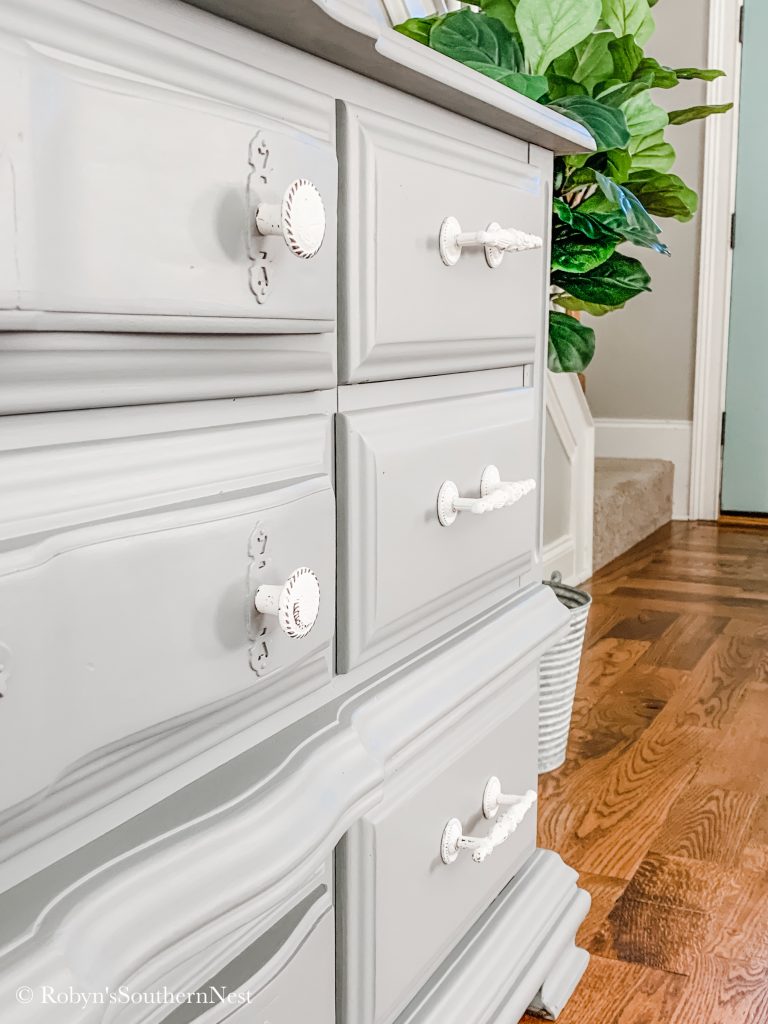
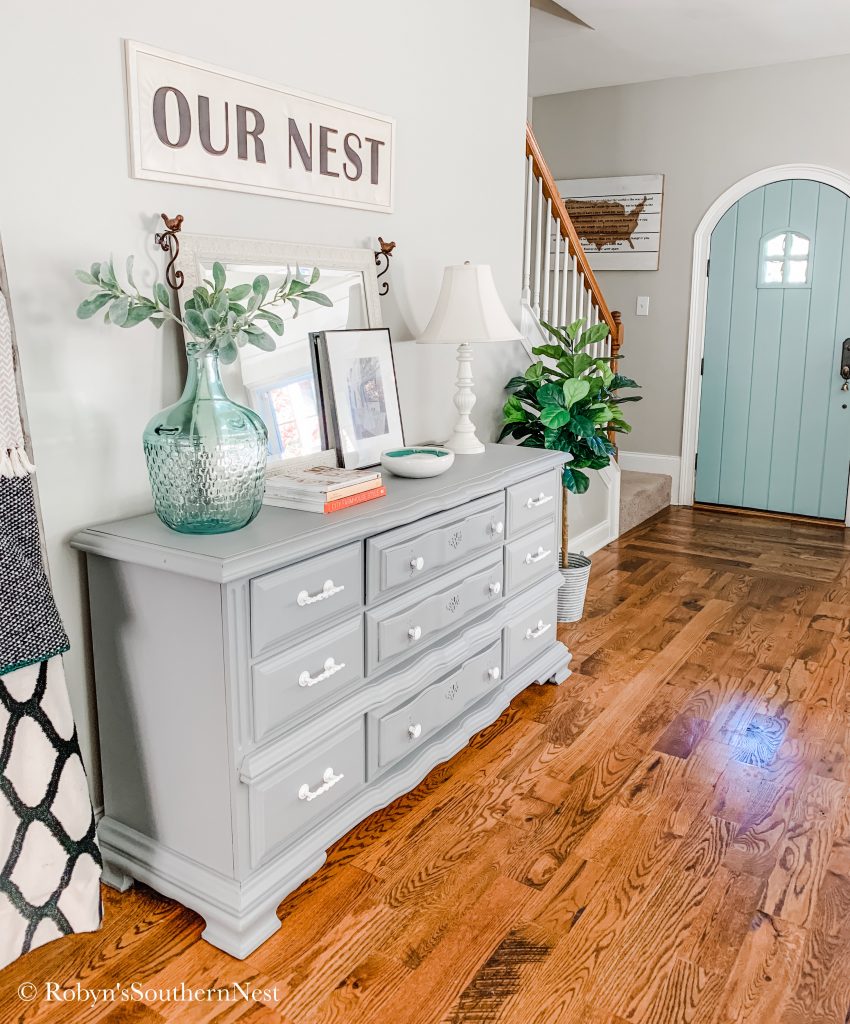
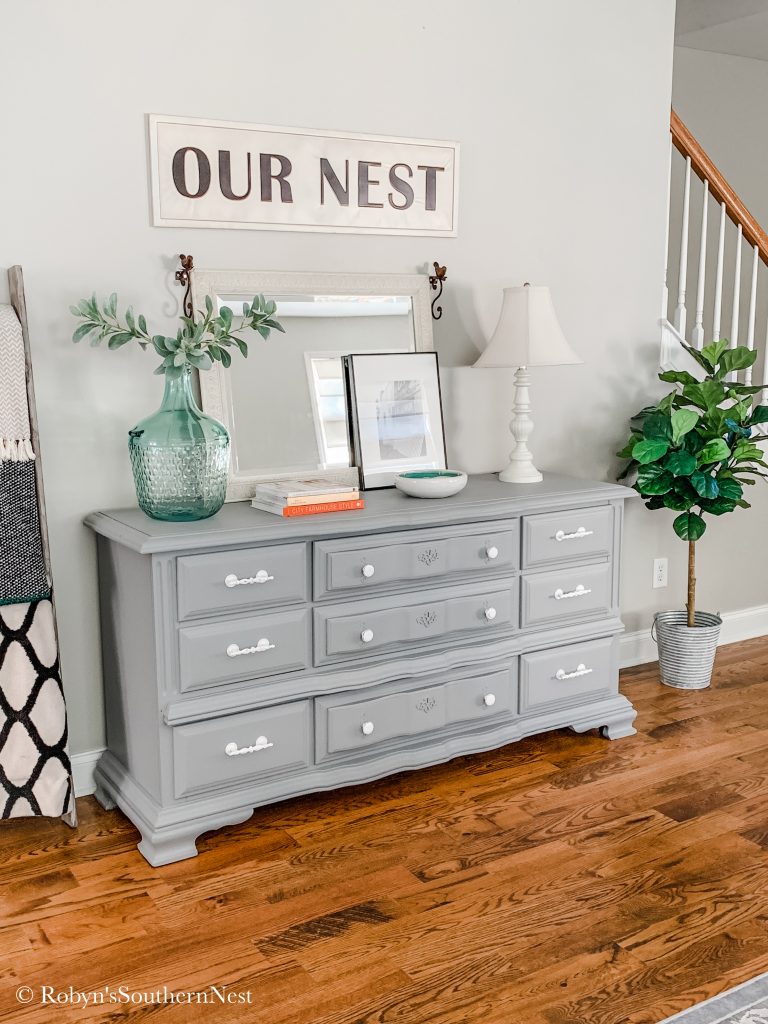
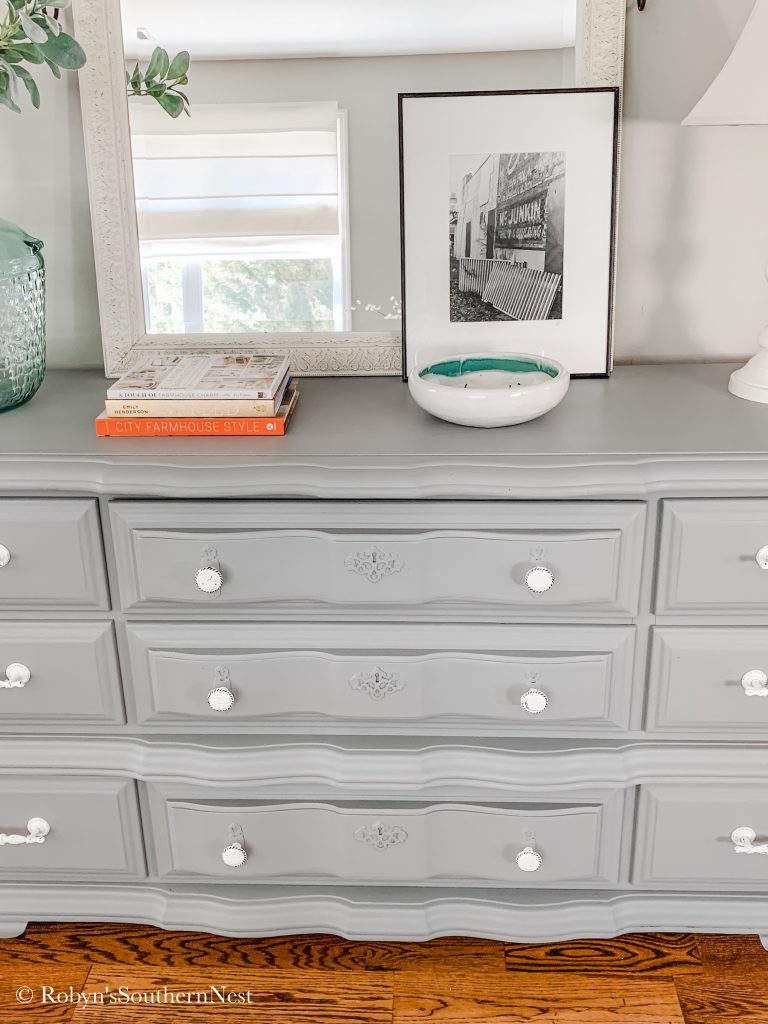
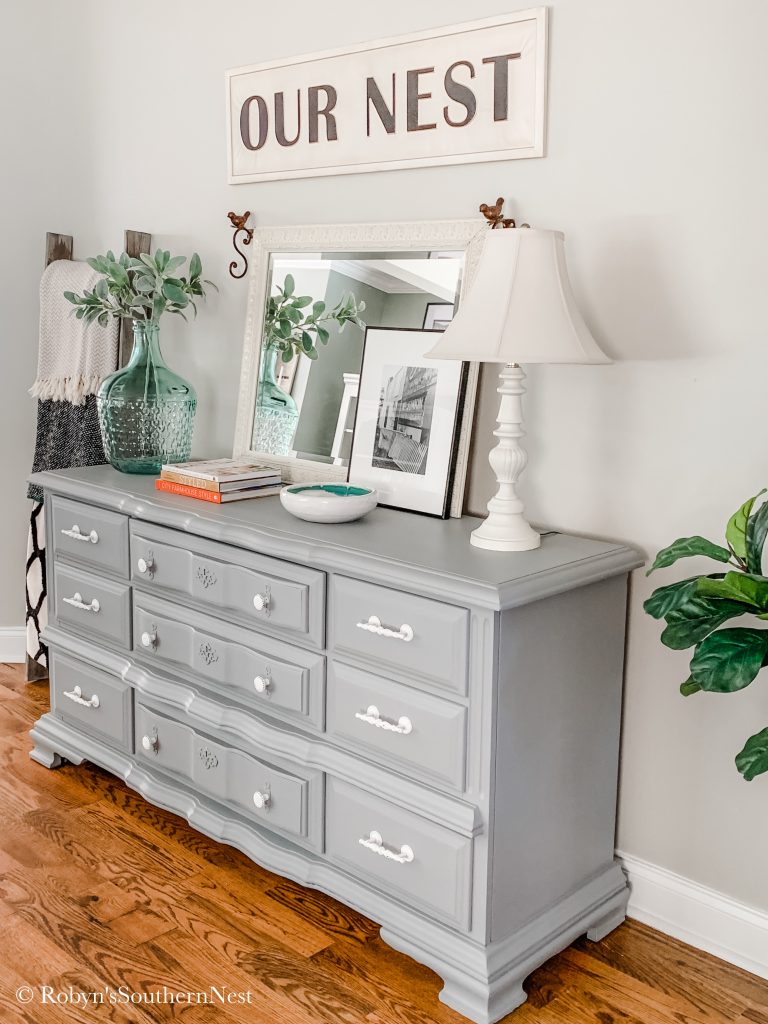
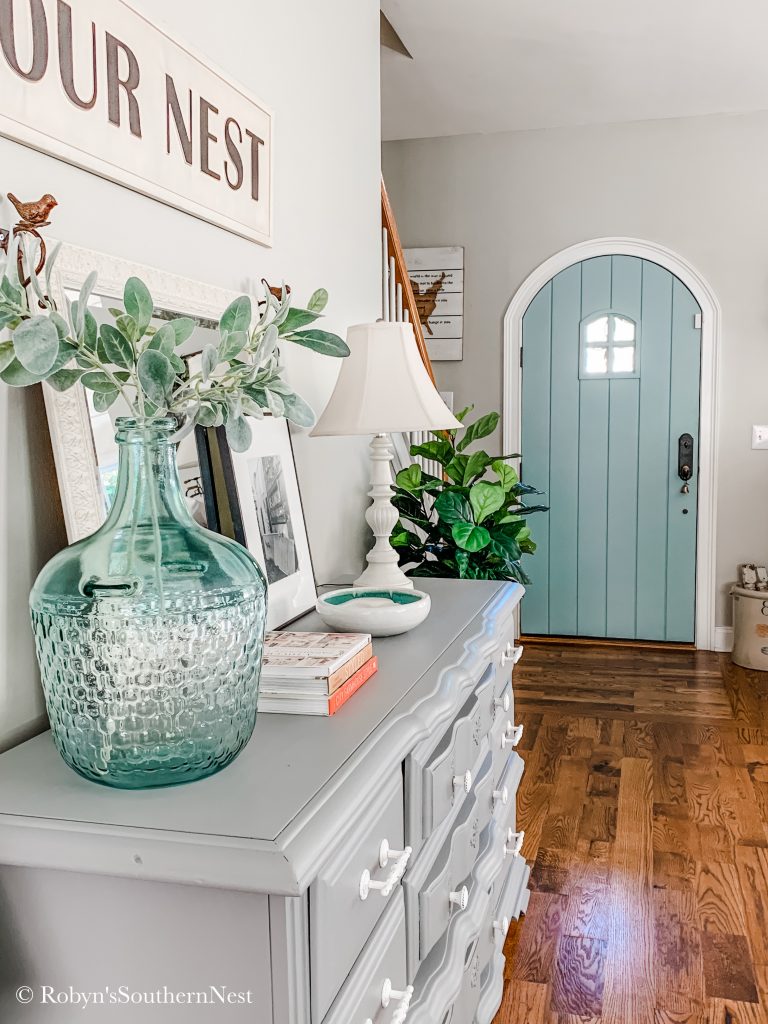
Doesn’t she look so much happier?!! I love how the white hardware pops on this beautiful gray!
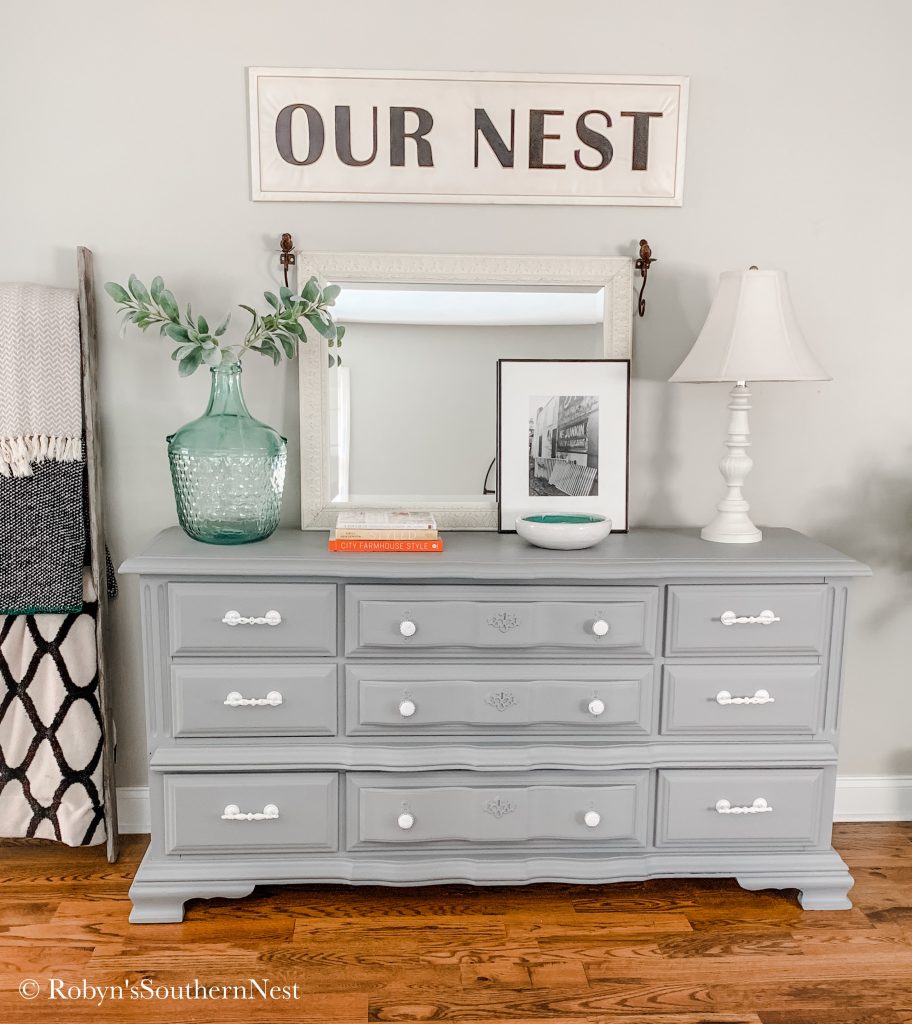
Thank you so much to Fusion Mineral Paint for literally creating THE perfect paint! It has been such a pleasure partnering with you for this blog. Y’all are the best! If you’re a beginner and have never painted furniture, I highly recommend using this paint. You will never turn back, this I promise you. I hope you’ve enjoyed this Little Lamb Fusion Mineral Painted dresser reveal! Please let me know if you have any questions down in the comments. Or if you have already used this product let me know your favorites! Happy painting!

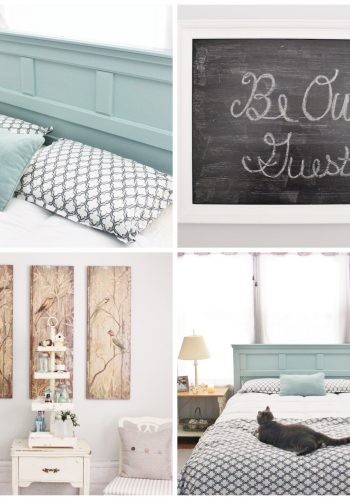
Pin For Later
Thank you for flying by today!
Check out more of my Fusion Mineral Paint Projects here.
xoxo,
Robyn 🙂


7 Comments
Brandi
I came over to your blog from Ig- trying to figure out your wall paint color in this picture!! Love the dresser, but I am curious about the wall paint color
robynssouthernnest
Hey Brandi! Thank you for stopping by! Here’s a link to all my paint colors in my home.
http://www.robynssouthernnest.com/paint-colors/
Hope you have a great day!
Pingback:
Pingback:
Pingback:
Pingback:
Pingback: