Guest Bedroom Refresh
Happy Saturday friends! Yesterday I decided that I would take on our guest bedroom down in our basement. I hadn’t really done much with the space other than throw some furniture in there just to make do for when guests were coming weeks after we had moved in. I also saw it as a challenge to redo the whole bedroom without spending any money at all. So I shopped my home for items and supplies for painting furniture and decorating and then I was off to the races. It was a full 9 hours of work yesterday. I’m definitely feeling it in my muscles and in places I didn’t know I had muscles. That’s what painting and moving furniture will do to ya! So without further ado…here is our guest bedroom refresh! Get your favorite drink and a snack because this is a long one!
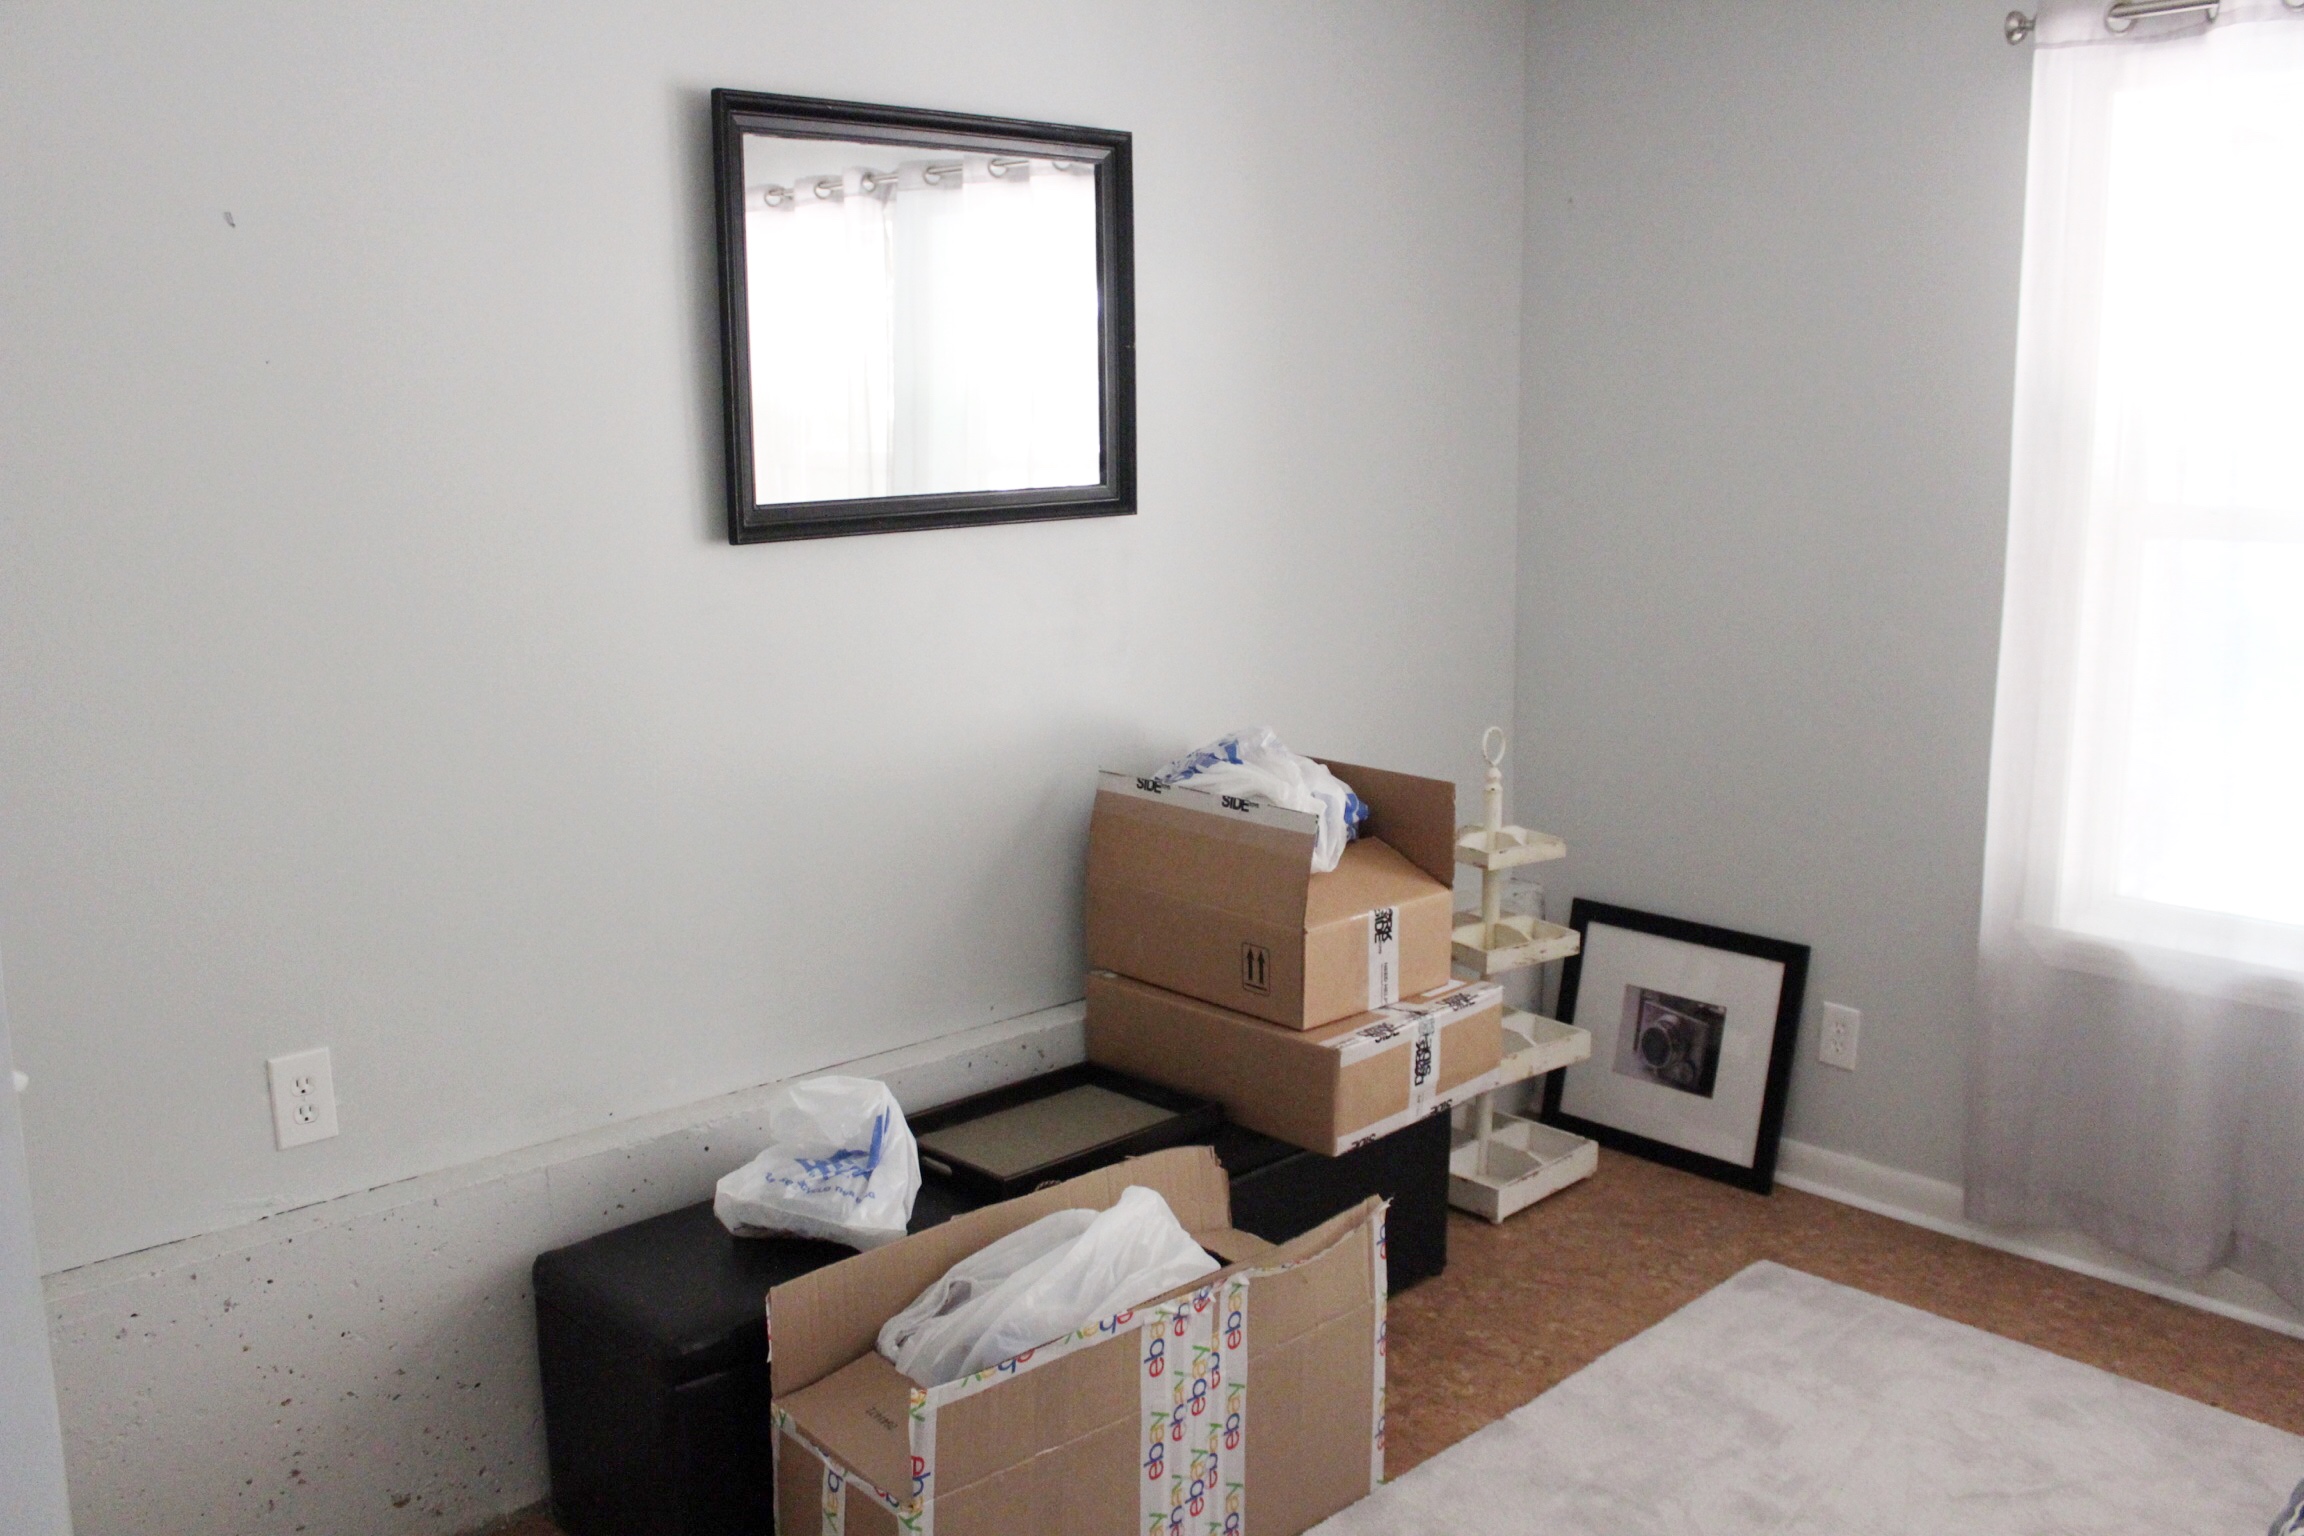
I want to include some before pictures because I love the dramatic before and after shots! It wasn’t terrible before…but nothing was cohesive. Thankfully the walls were already a nice shade of gray and the cork floors weren’t a bad base to work with either. This room is very difficult to photograph I found out since it’s in our basement and this room is located under our deck on the main level, so not a ton of natural light. Just keep that in mind when I’m sharing this reveal.
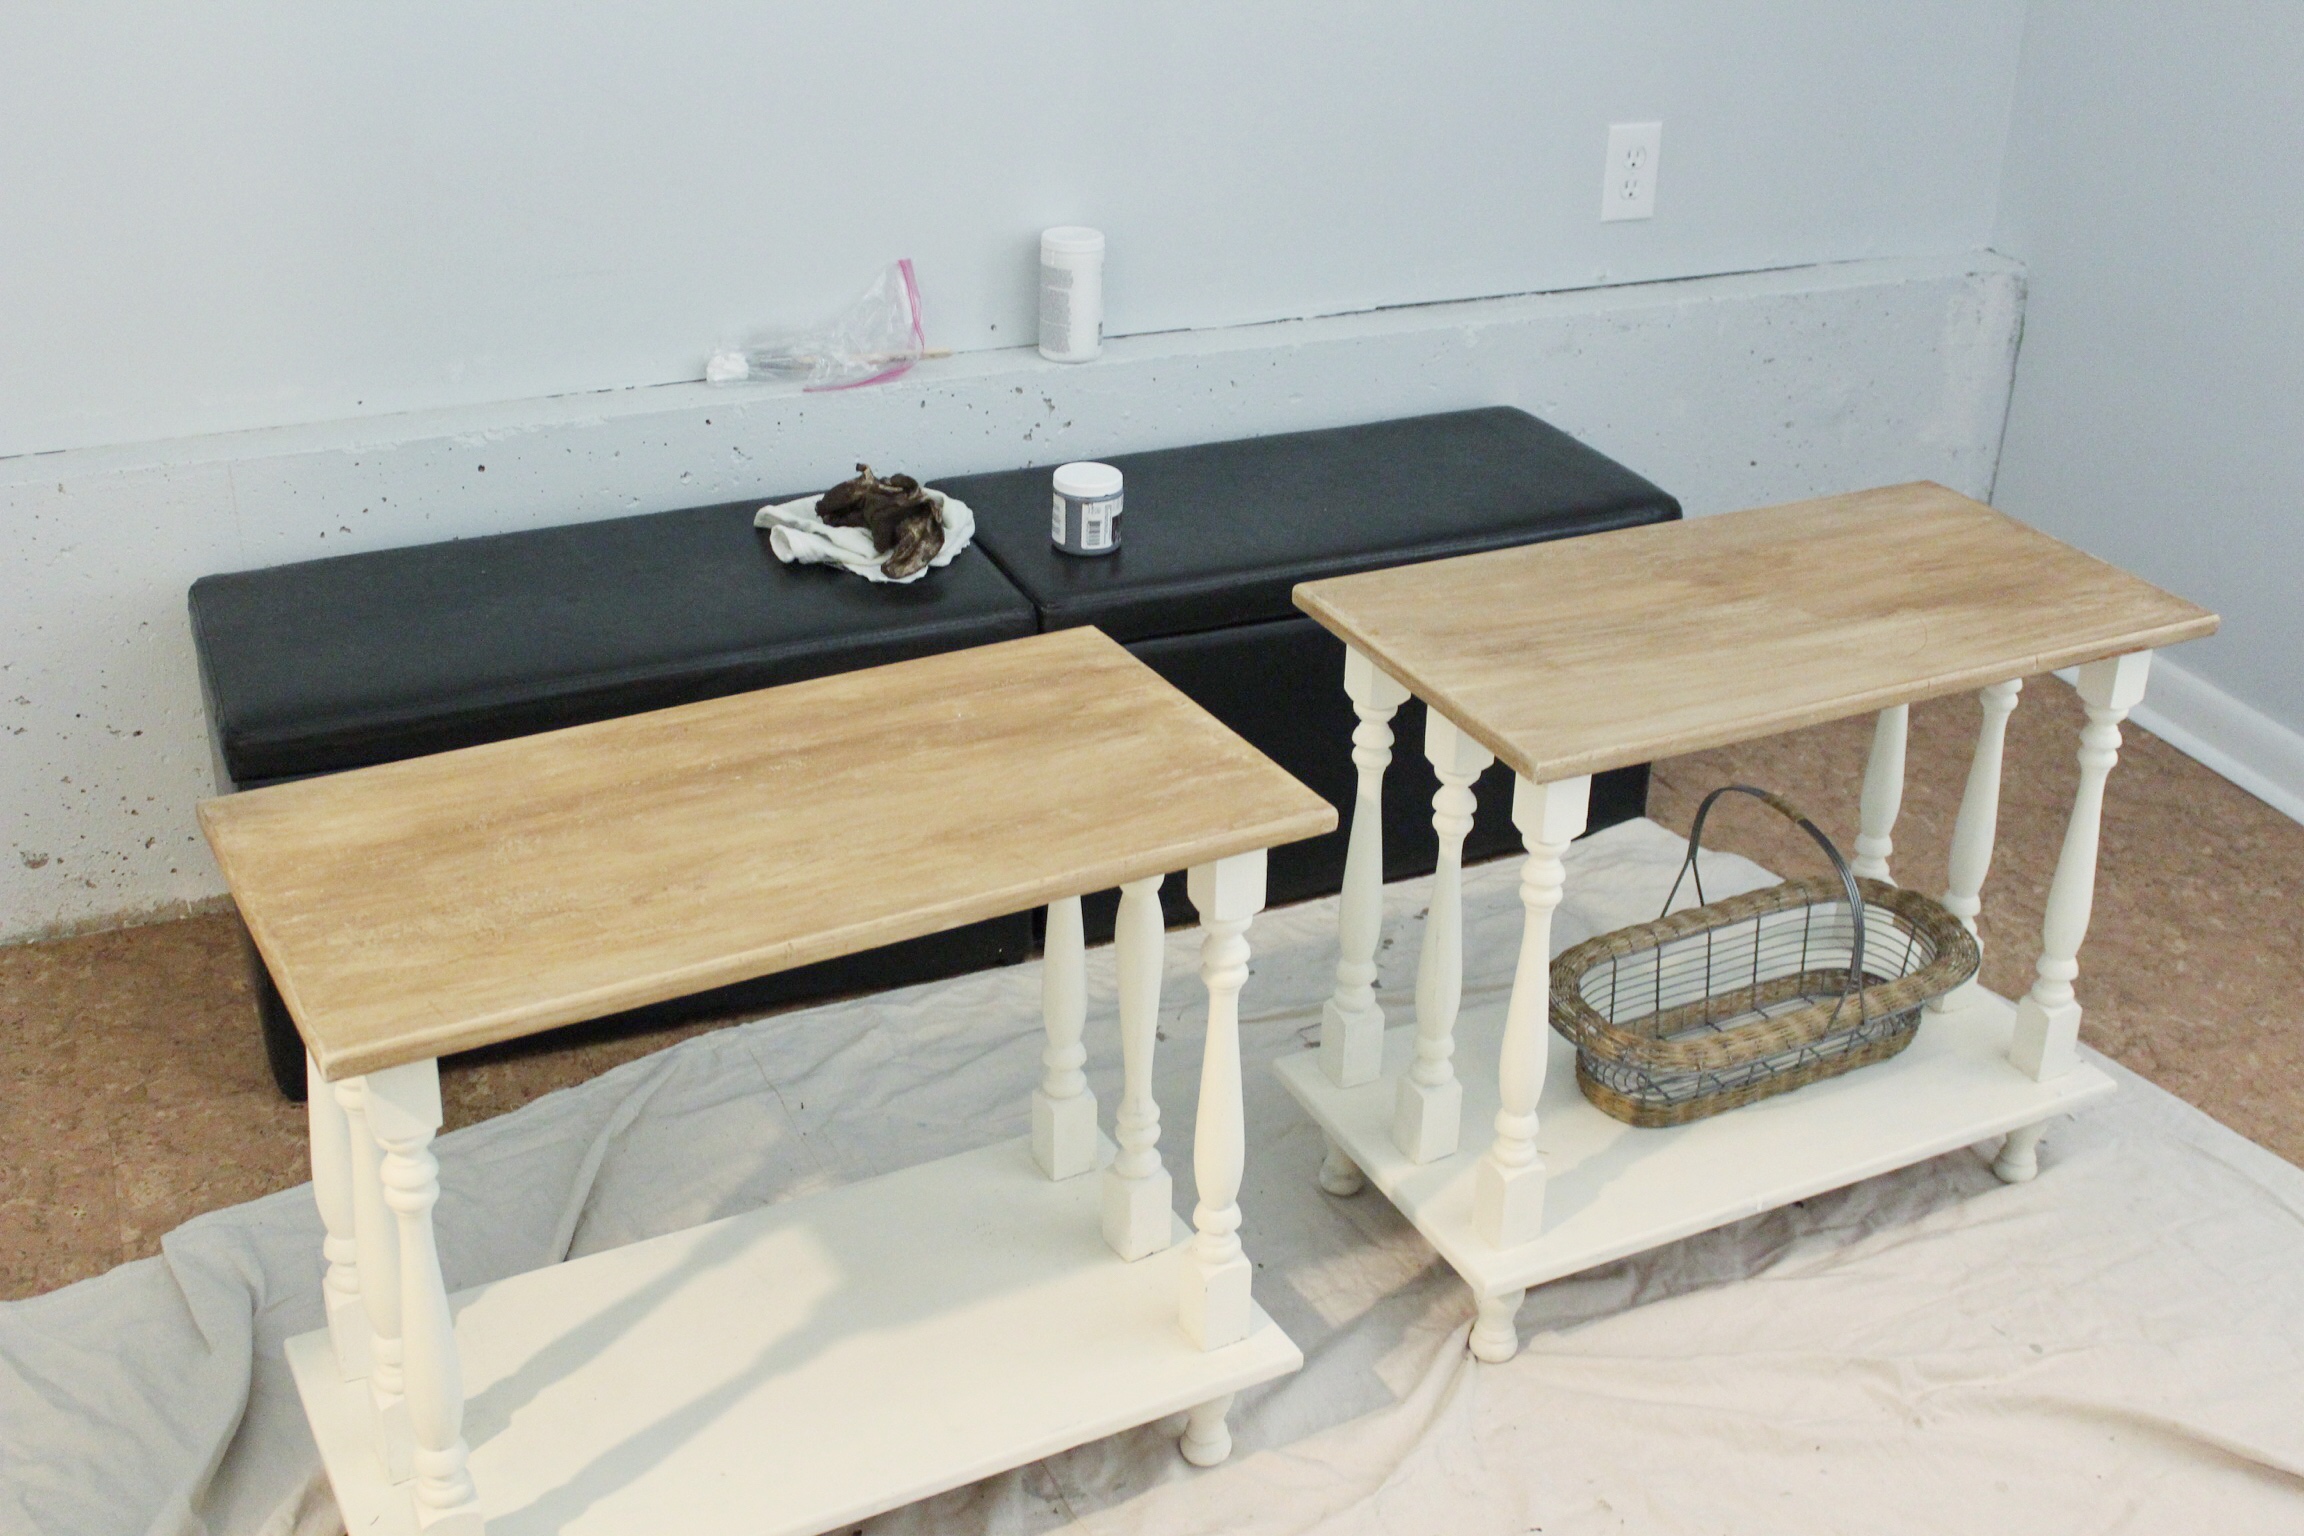
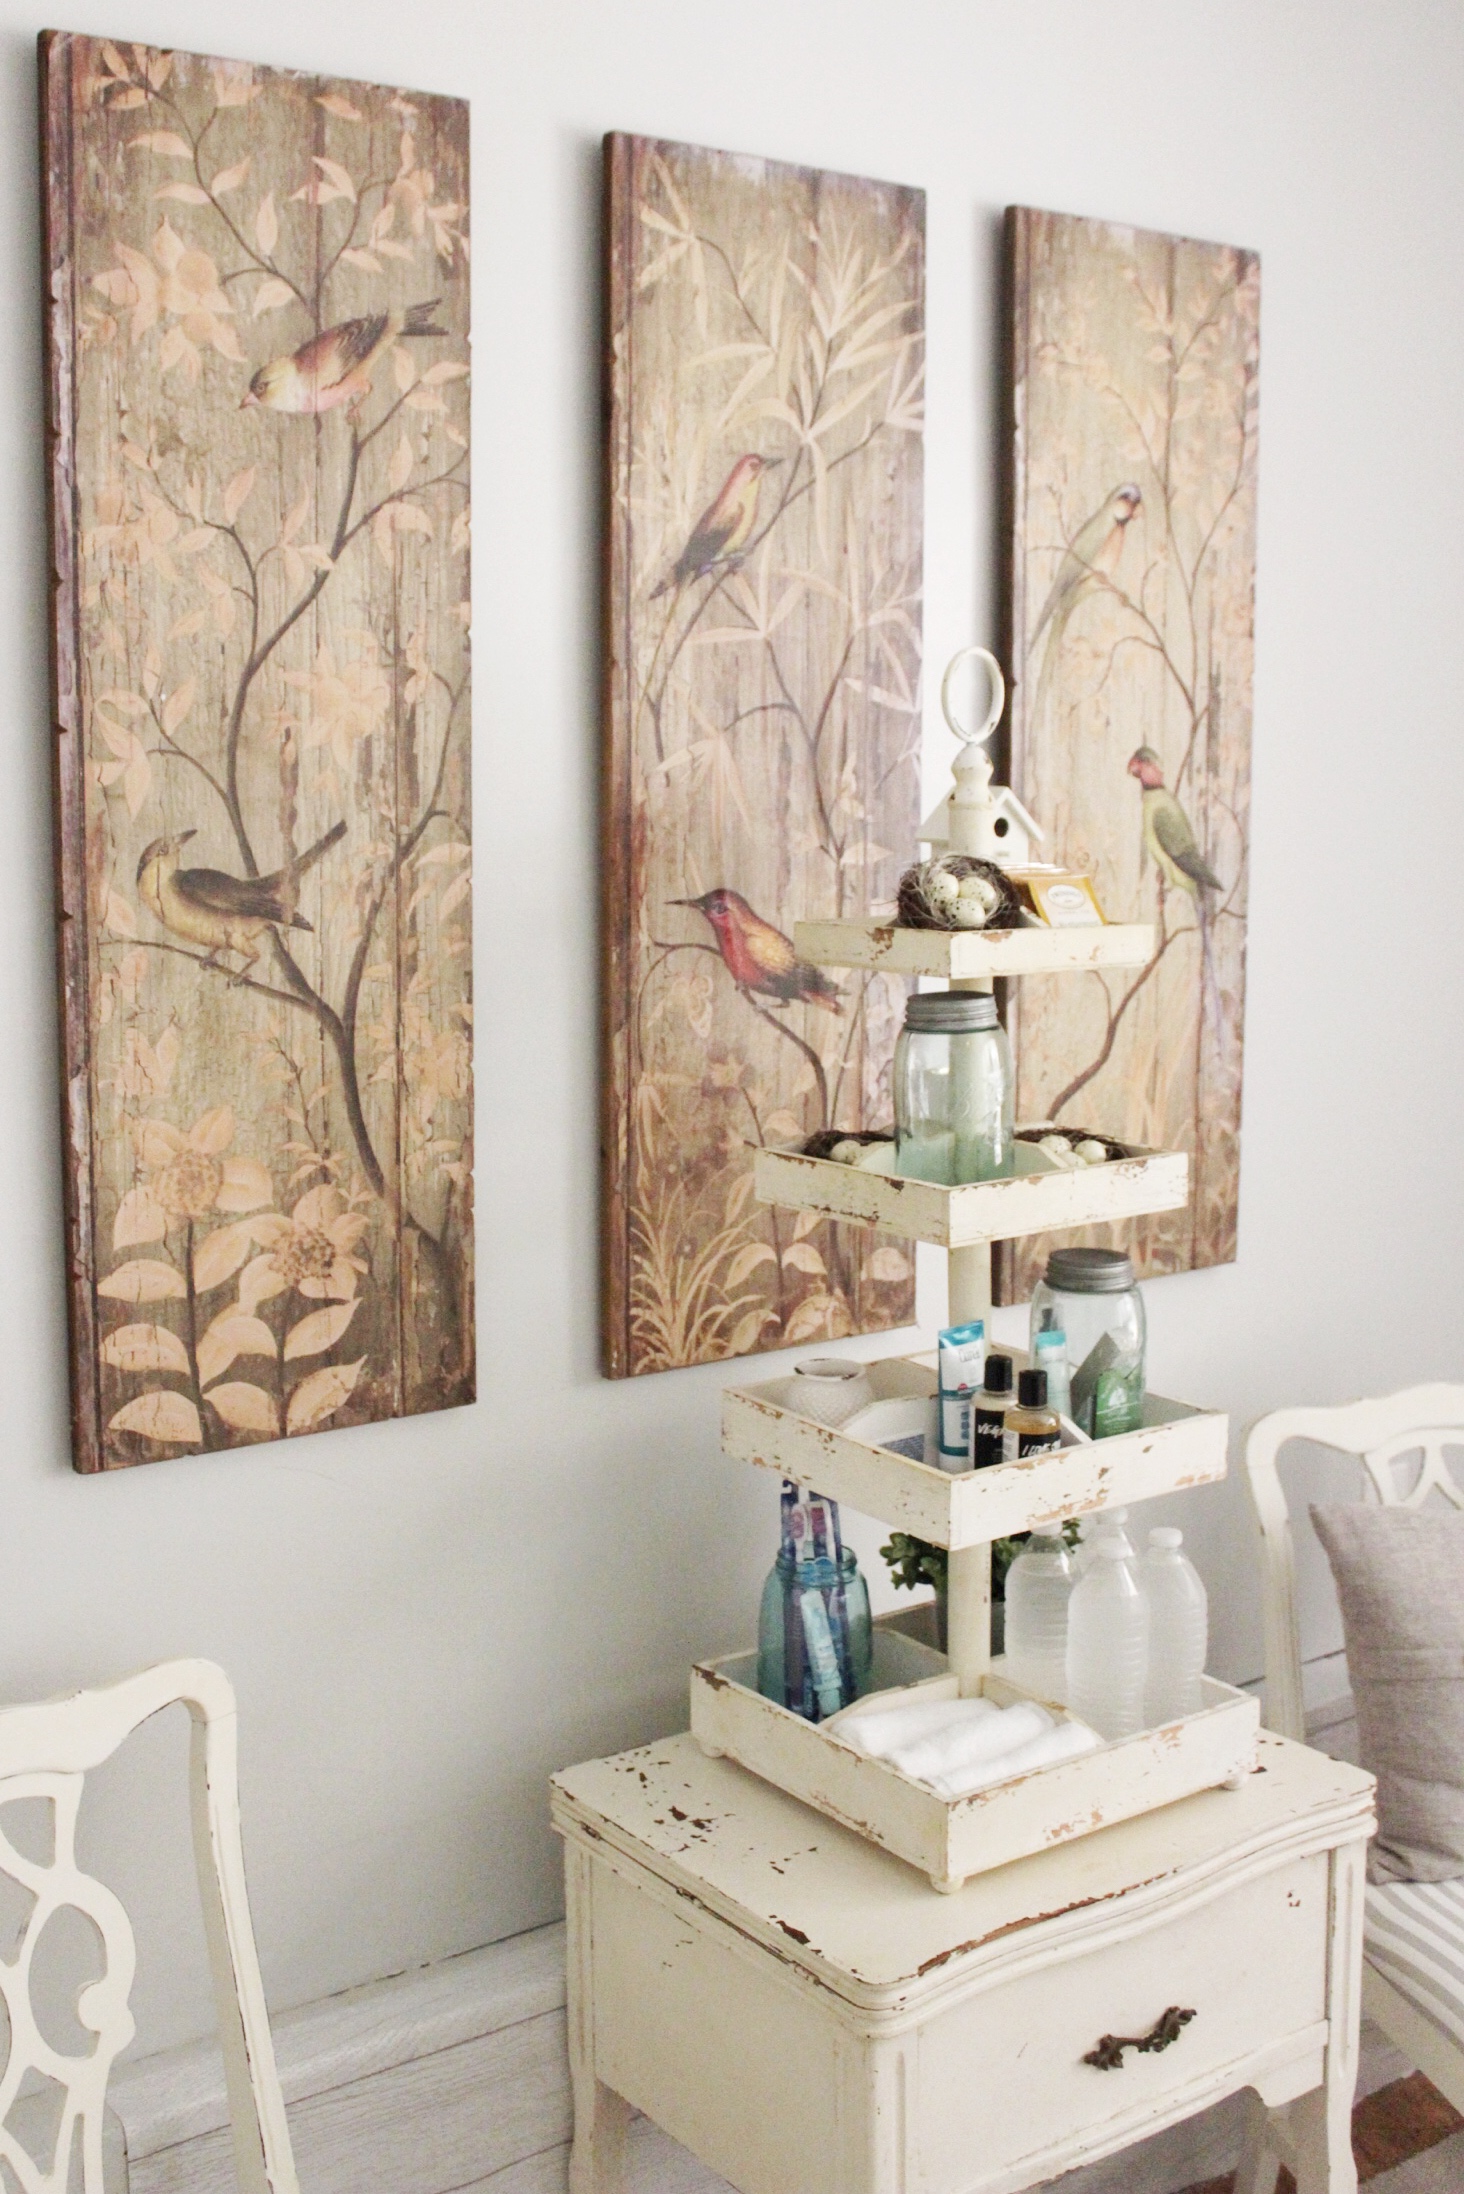
My first step was to put an antique glaze on these side tables like I did to my cabinet I shared a few days ago. You can see that tutorial here. They were just white and showing some wear. I also needed some wood toned elements in the space to coordinate with the flooring. I’m really happy with how they turned out!
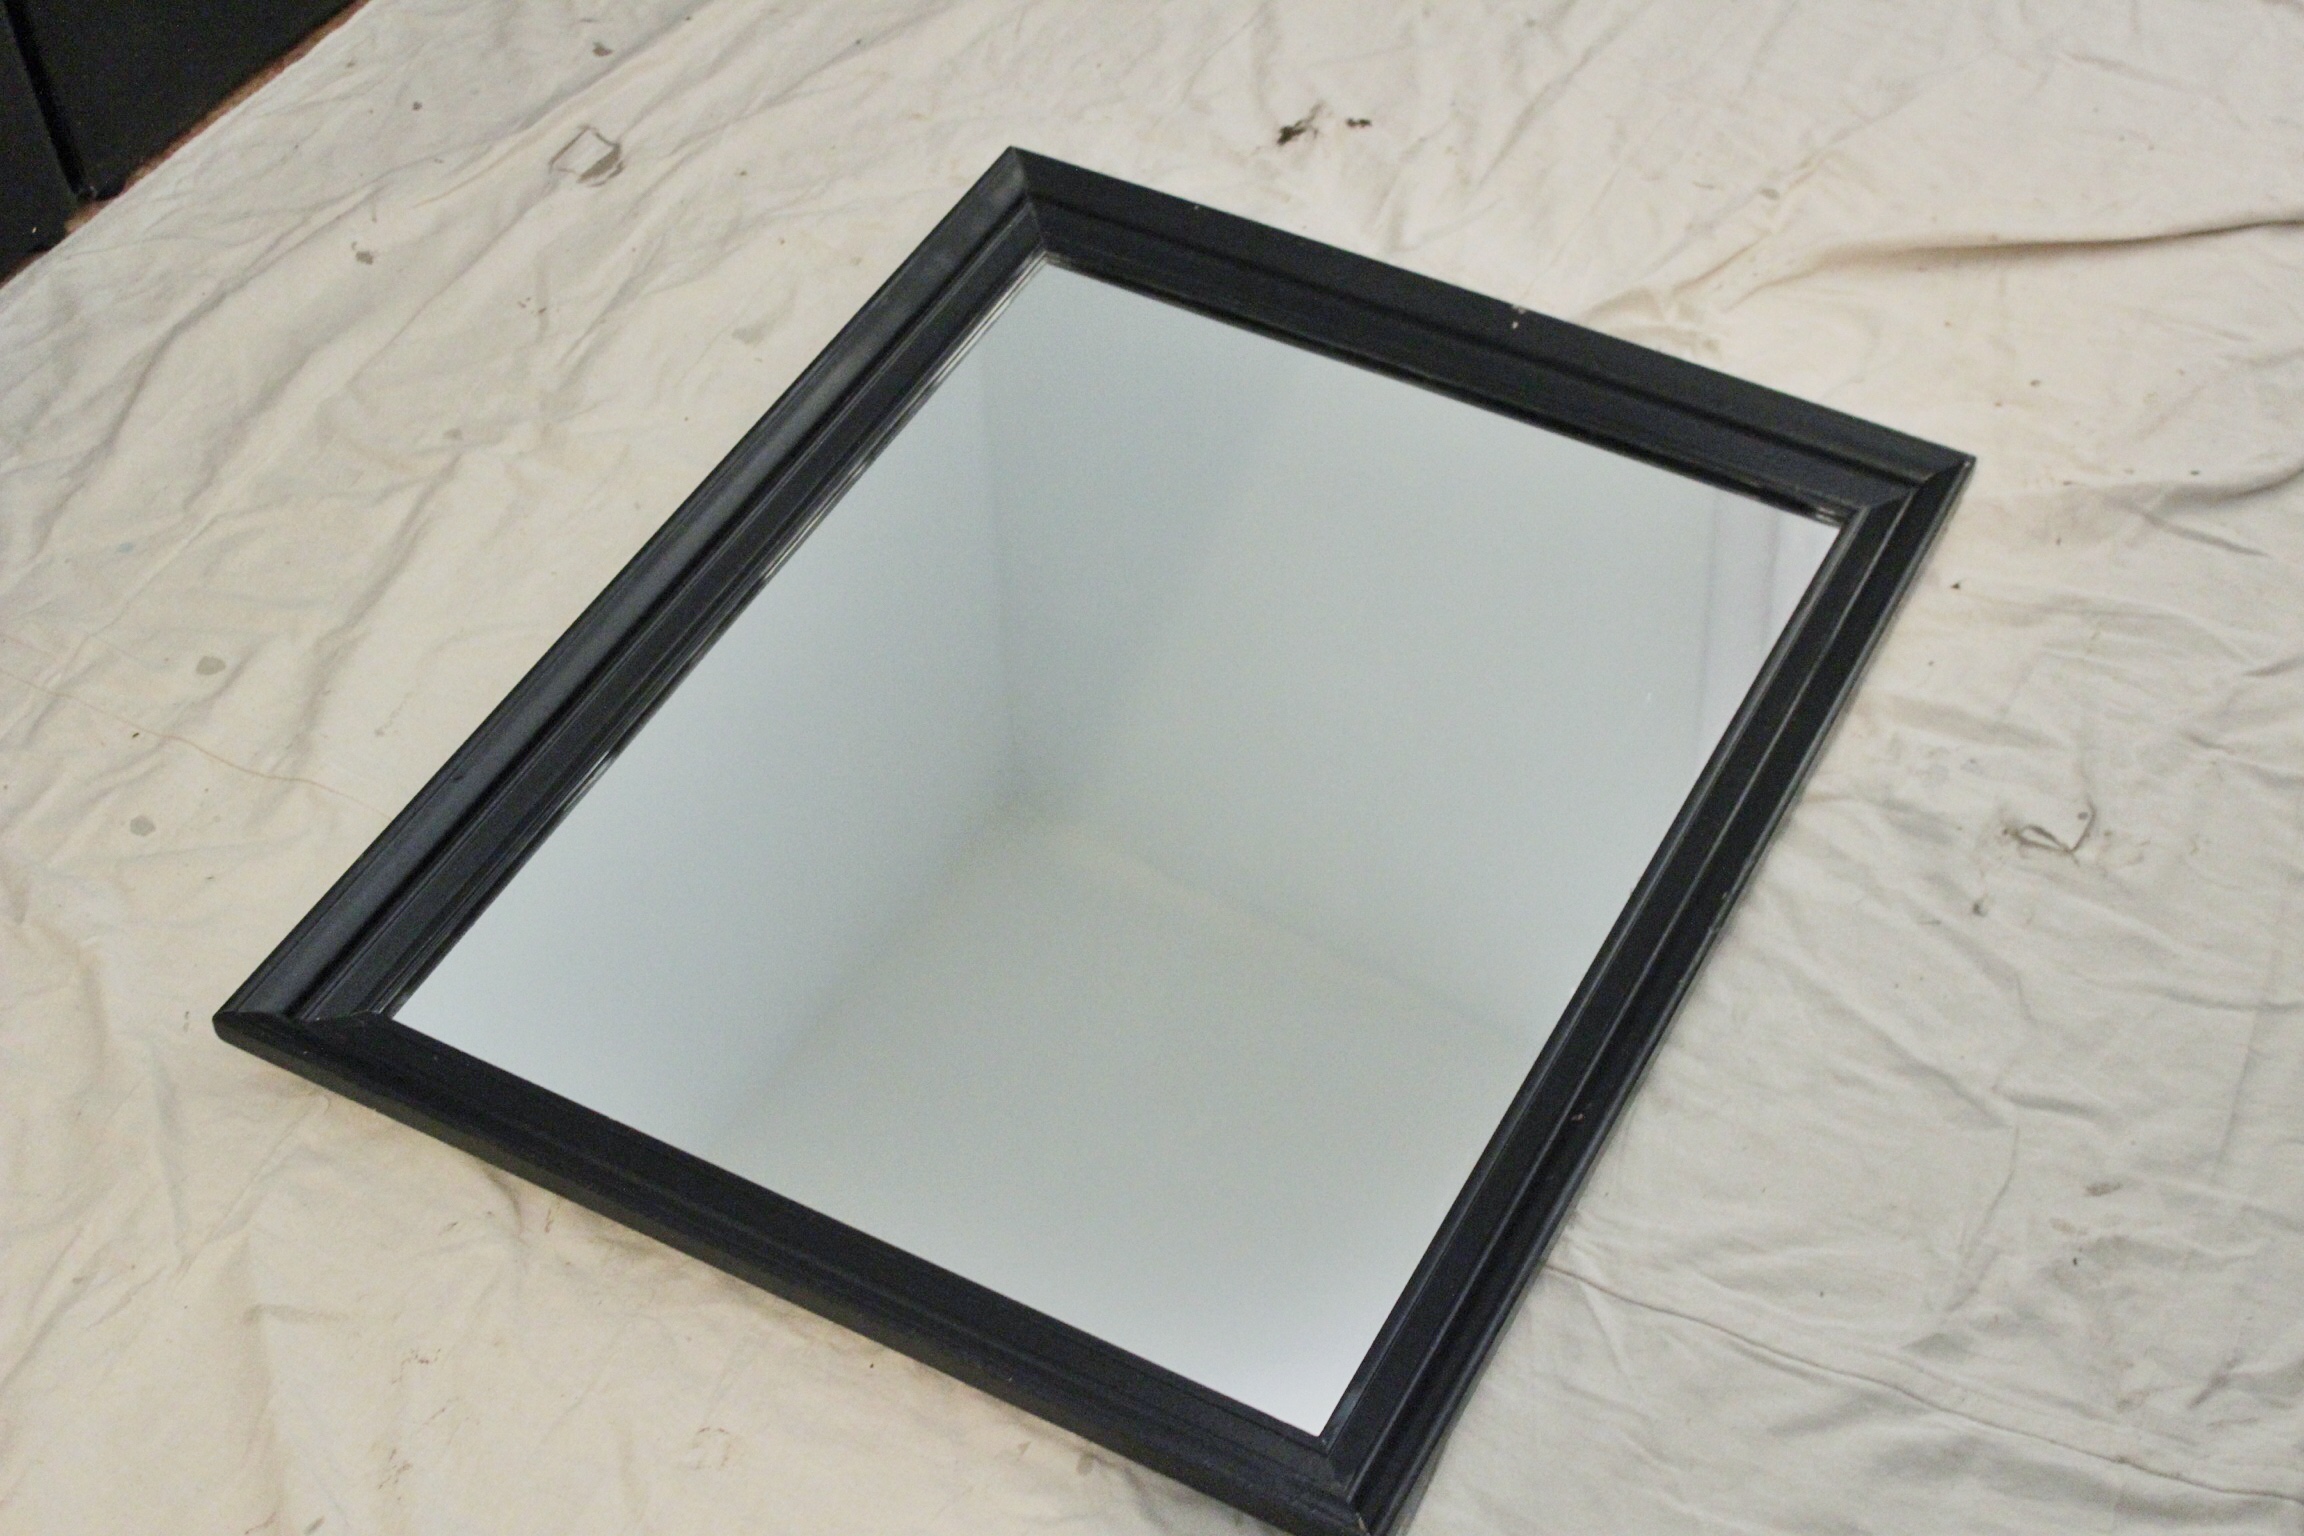
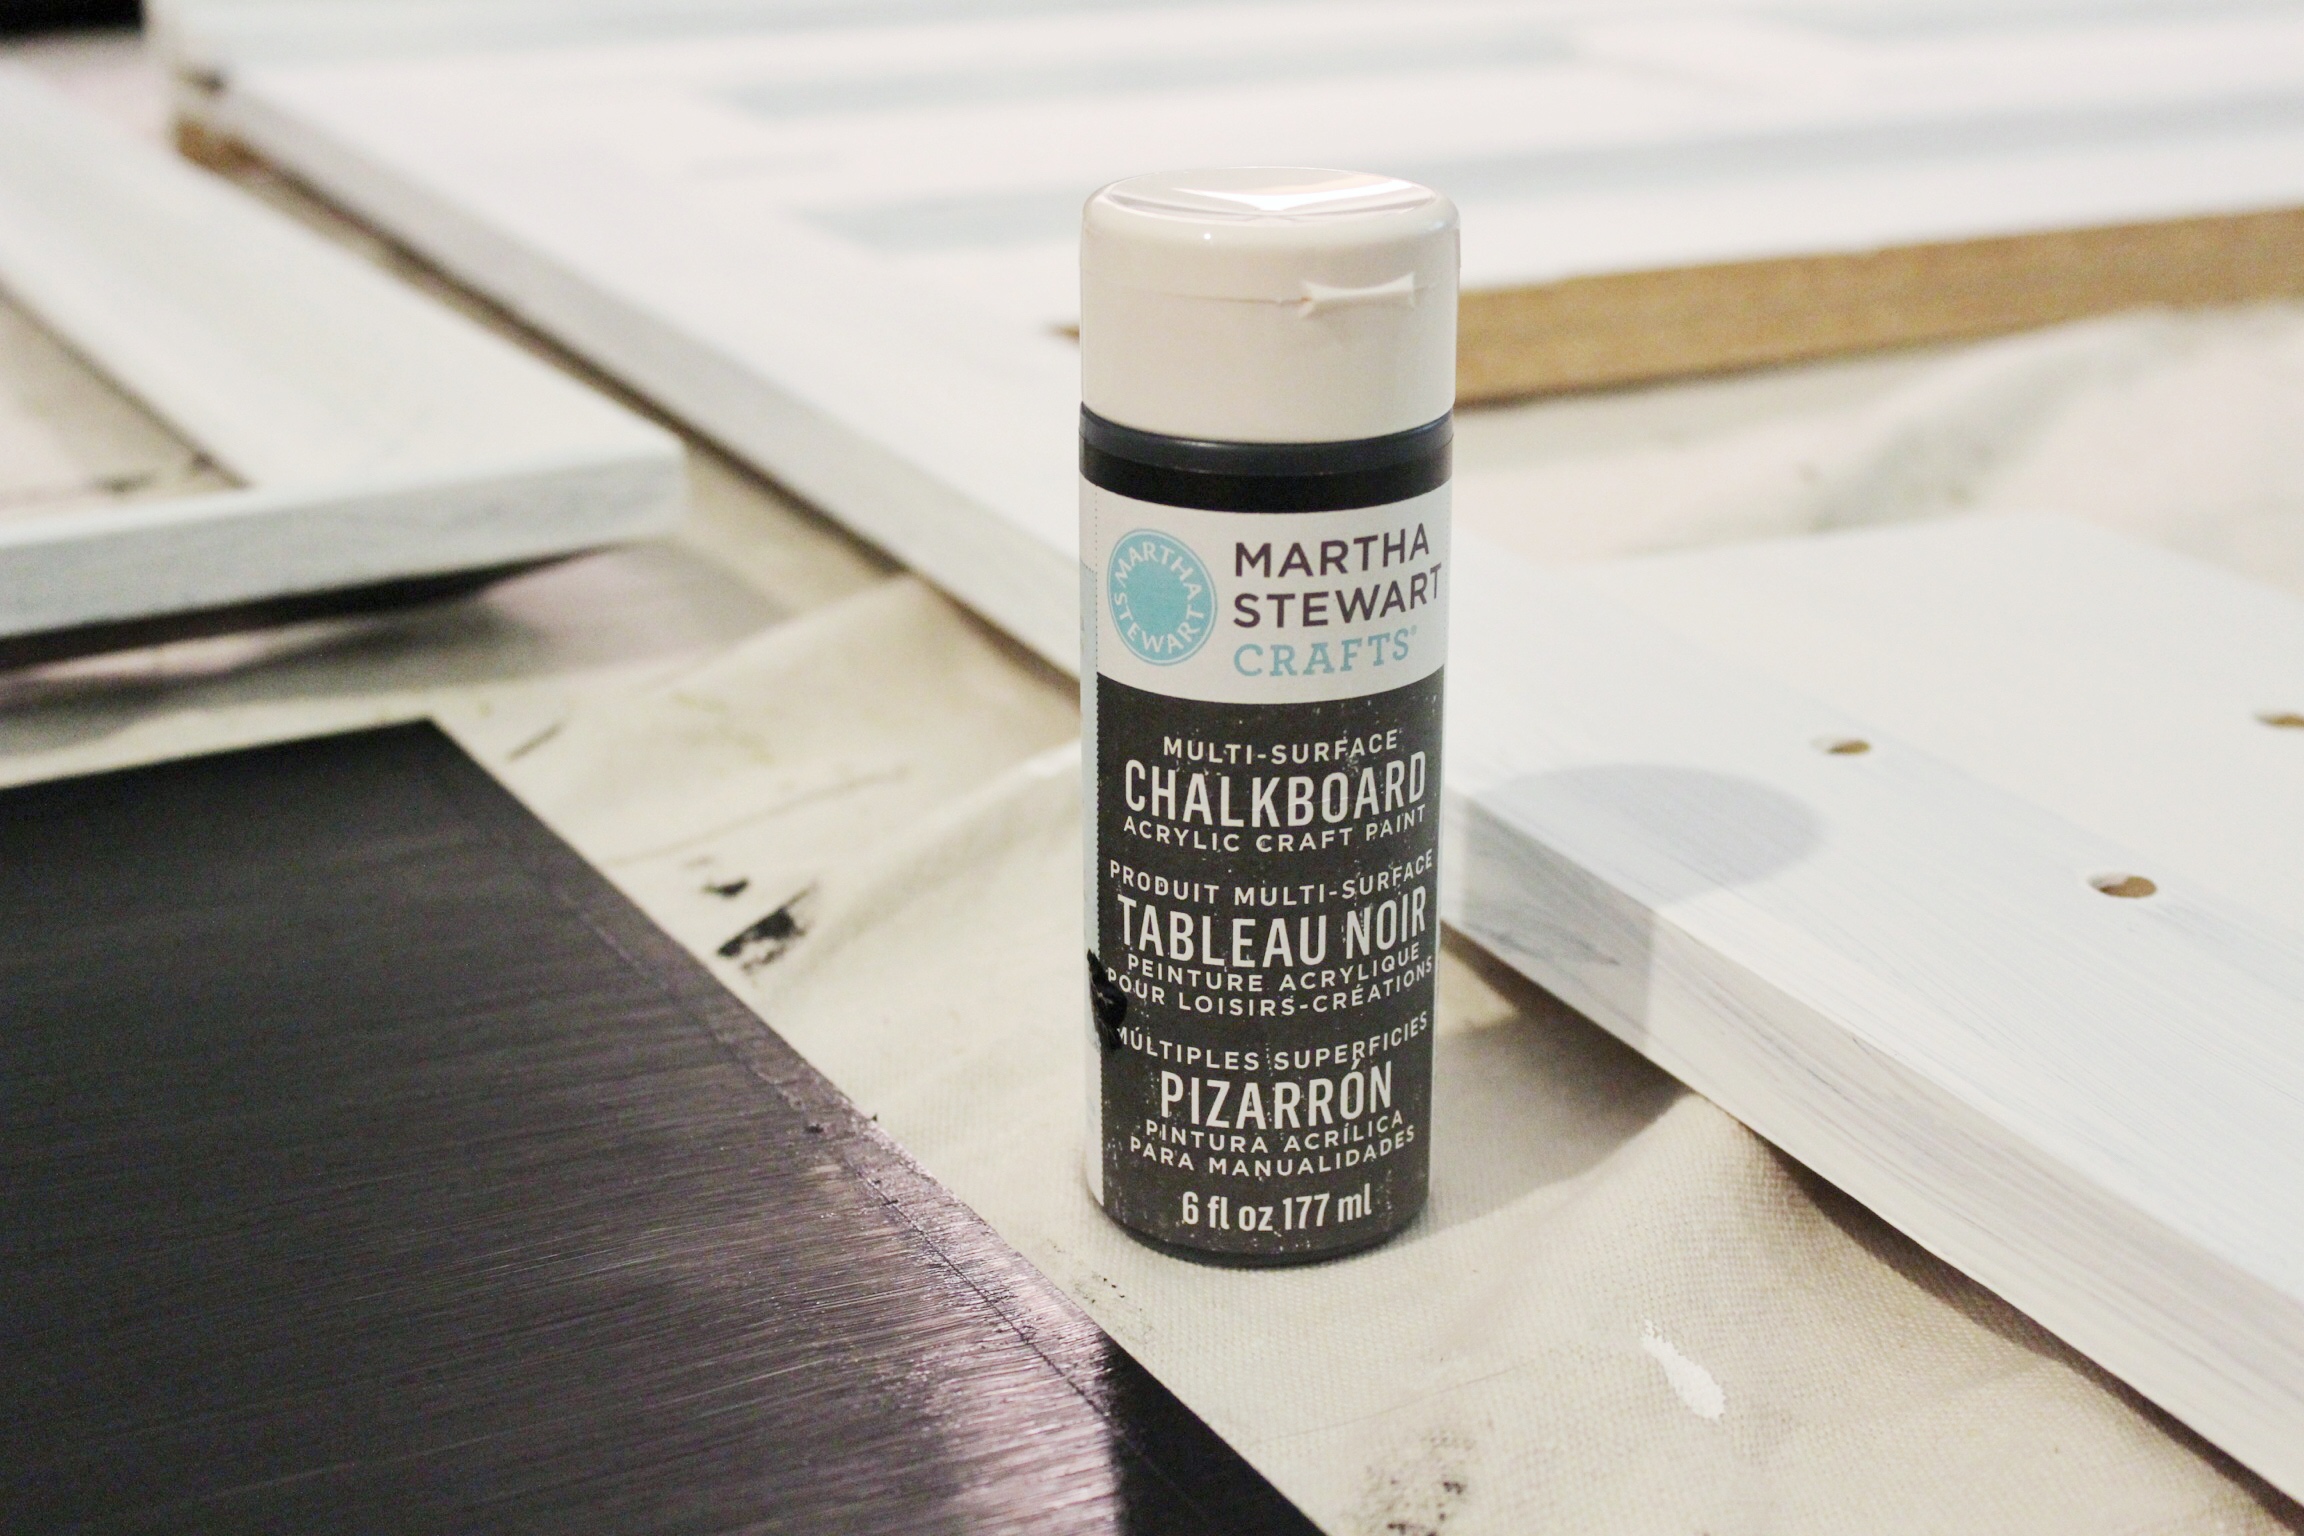
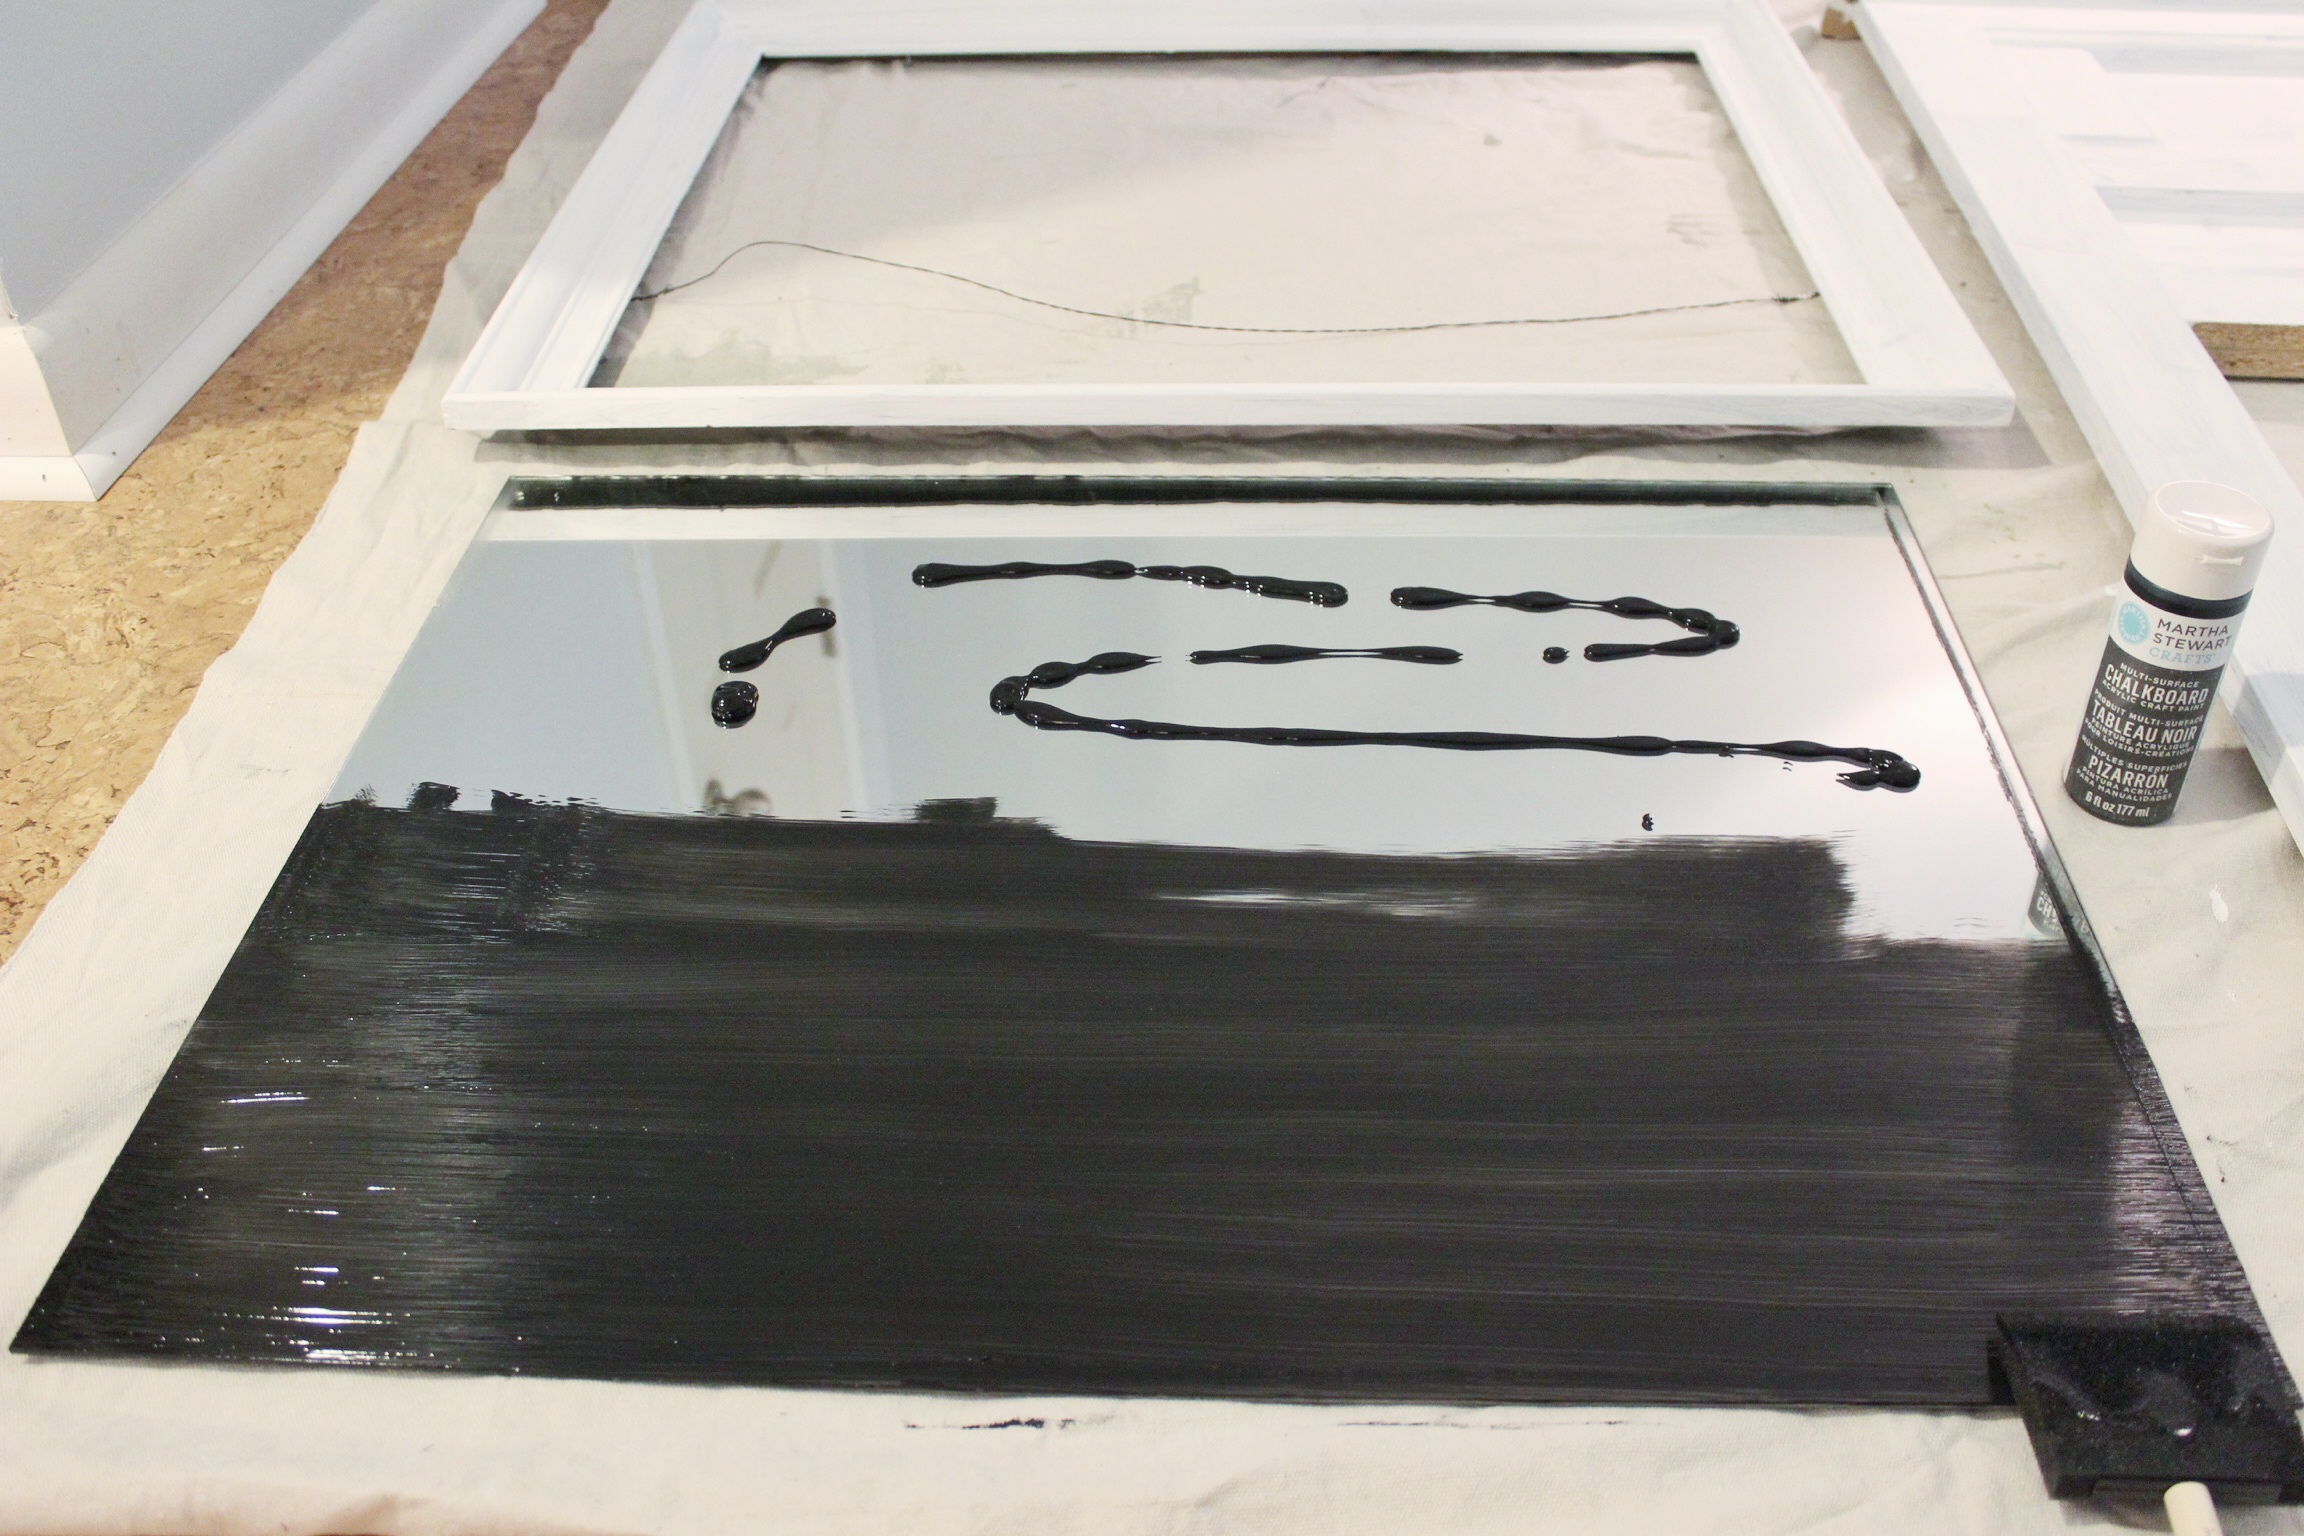
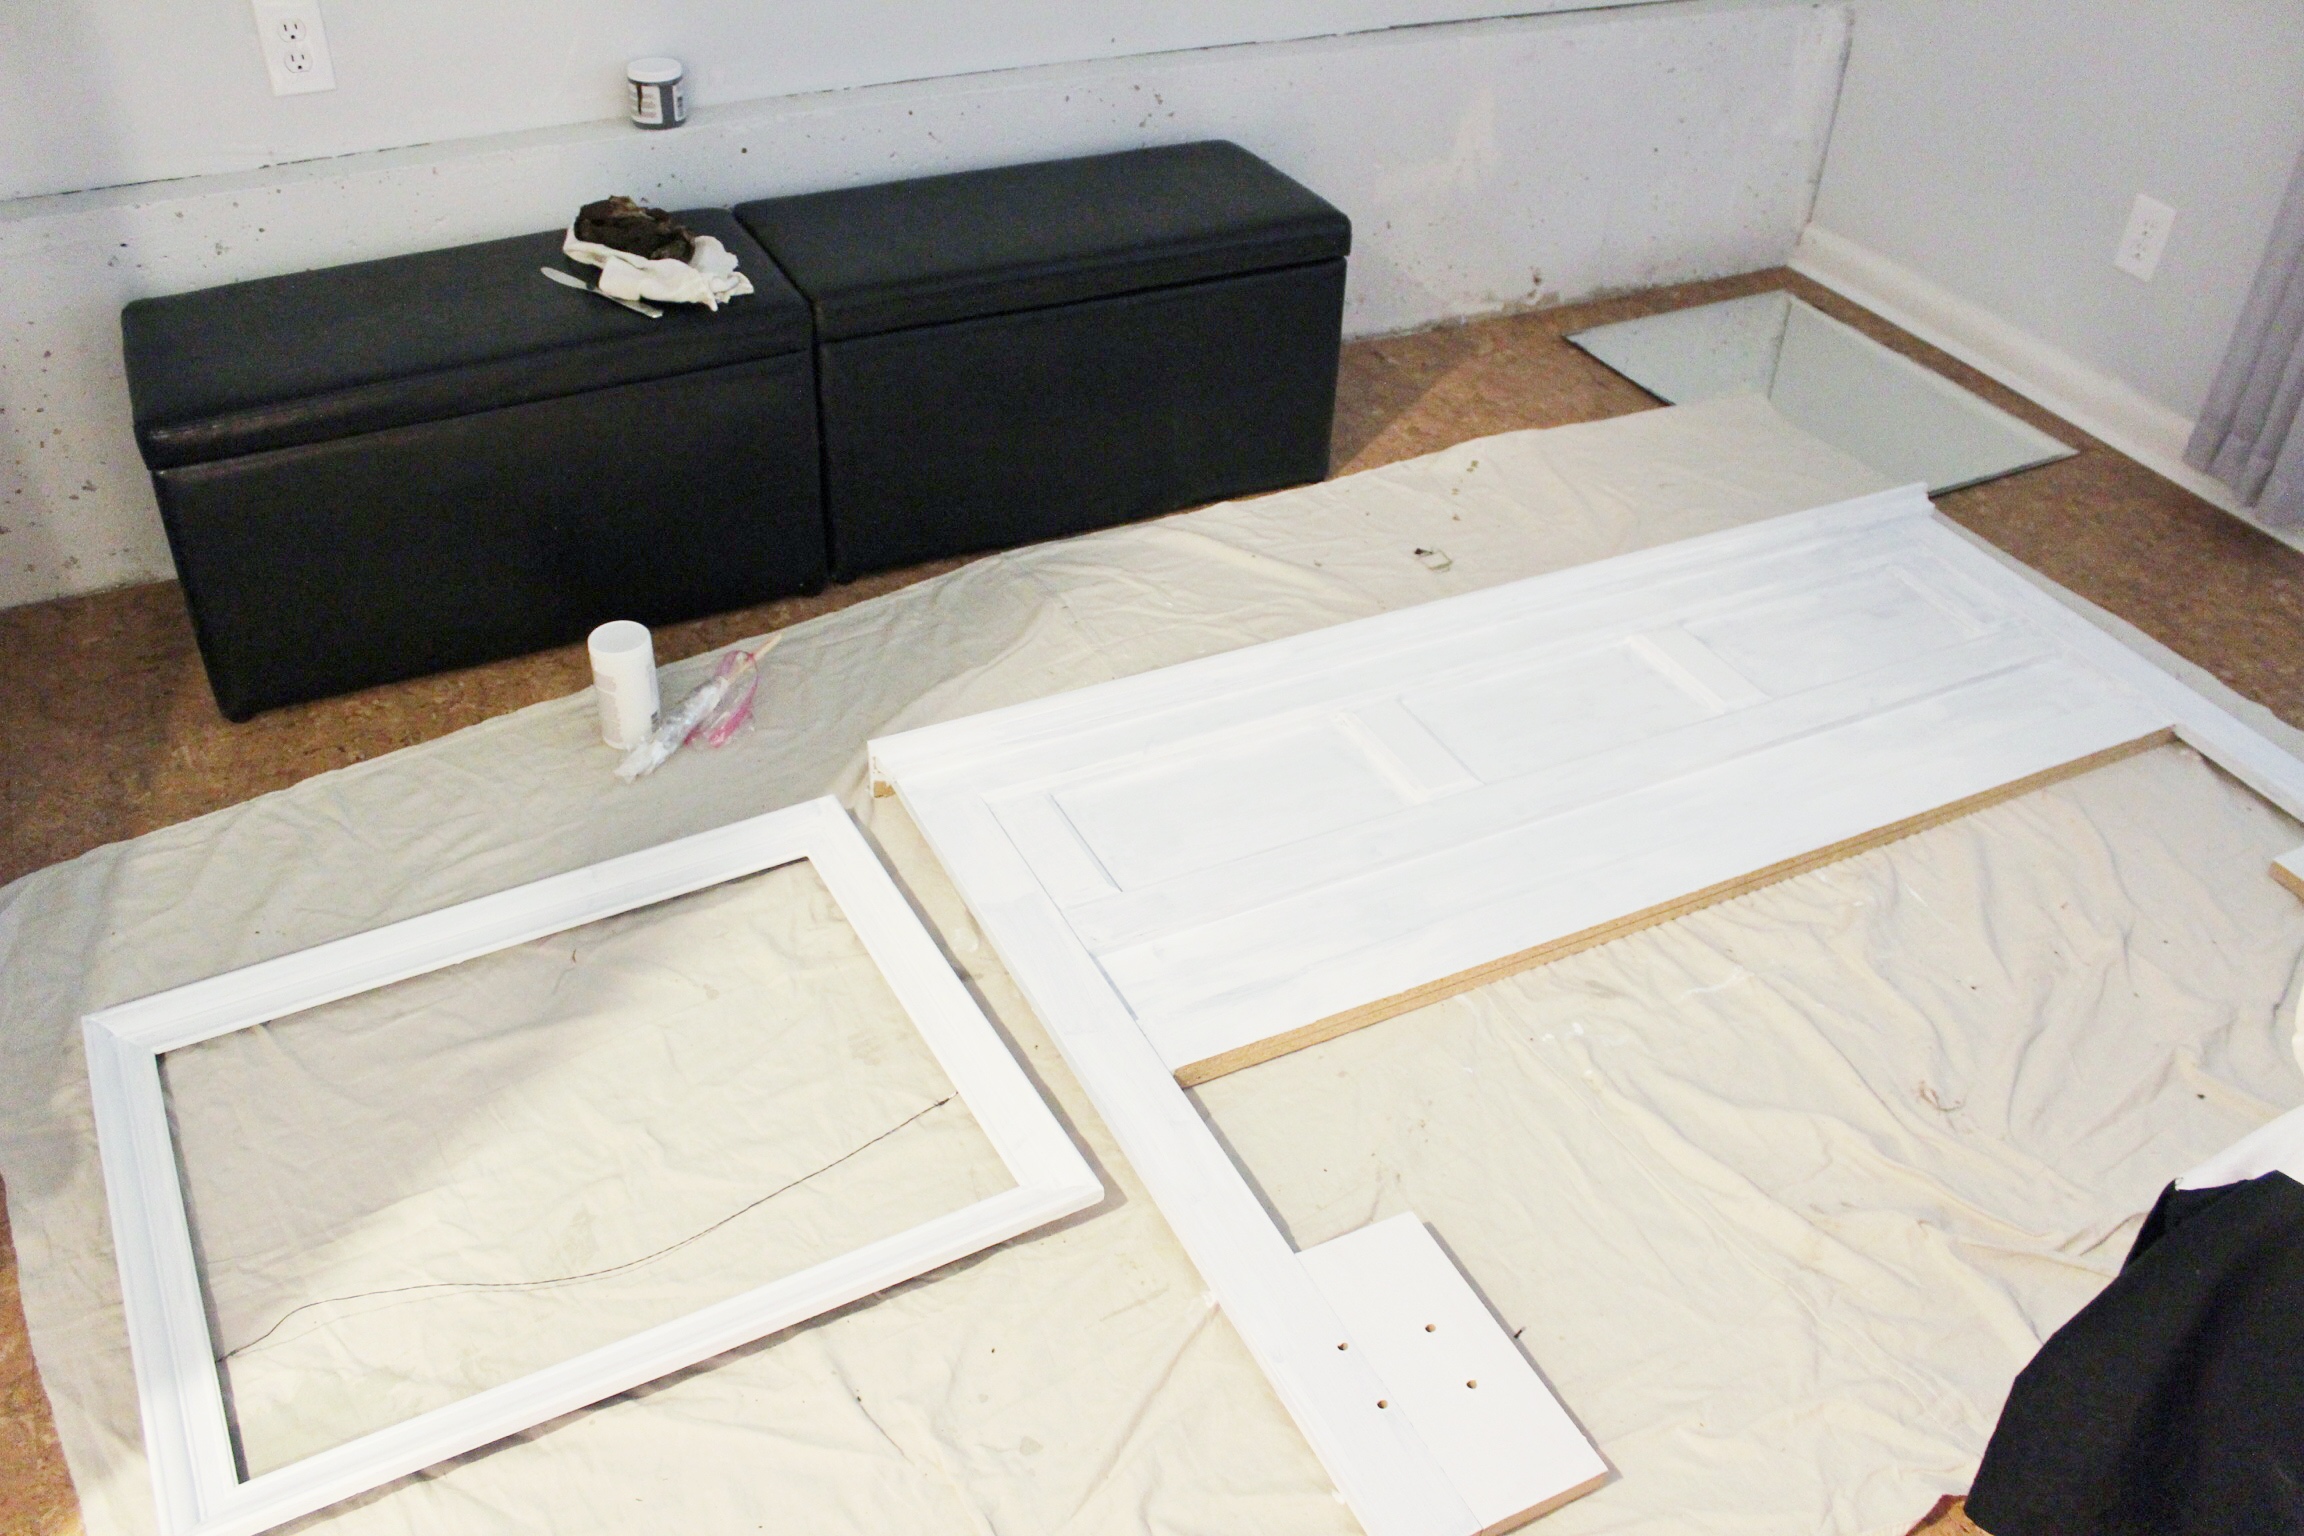
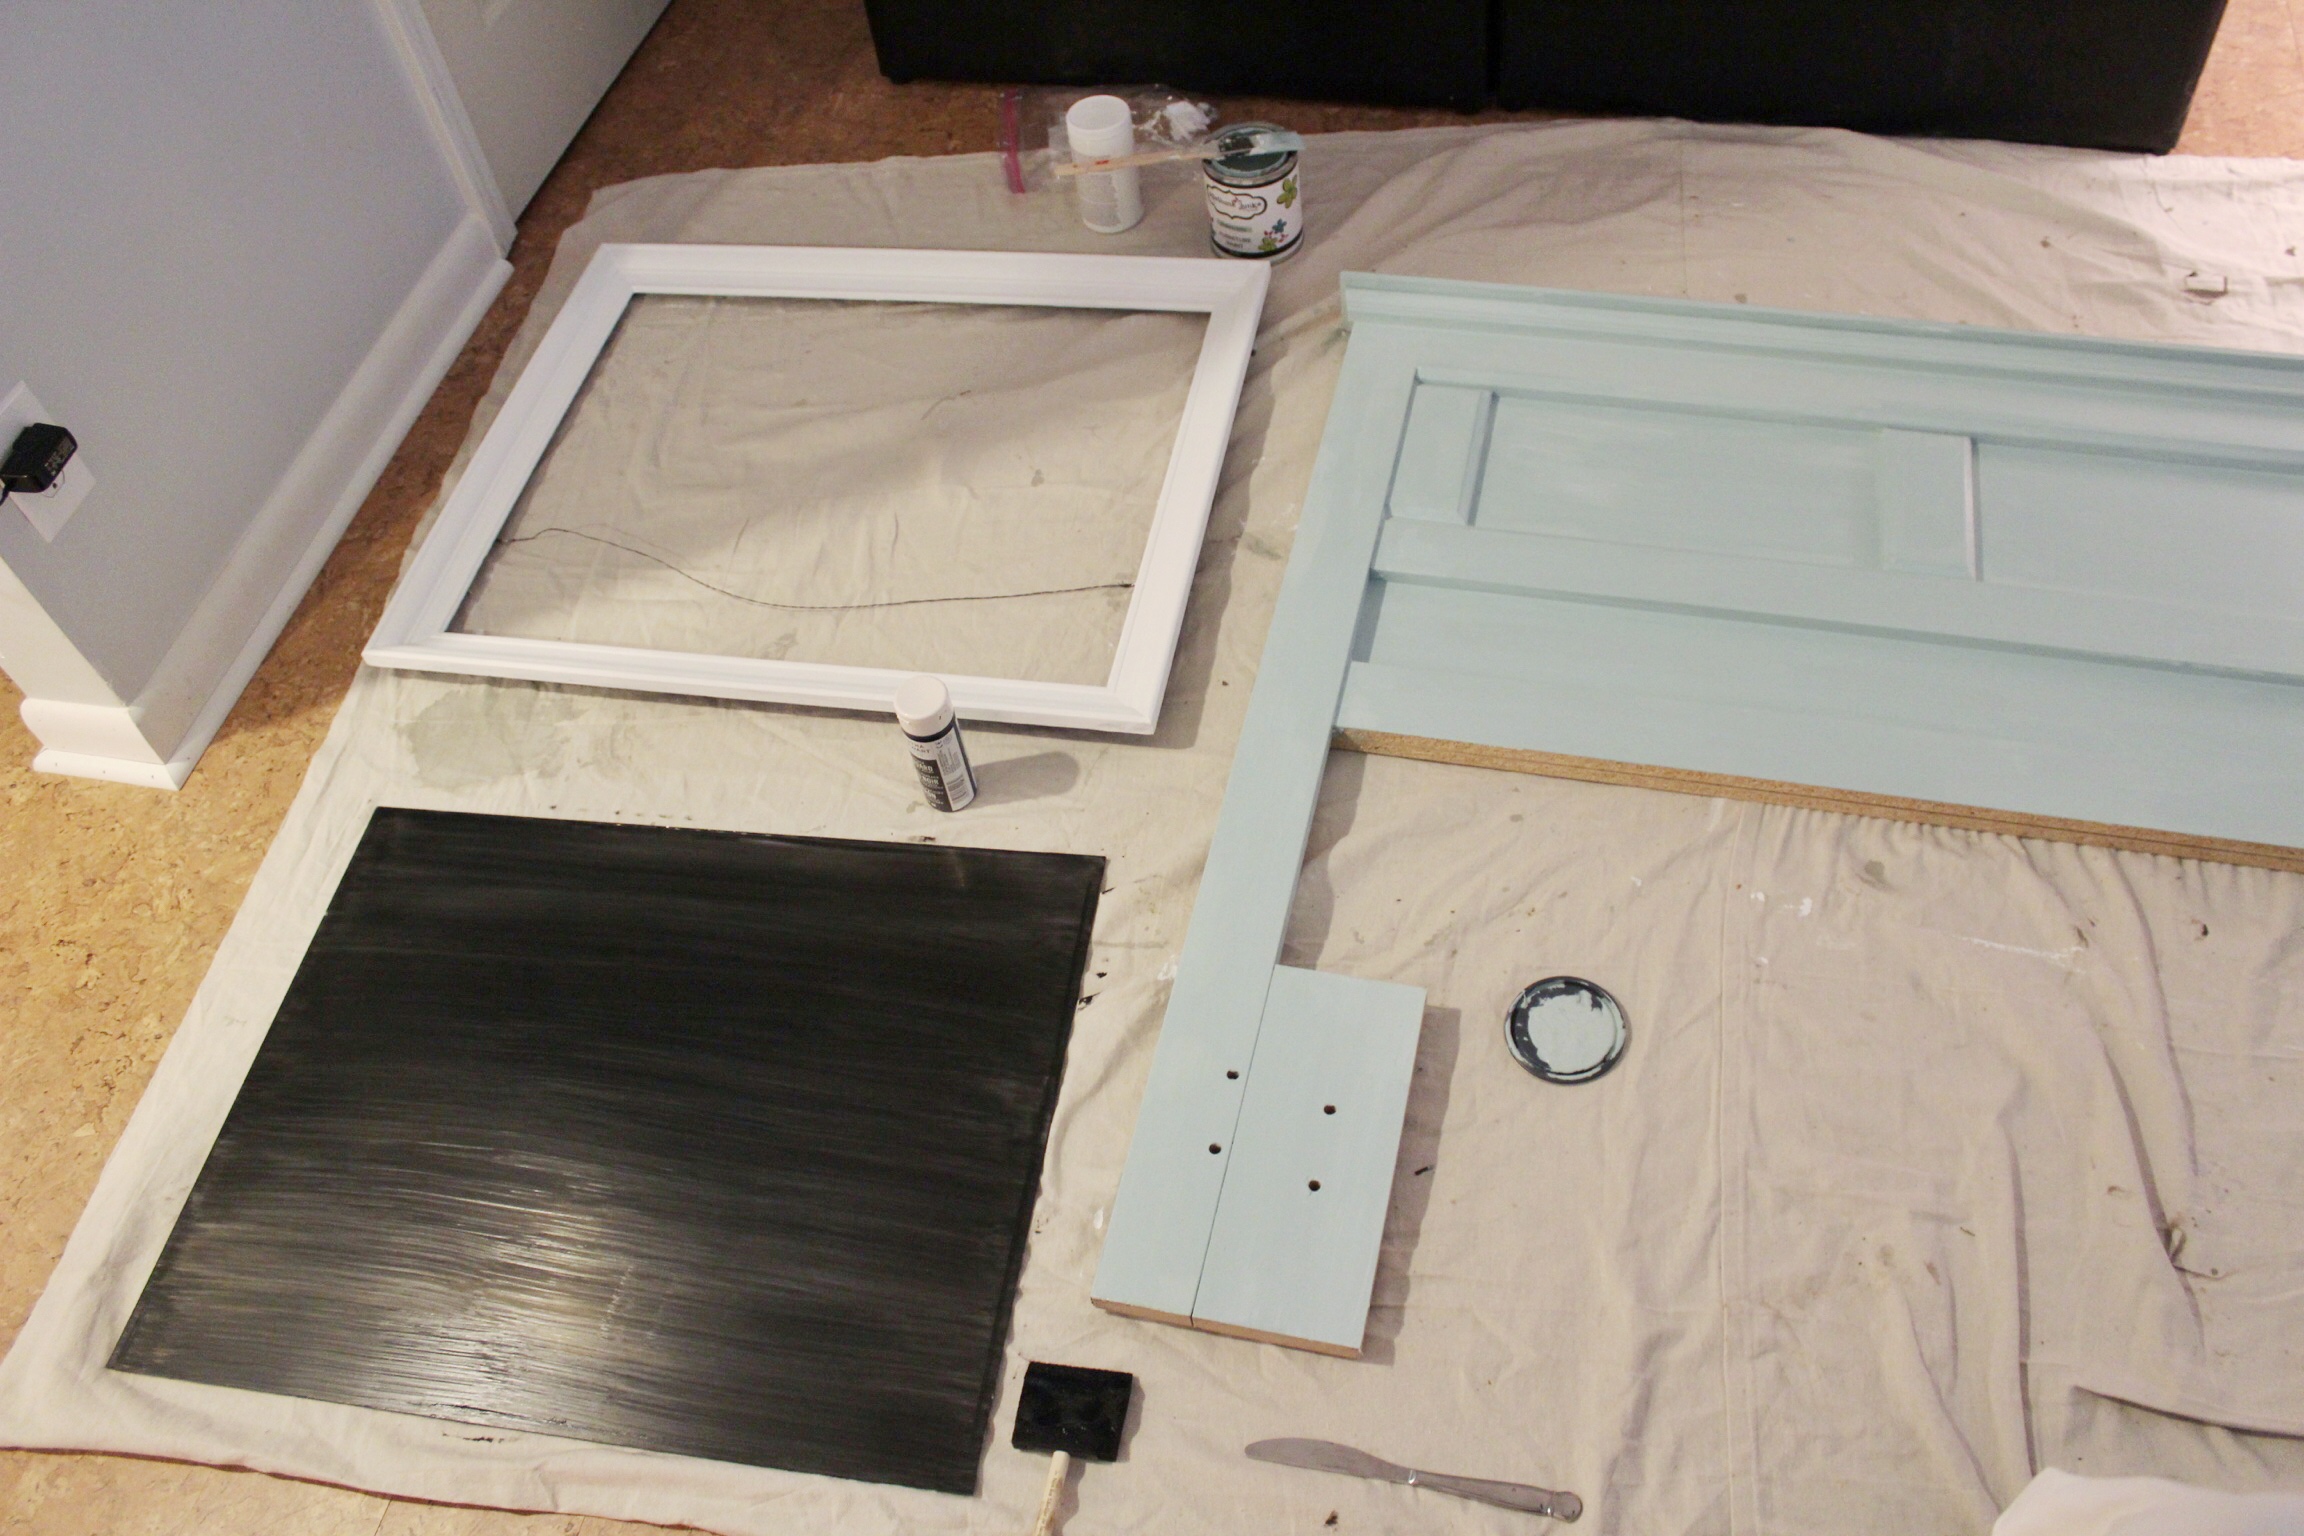
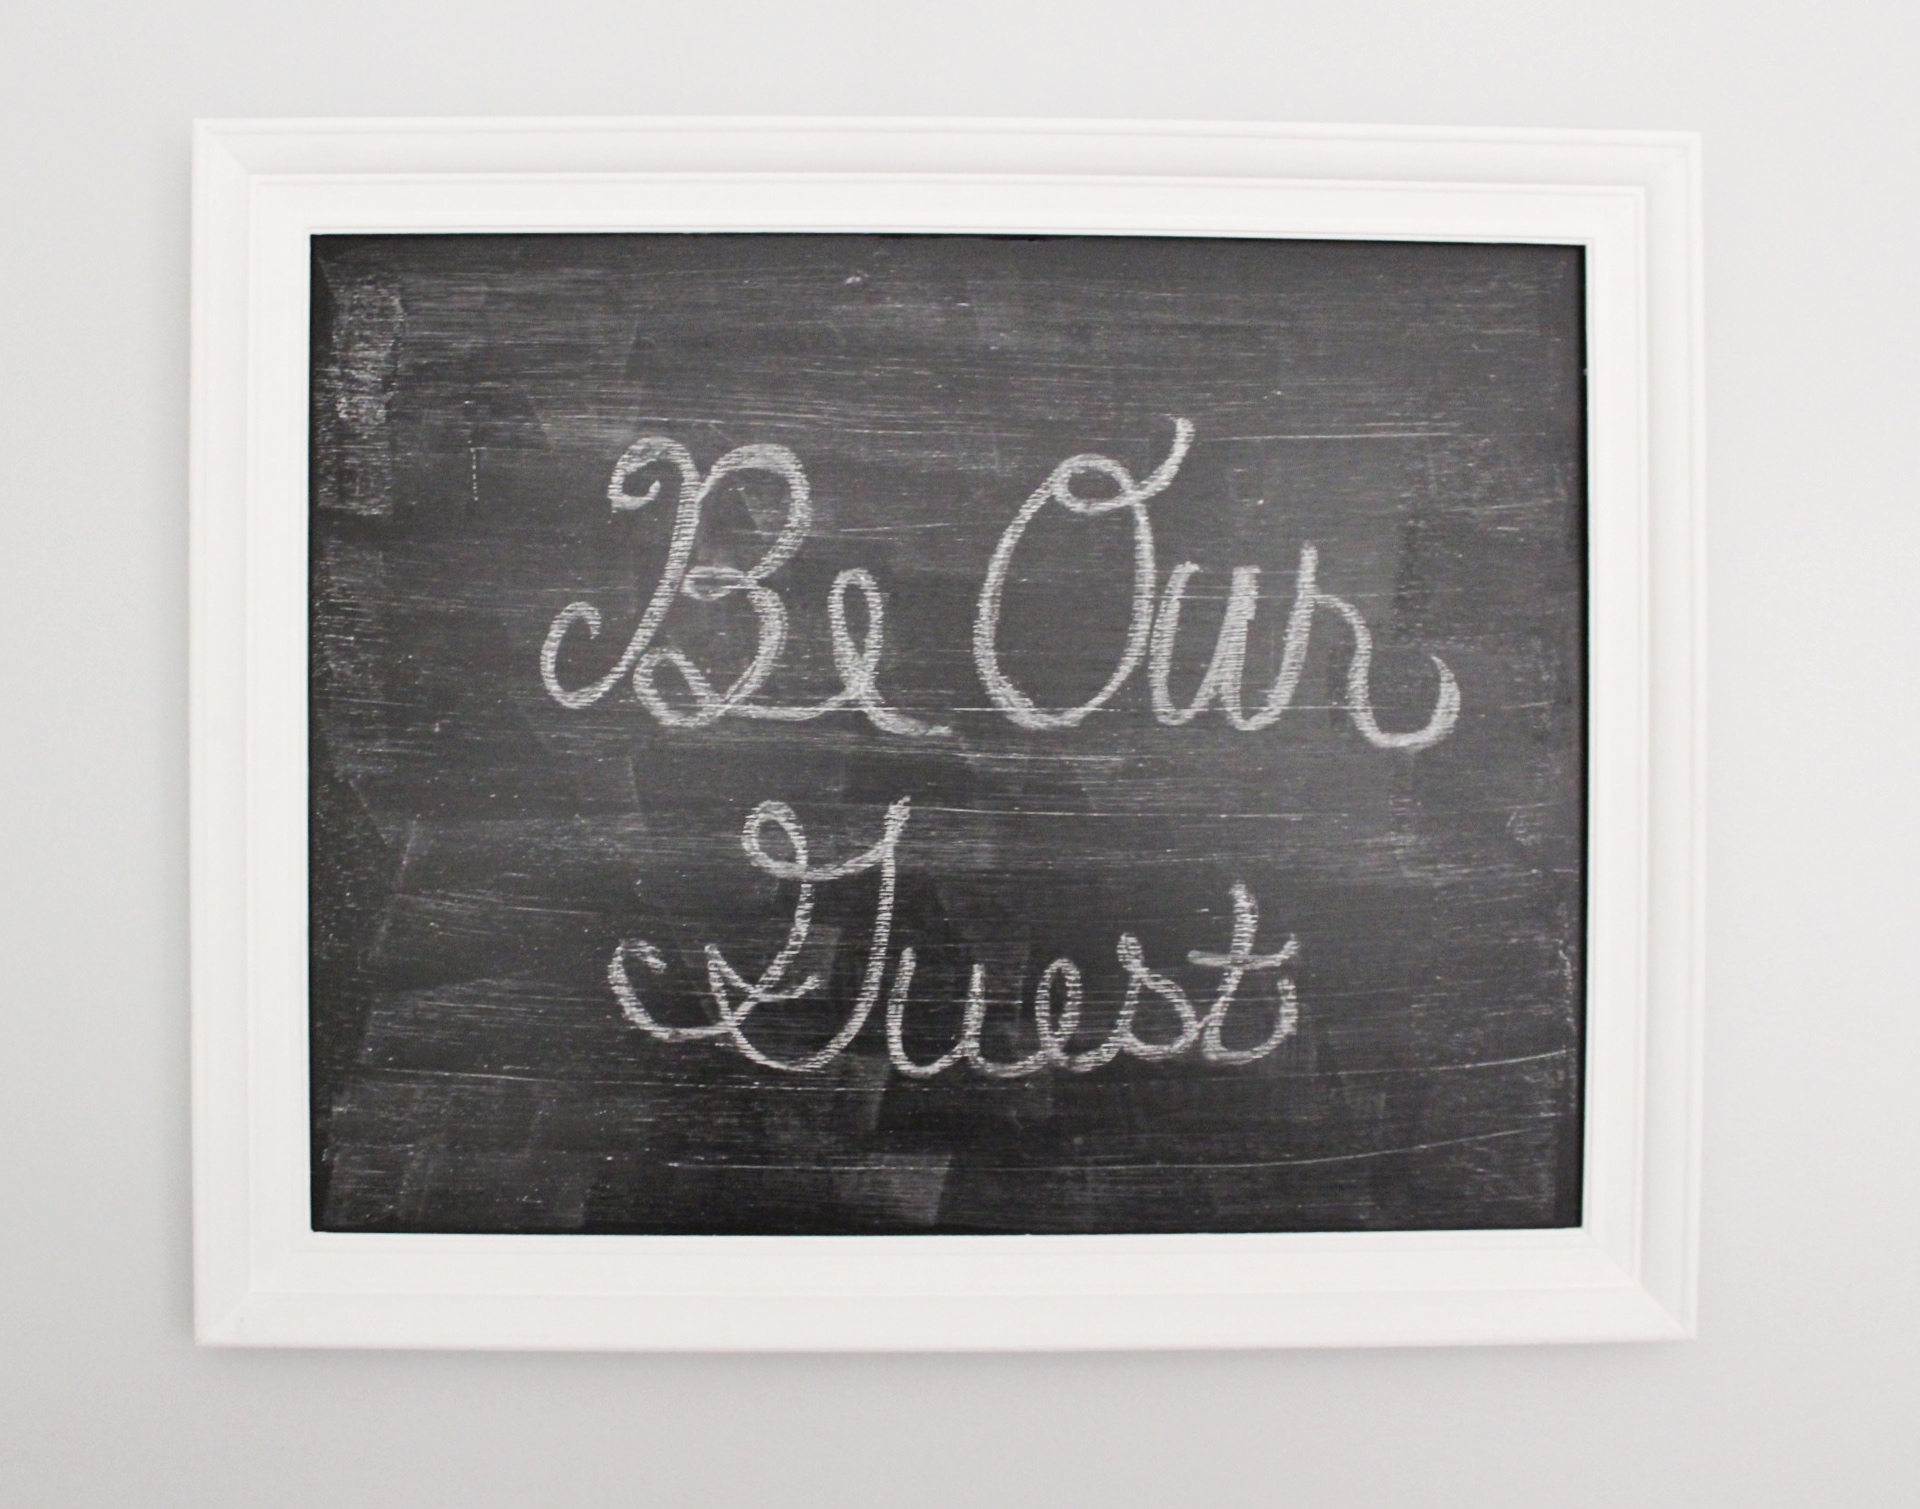
I then took this mirror that had no business being a mirror in the first place and re-purpsosed it to a chalkboard. It was made for a fun house to say the least! Not a cute look! I painted the frame with white chalk paint and distressed it a little. I then took out the mirror and painted it with this Martha Stewart chalk paint that I bought a year ago and never used. Again, just shopping my home.
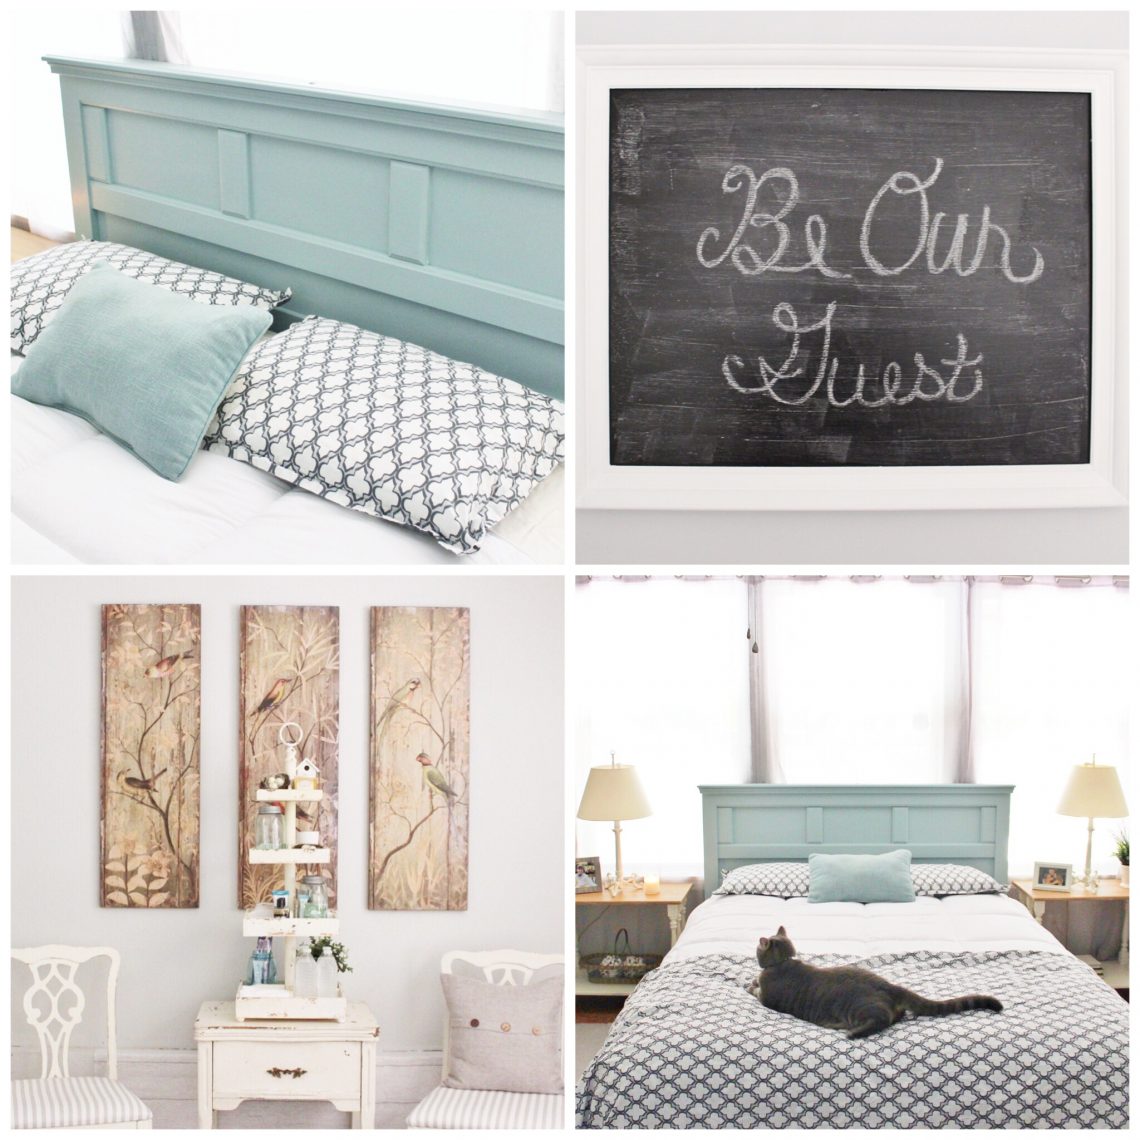
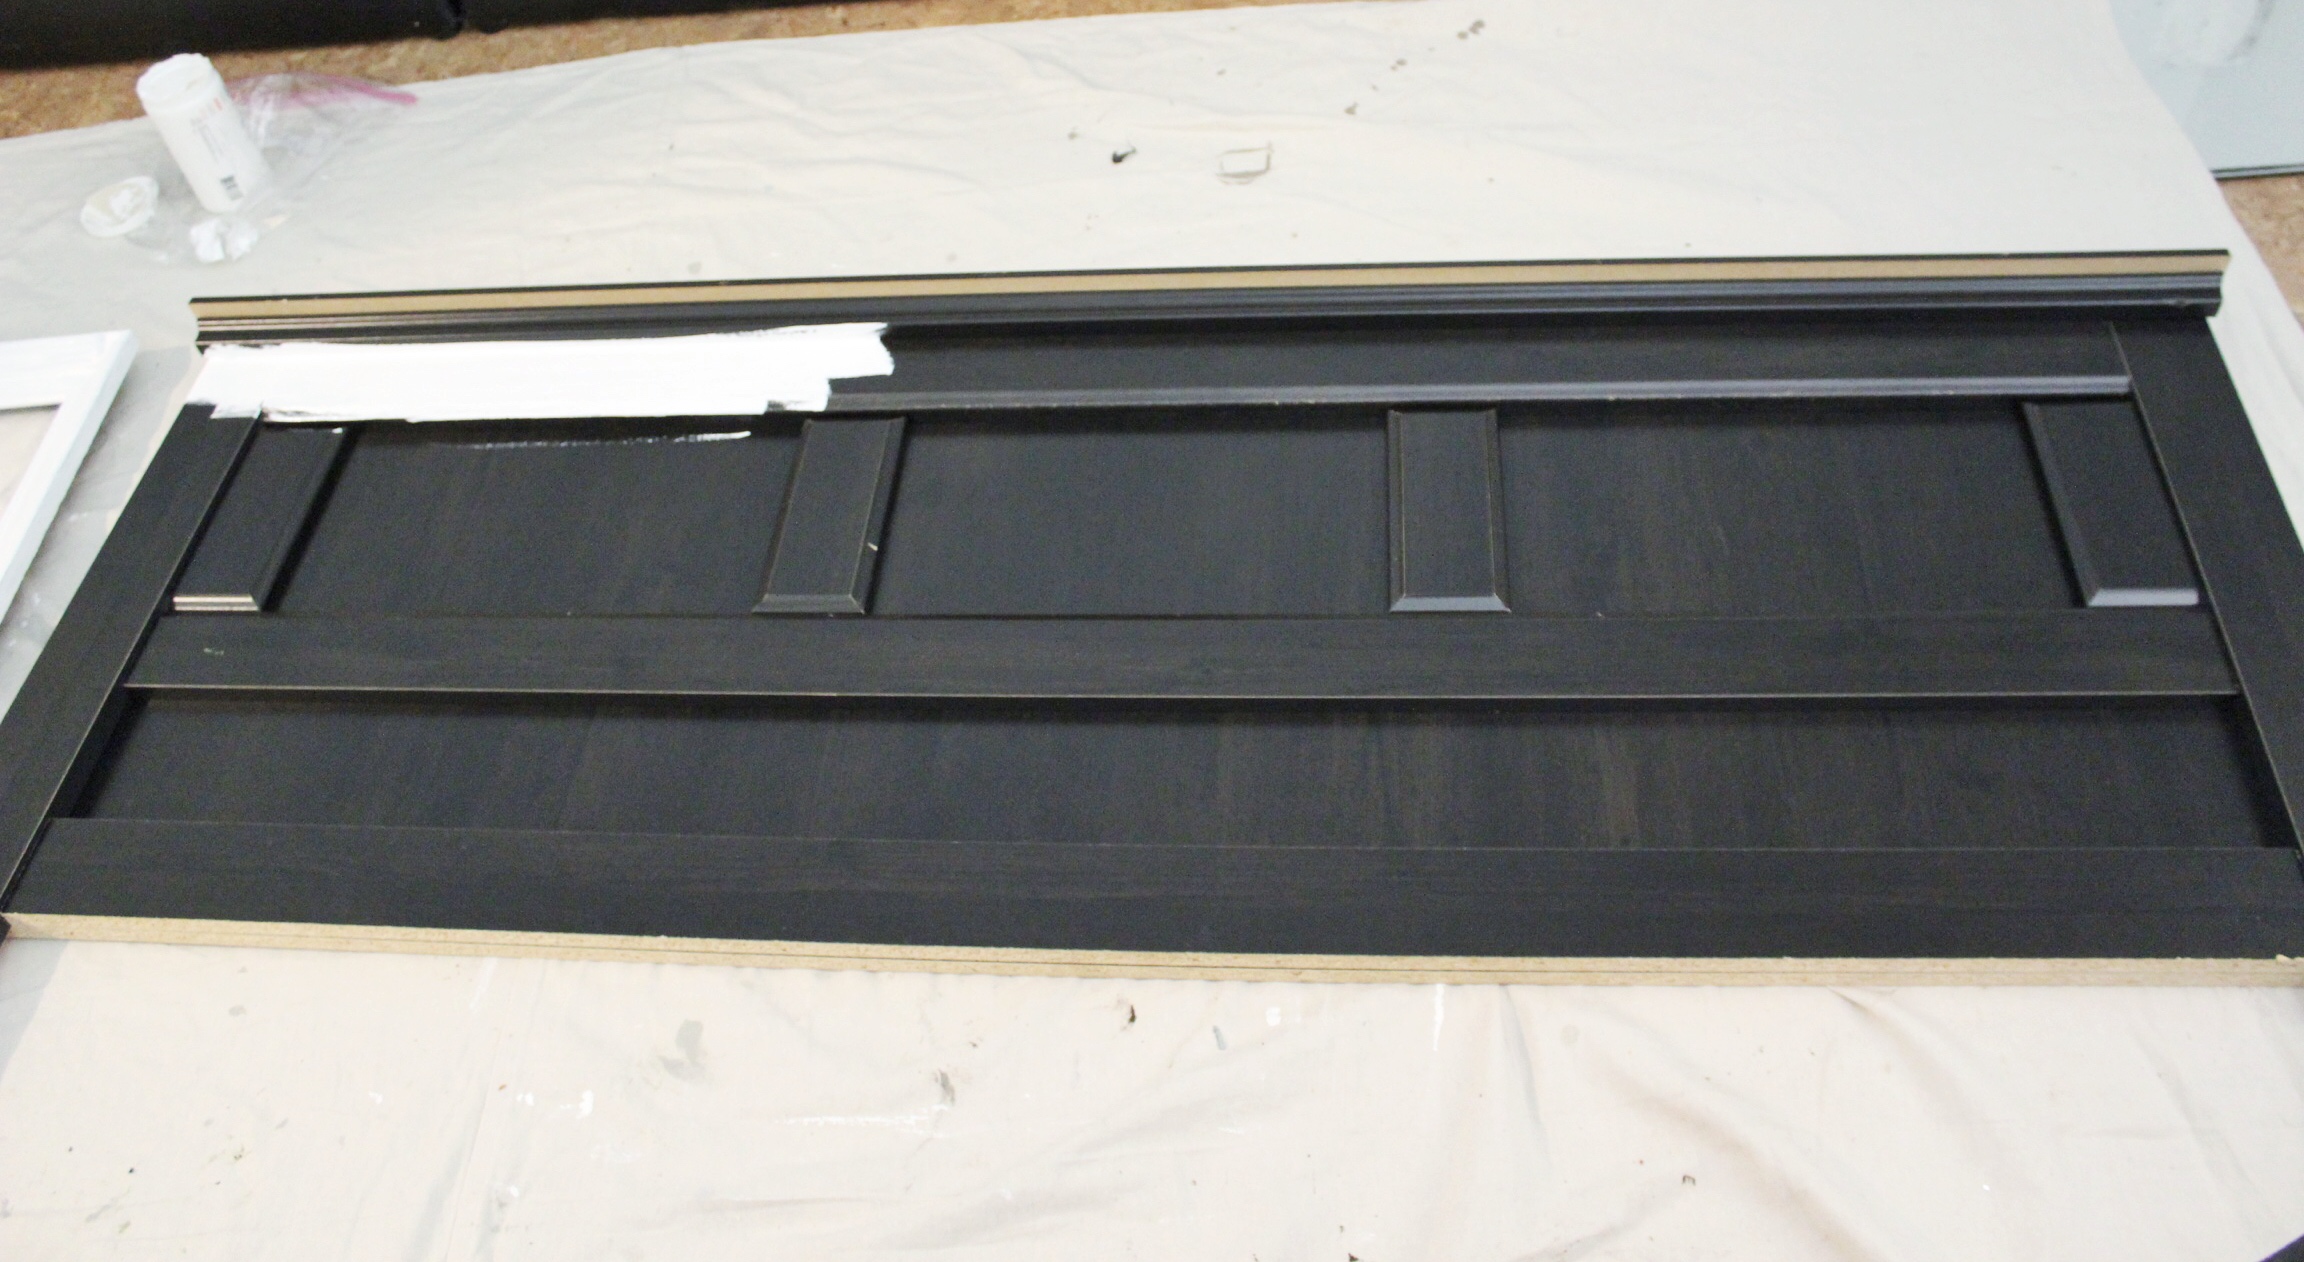
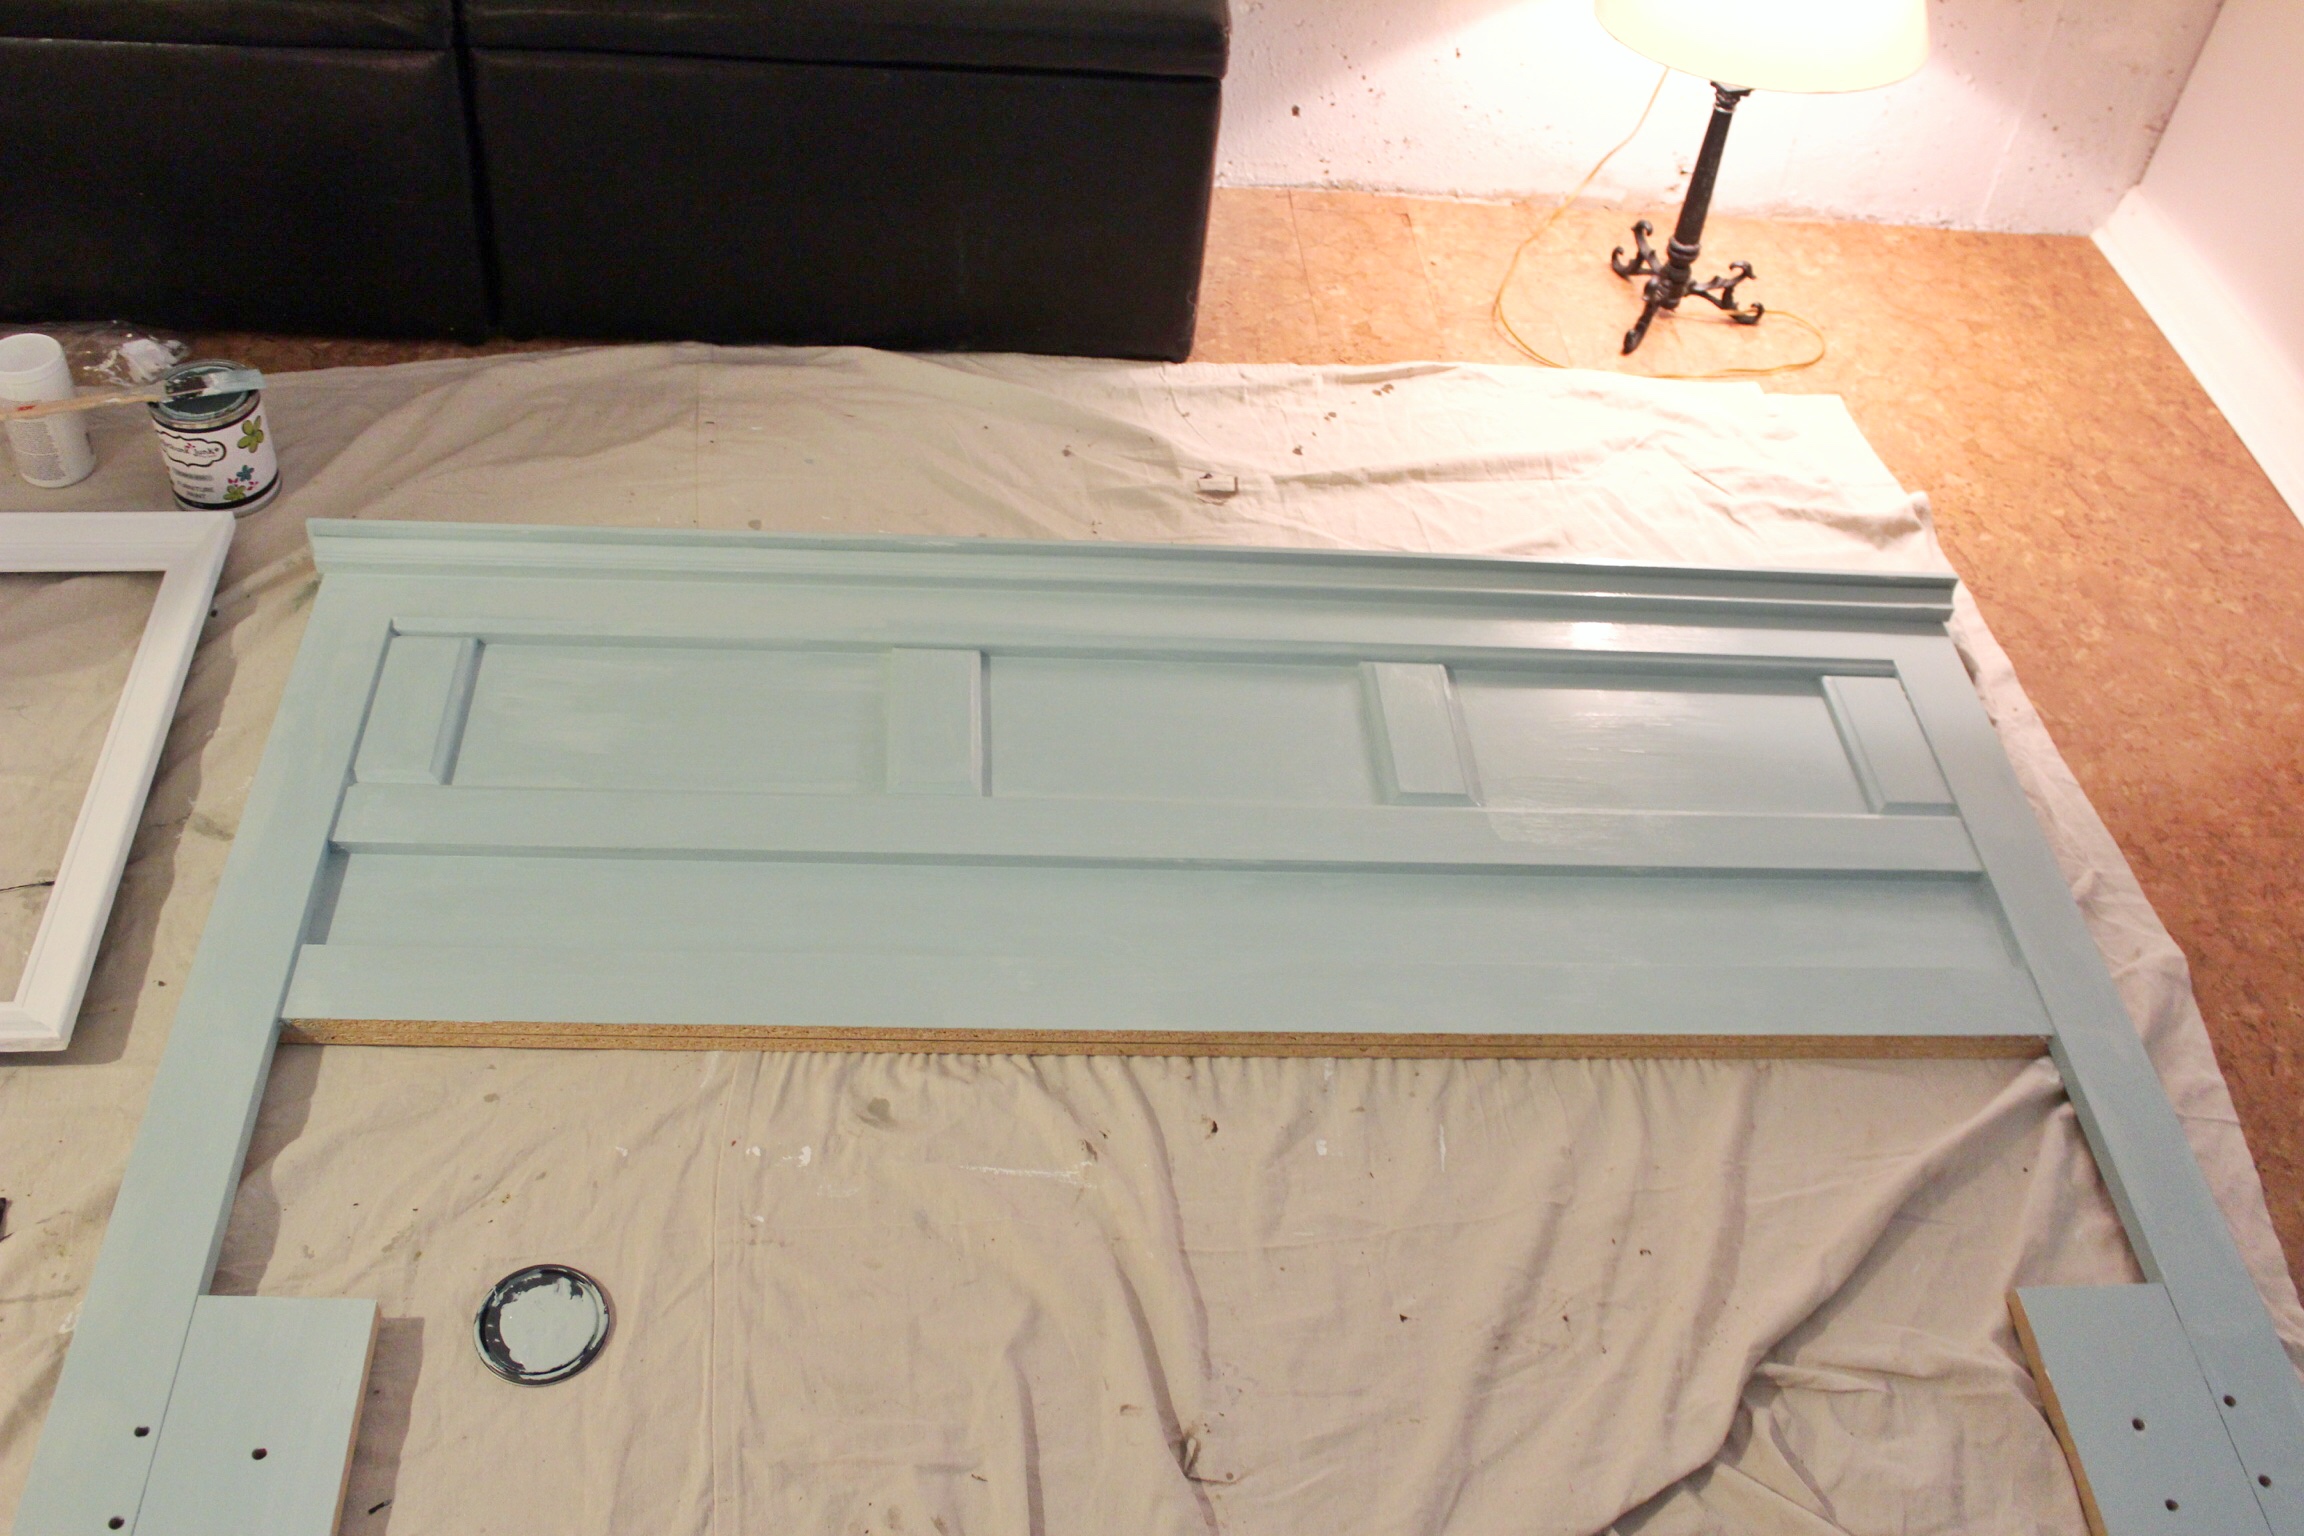
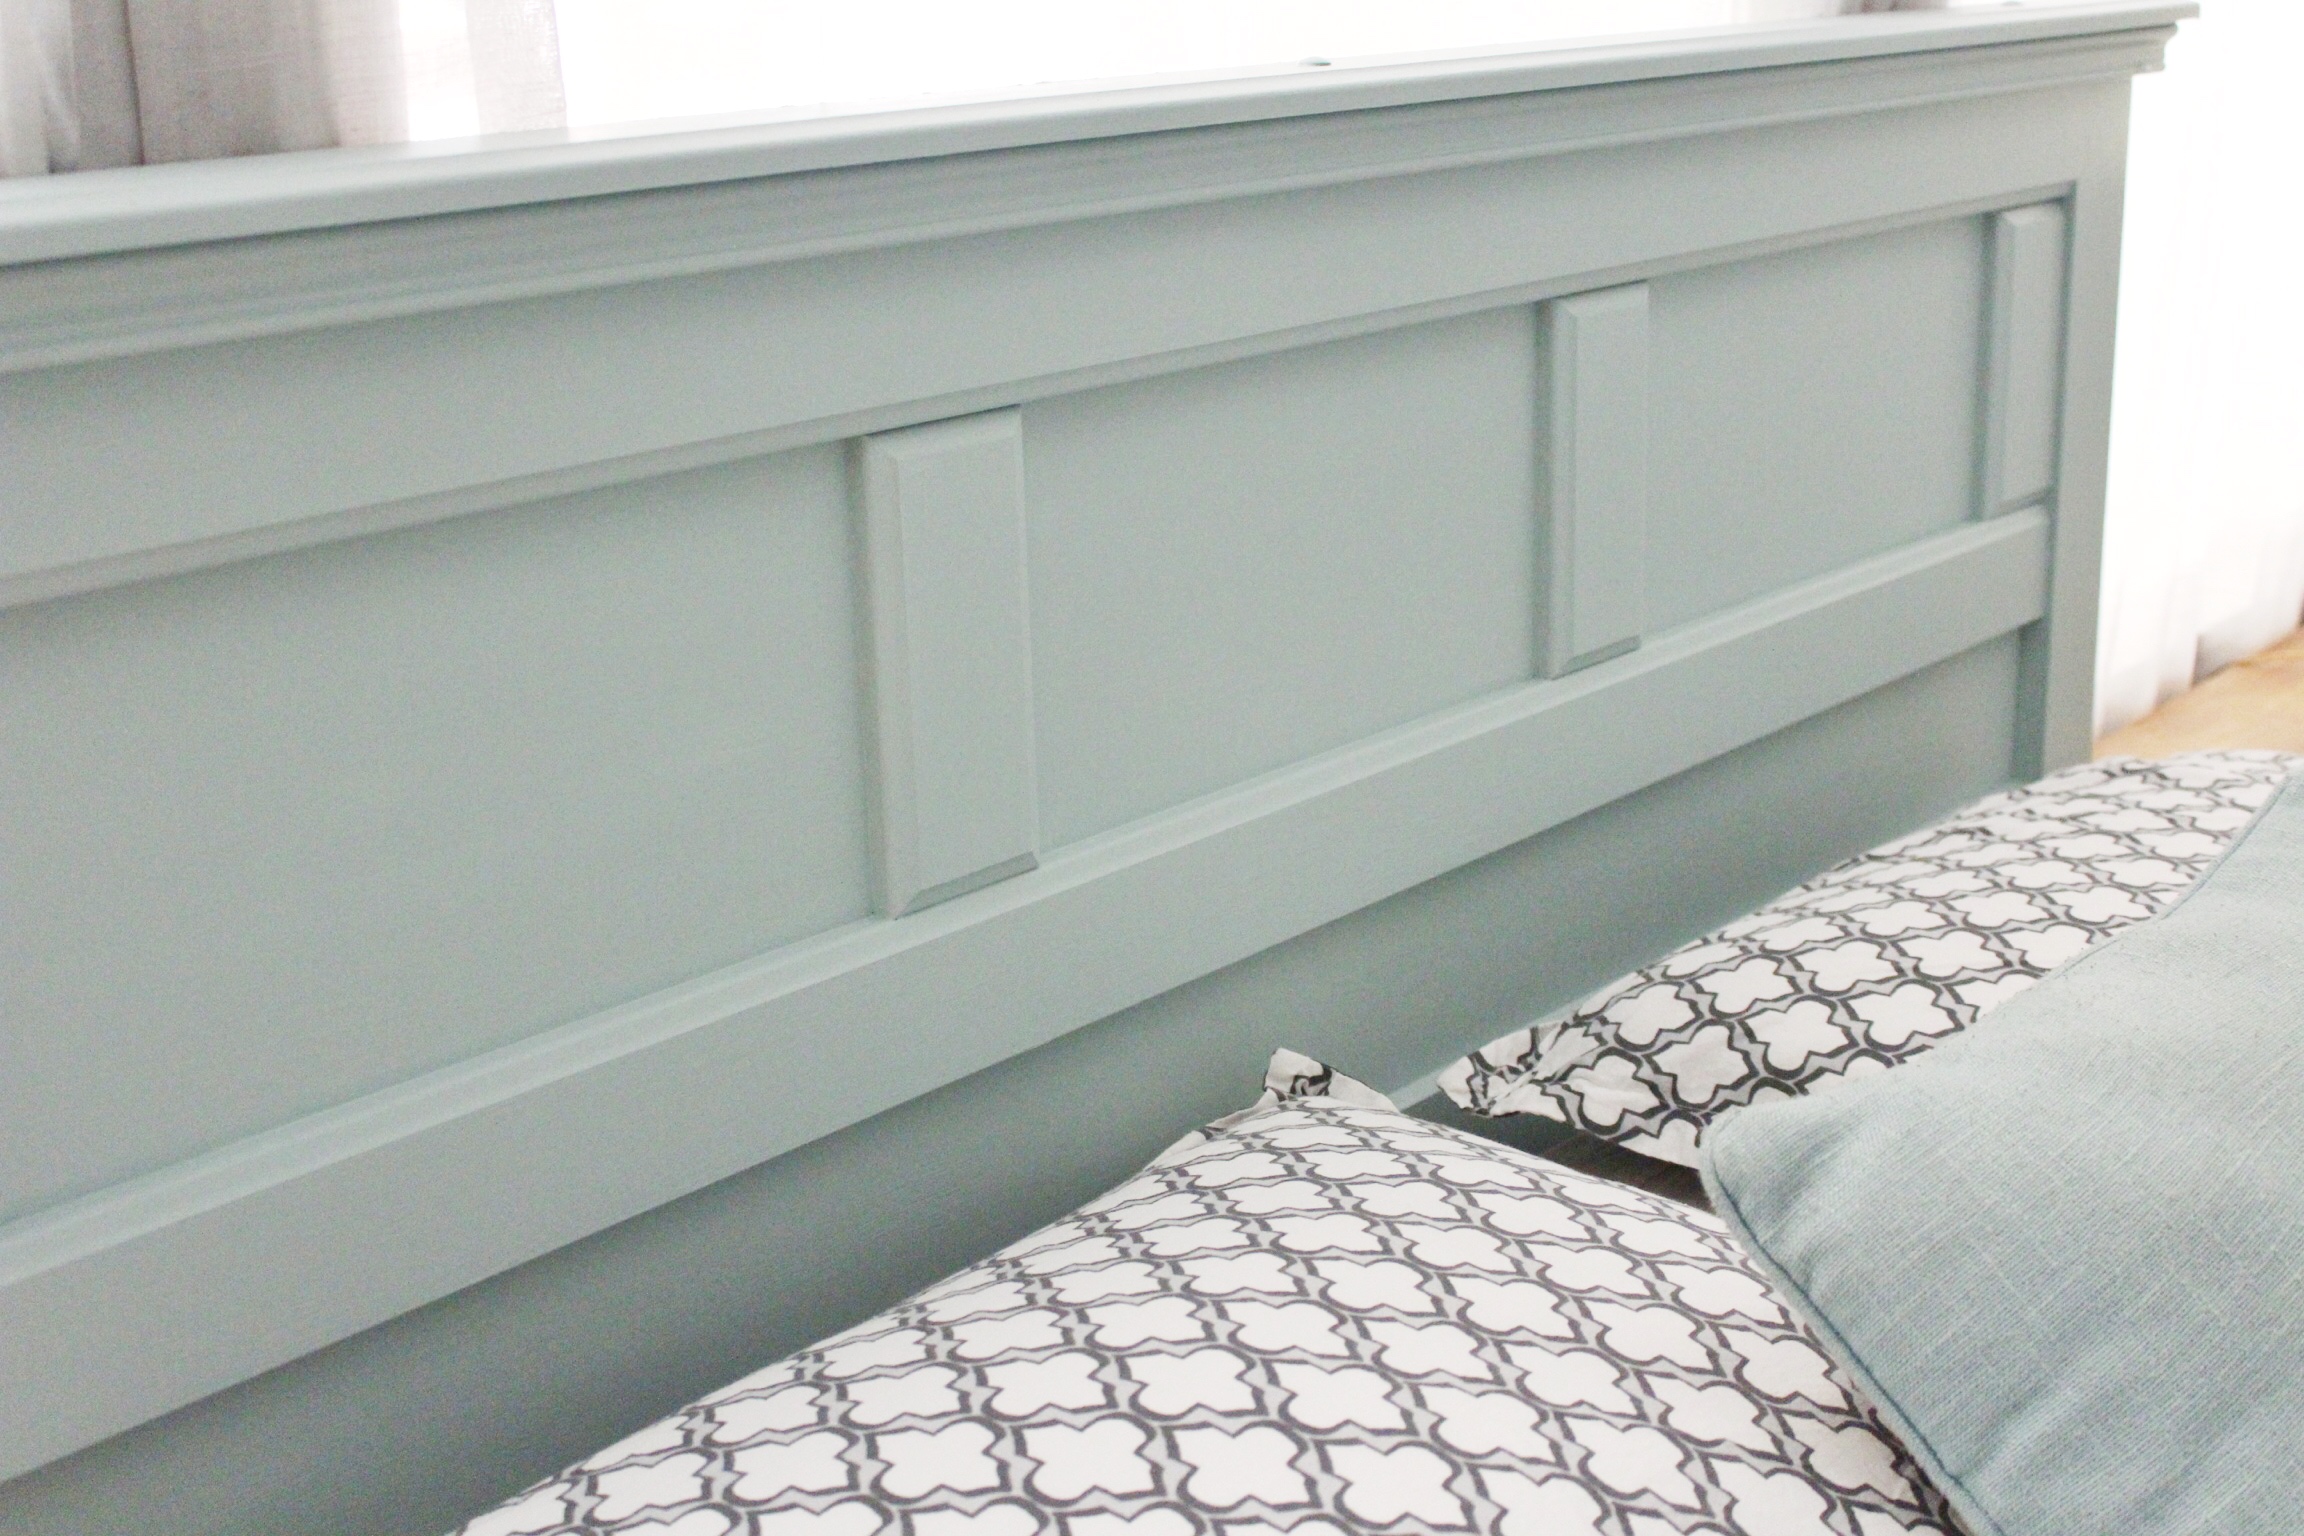
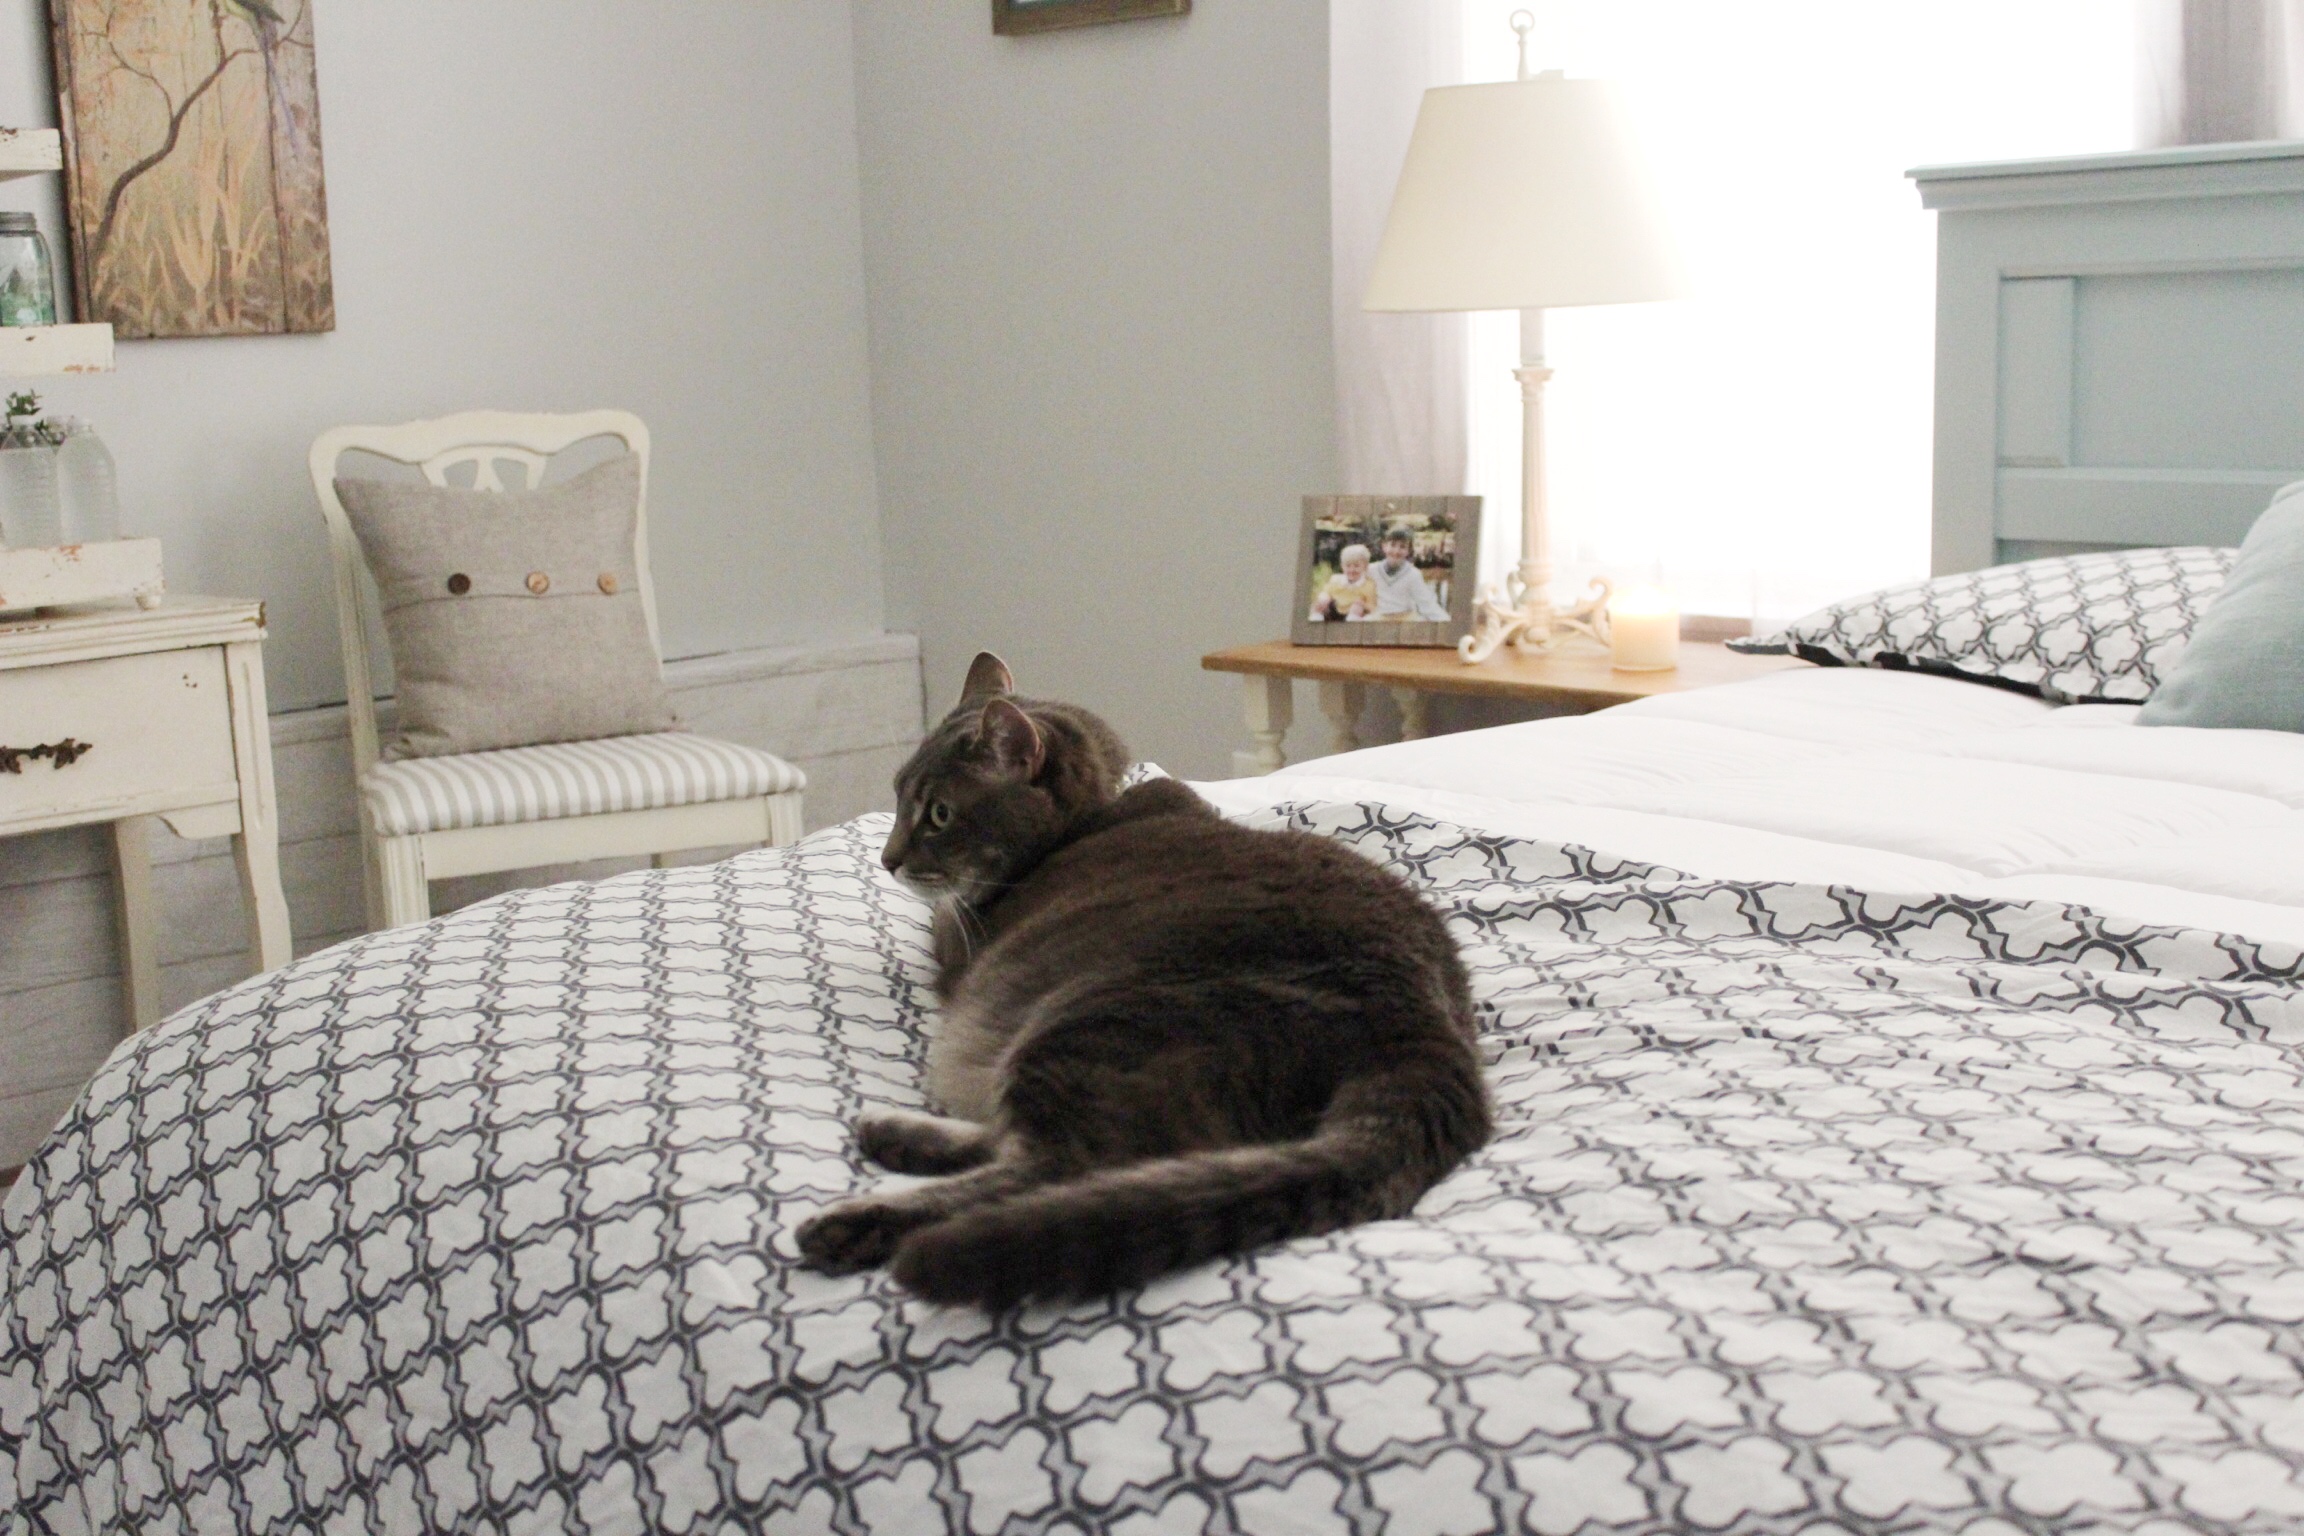
I then took this Wal-Mart headboard I’ve had since college and gave it a little paint makeover. It’s been through so many moves over the years and it really needed some TLC. I had some more Robin’s Egg blue chalk paint left over from our front door so I thought it would be the perfect pop of color in this rather dark room. I first painted it with white chalk paint just to cover the black. You probably don’t have to do this step, but I was undecided on whether I wanted it white or blue. I thought you know what..just go for it! This chalk paint from Rethunk Junk is so awesome! It goes on like a dream and I highly recommend it.
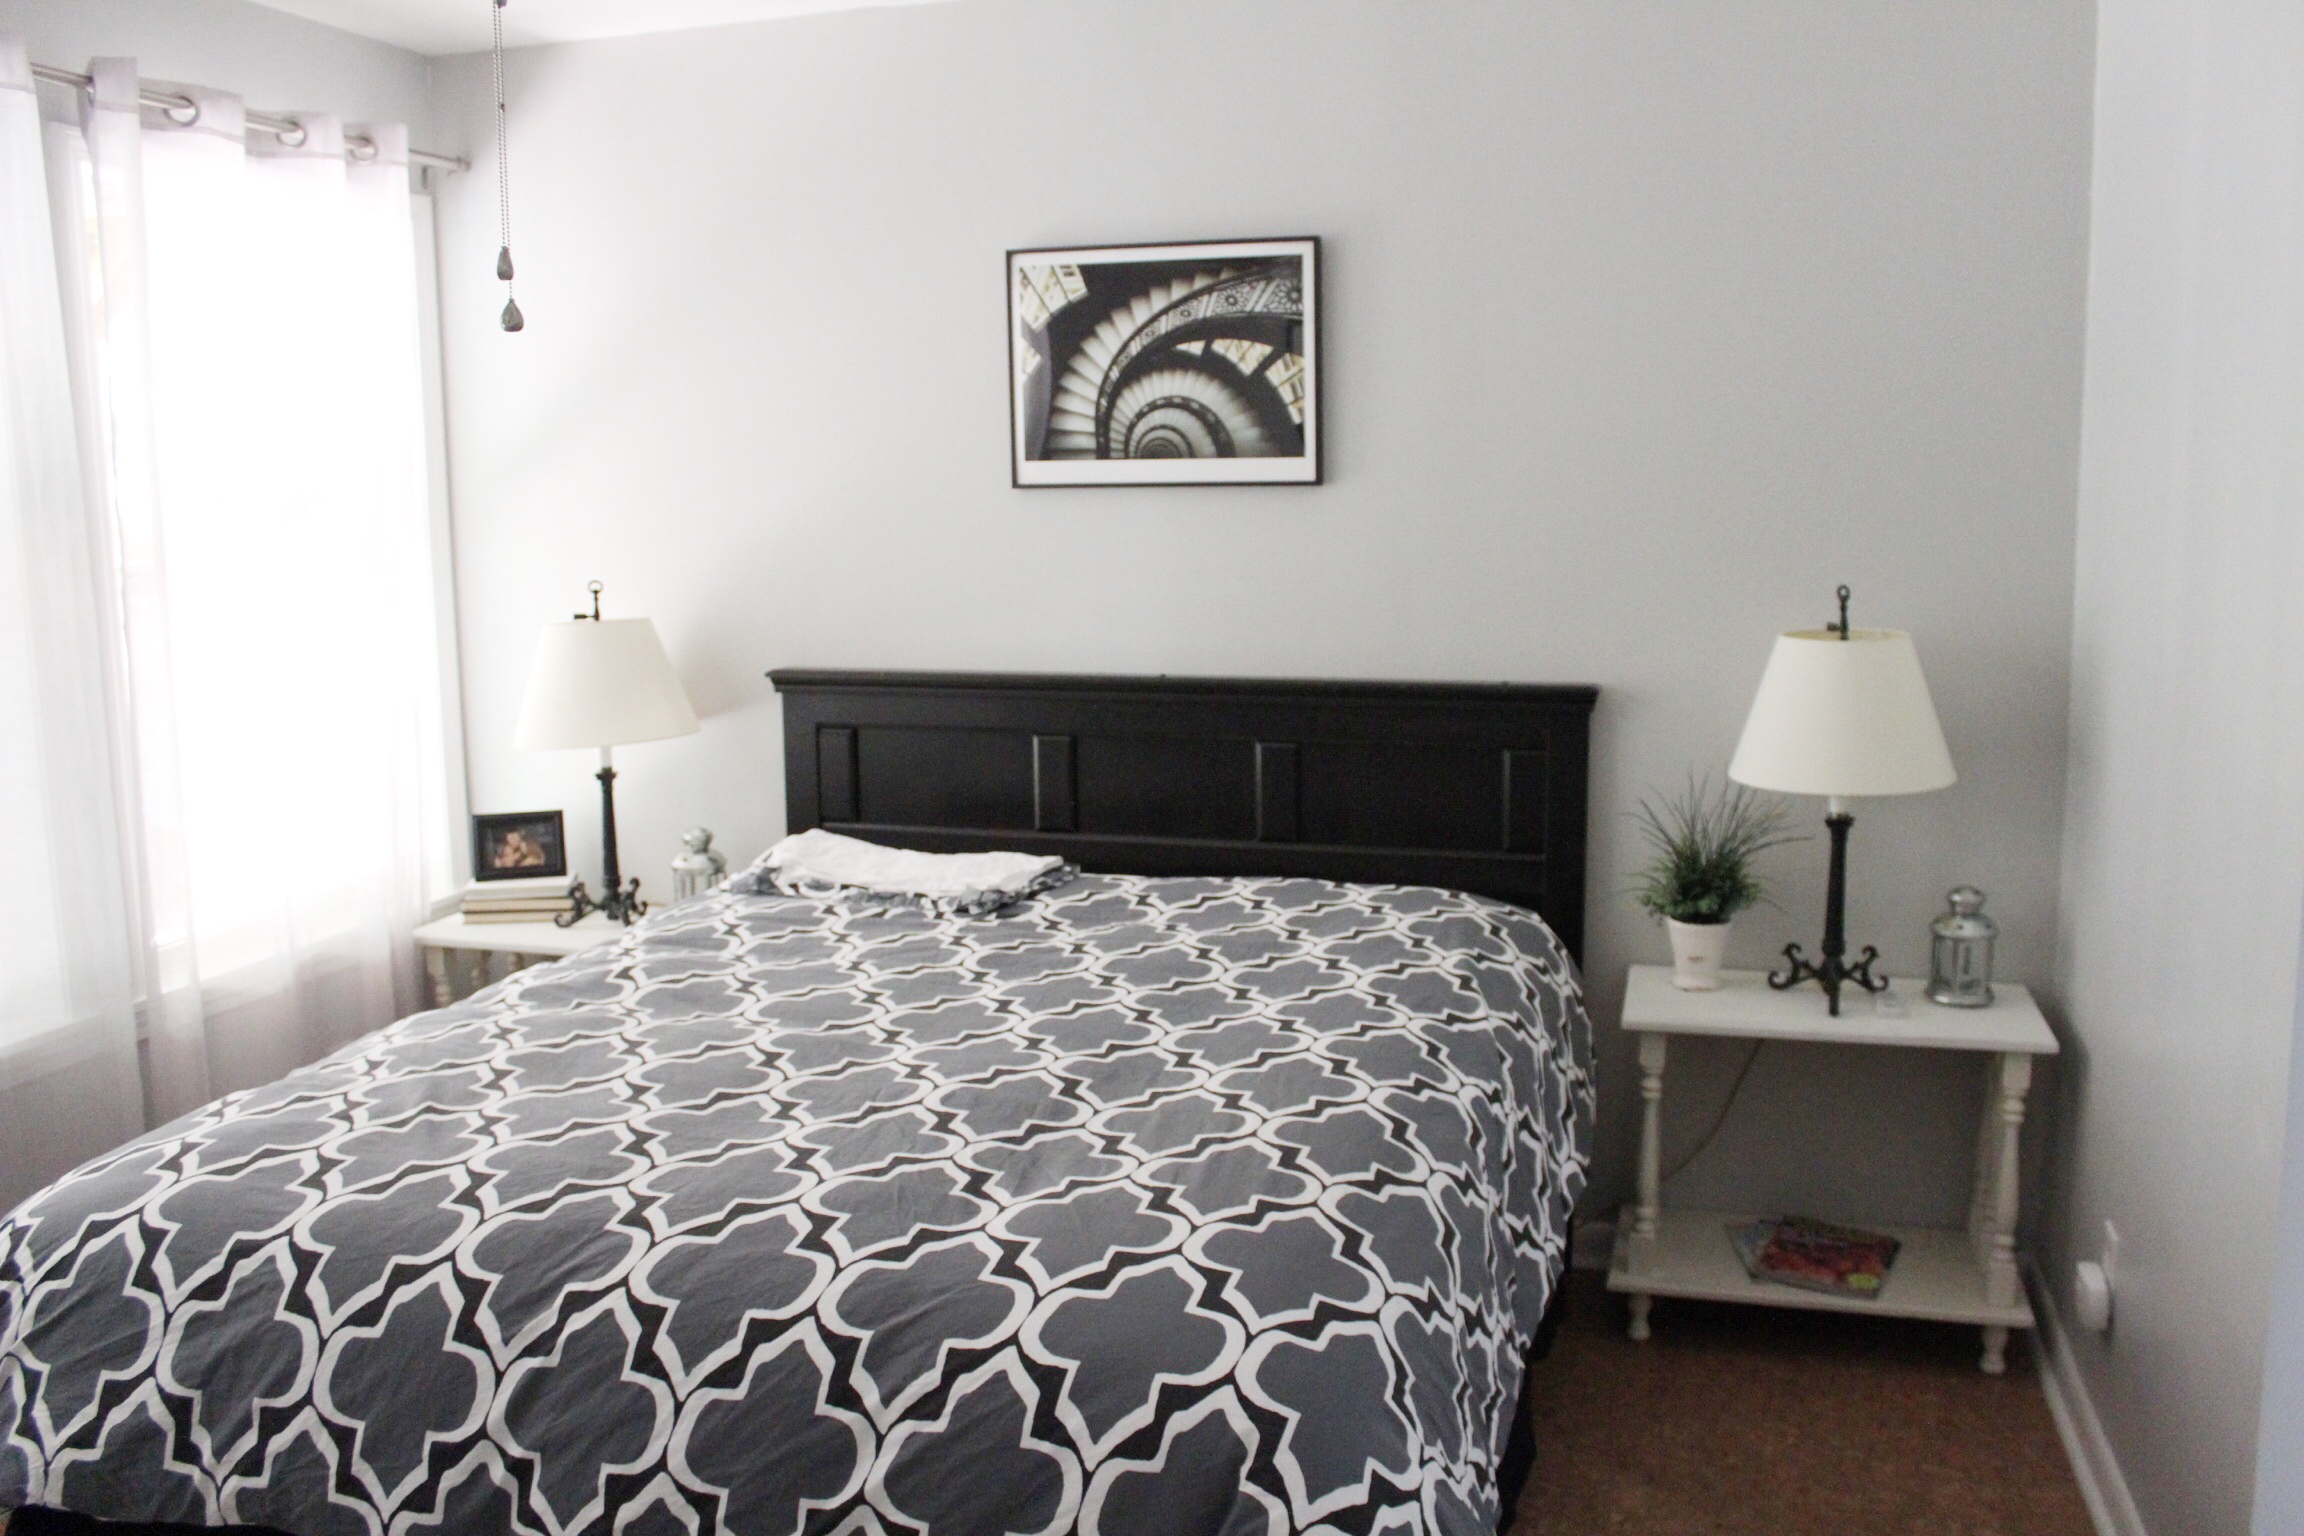
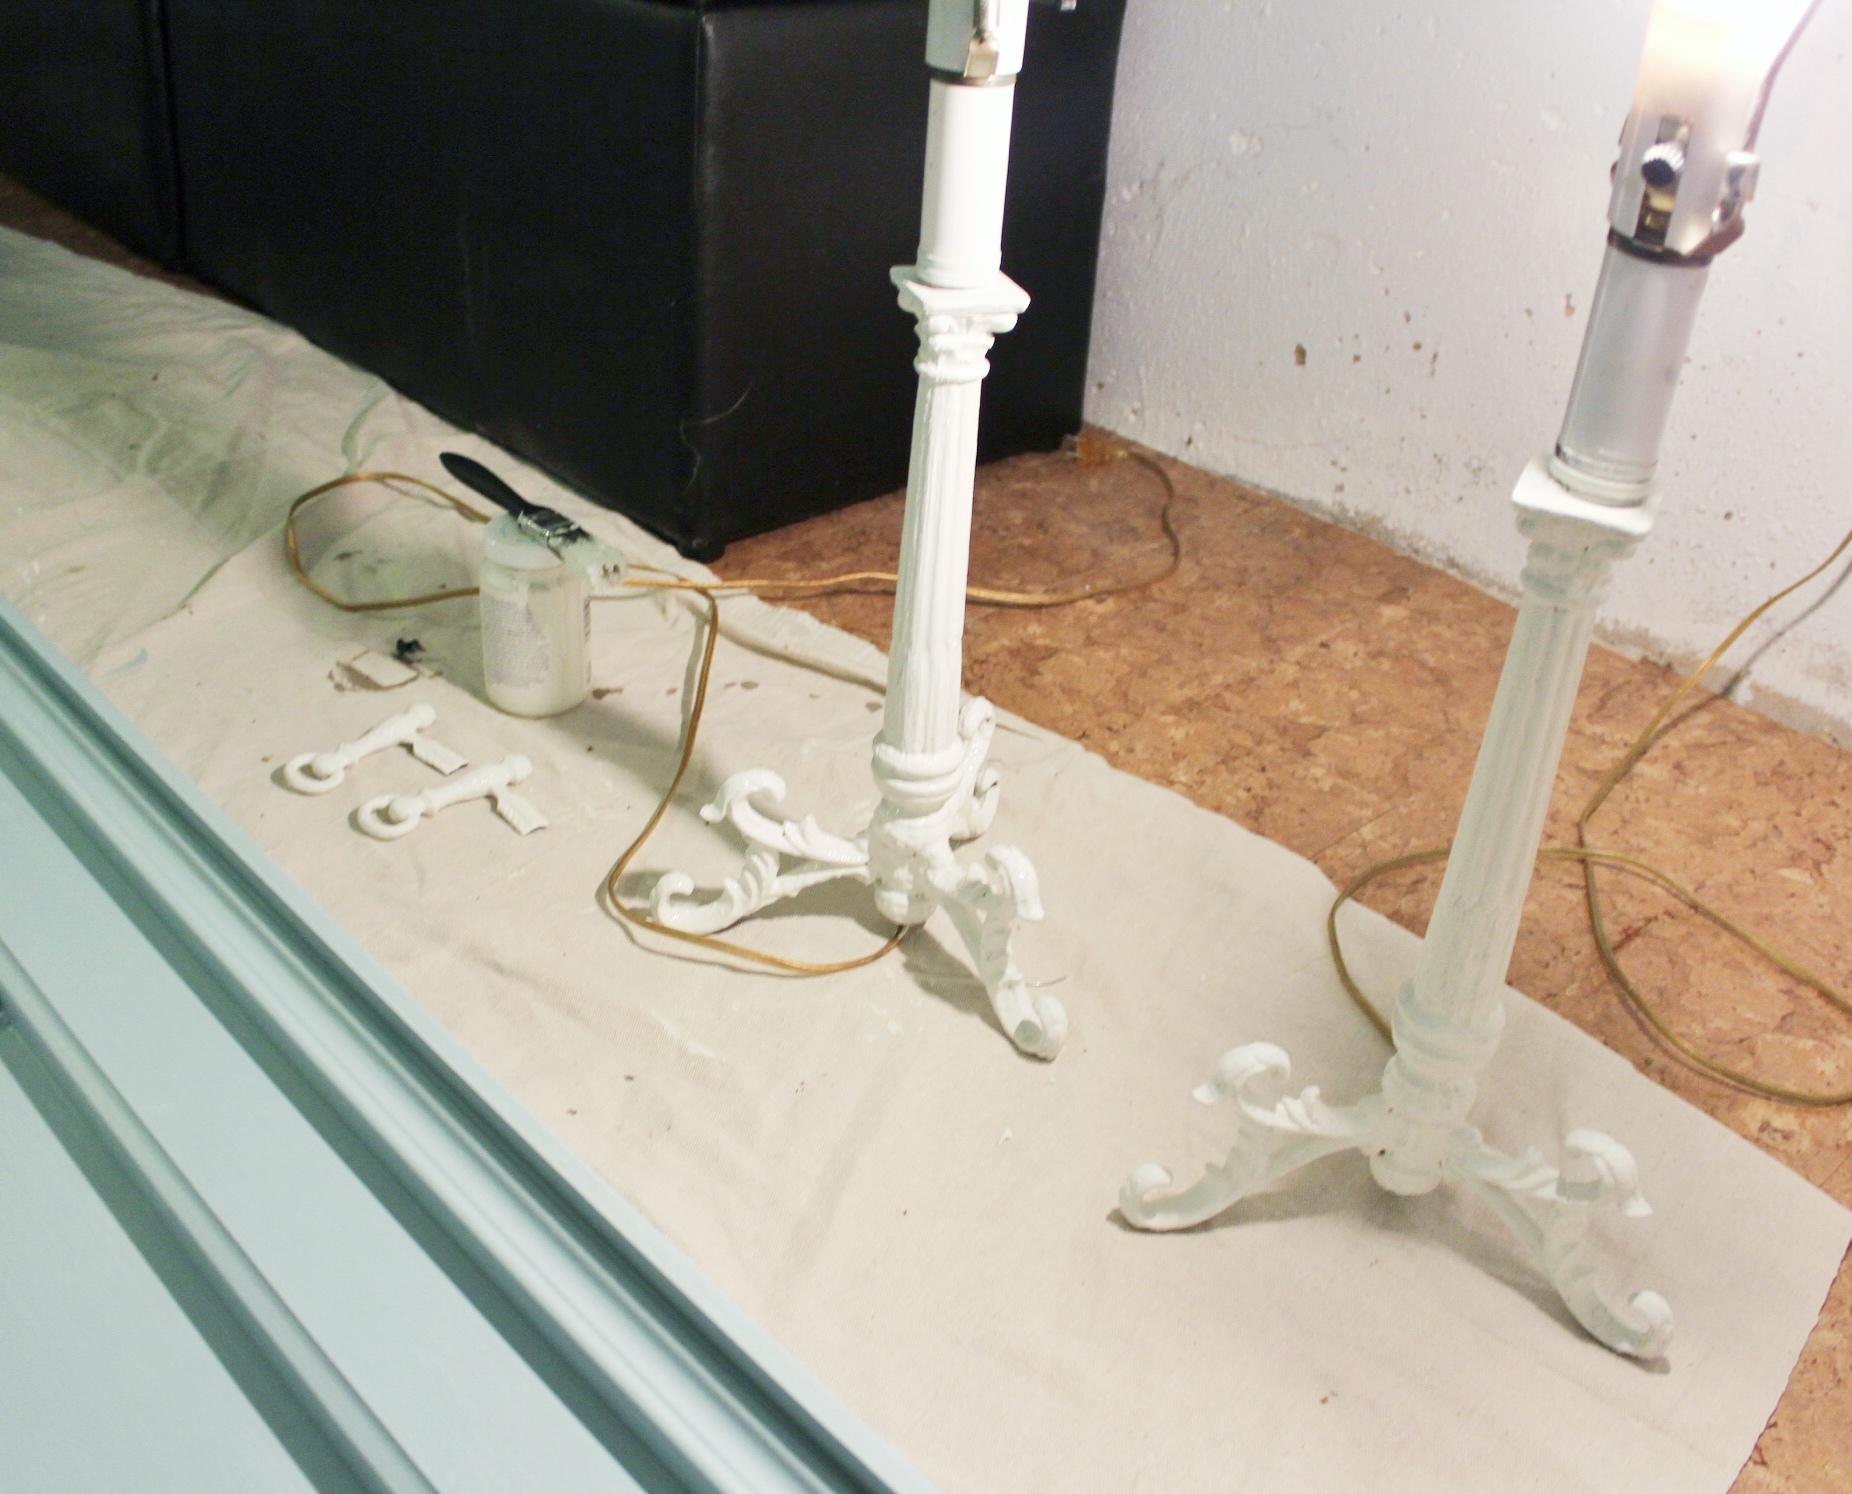
Once the headboard was drying I decided to paint our lamp bases an off white to make them pop against the newly antiqued tabletops on the bedside tables. Don’t get me wrong, I love black pieces as you can see from the rest of our house, but for this space I wanted to phase out the black for a fresh new look.
After all my painting projects that took ALL DAY, it was now time for the fun part….styling! I hung these awesome bird canvases that I found on a bottom shelf at Goodwill one day. They were $4.94 each (originally $300) since the price tag was still on the back! I adore them! I think it helps bring out the cork flooring while giving it a vintage touch. I thought it was only fitting to decorate with birds after painting the headboard Robin’s Egg Blue.
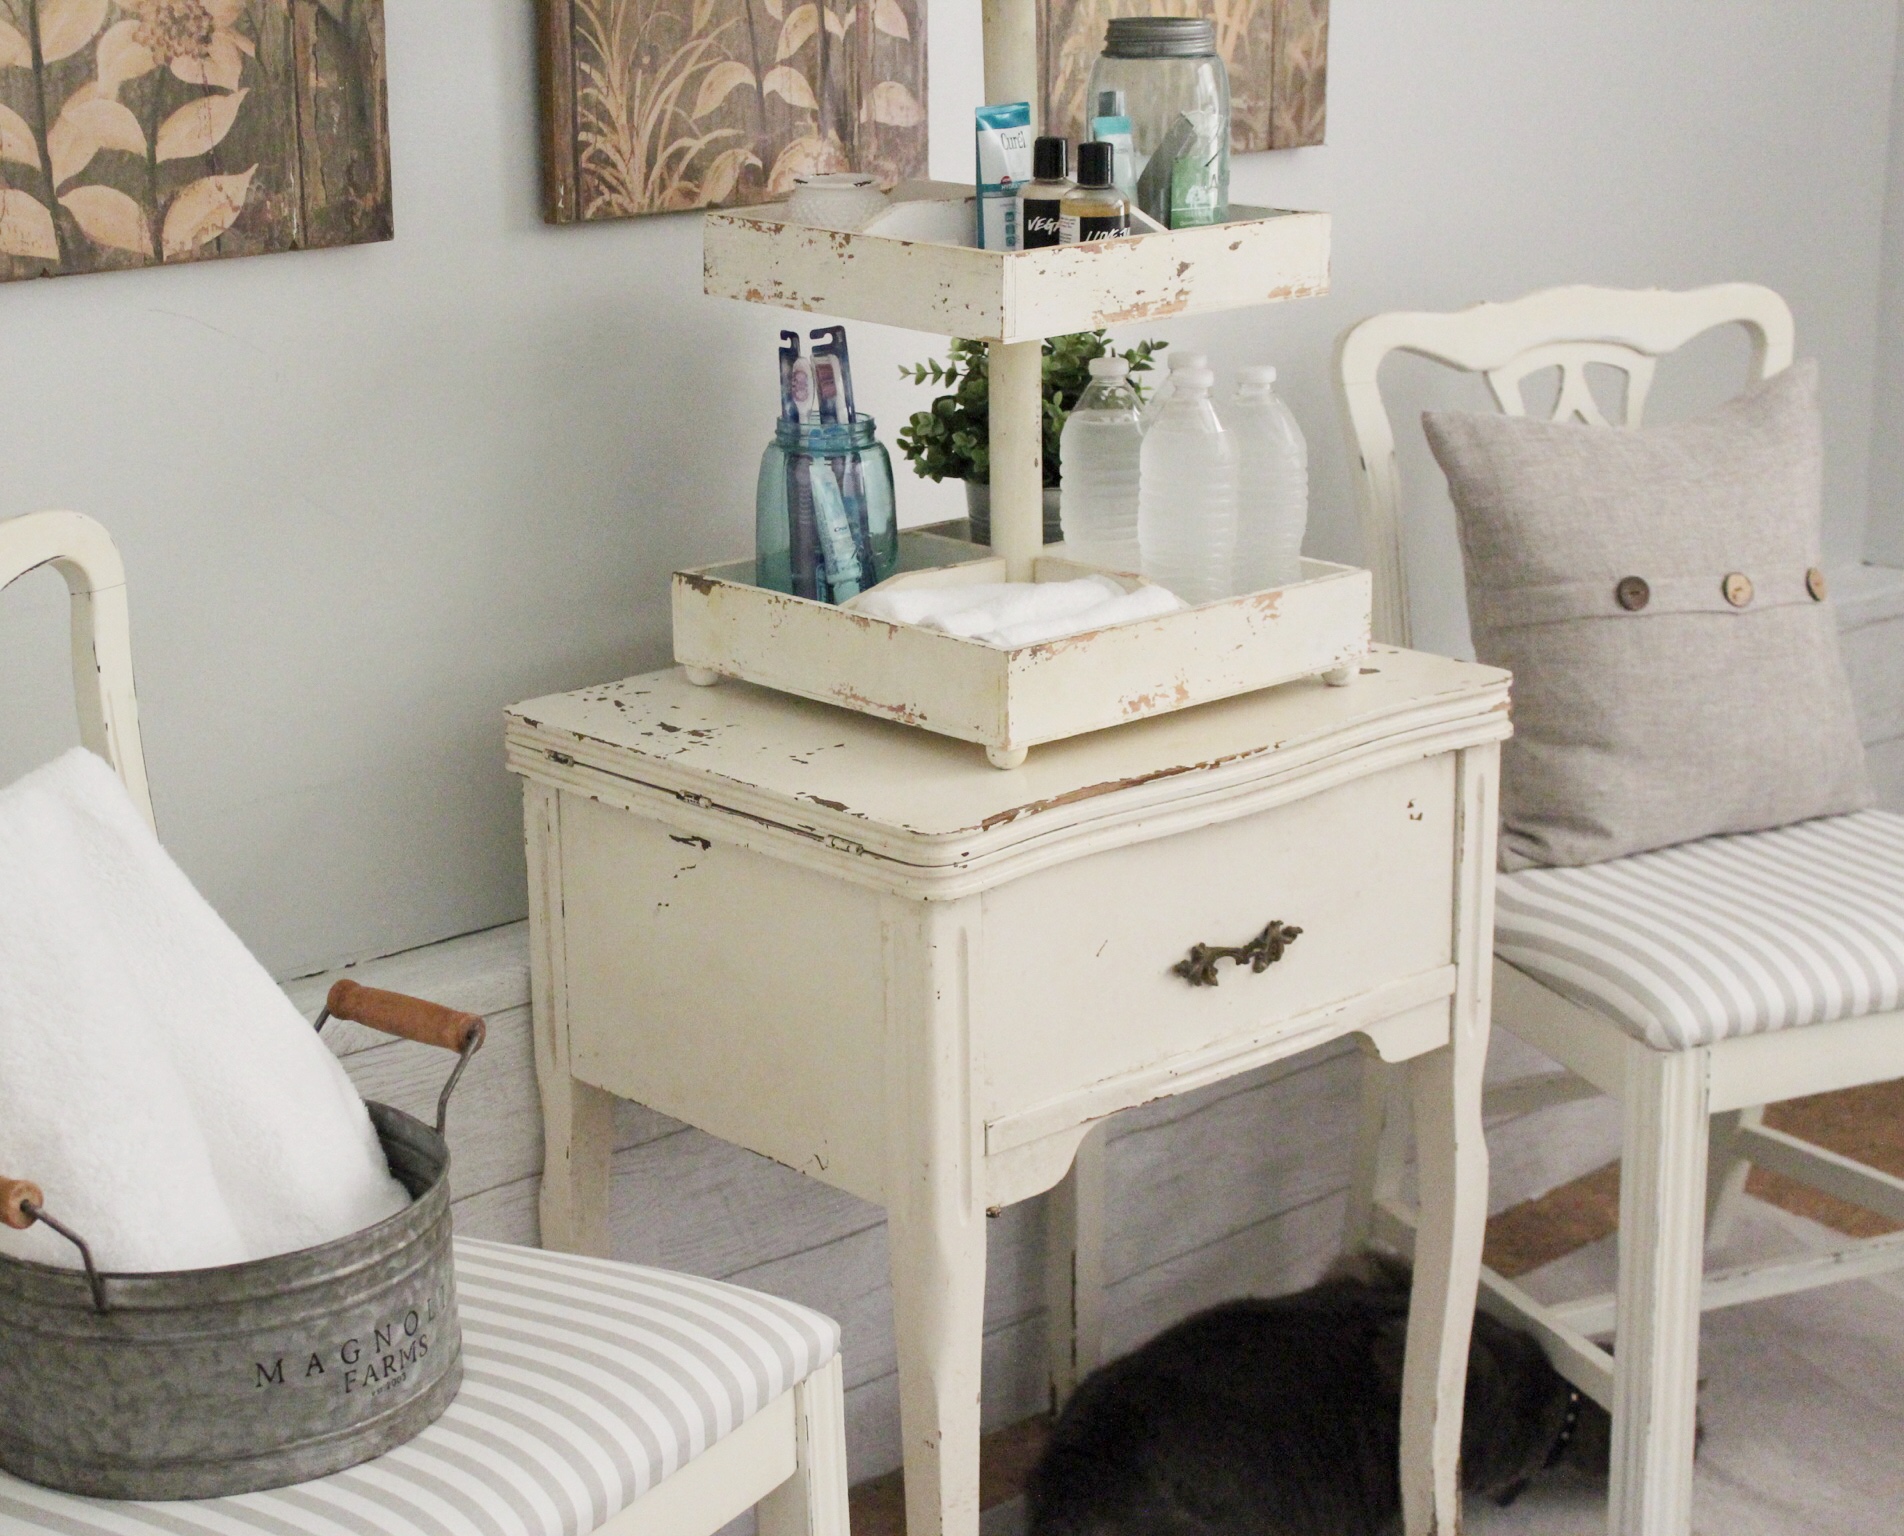
I also asked my husband to dig out this sewing table we had out in our shed. So he cleaned it up and we put it in between these two chairs that used to be in our bedroom. I’m still thinking on whether or not I want paint it or leave it in all its chippy goodness. Y’all let me know in the comments what you think.
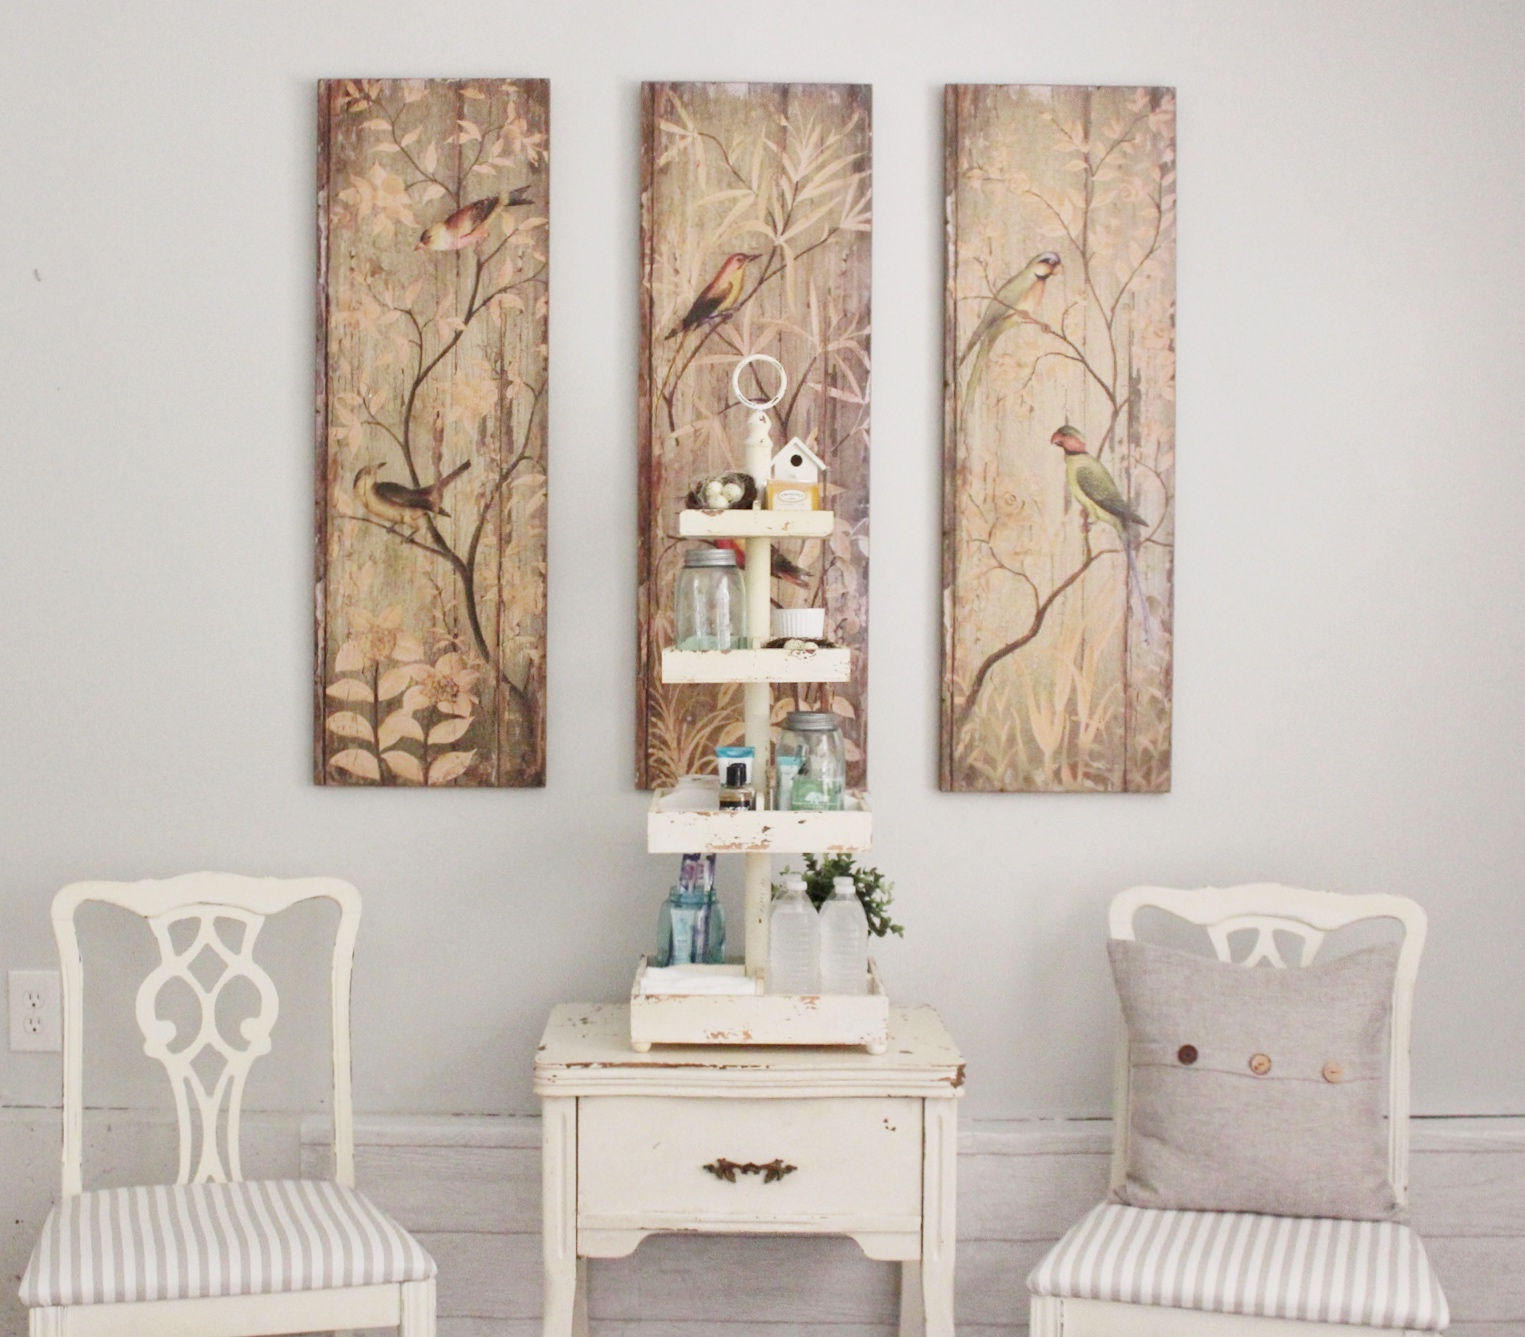
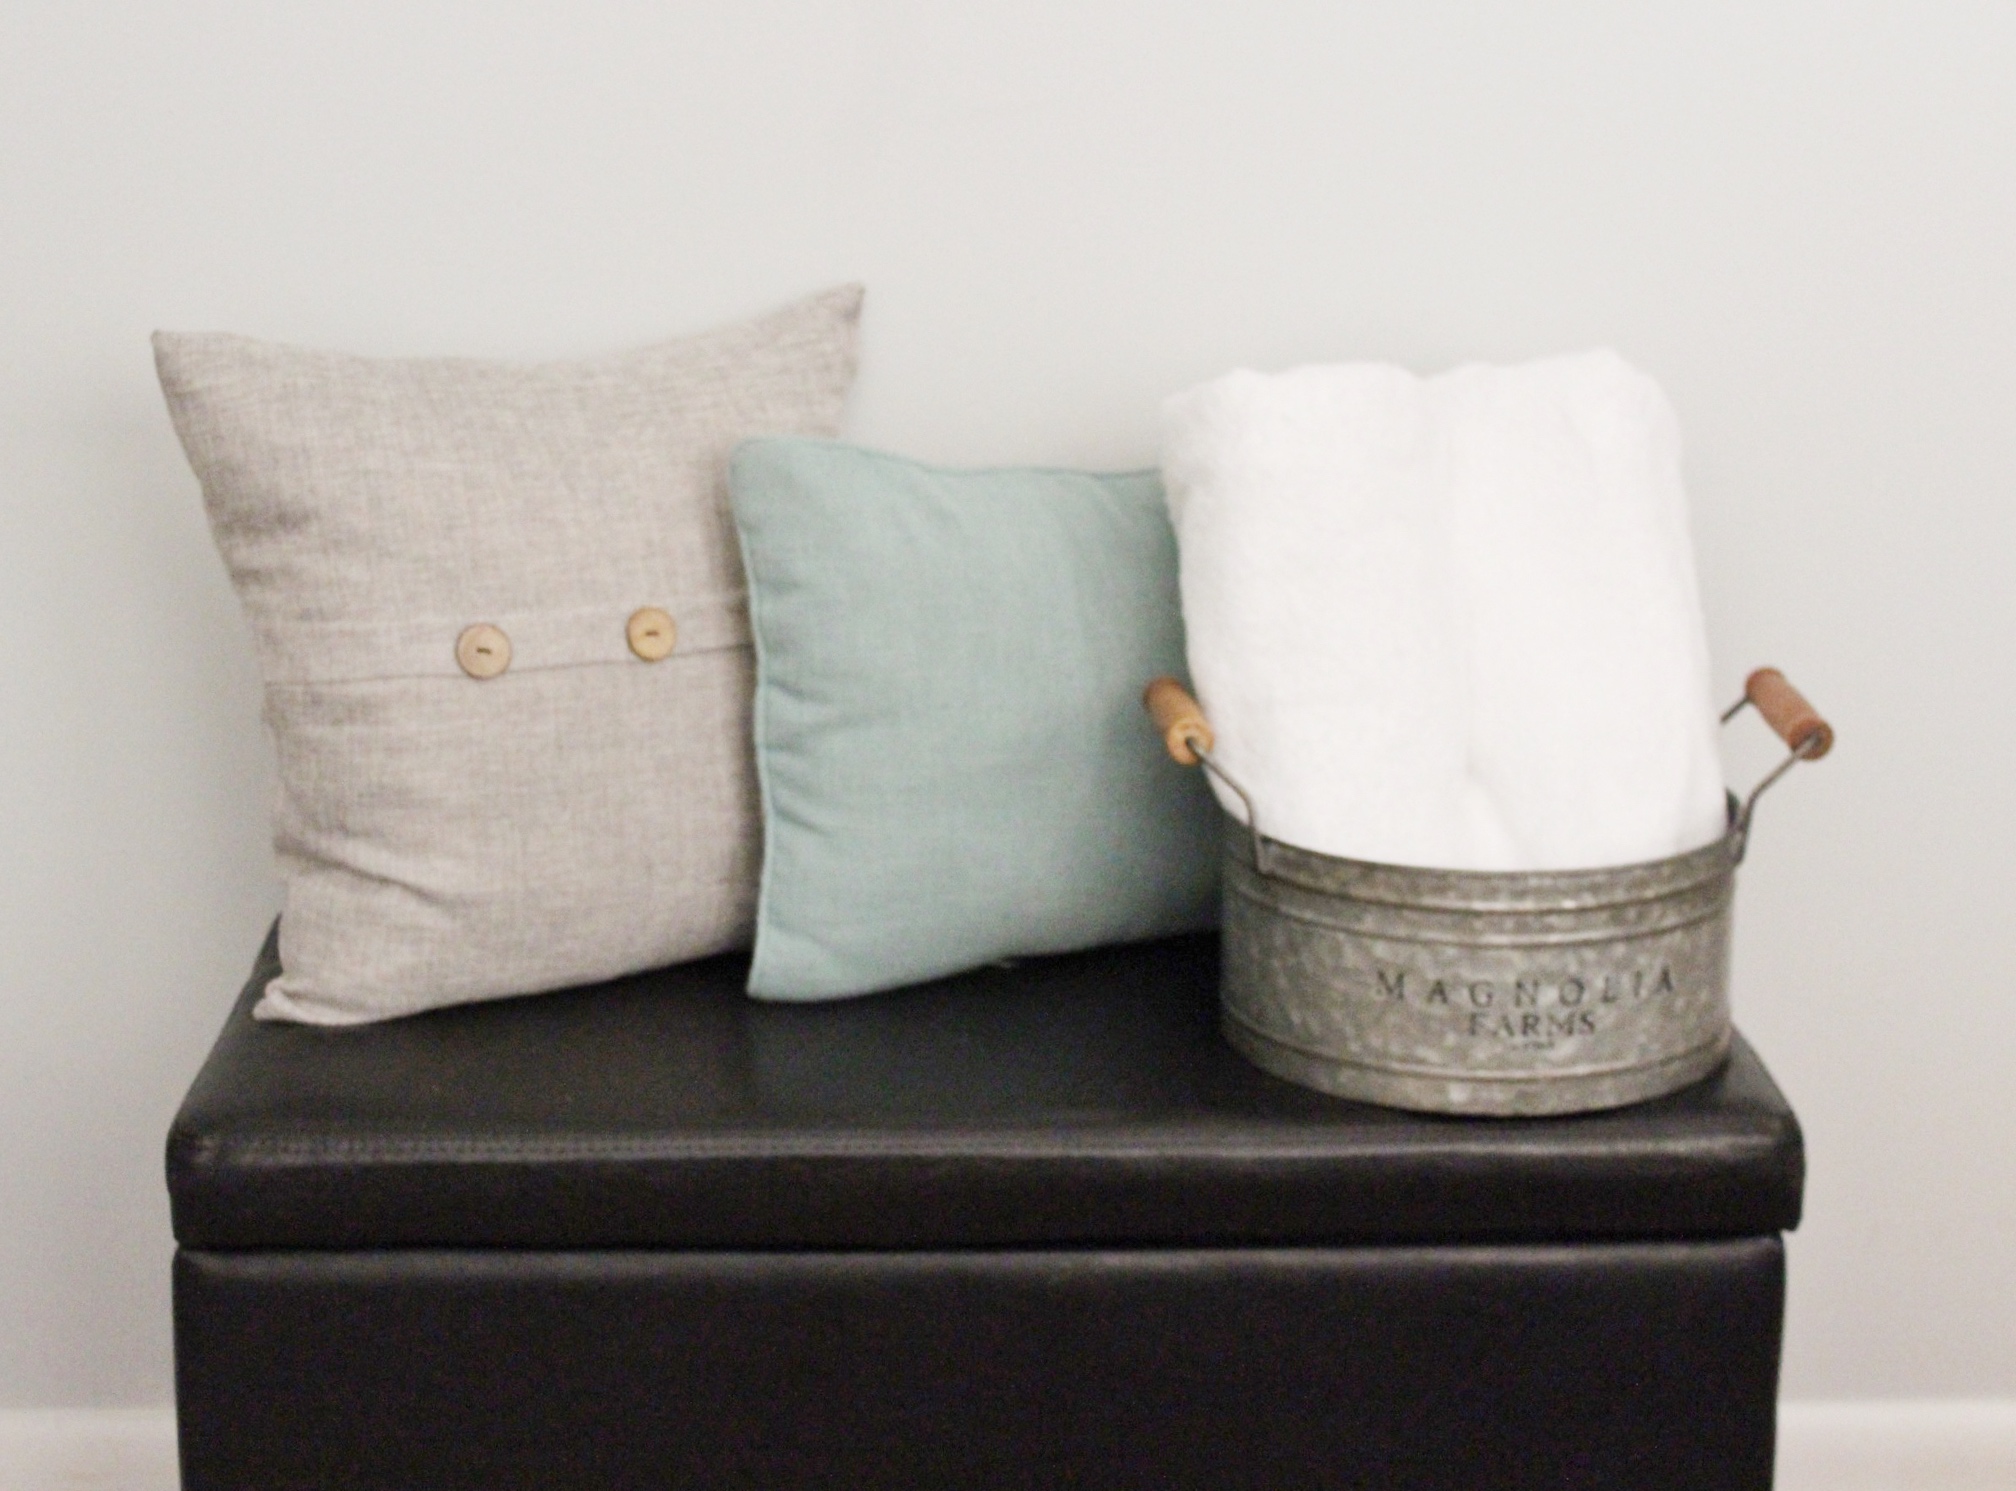
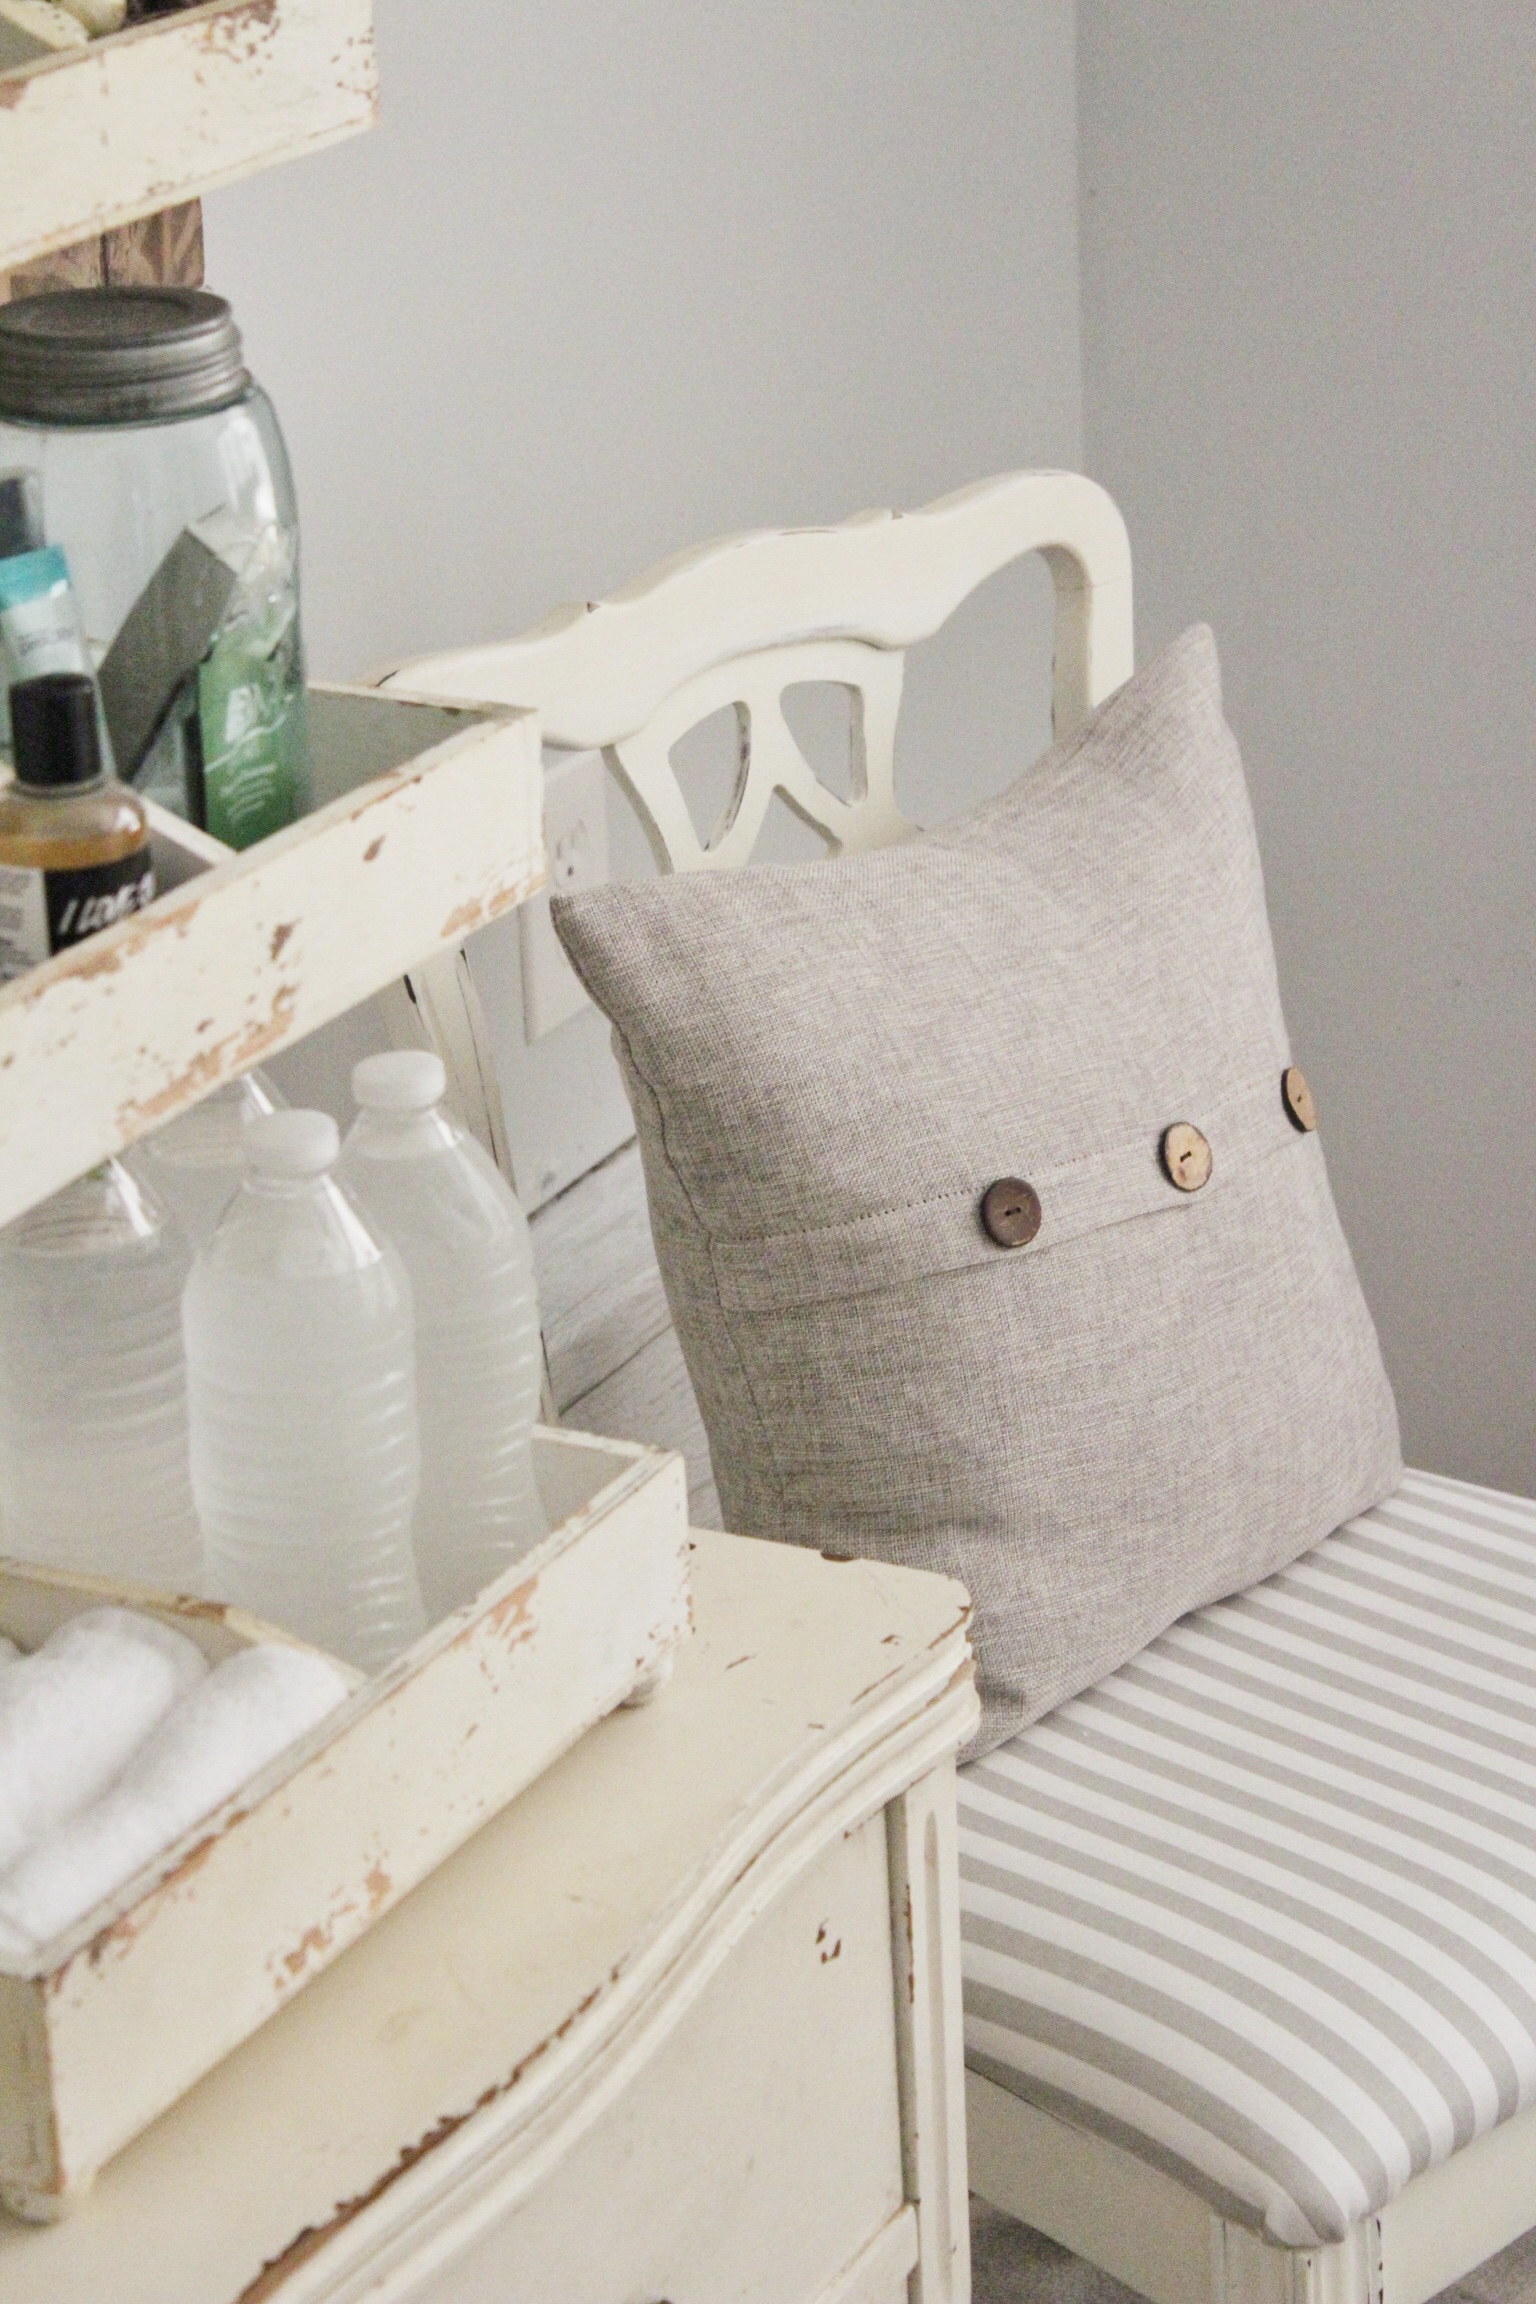
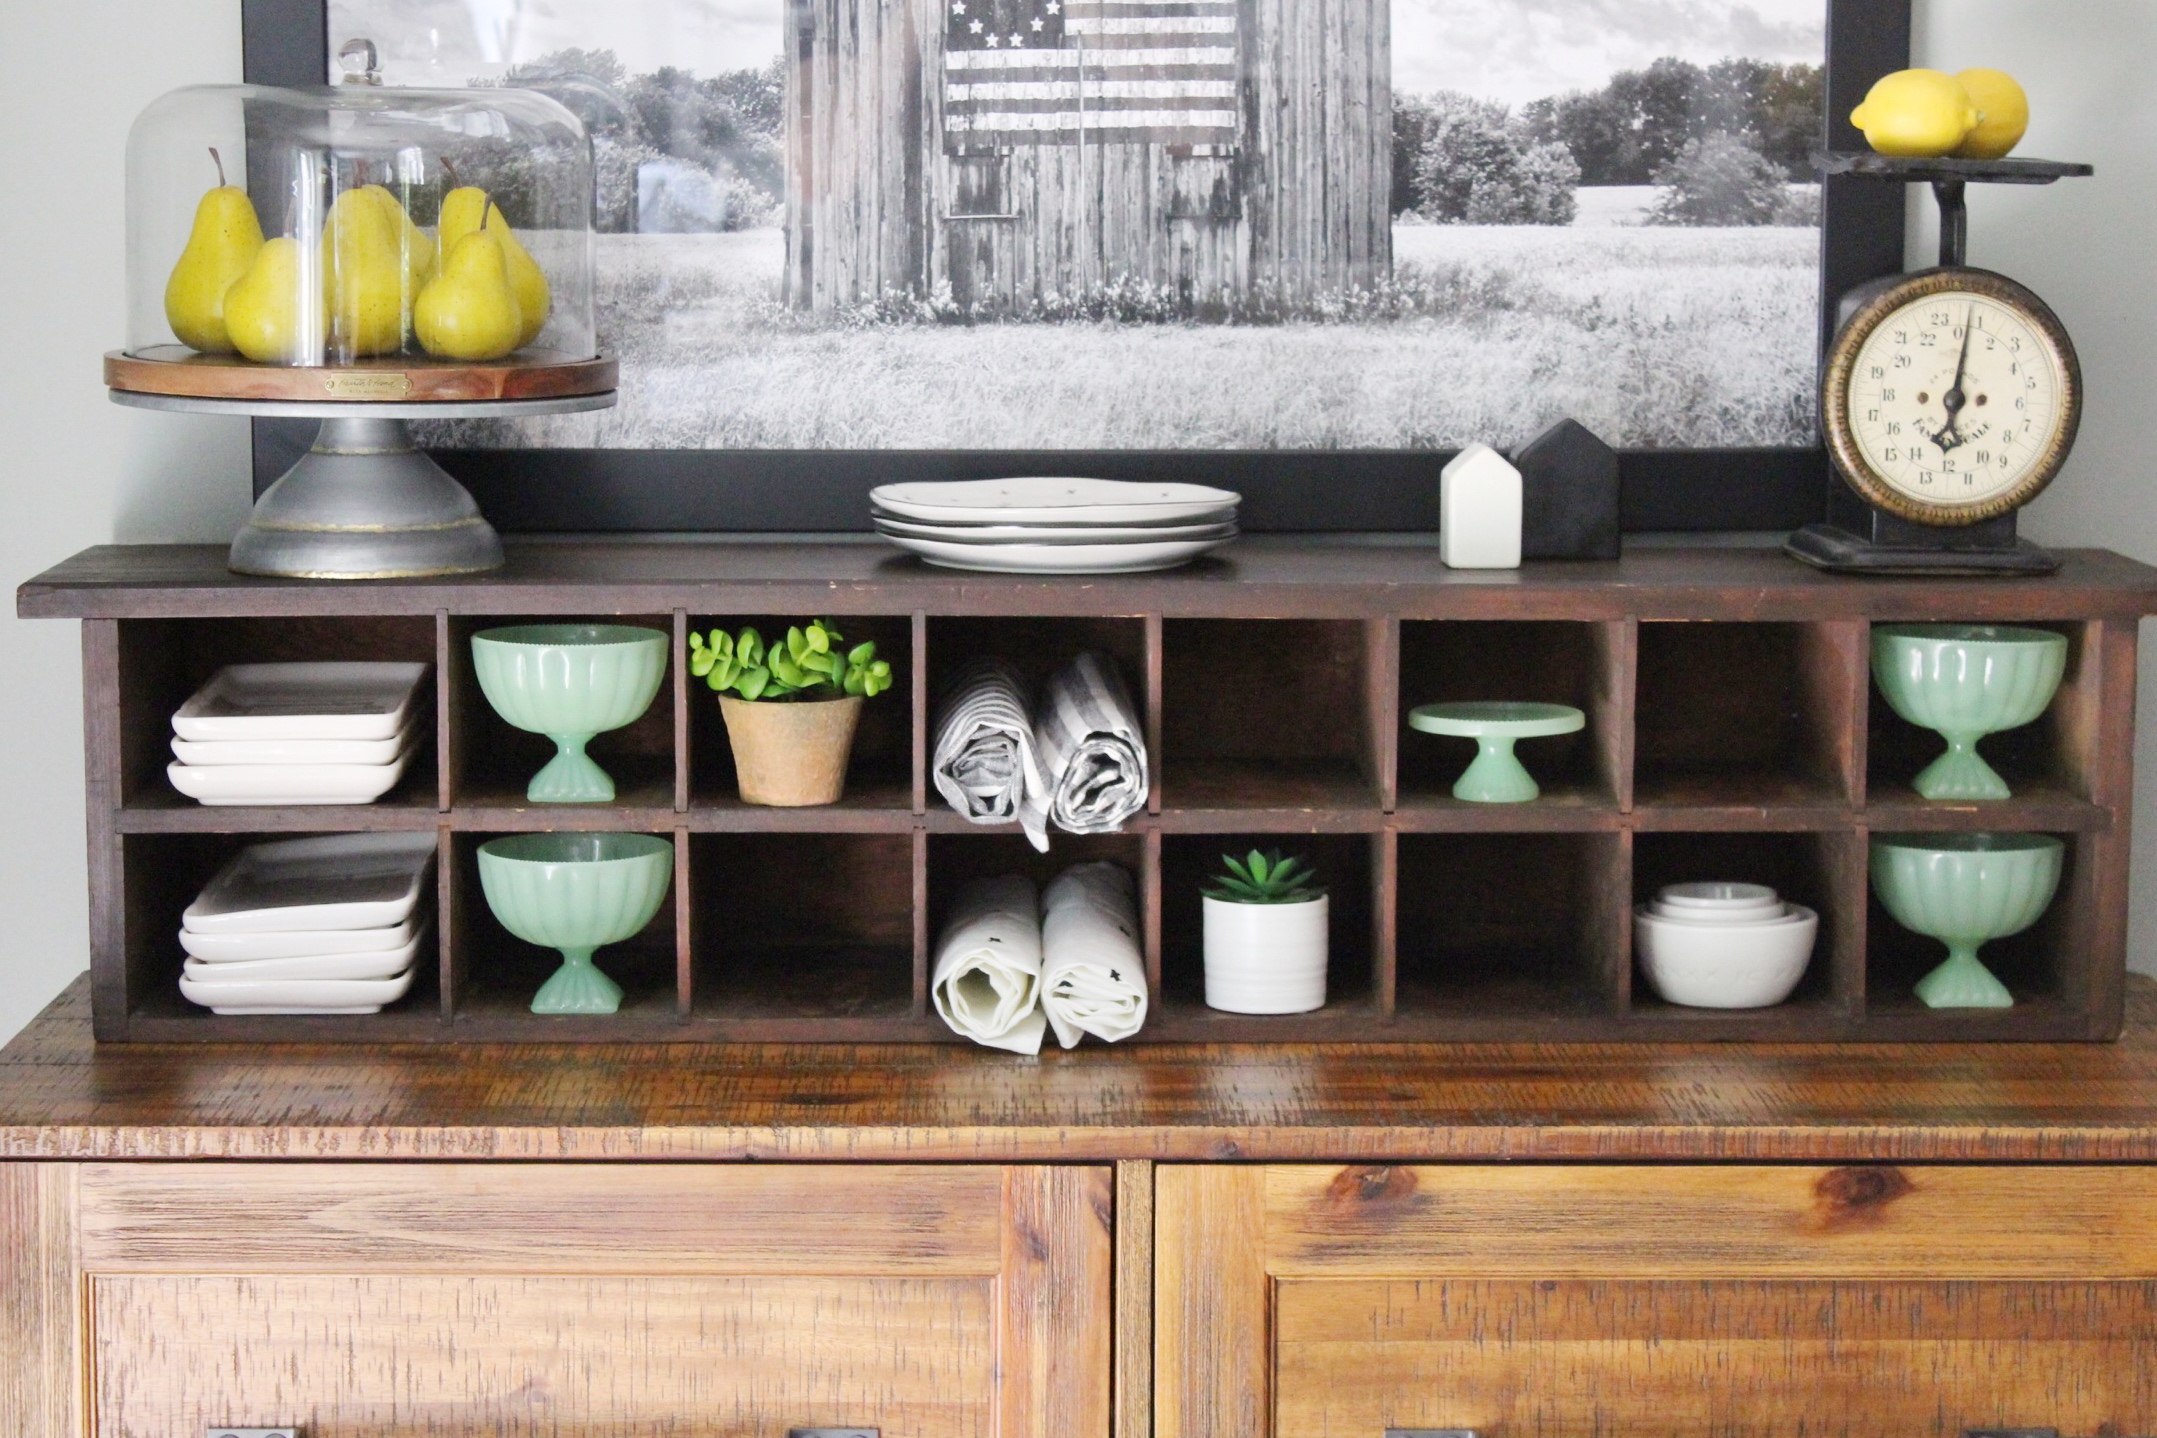
I had this awesome tiered tray that I found in the clearance area of Hobby Lobby that I knew would come in handy one day. I put that on top and filled it with goodies for our guests. This was probably my favorite part of the whole makeover was styling this shelf. Go figure! I had a bunch of travel sized goods, toothbrushes, and teas to fill in the cubbies. I think it’s nice to keep some waters on hand for your guests as well. I also put some towels in a bucket so my guests don’t have to go searching or have to ask where anything is.
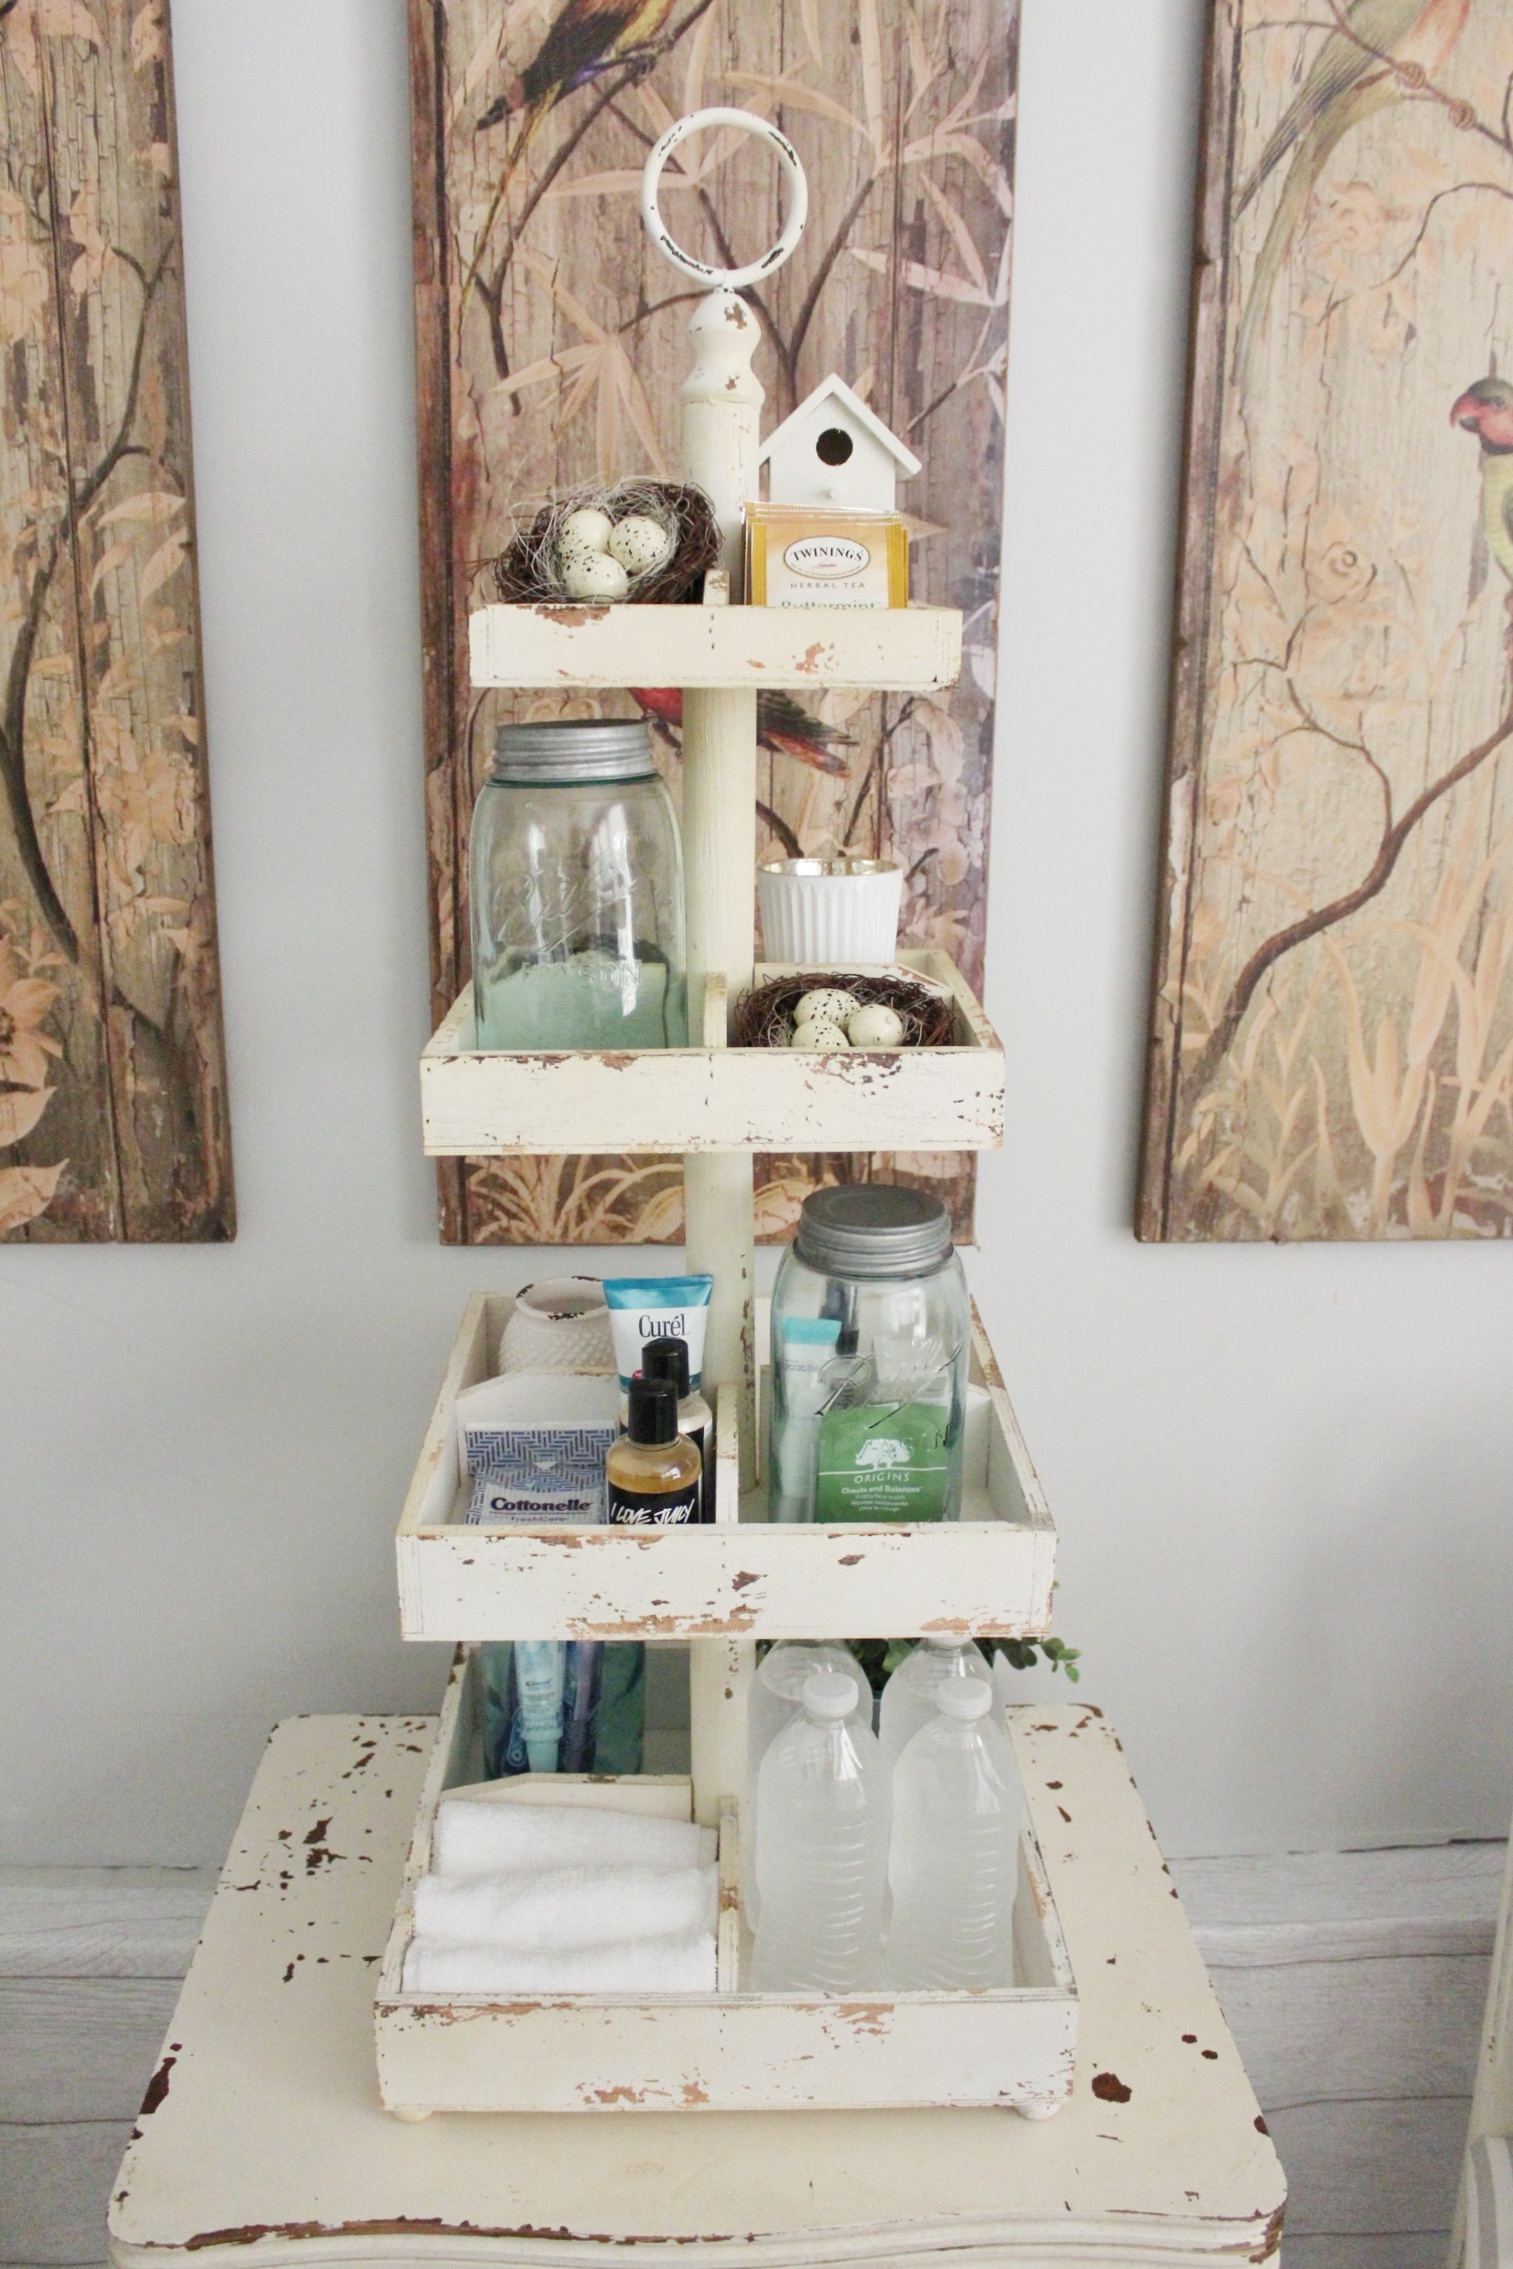
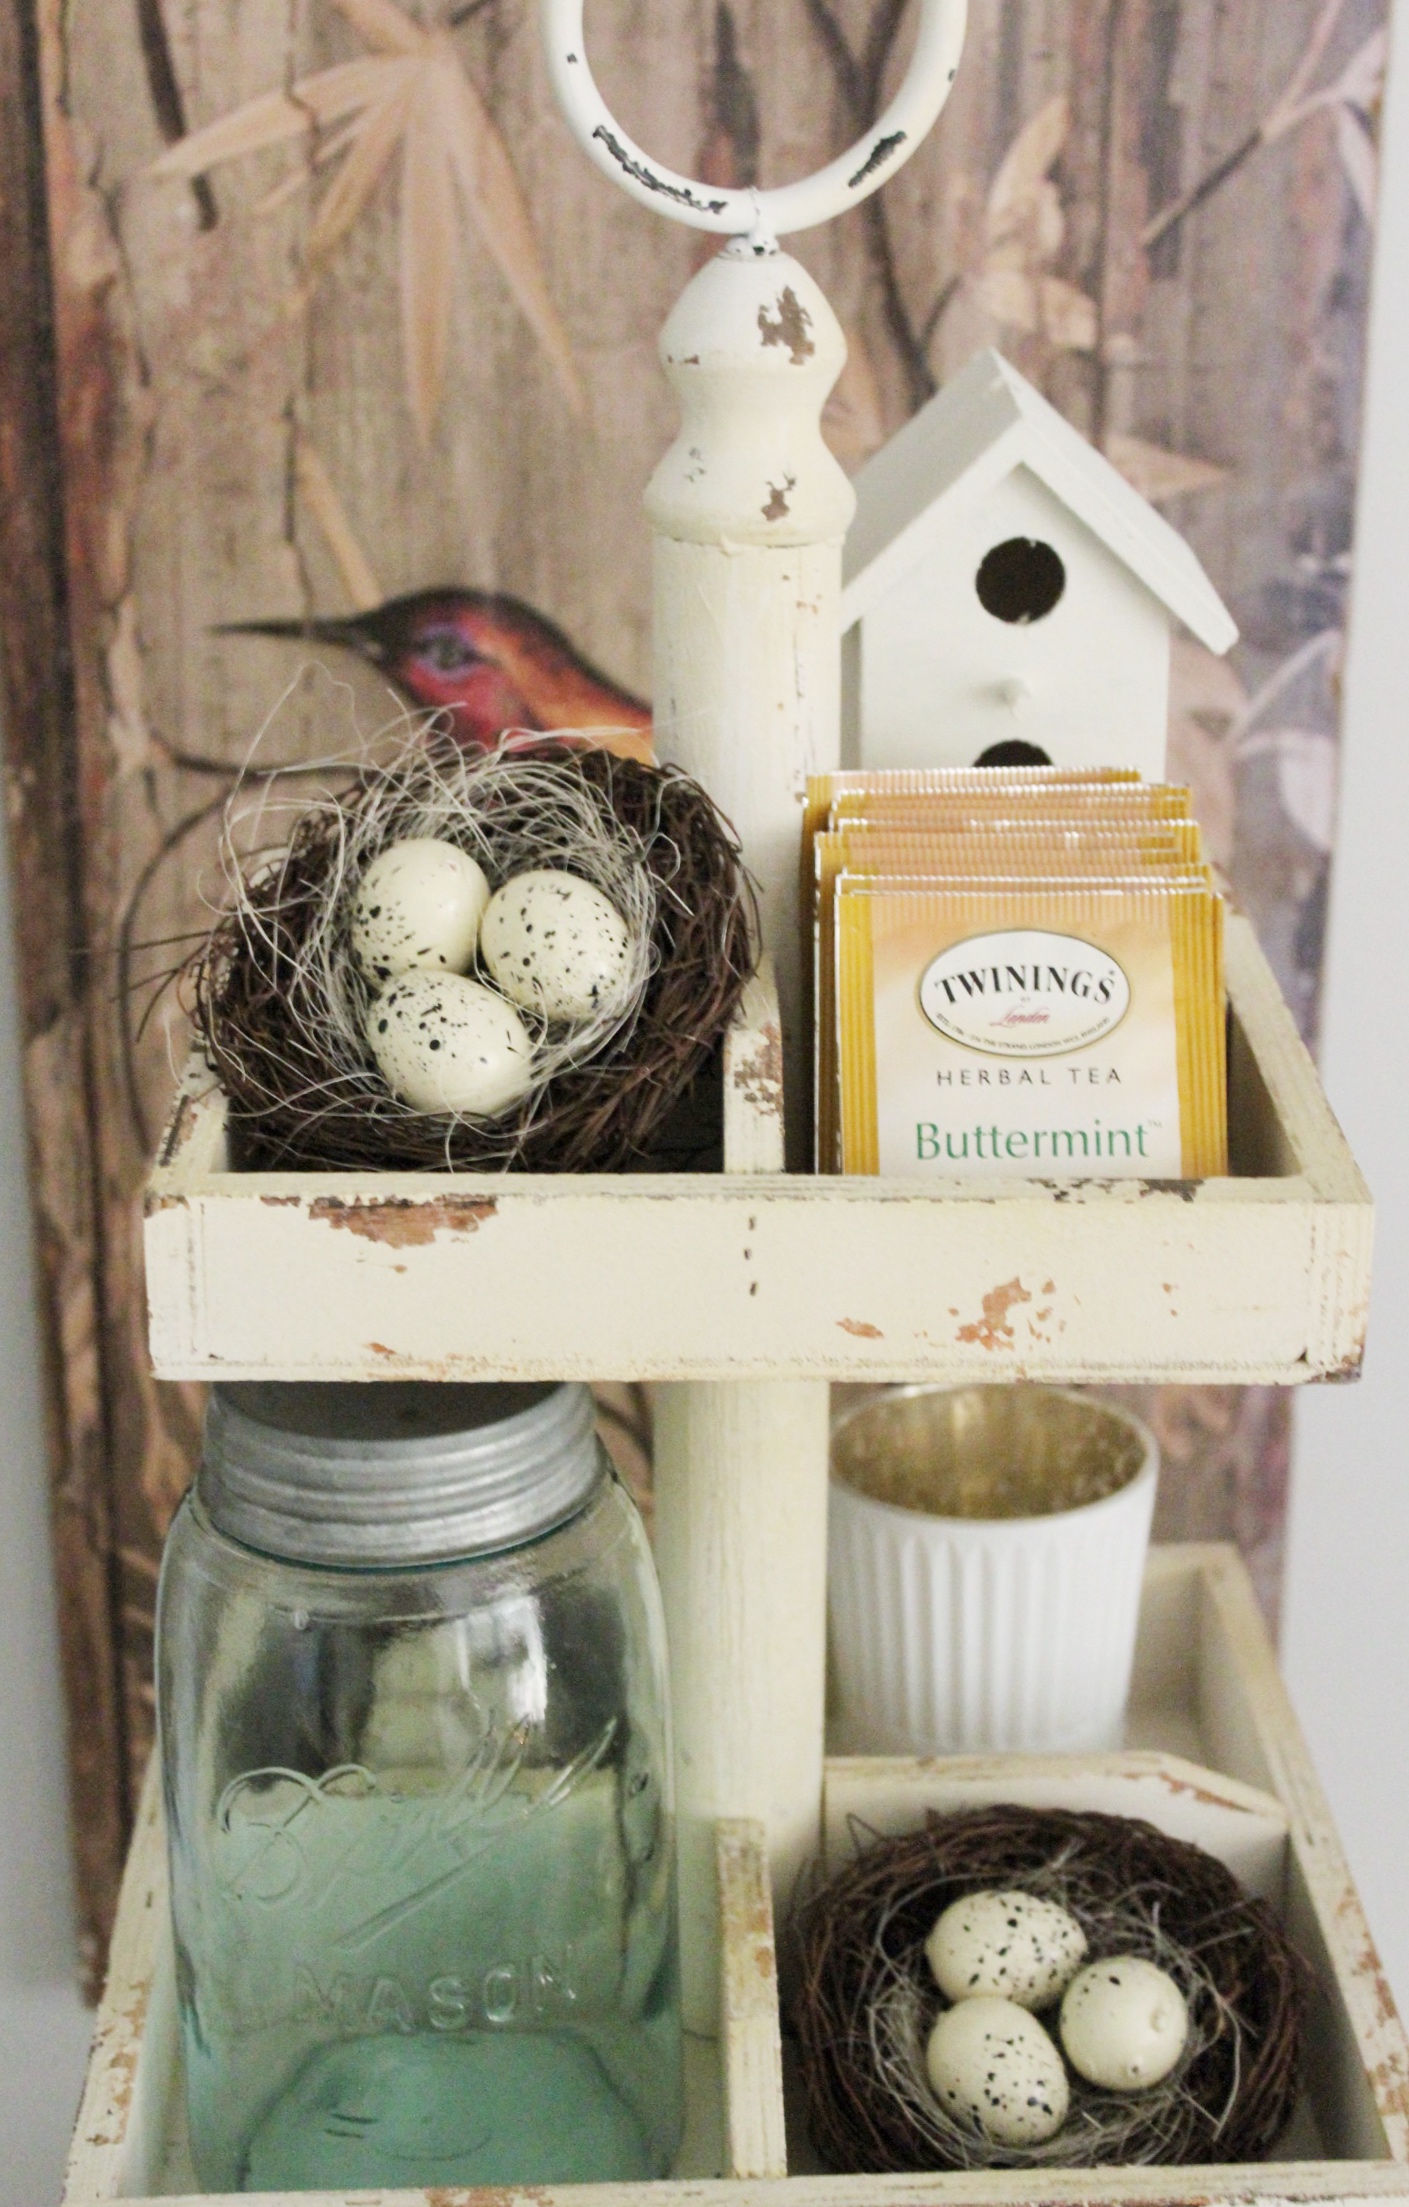


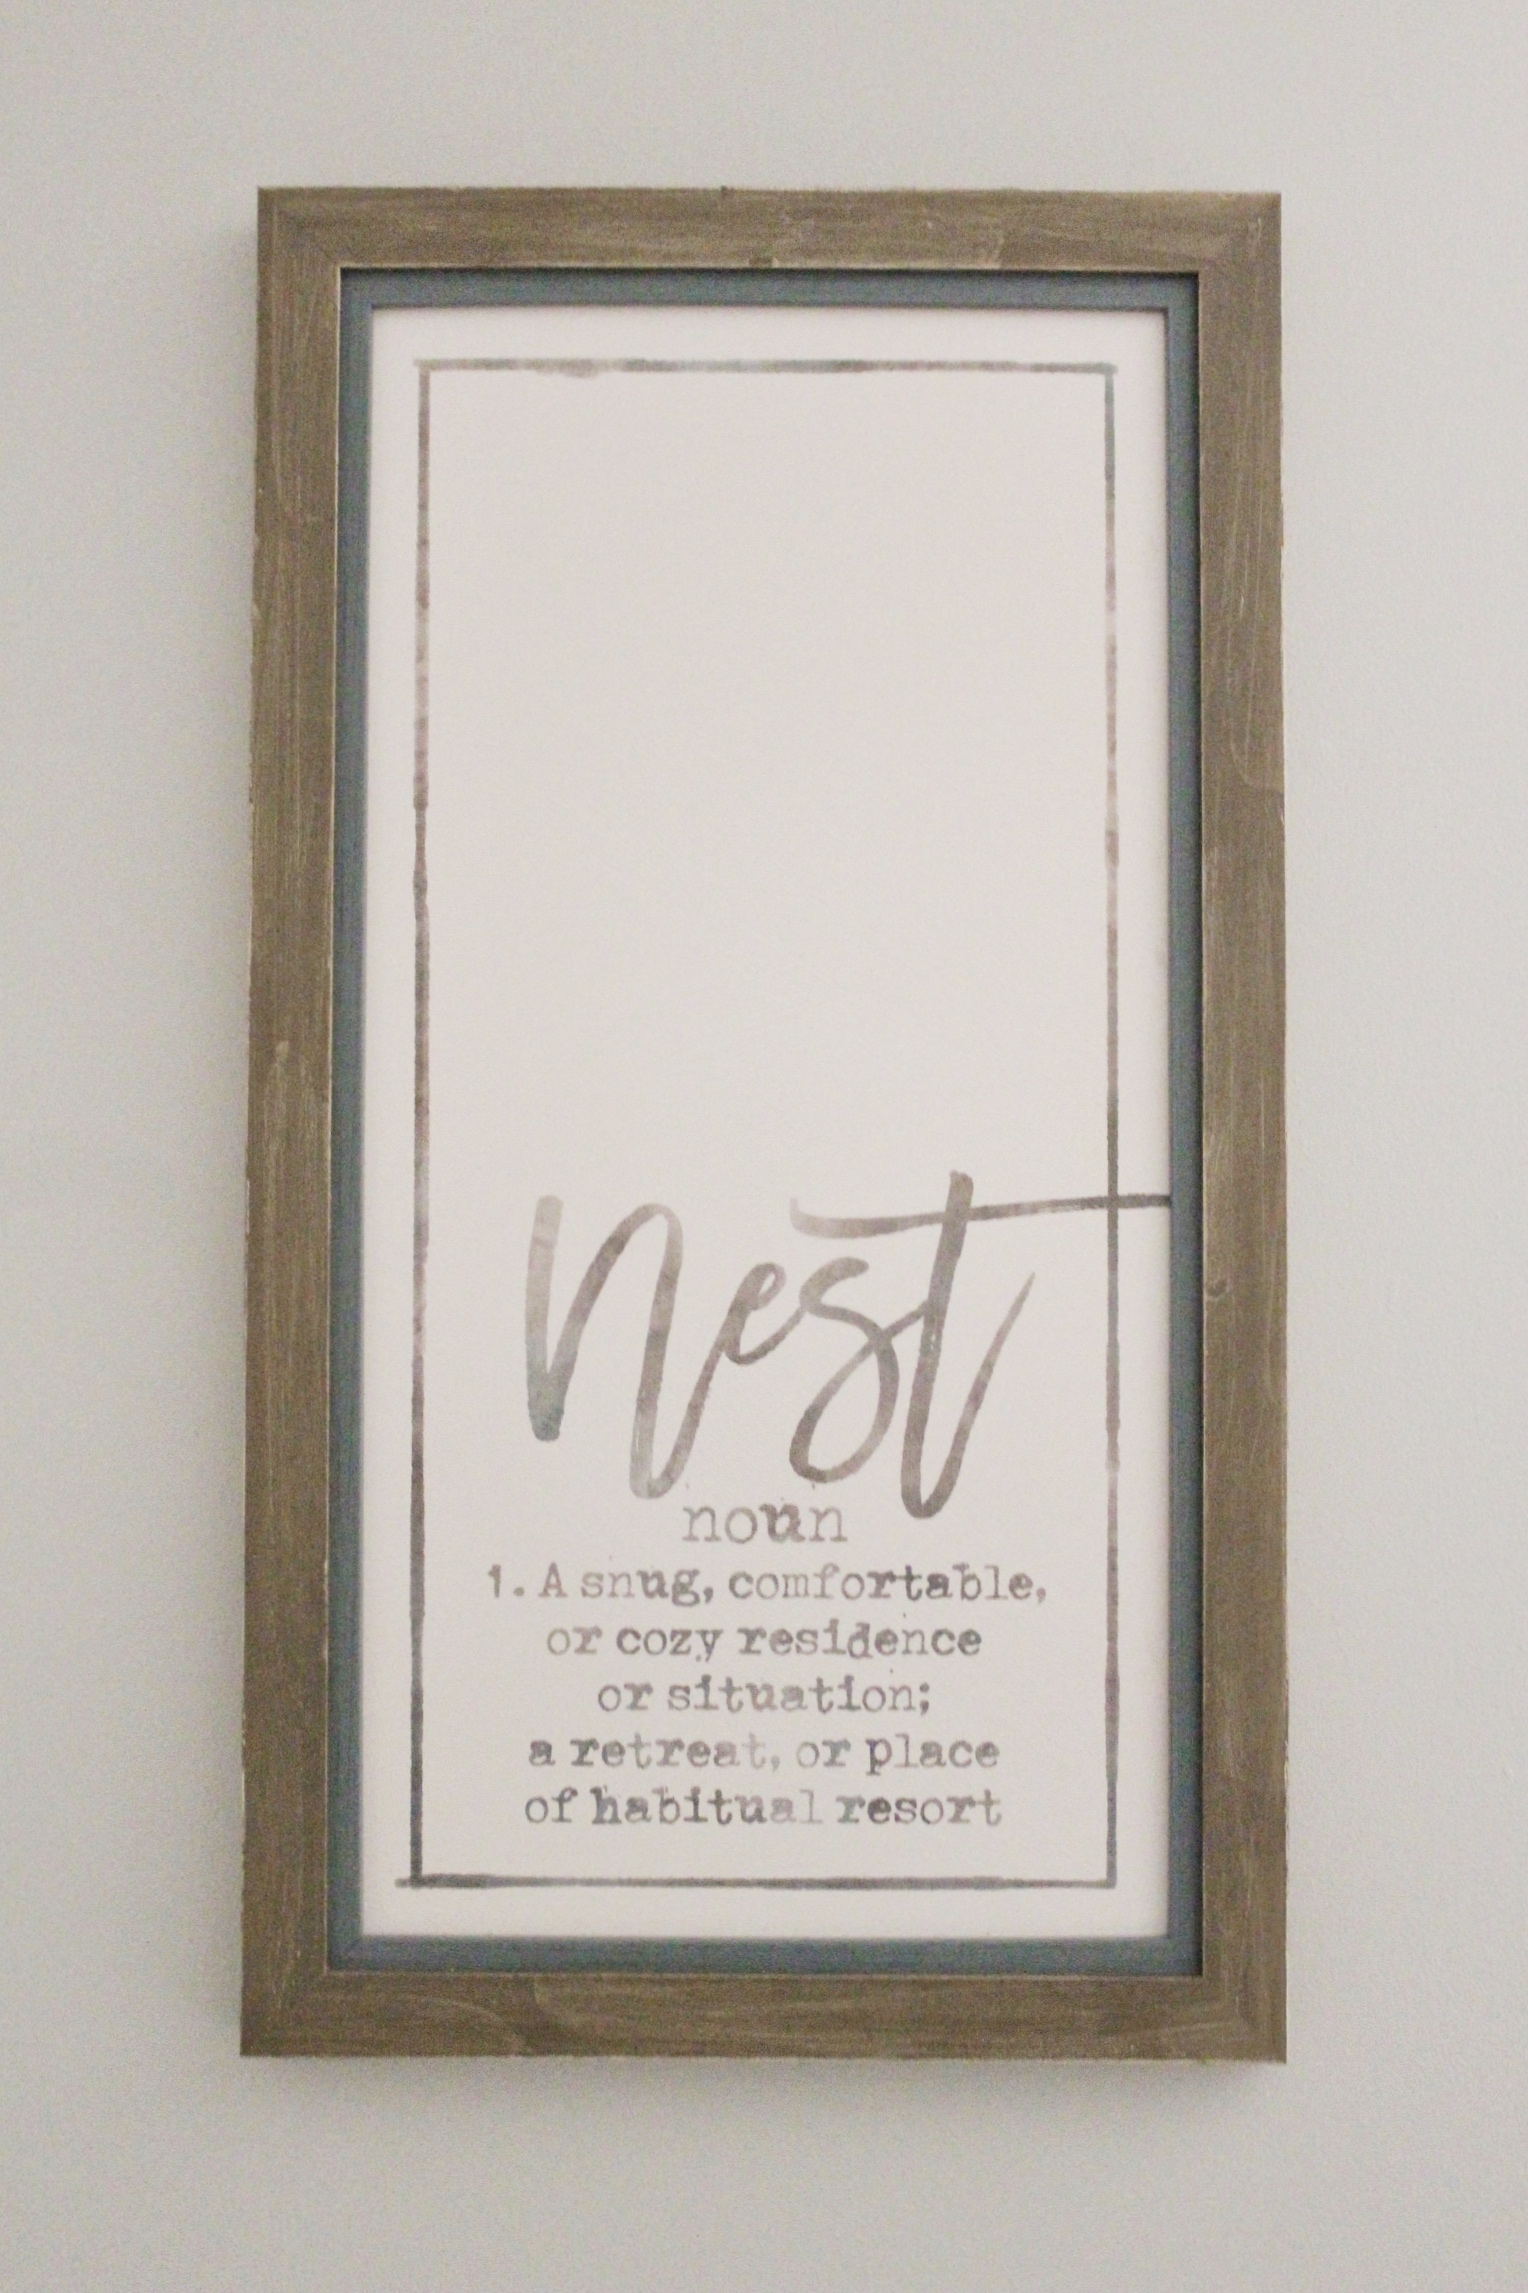
I had this cute little Nest frame that I had picked up from Hobby Lobby a few months ago. I was going to put it in our bedroom, but it turned out to be perfect for in here.
I still need to improve my chalkboard drawing skills, but this will do for now. I’m going to put our WIFI password in the corner for our guests, but for the purpose of this photo shoot I thought it best not to reveal that to the world. 🙂
In the corner under the chalkboard I put a little storage bin with some pillows on it. I always like a place to drop my bags when I stay some where other than the floor, so I thought this would serve as a good luggage stand.
The bedding is from West Elm that I had on the bed originally I just turned it on it’s reverse side, and then popped an accent pillow on to tie in to the headboard. It pays off to have an obsession with pillows. I could probably have a whole closet dedicated to throw pillows. I know some of you can relate!
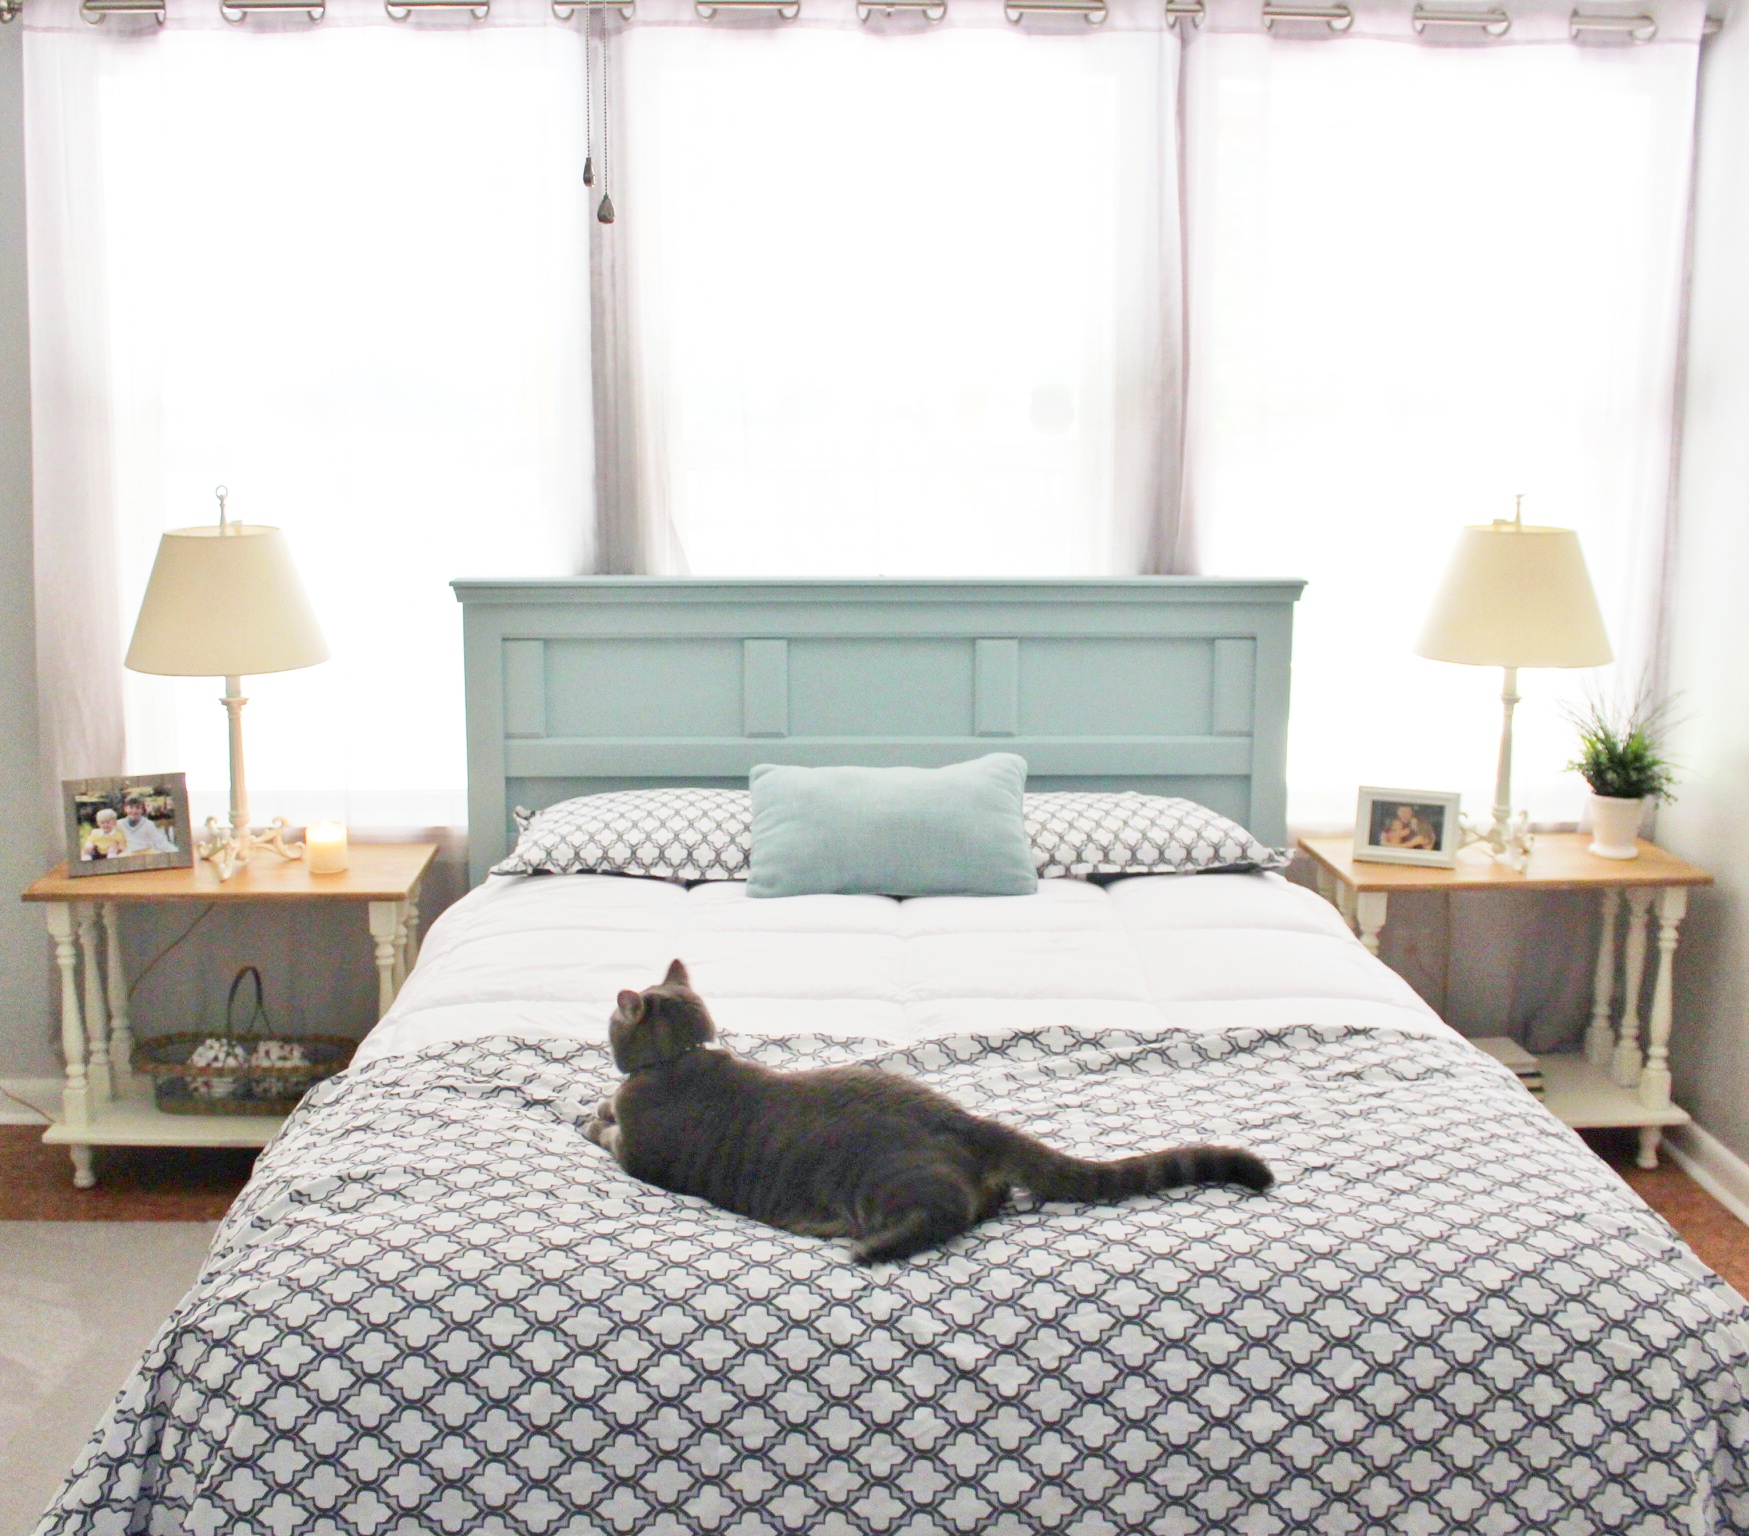
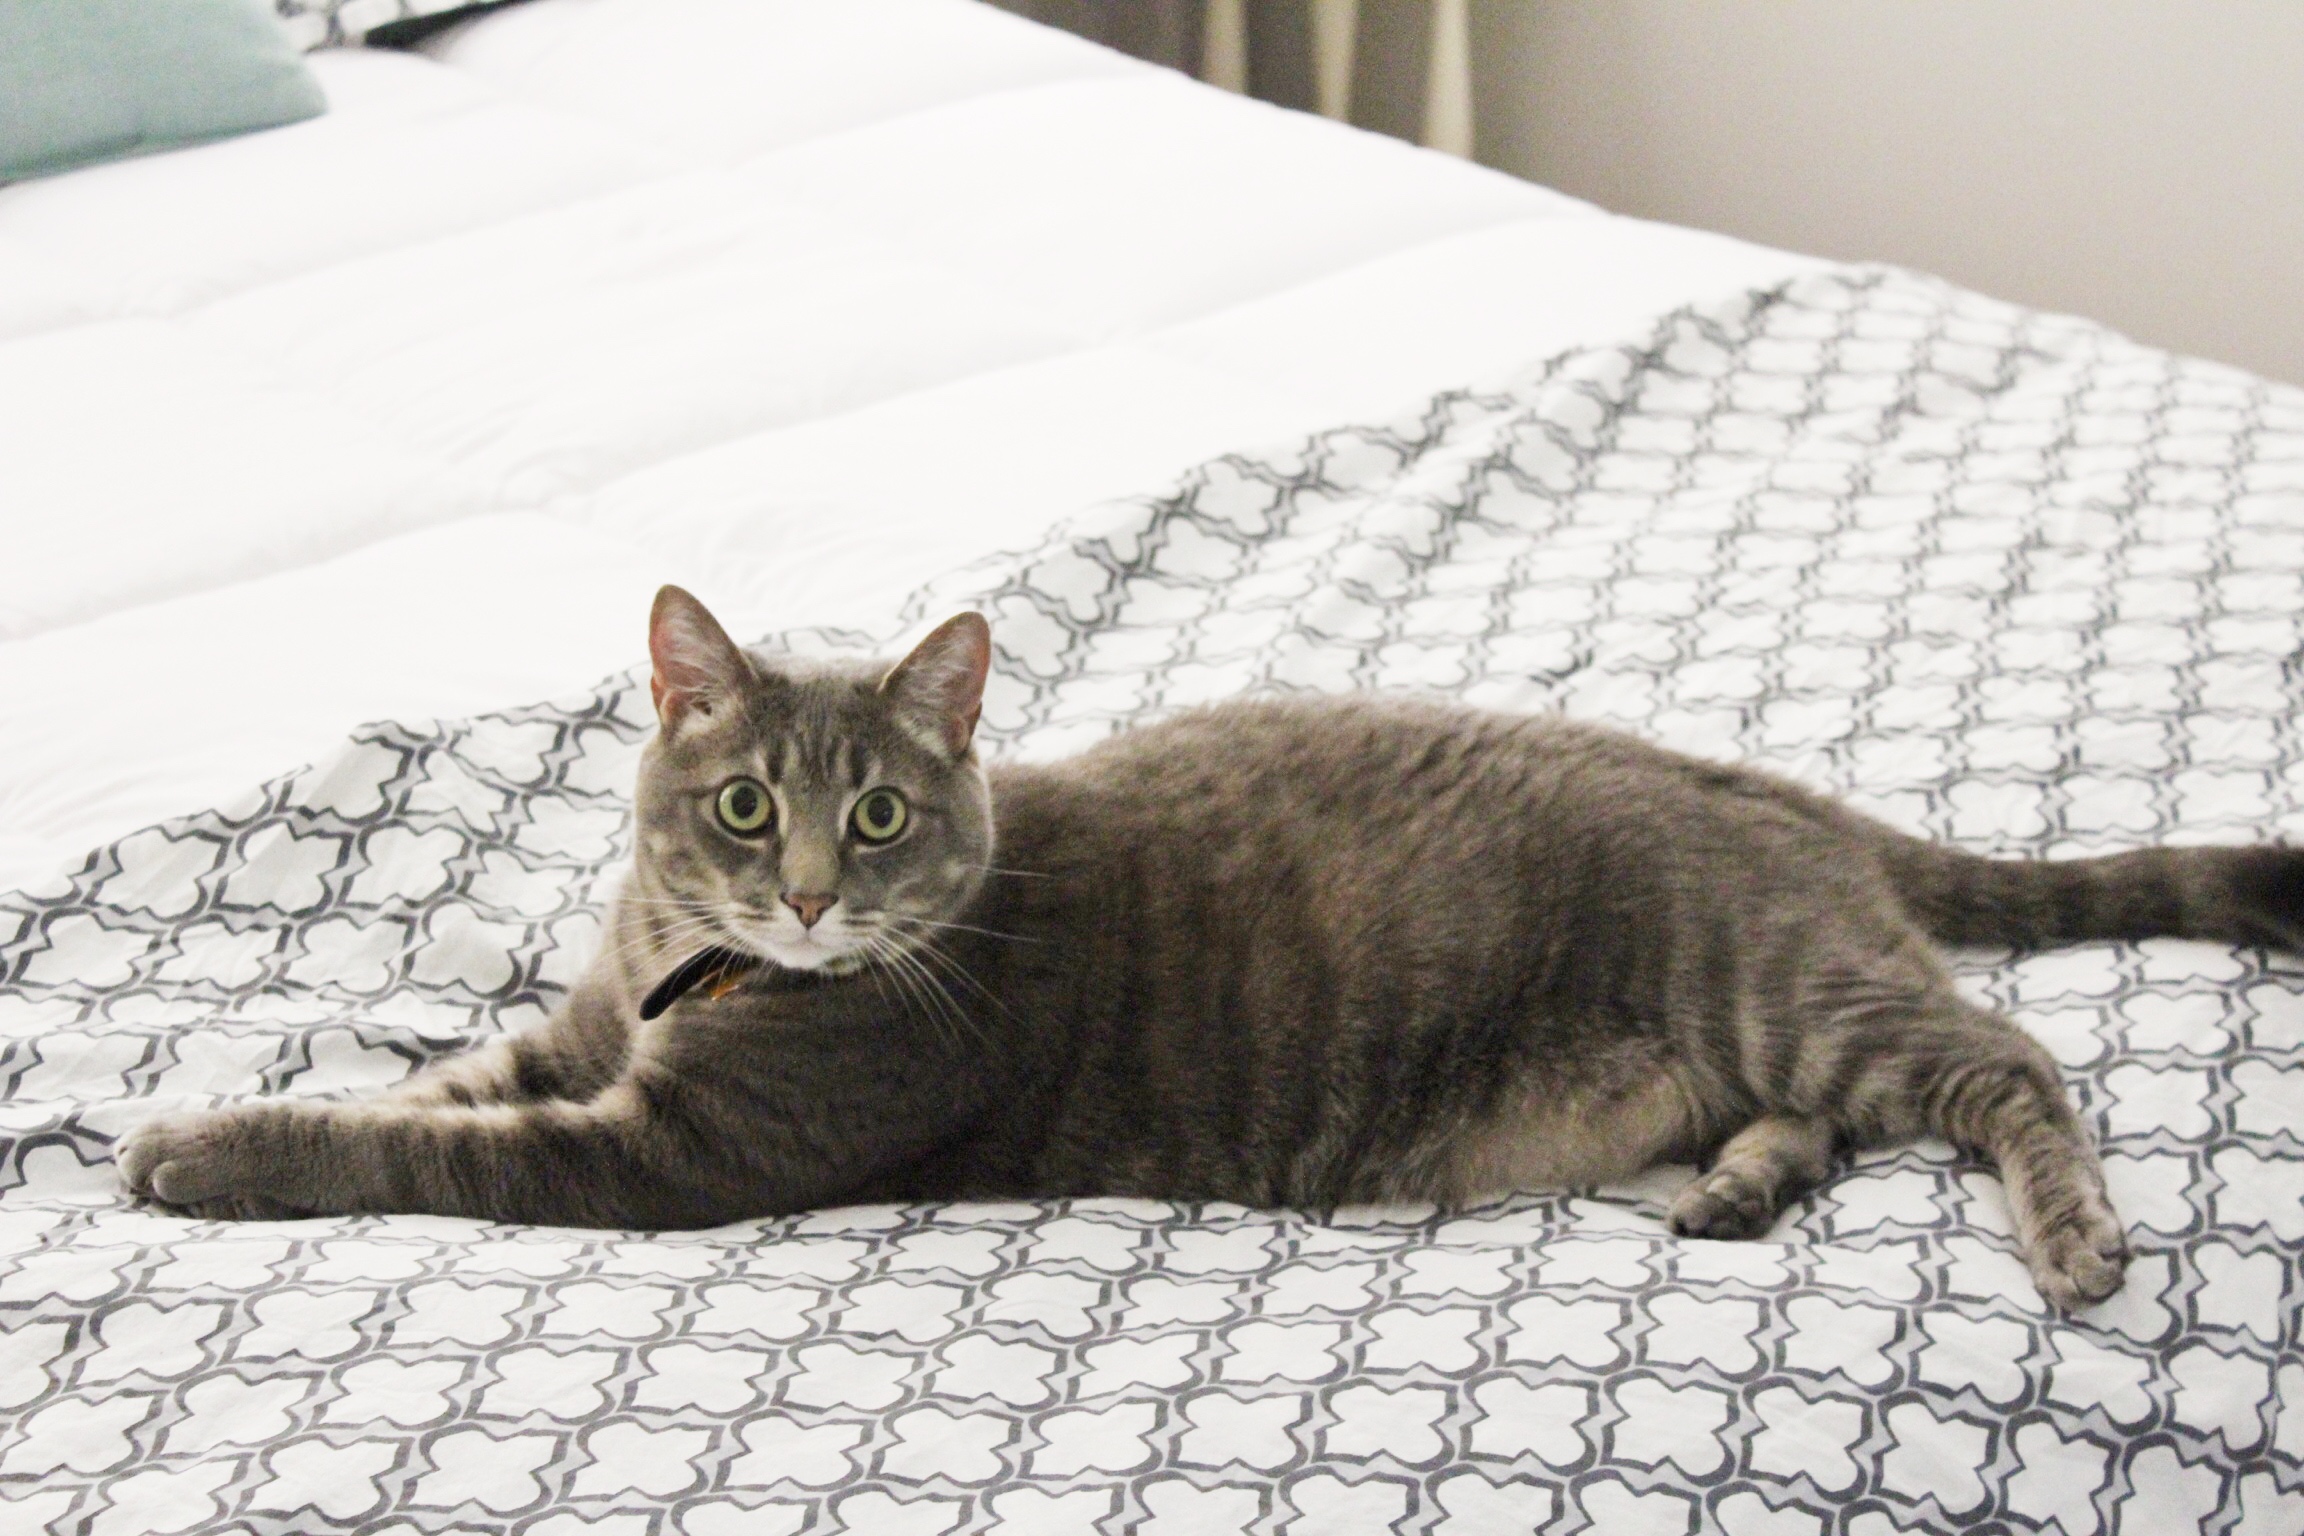
This one always has to be in the mix.
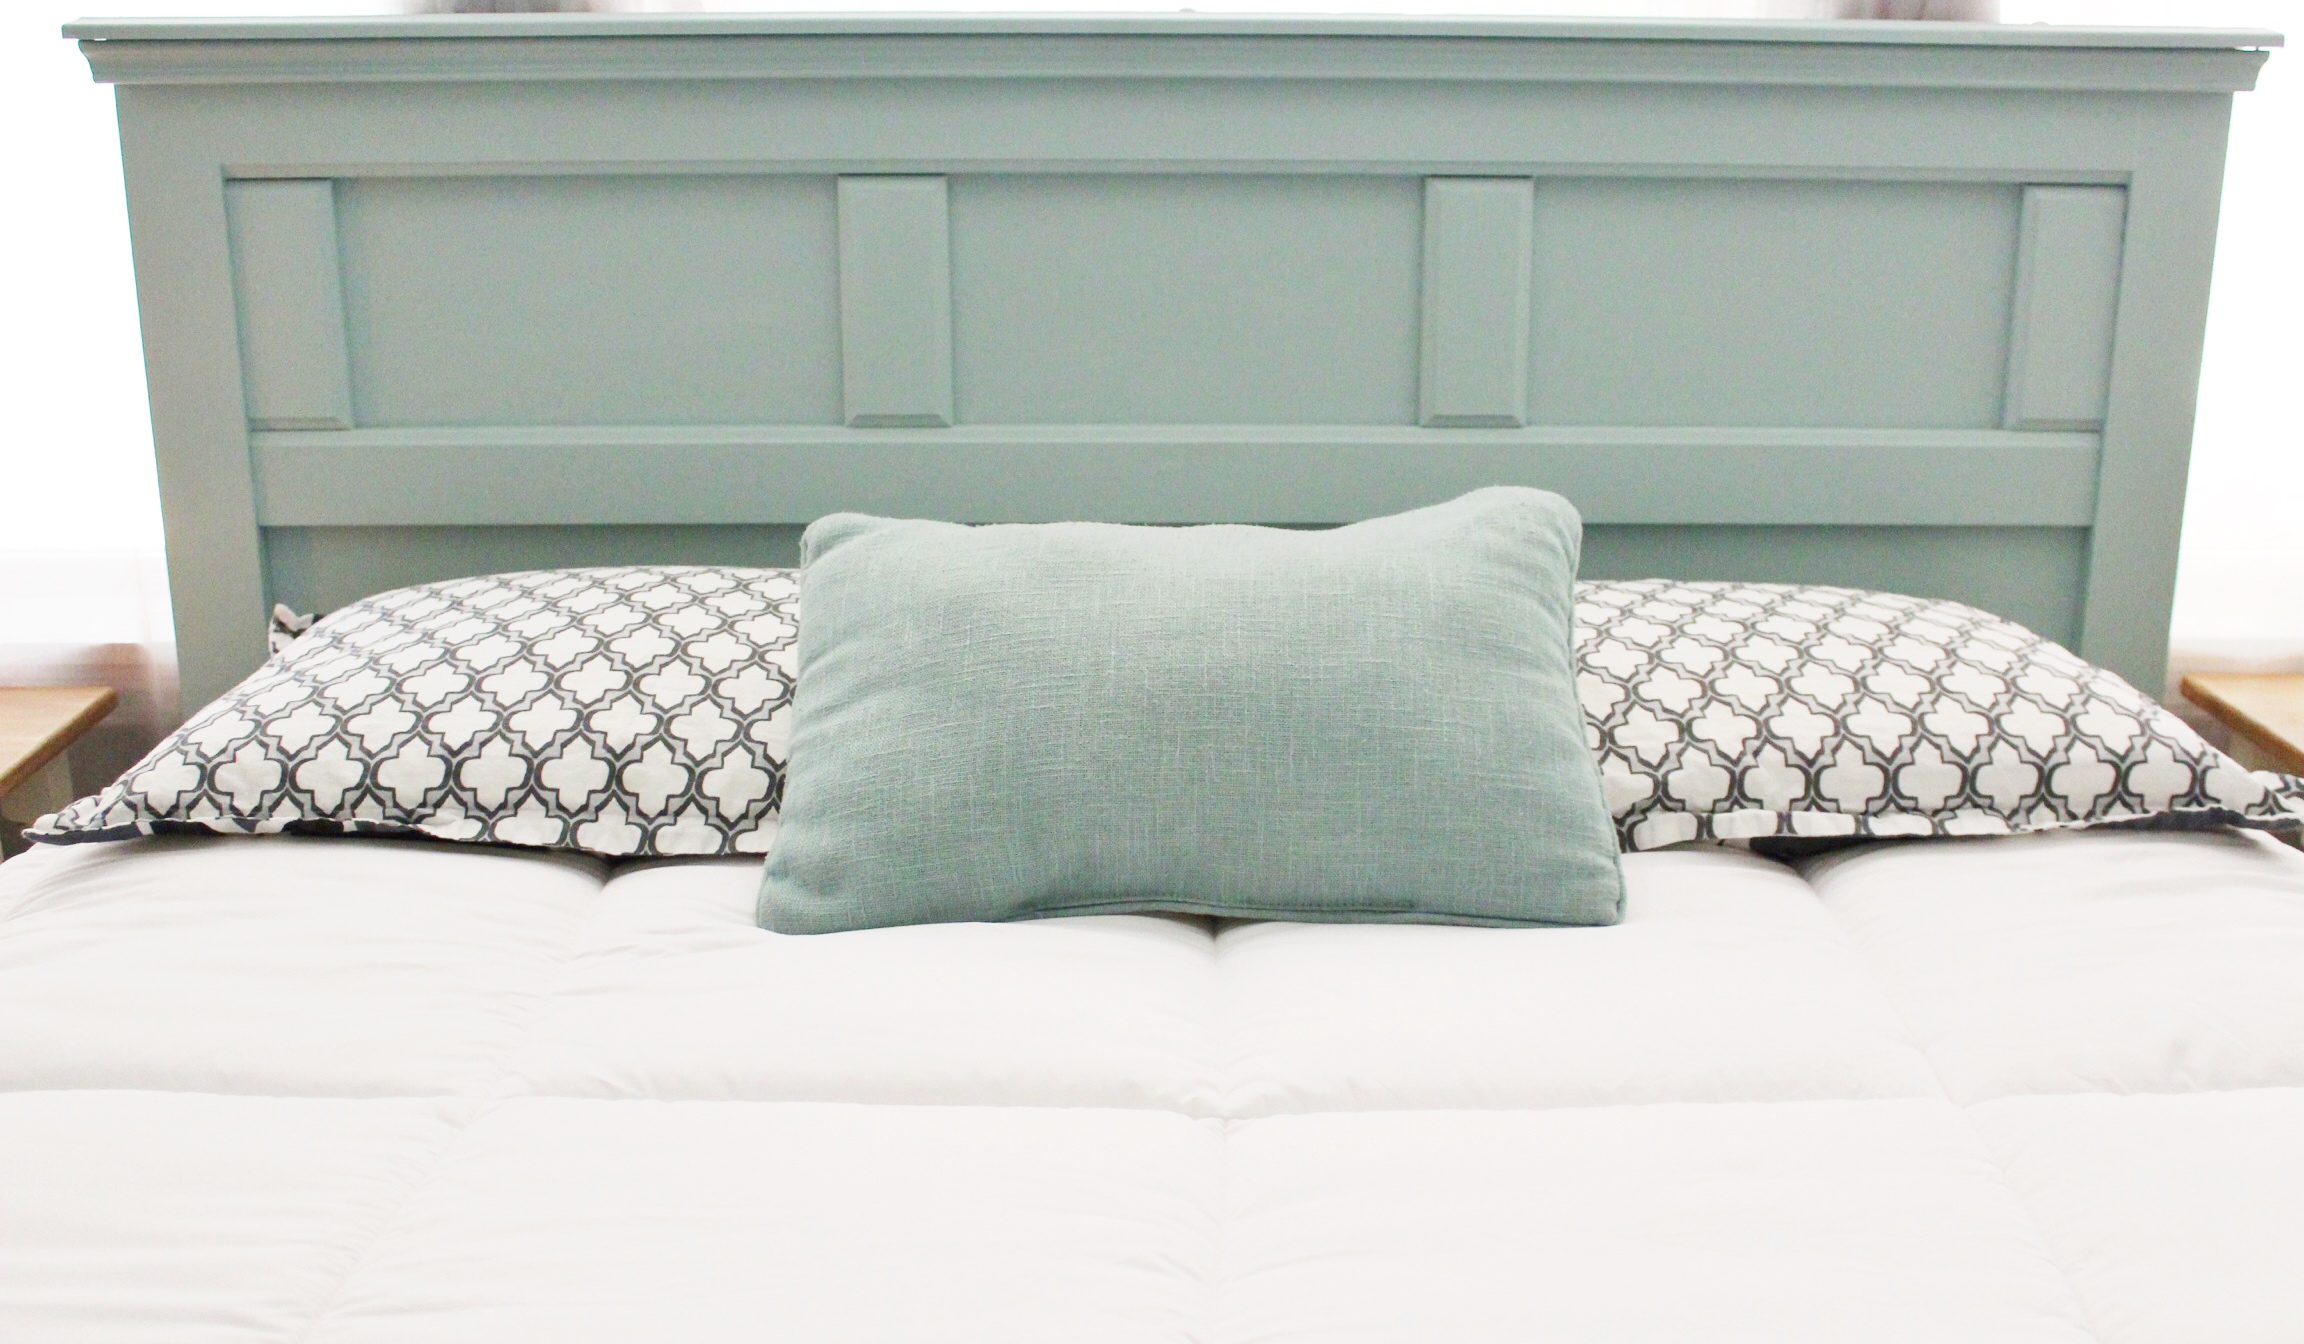
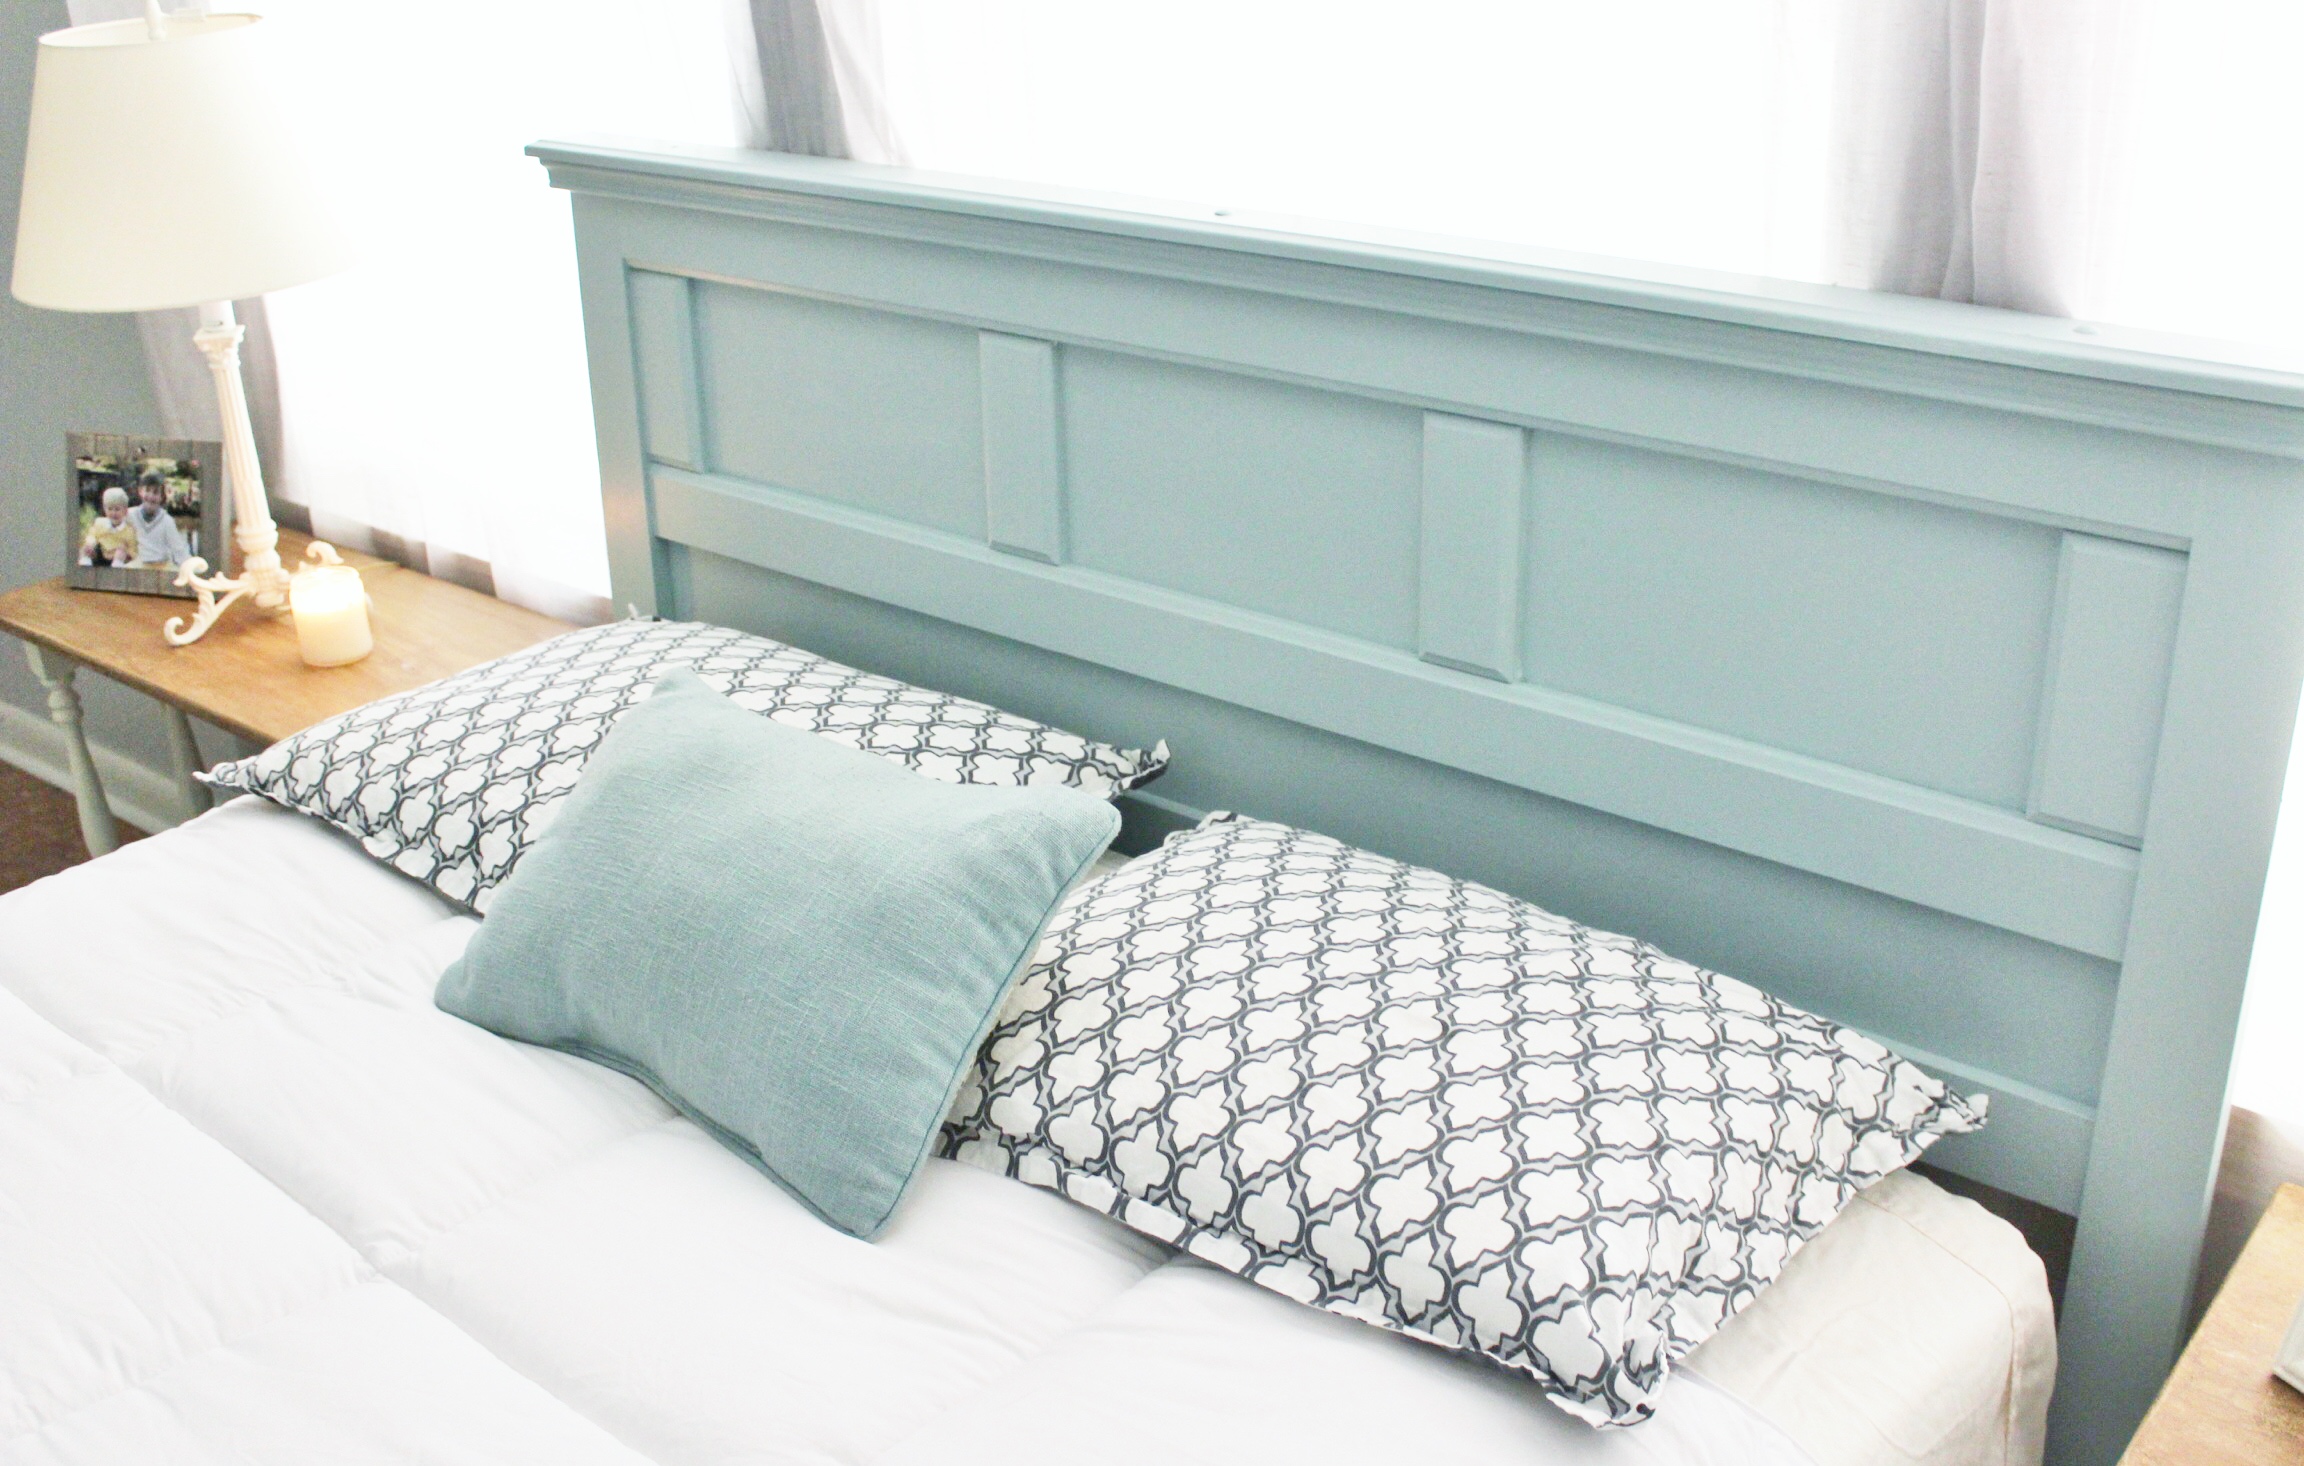
I probably will add more pillows because this is very minimal for me. I just wanted to show off the headboard in all it’s blue glory.
Eventually we would like to get a sliding barn door for this room since now it just looks into the rest of the basement. That’s for another day folks!
I hope you have enjoyed this little guest room 24 hour challenge refresh! It was a lot of hard work but I am so happy with this cheerful little nest for our guests!
Thank you for flying by my nest today!
xoxo,
Robyn 🙂
Mickey D. thinks that this is all for him. What else is new.
*This post contains affiliate links. Please read full disclosure above.


One Comment
Pingback: