Home Gym
This has been a long time coming. We are so excited to finally share our home gym. There are a few last minute touches we will add in, but for the most part it is finished and we’re ready to share all the details. Before we get into the reveal, let’s quickly walk down memory lane to see what our garage looked liked before the renovation took place. I love a good before and after don’t you?

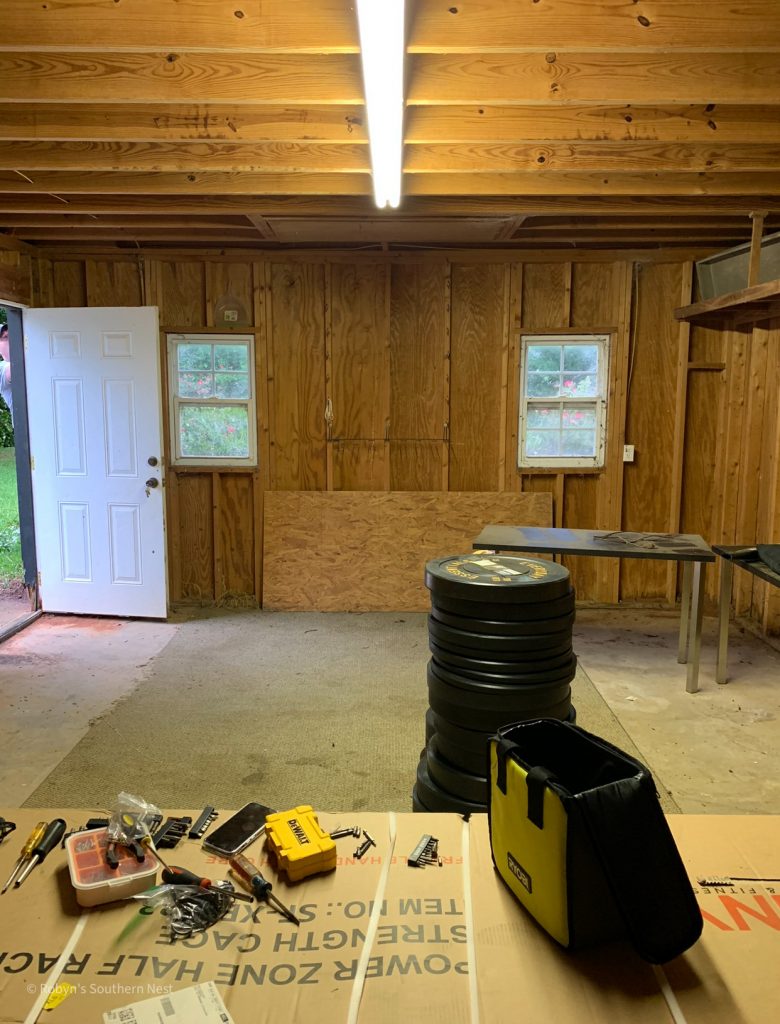
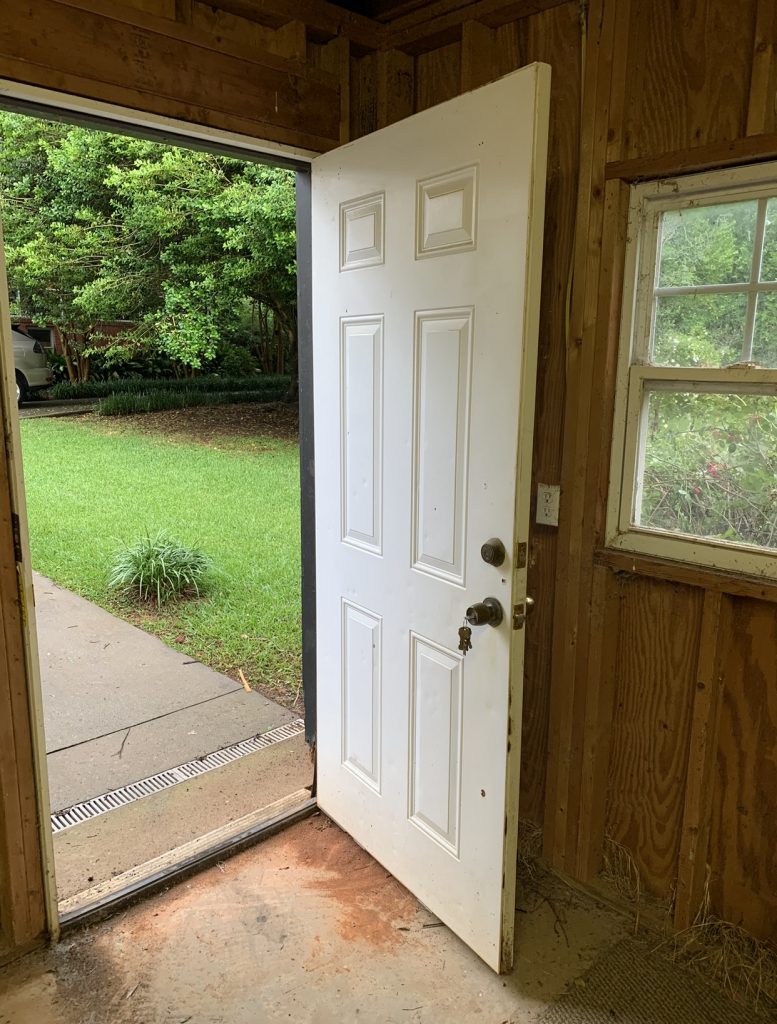
This has been Chris’ dream to have a home gym in our backyard. One of the main reasons we wanted a gym at our house is because we live in a small town and the closest gym is about 20 miles away. The first step in our renovation process was to first clear out the garage. But to do that we needed some additional storage. Enter our garden shed. She arrived back in April just in time to store all of our garage supplies, garden supplies and boxed gym equipment while the renovation was in progress. It took about 6 weeks for the garage to be completed before we could start moving things in.
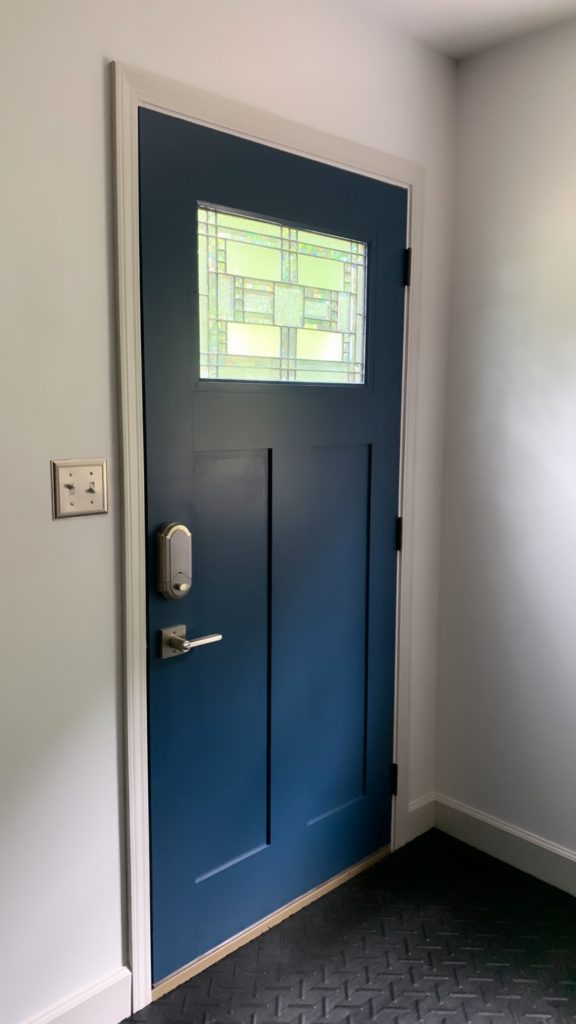
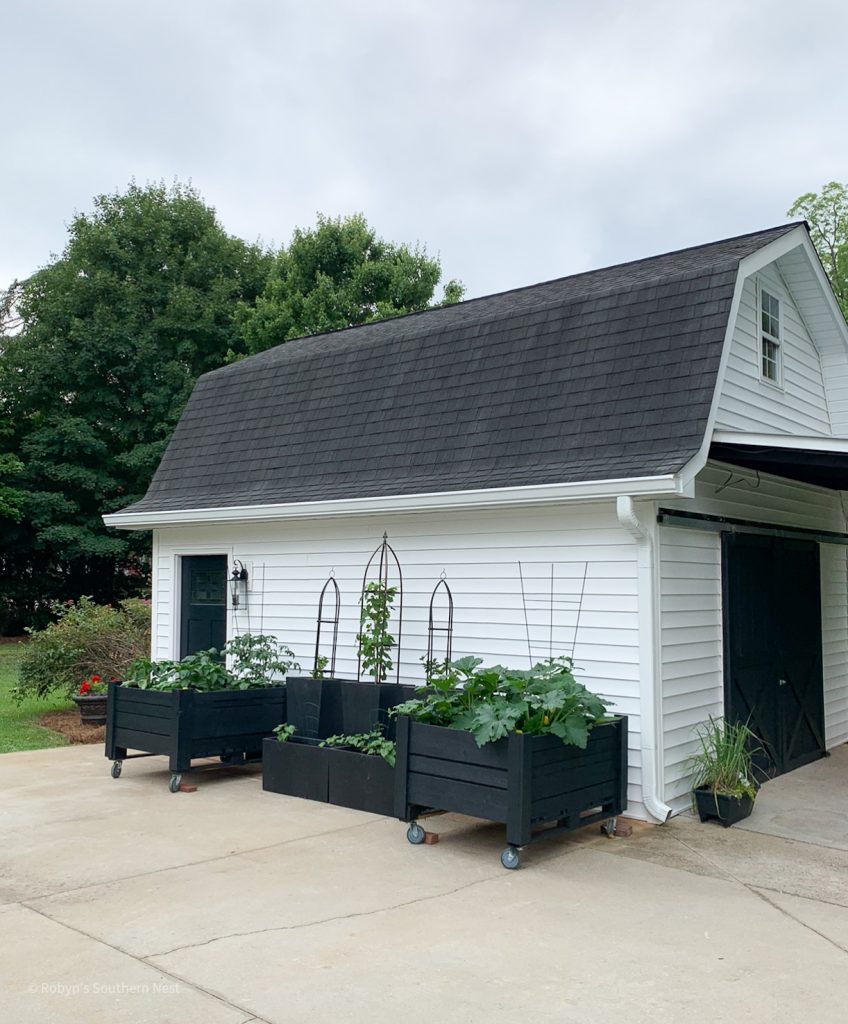
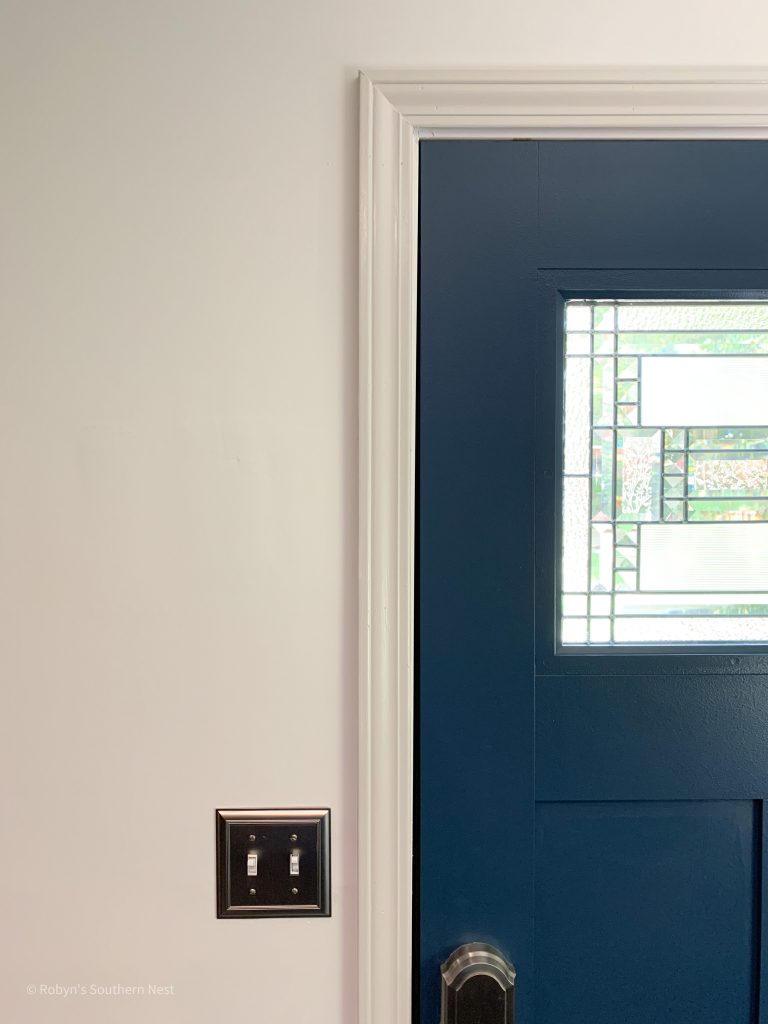
We hired a contractor to head up this project. It was a lot of work and we wanted it to be professionally done properly and made to last. The upgrades were not only to the inside, but to the outside as well. They wrapped the whole building with vinyl siding and new gutters. We replaced the door and added a side light to welcome you in. We went with white siding and gutters along with Charleston Green doors and trim to match our house.
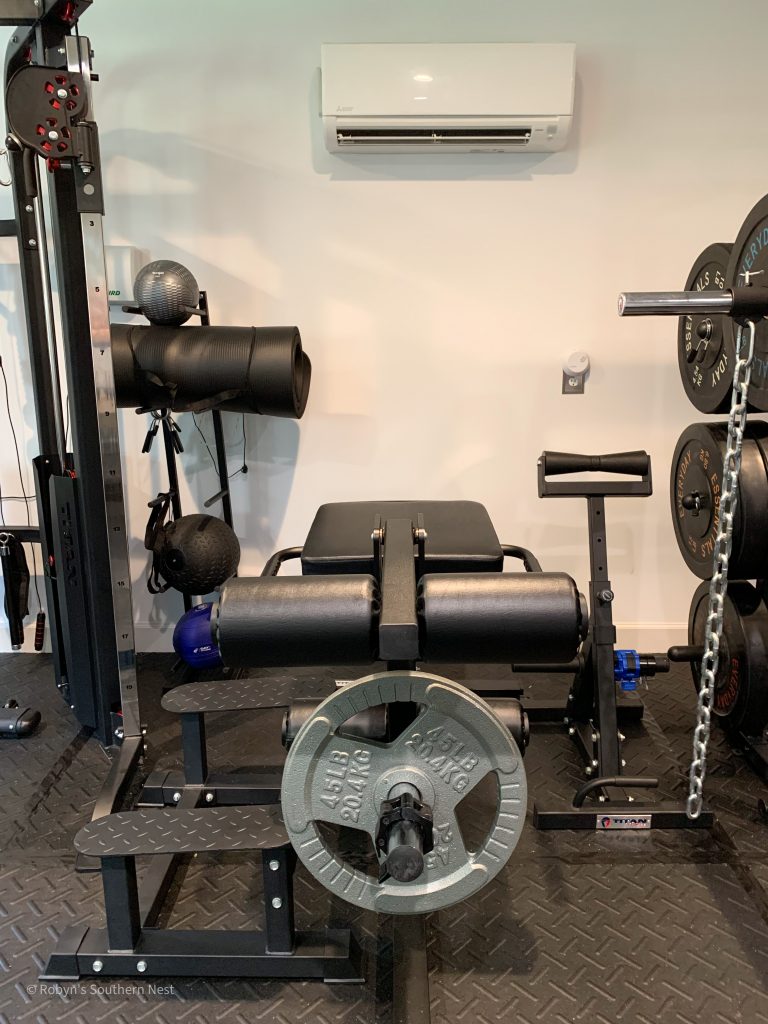
One of the main non negotiables of our gym was to have a split unit so that we could use the gym year round and be comfortable. Here in the South you have to have AC in a gym, especially in a small building like this. And in the Winter we will have heating as well.
Here’s a look at the outside before renovation.
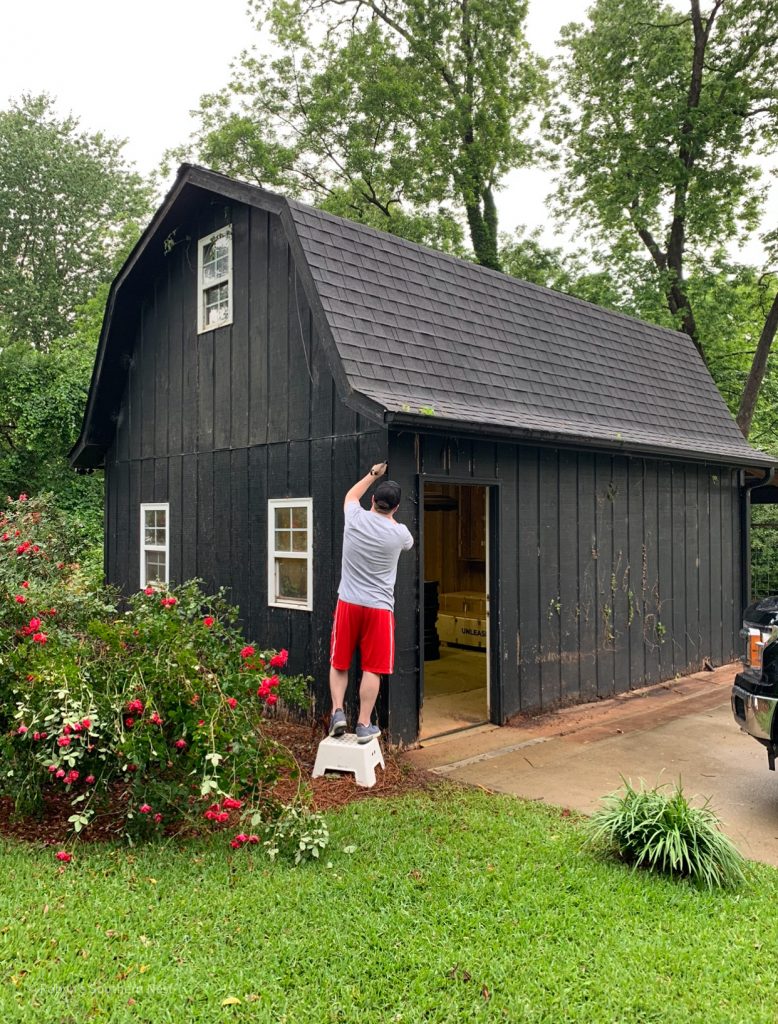
It’s such a cute building. It just needed a little facelift.
I’m now going to pass the torch over to Chris so he can share how he planned out the interior of the gym since that is his domain.
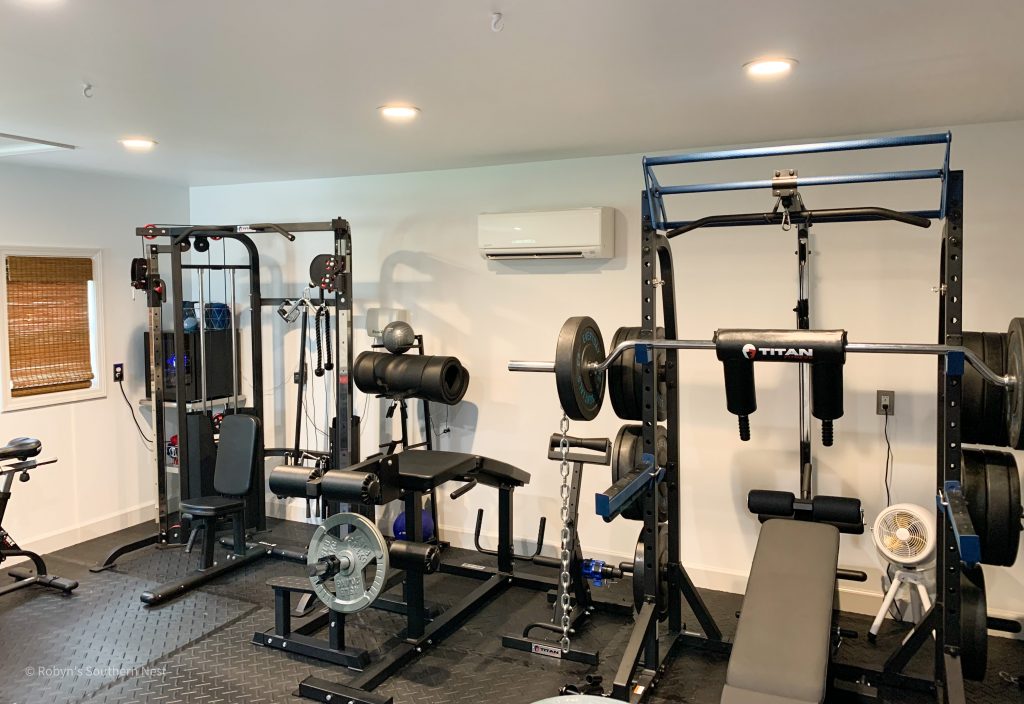
Let’s get into some details. Just for reference, our gym is 16 x 20 with a little over 8 foot ceilings. We also had to factor in where our doors and windows were in relation to how functional we could make the room with all of the equipment. Once we had a general configuration we identified some software tools like Rogue Zeus Gym Builder to map out the best use of space given the equipment we desired to purchase. From there we began shopping for the types of equipment that would be scalable for our needs at competitive price points. This was painstaking due to reviewing prices, equipment dimensions, shipping timelines, and other factors.

We knew that given our limited space much of the equipment would have to be mulitpurpose, therefore we decided our core equipment would include a cable based functional trainer, a power rack, adjustable dumbells, multifuction bench, landmine accessories, and some form of cardio equipment. Once we had identified those core features, we then began backfilling with other pieces of equipment to roundout the portfolio.
We slowly began purchasing equipment based on price and availability, making sure our core equipment was properly sized for our space. Knowing our potential color shemes and finishes, w e were selective with our product color choices to remain fairly standard in neutral options. We did this because we knew given our limited flooring options and paint preferences we didn’t want anything to clash with each other.
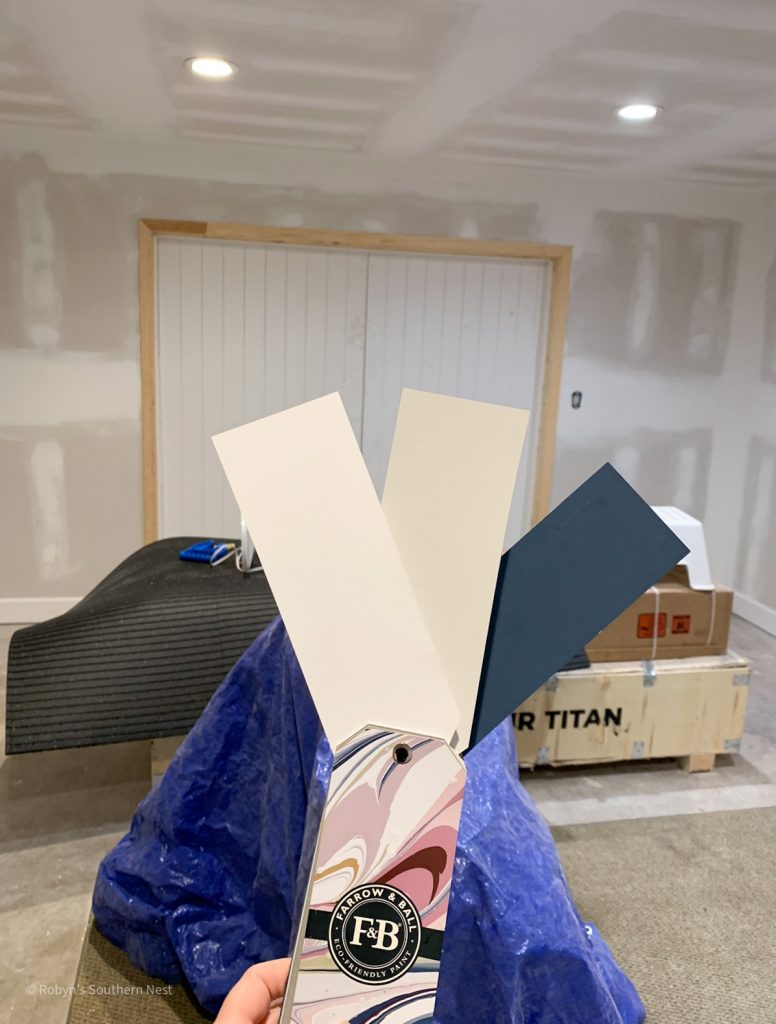
Finishes
Chris wanted a neutral space with a pop of blue here and there. We decided on three different colors from Farrow and Ball. We had these colors color matched at Sherwin Williams and used Sherwin Williams paint for this project.
Paint
Walls and Ceiling: Wevet
Trim: Ammonite
Interior Doors: Stiffkey Blue
Flooring
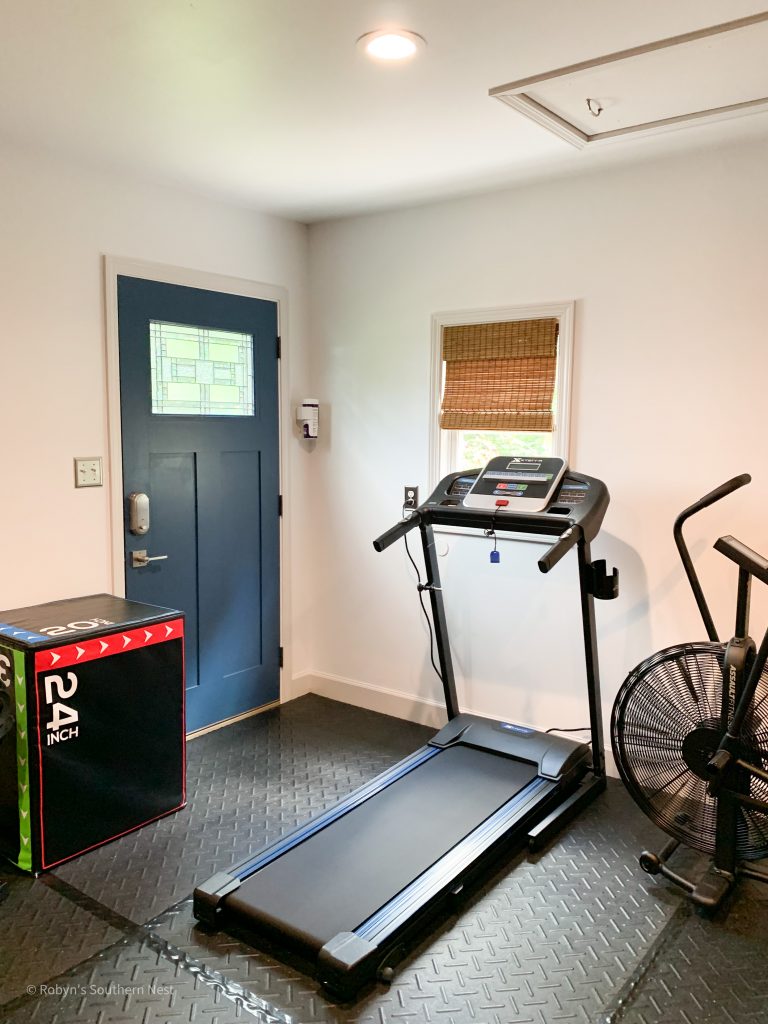
One key focus with respect to flooring was ensuring durability over our concrete slab. We decided to invest in horse stall mats because of their simplicity, overall economic value and ability to absorb shock from heavy weights. They are sold in 4′ x 6′ increments that weigh 96 lbs each. The hero of moving these beasts is this EZ Grip Mat Mover. After doing the math we realized that we would have to cut some of the mats to fit in the space. This was the most fun part of the project (no it wasn’t). After trial and error we decided to the best way to cut stall mats was to use a jigsaw over saw horses and a liberal application of WD-40.
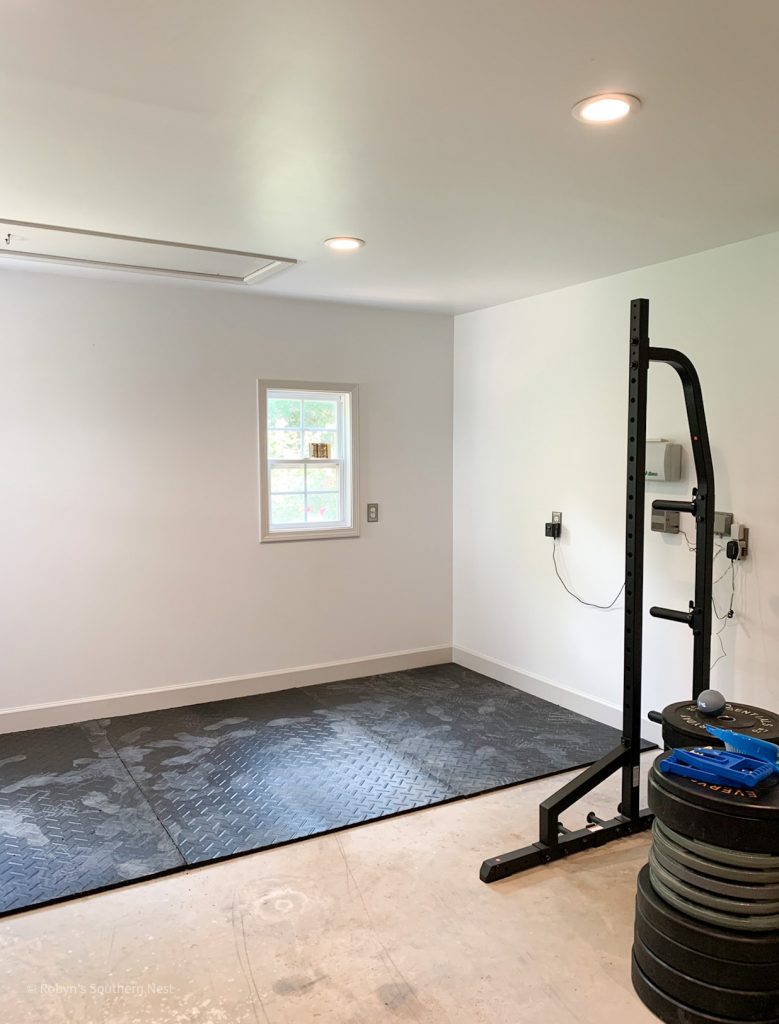
To avoid slippage and to ensure adherance we taped down the seams of the stall mats using Gorilla Tape.
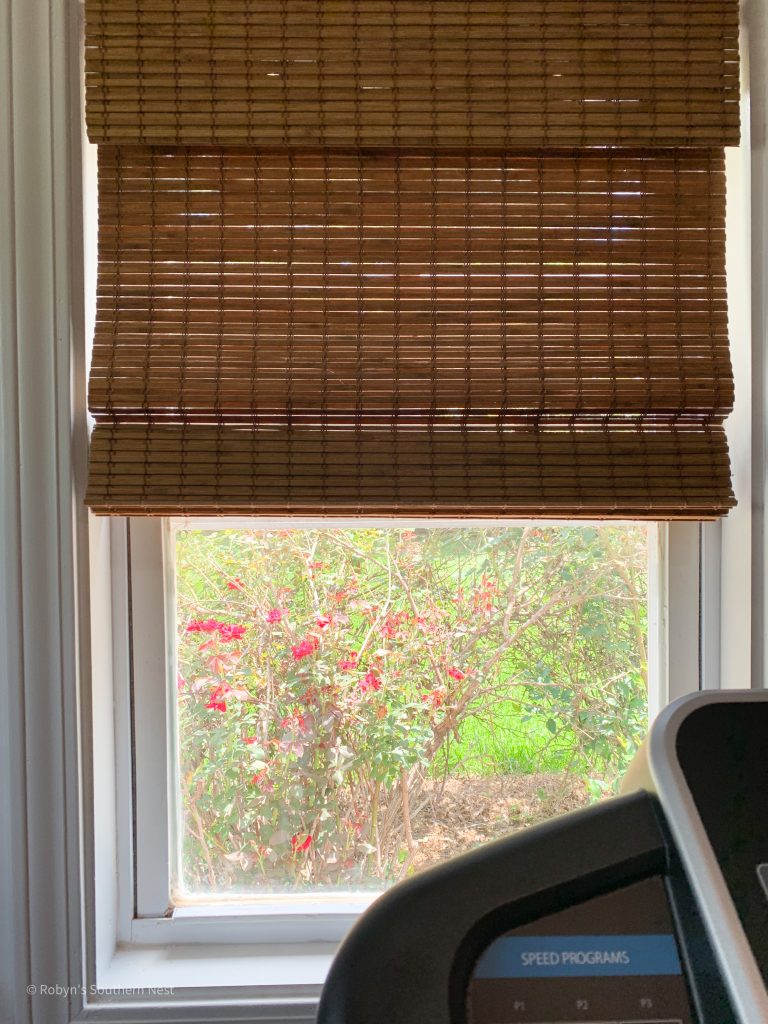
Window Treatments
Once the painted surfaces were complete we then began identifying the finishes for the room which included door handles, light switch plates and window treatments. For window treatments we went with woven wood blinds from Select Blinds. They are custom made for your windows and offer an easy solution for that woven look. They are also easy to install as well which is a huge plus!
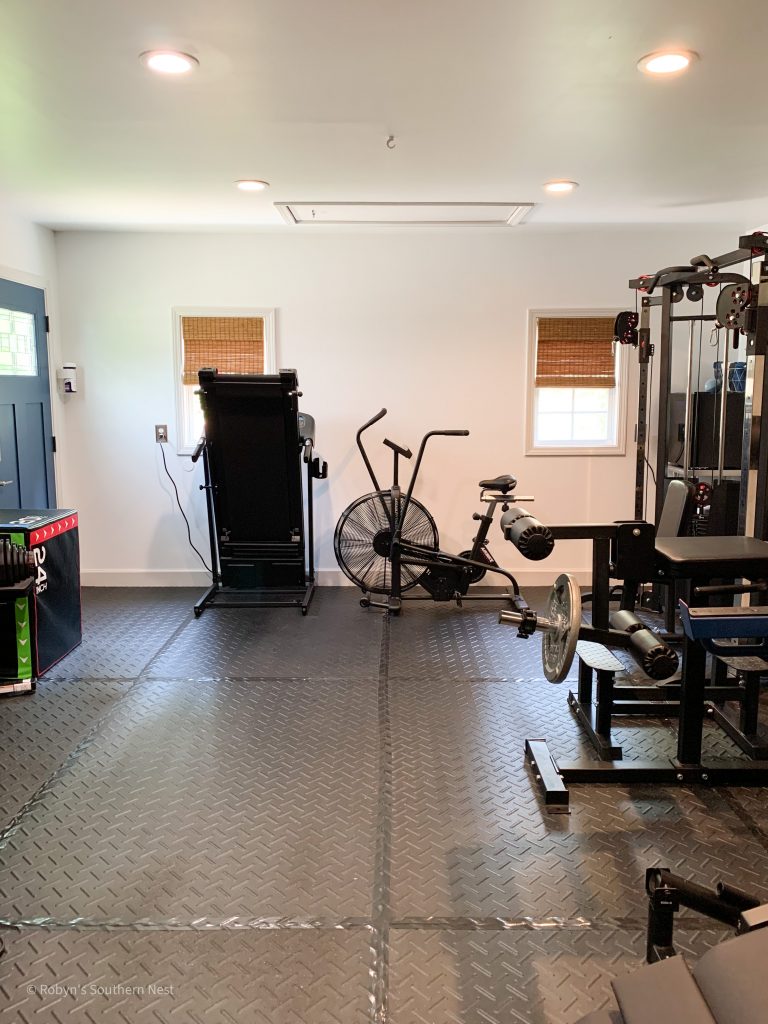
Once the finishes were complete it was time to begin the installation of the large pieces of equipment. Since we had already modeled out where everything was suppose to go, we quickly found out that either the dimensions or looks weren’t exactly right. We began by building the functional trainer and power rack because they were the largest pieces in the gym. Once those pieces were in place it became easier to visualize where the smaller pieces would flow and make sense. We also wanted to ensure adaquate floor space for free motion exercises and moving rolling equipment as necessary. This becomes crucial when determining functionality of a gym. You want the ability to have variety in exercise but not overwhelm the space.

Timing
Just for reference the planning took 2 months which included budgeting, finding a contractor and scheduling sub contractors as well as shipping times related to the equipment. As far building and arranging the equipment, it took about 30-40 hours.
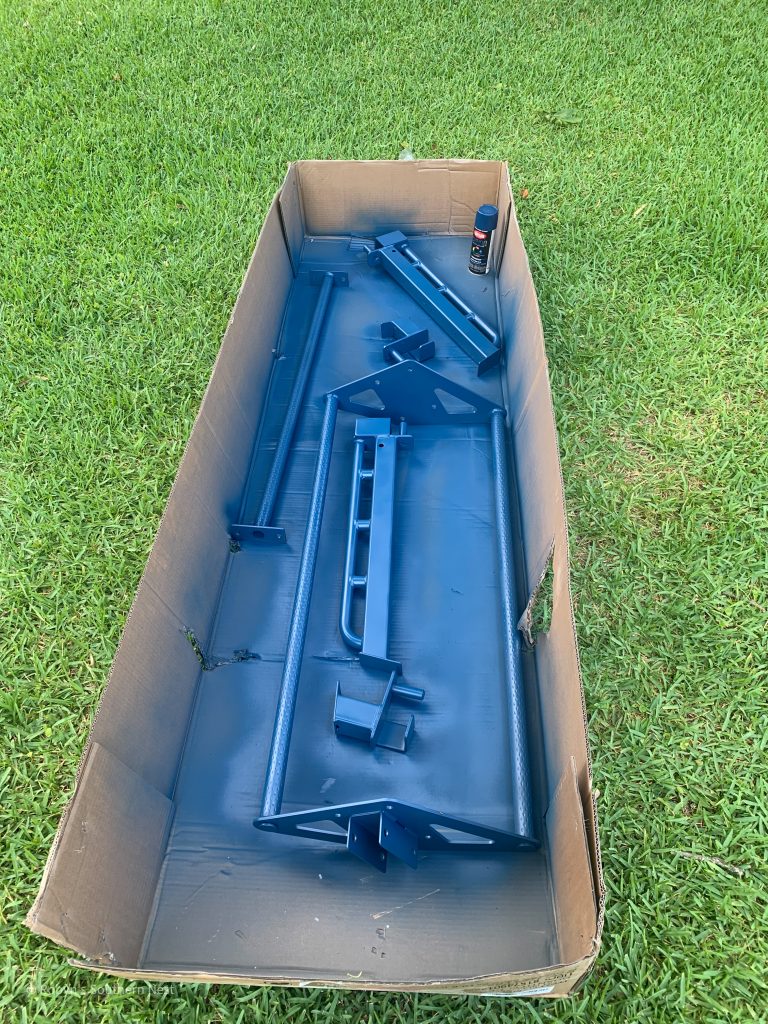
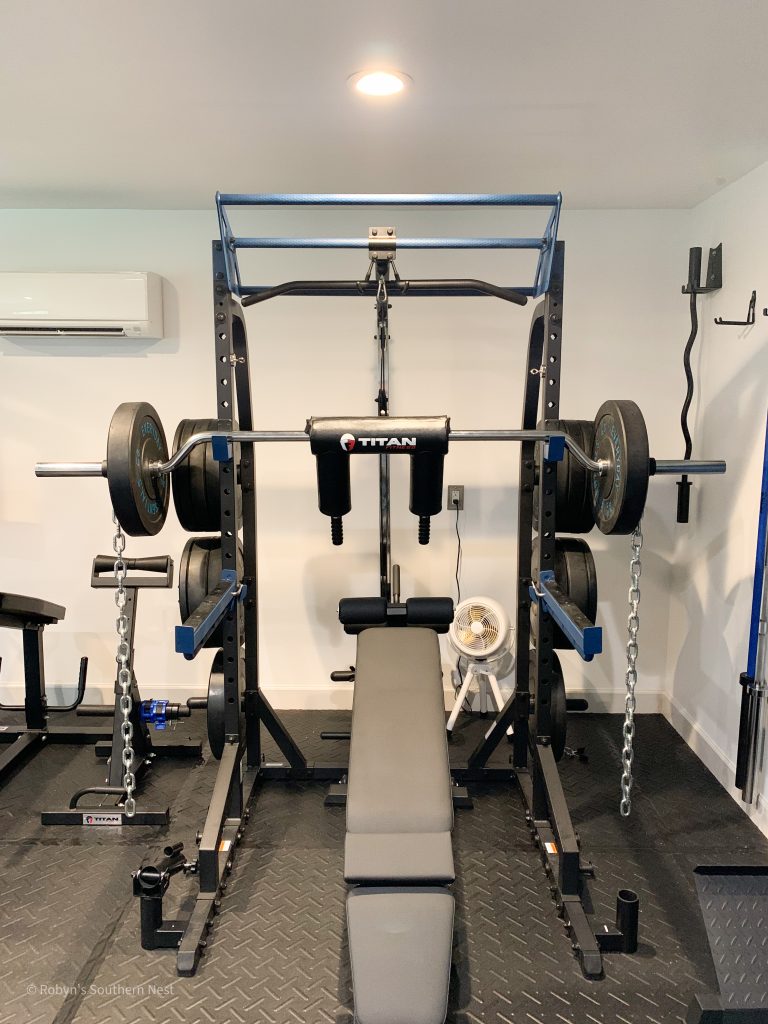
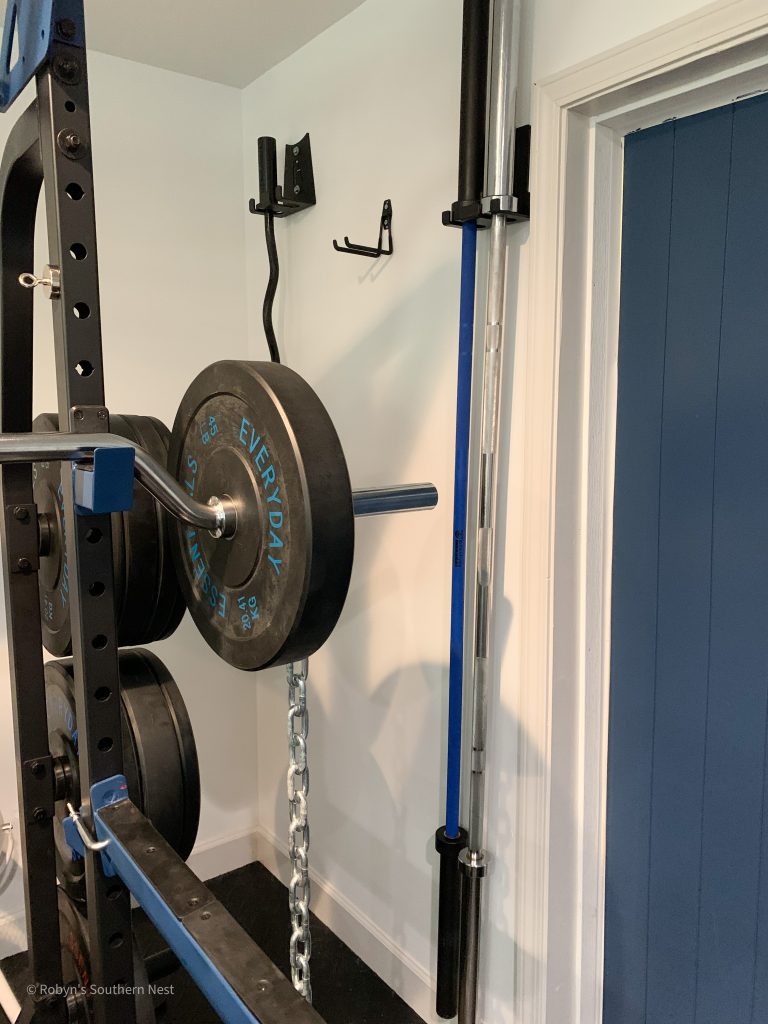
Power Rack
This Power Rack from Sunny had orange accents but we just couldn’t have that so Chris spray painted the orange to blue using Rustoleum in Matte Ink Blue.
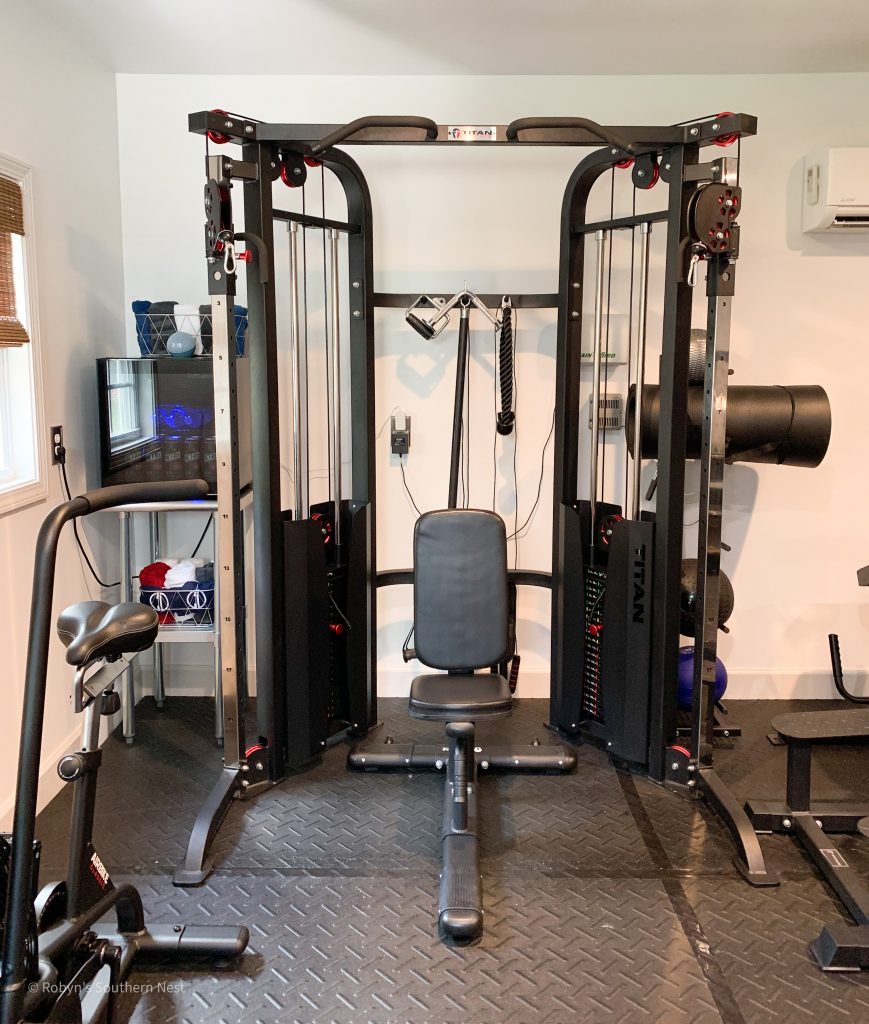
Functional Trainer
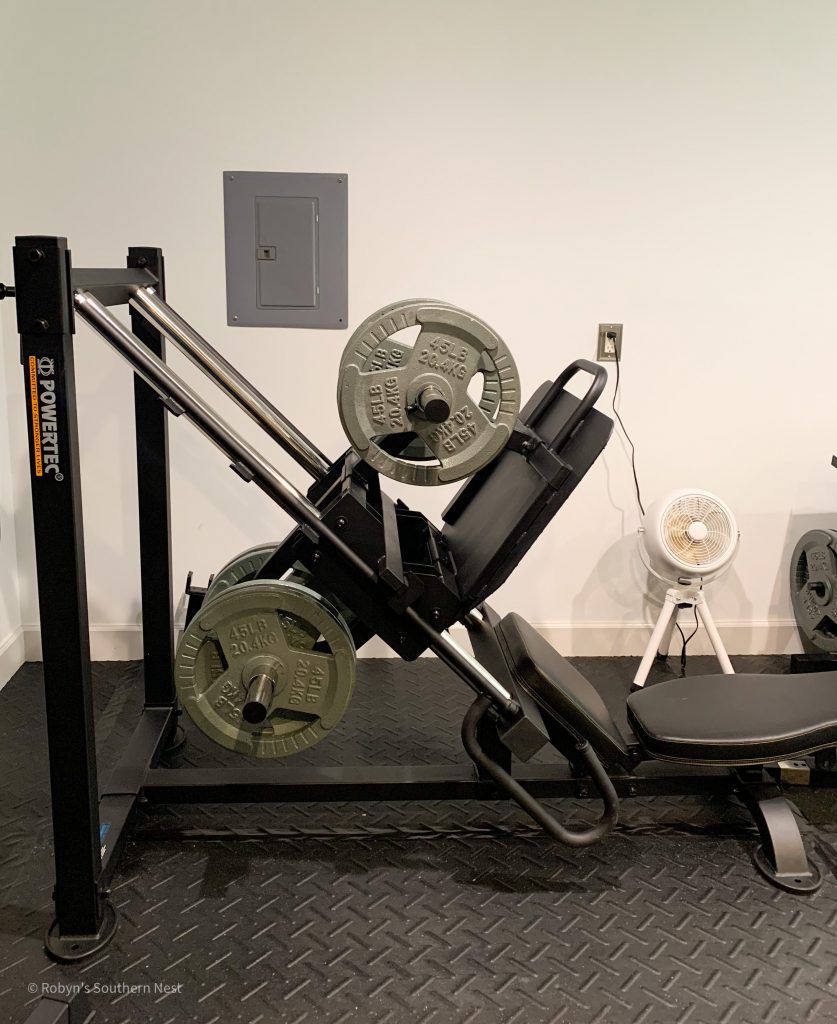
Leg Press
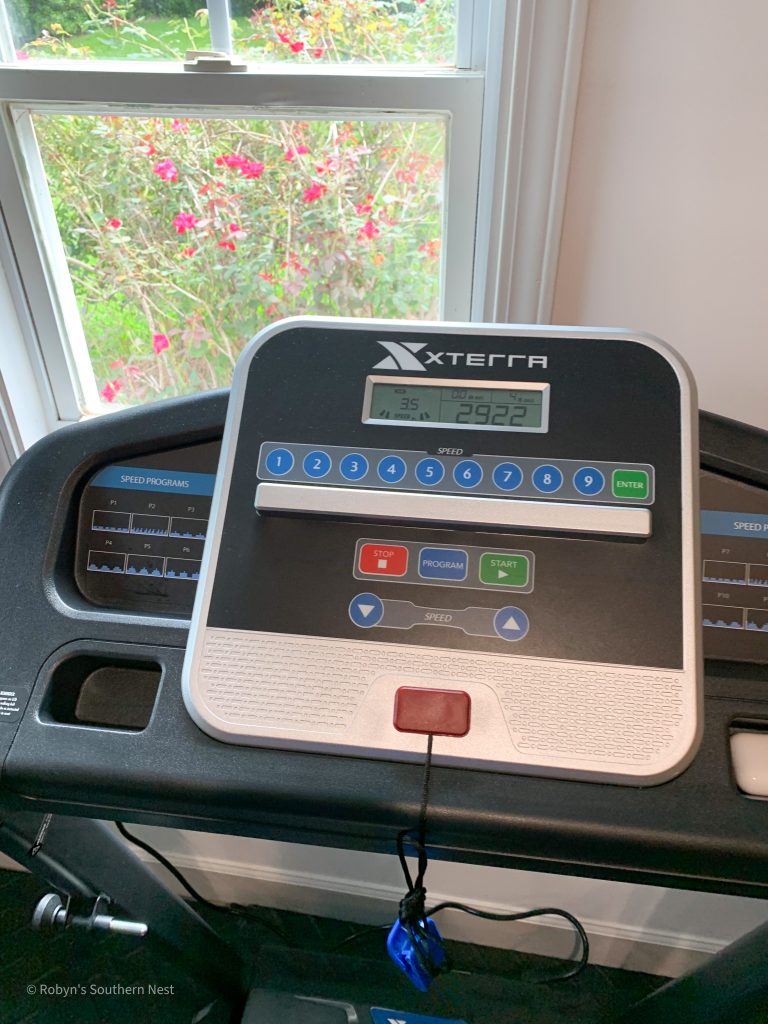
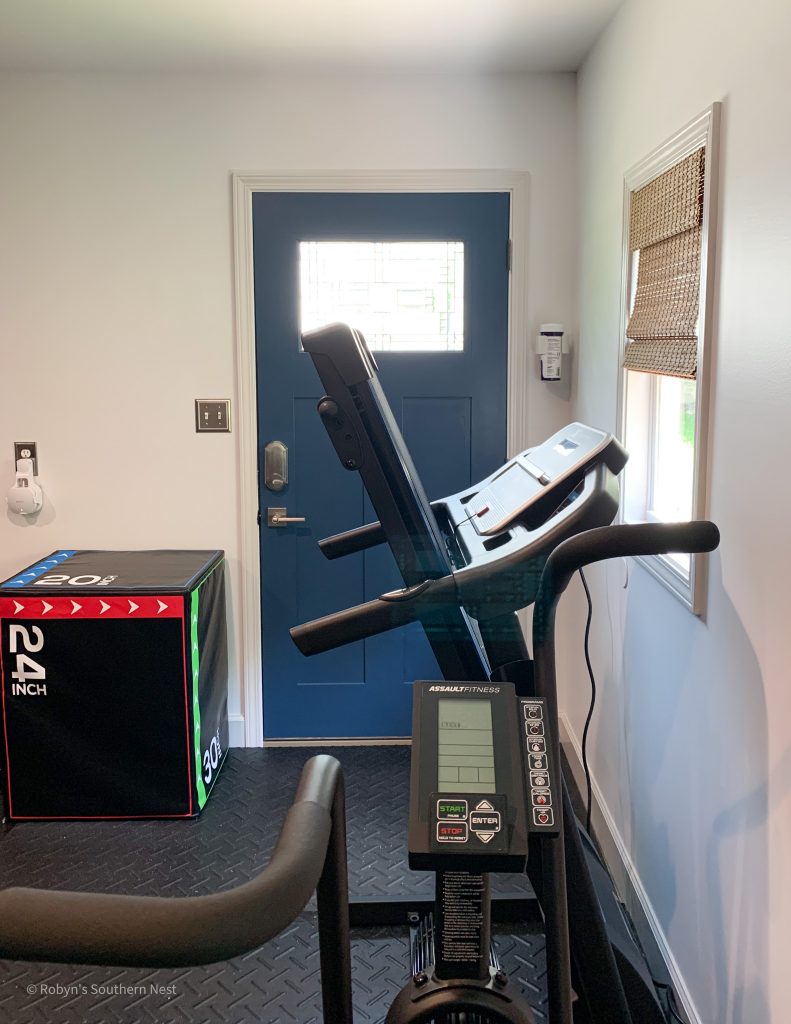
Treadmill and Bike
Leg Curl and Hamstring Combo

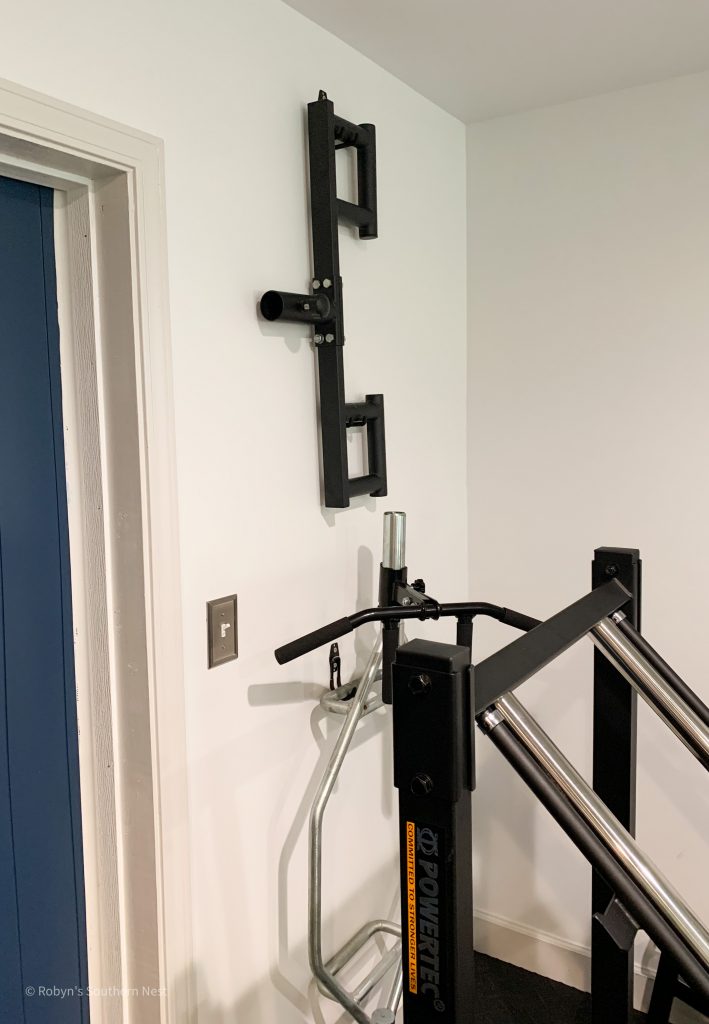
Chris maximized space by hanging some of the larger bars on the back walls for easy access.
I love this little corner. For Chris’ birthday last week I found him this cool mini fridge to go in the gym.
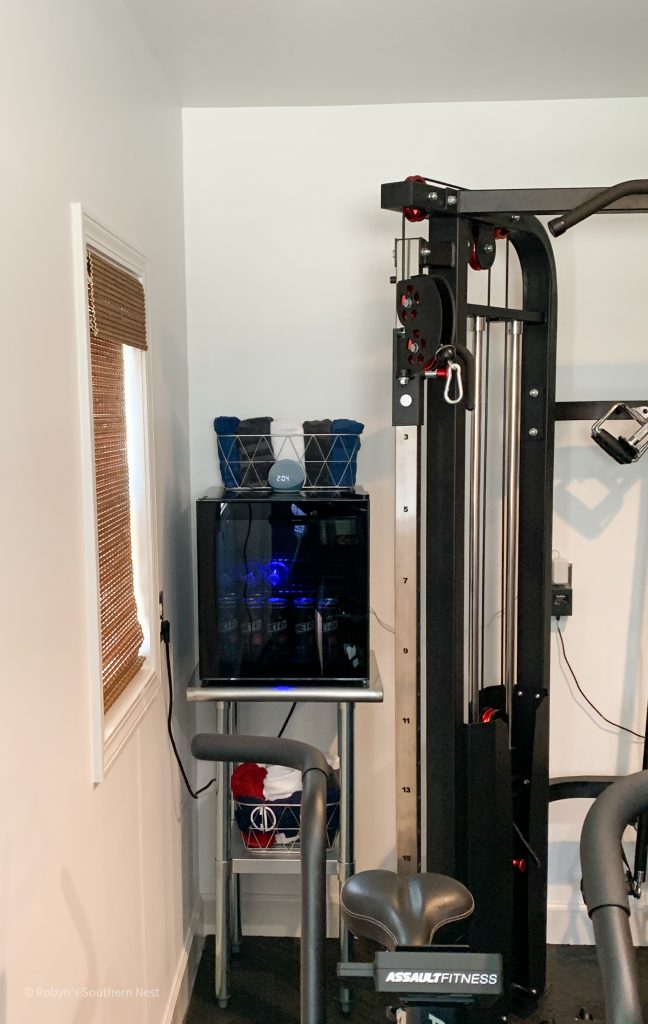
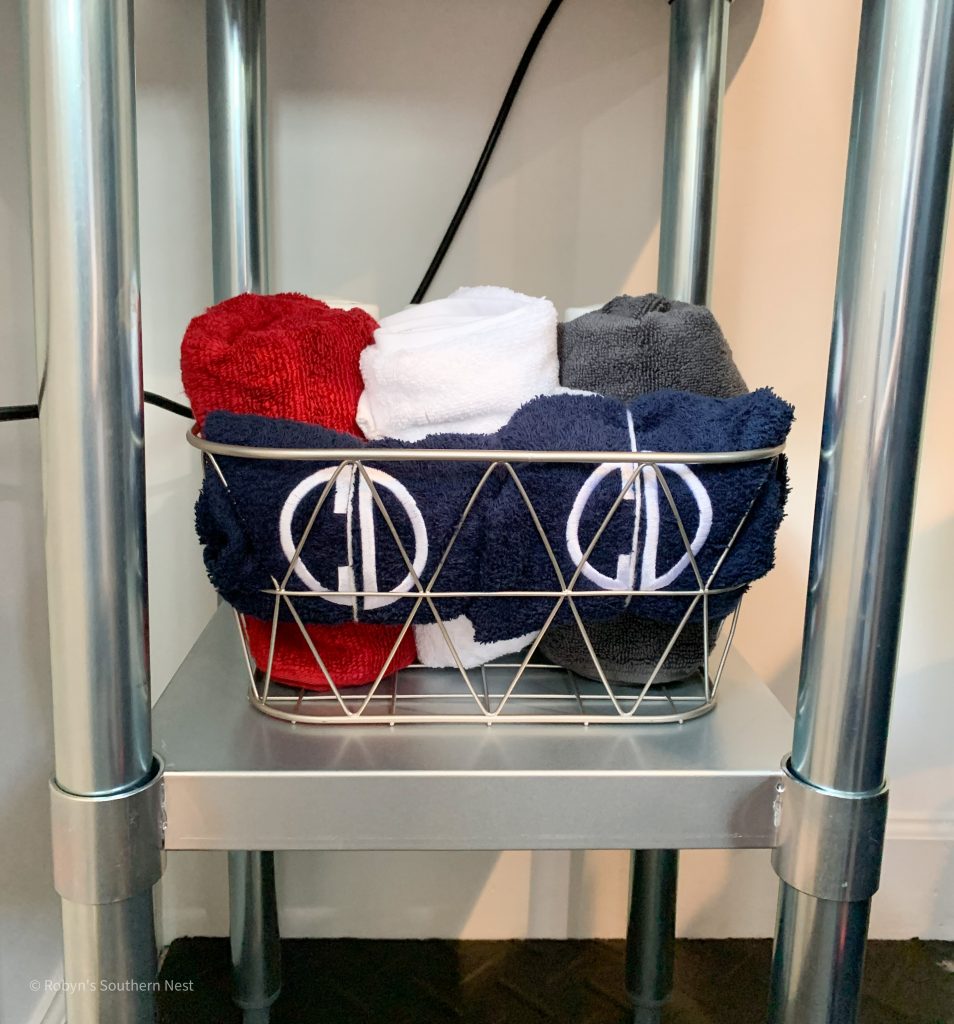
And of course any gym wouldn’t be complete with monogram towels. Hello!
On this wall below we are going to hang wall mirrors. That’s one of the last elements we are lacking.
When we’re not using the treadmill, we just easily fold it up and out of the way. The items we put here had to be easily moveable since we have a pull down attic above them.
Equipment Sources:
Titan Fitness Functional Trainer
Titan Fitness Leg Curl and Hamstring Combo
Titan Fitness Back Hyper-extension Bench
Titan Fitness Adjustable FID Bench
Titan Fitness Seated Stationary Bench
Titan Fitness 7-ft Regular Olympic Barbell
Sunny Health and Fitness Powerzone Half Rack with Lat Pulldown Attachment
Assault Fitness Assault Air Bike
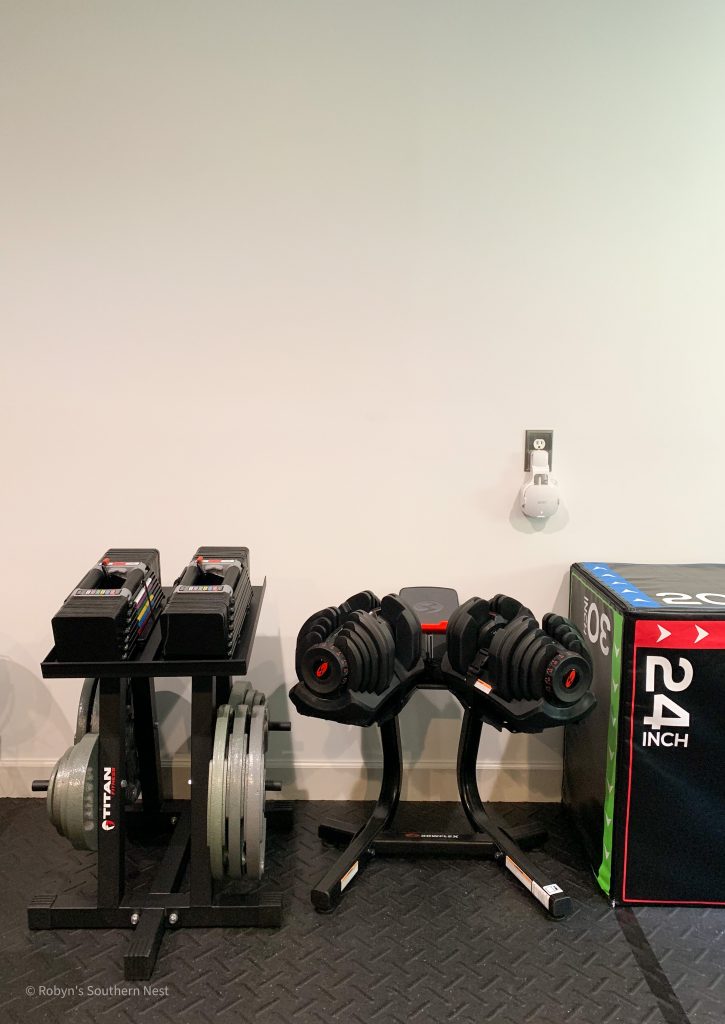
Bowflex Select Tech 1090 Dumbbell
Bowflex Dumbell Stand with Media Rack
Assorted Weight Plates:
Rubber Bumper Plates- Balancefrom
Cast Iron Plates – Balancefrom
Balancefrom Foam Plyometric Box
Weighted Slam Balls Day One Fitness:
Yes4All Viking Press Attachment
Yes4All Mini Deadlift Barbell Jack with Non-Slip Rubber Handle
Prosource Fit Gym Exercise Mat
Mini Fans – Hunter at Homegoods
Video Tour

Thank you for flying by!
xoxo,
Robyn
Shop The Gym


Pin For Later


You May Also Like
Pink Fusion Mineral Paint
Choosing a Kitchen Backsplash