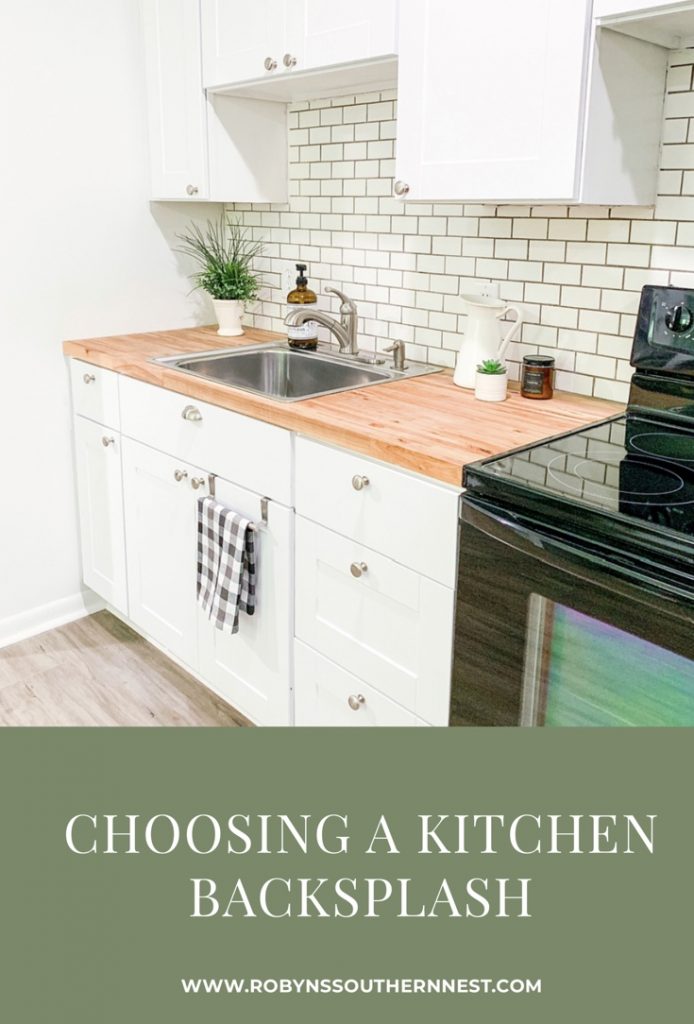
Choosing a Kitchen Backsplash
One of the only things that we did to the kitchen in our basement was to replace the kitchen backsplash. There are some things that I’m good at, but there are some things I’d rather leave to the experts and backsplash is one of them. So today I wanted to share some of the tips I learned when choosing a kitchen backsplash.
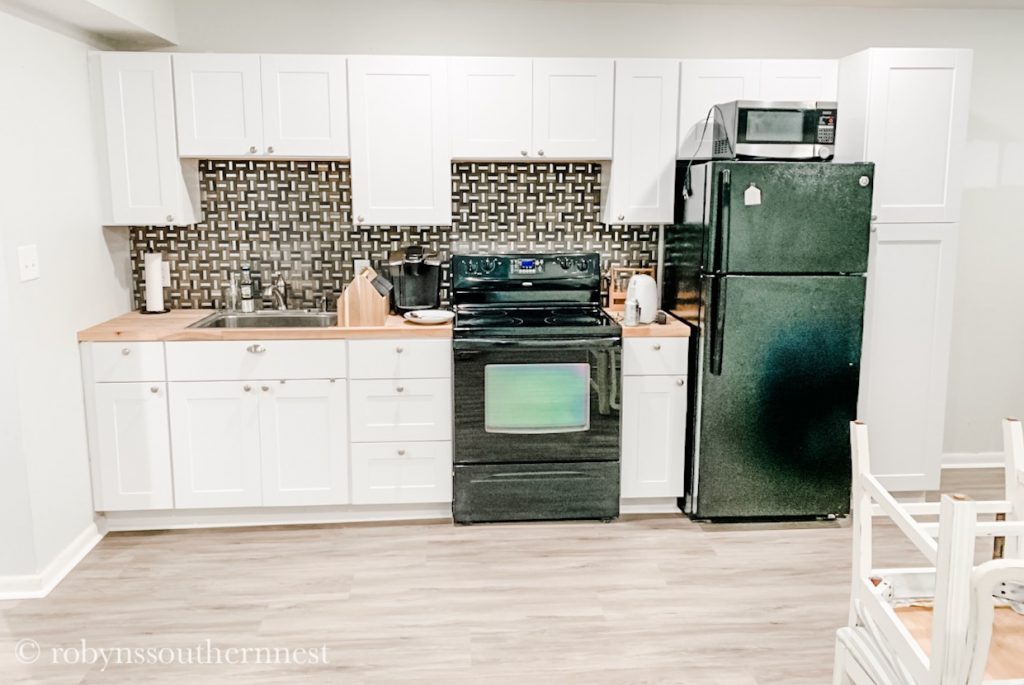
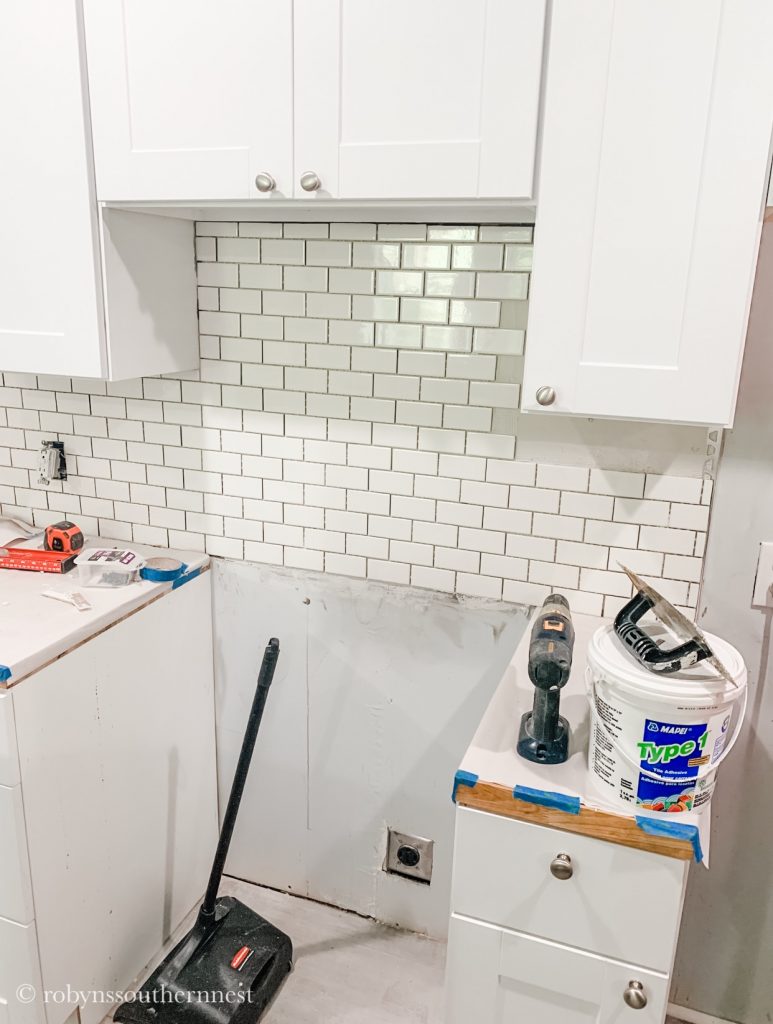
Here’s a little before picture of our previous backsplash. It wasn’t terrible. It just wasn’t the style we were going for in here.

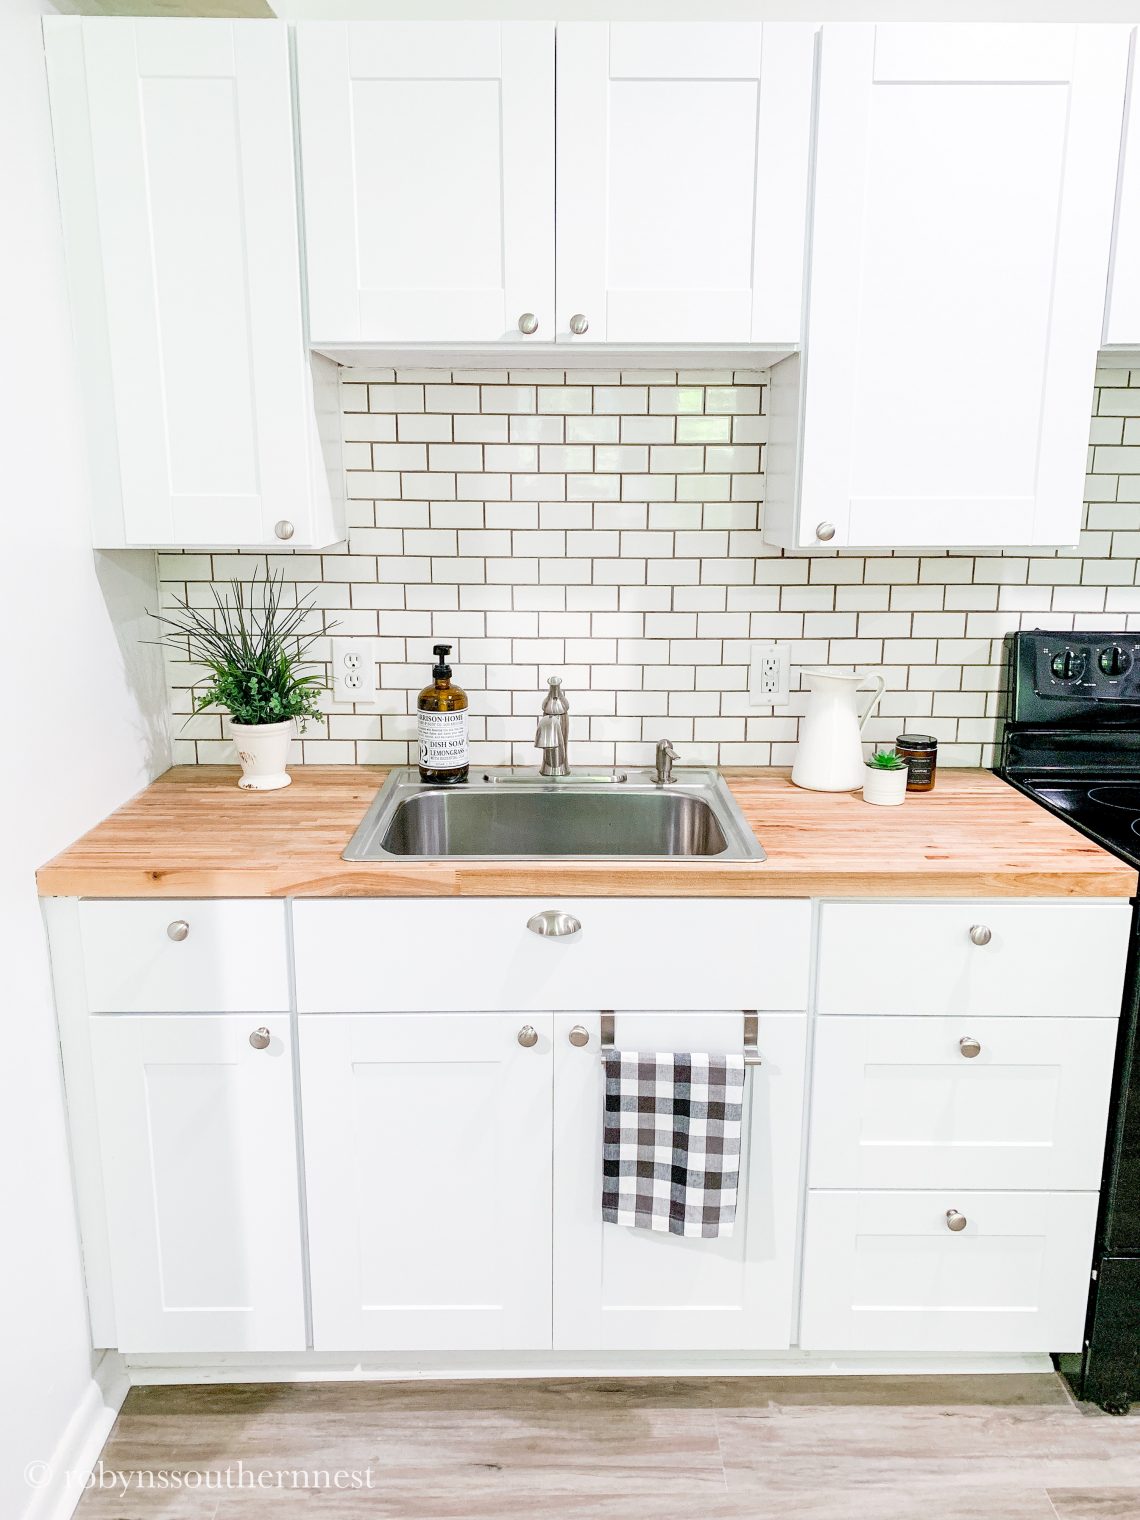
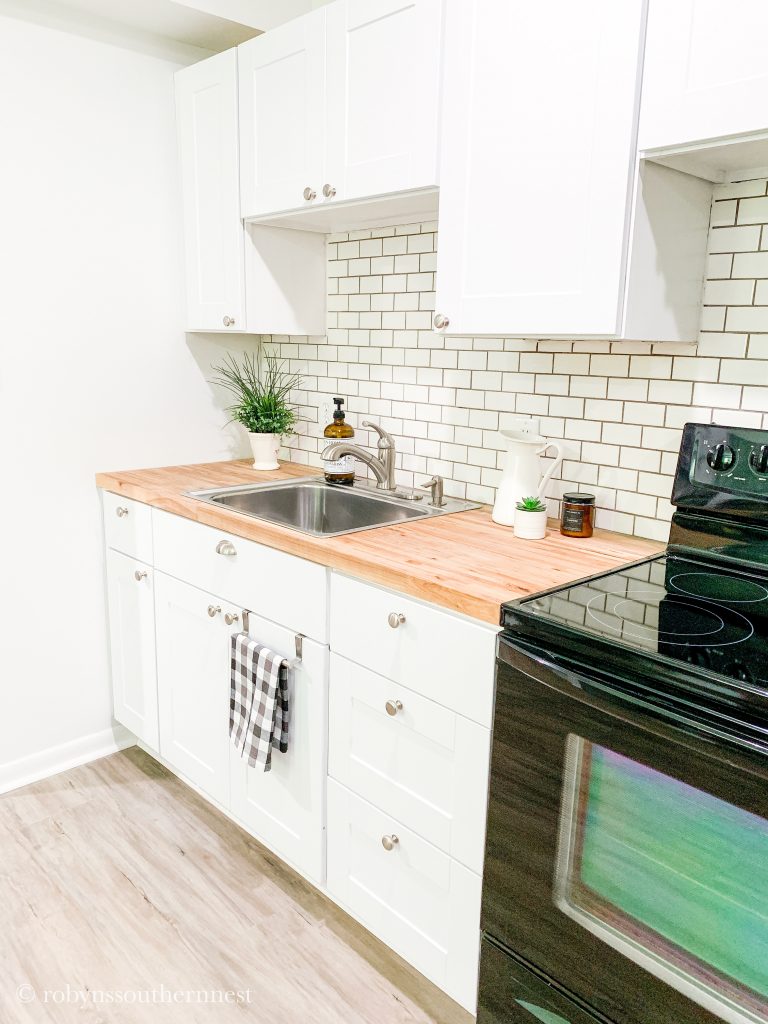
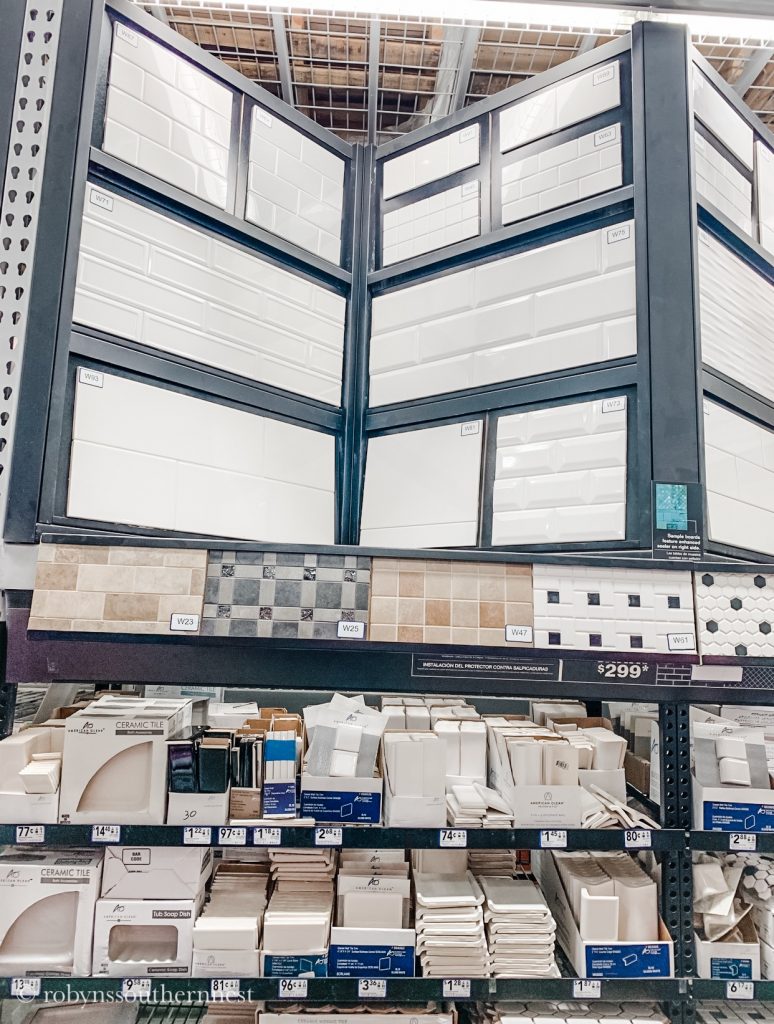
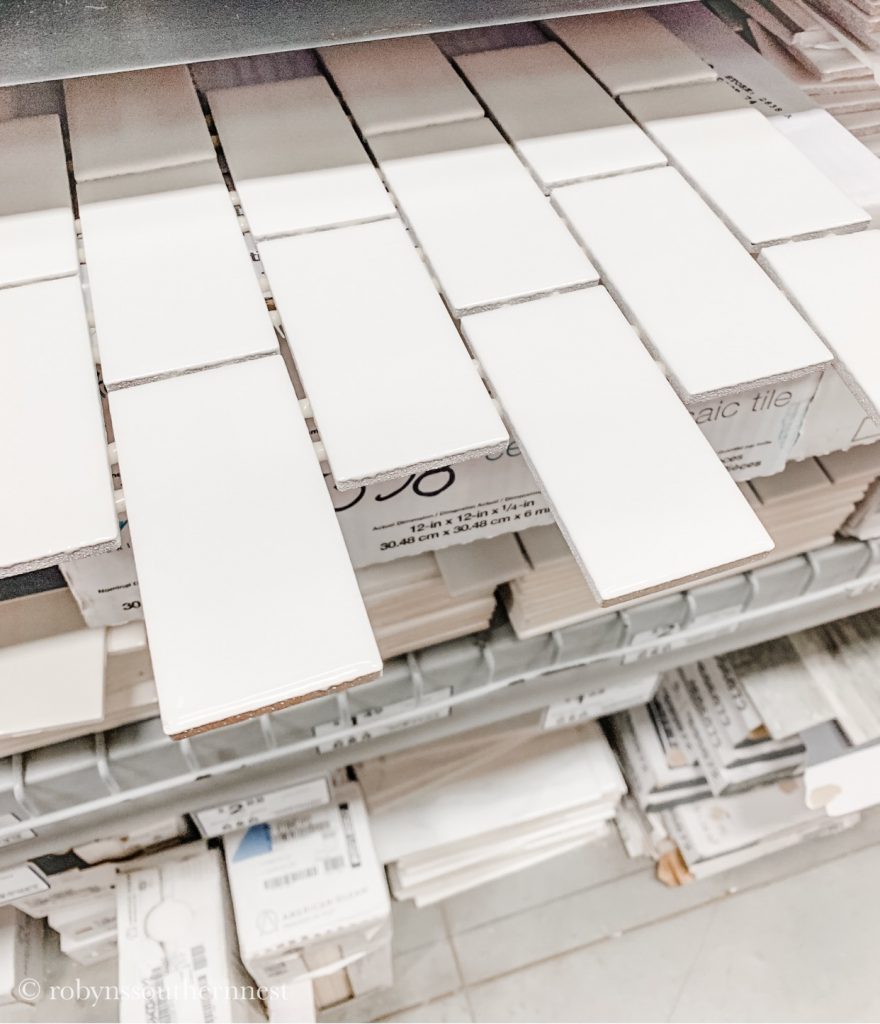
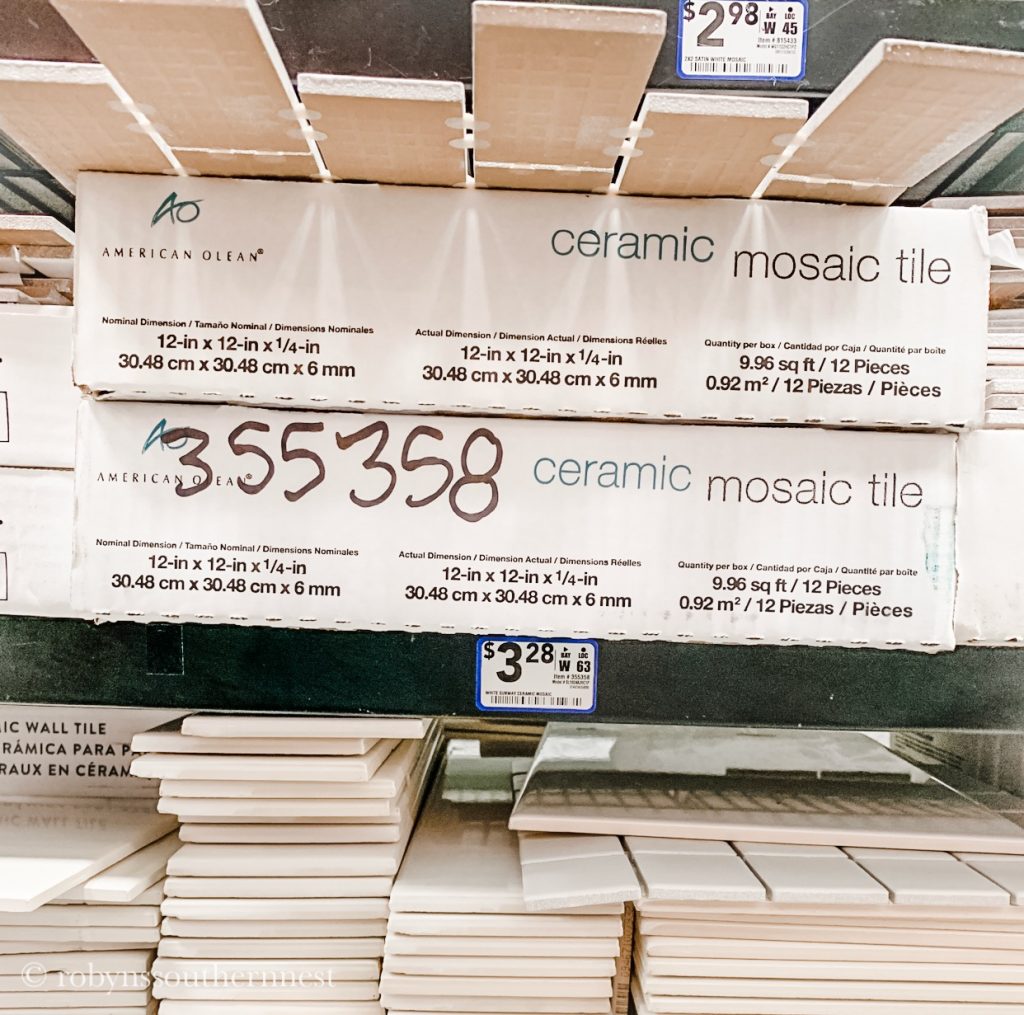
We wanted to carry on the modern farmhouse style in our basement so we decided to look for a subway tile that kind of went along with what we did in our kitchen upstairs. So a visit to Lowe’s and we were one step closer to our goal. Lowe’s has a lot of different options for subway tile, but we decided to go with a smaller mosaic ceramic subway tile that was smaller in scale since this area is on the small side. It also ended up being a little bit cheaper that way too.
This is not a sponsored post, but we were very pleased to find out that Lowe’s also contracts out to install the backsplash as well. They just happened to be running a special on the installation fee as well. Win win!
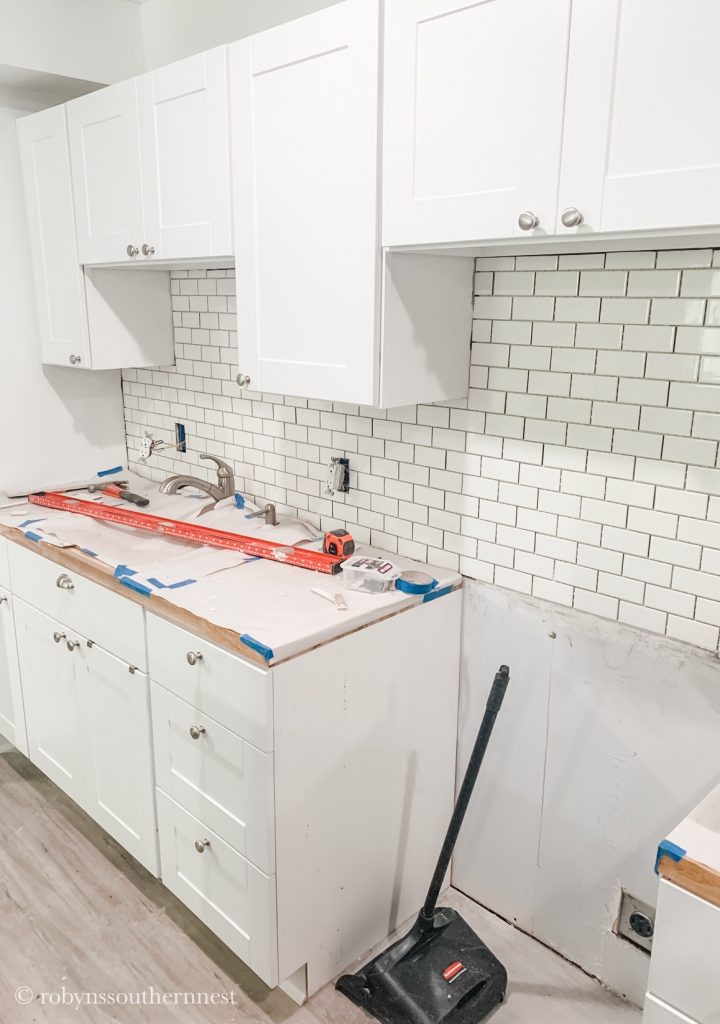
Lowe’s sent their contractor out to take measurements of the space and gave us a quote on the removal of our existing and installation of the new one with all the necessary materials needed for the job. We also chose what grout color we wanted and what kind of bull nose header we wanted near the side of the refrigerator where the tile stopped.
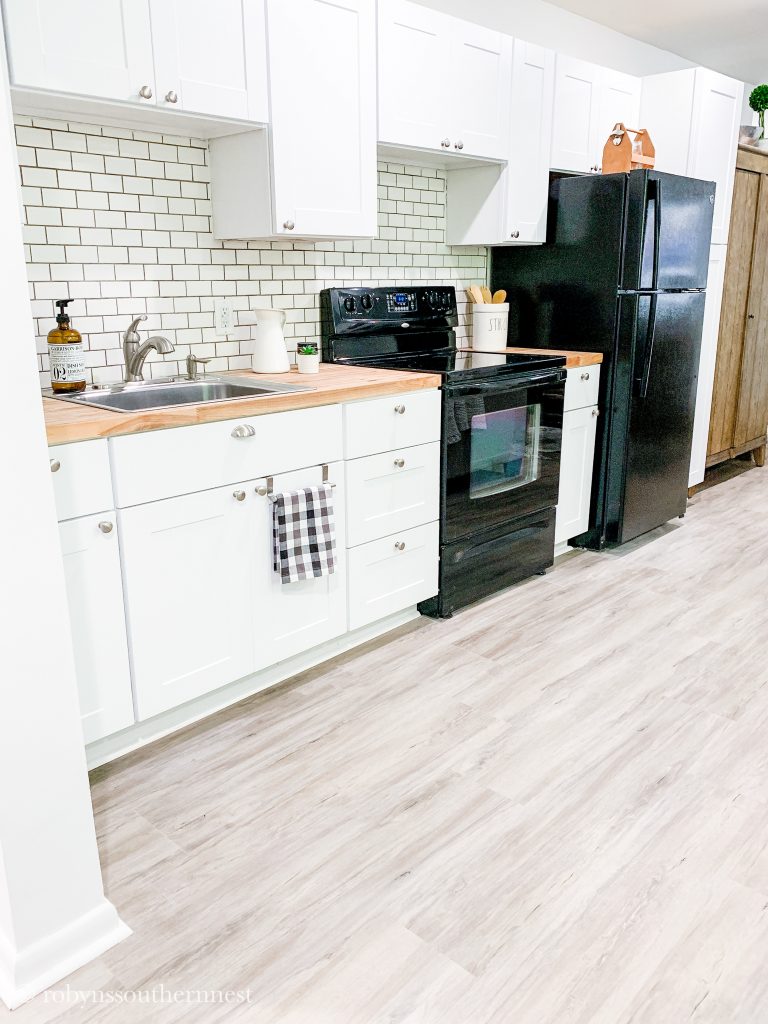
We decided to go with a gray grout to really make the mosaic tile pop and tie in with our floors. I really like the contrast, it helped to break up the white cabinets.
The whole installation process took a team of two a little over four hours, mainly because they had to go get more tile during their break. They also uncovered that the electrical housing boxes weren’t attached to our studs so they were also able to secure those. We wouldn’t have had any idea they were installed that way had we not switched out our backsplash. Needless to say we were very thankful for them rectifying that. You never know what’s behind the walls when you get into home renovations that’s for sure.
Overall it was a pretty good process from start to finish. Keep in mind this job is very very dusty so be sure to cover all the areas you don’t want getting dusty. I wish I had covered our new sofa had I known it was going to be that messy. Looking back I think they could have prepped the space a little better than they did, but that was our only complaint. Also if you have butcher block counters like we do, be sure that they cover them with something waterproof. This will ensure that none of the grout water will get underneath and stain them.
5 Tips for Choosing a Backsplash
- Don’t go with something super trendy. You want to choose something that will last unless you don’t plan on staying in your home for a long time. You also want to choose something that will appeal to future buyers. I guess what I’m trying to say is to pick something conservative unless this is your forever home.
- Always buy an additional box of tile. Like in this case whoever took the measurements didn’t account for a mess up so the crew then had to go out and pick up another box of tile. Just get one more box in case. If you end up not using it then you can always return it.
- Order samples or buy a sample at the store to see how it looks in your space before committing. This way you can be sure you love it with the rest of the finishes in your space.
- Take tile up the wall above cabinets. This is something we didn’t do in this kitchen, but I would highly suggest it. If you have cabinetry that doesn’t go all the way to the ceiling it looks very cool if you continue the tile above those cabinets. Another example would be if you had a custom range hood installed, it will help draw your eye up if you continue the tile up to the ceiling instead of stopping at a certain height.
- Add dimension with grout. Because we used a flat mosaic tile with not a whole lot of dimension, choosing a darker grout helped to give it more dimension and texture. It also really helps to show off a lighter tile in my opinion.
Thank you so much for flying by today friends! Please let me know if you have any questions down in the comments.
xoxo,
Robyn