Painted Weathered Wood Cabinet Makeover
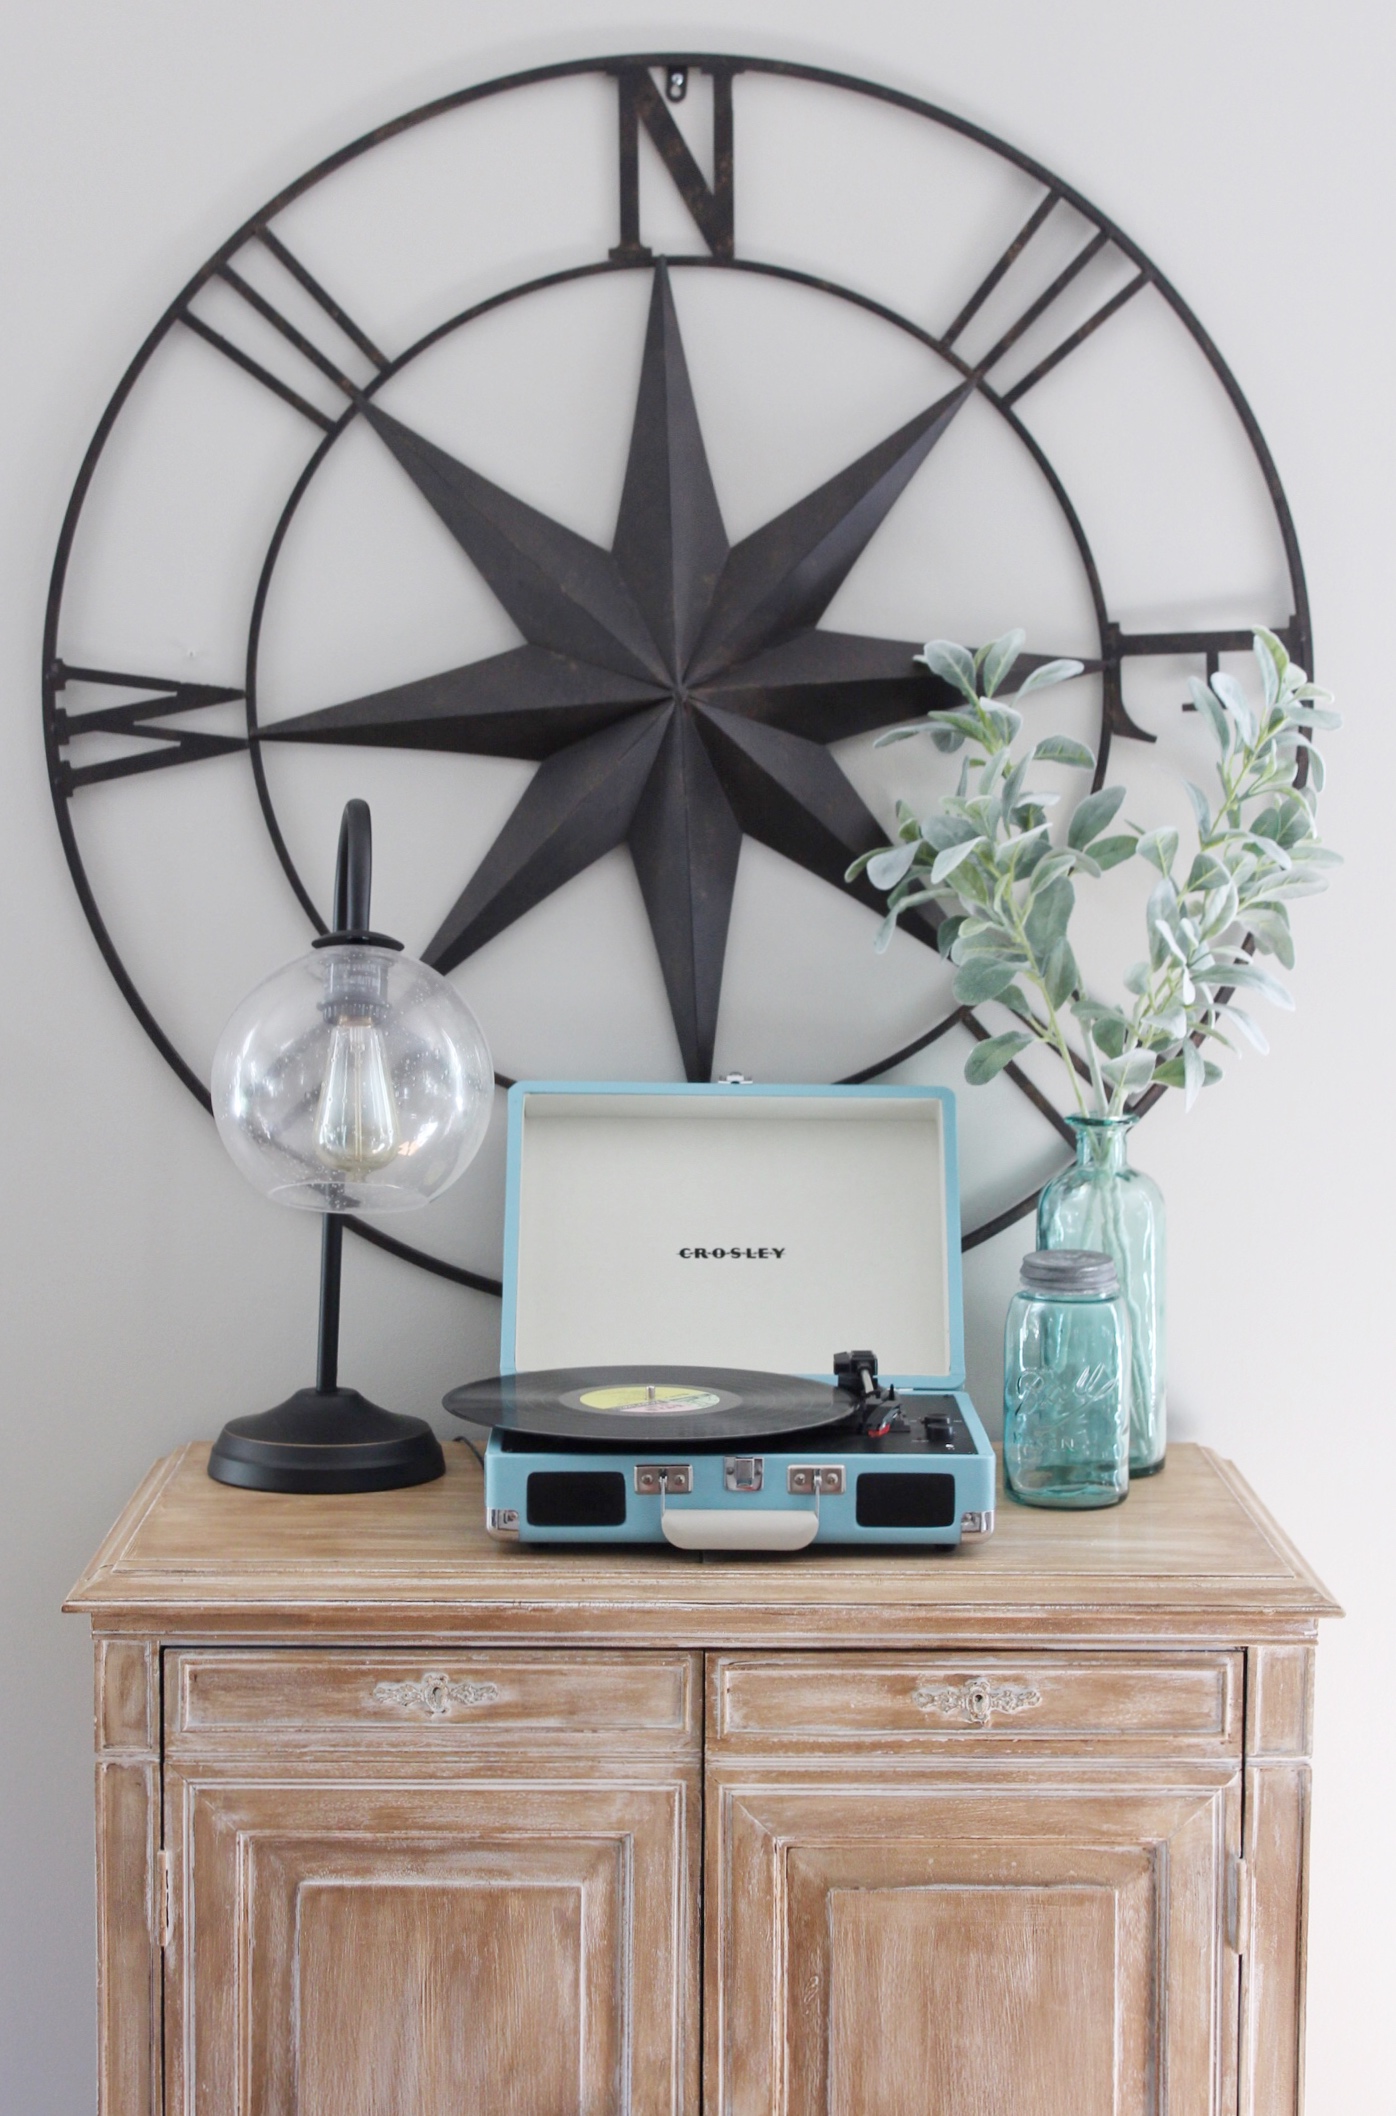
Hey y’all and happy Monday! Yesterday I got a boost of motivation to refinish one of my grandpa’s pieces of furniture. I love it so much, and I have had it with me since college. Over the years it has taken a beating with the twenty moves, so I thought it was the perfect time to give it a good refresh. I decided that I really wanted it to be a weathered wood look, and I think I have found the perfect combo to achieve that very look.
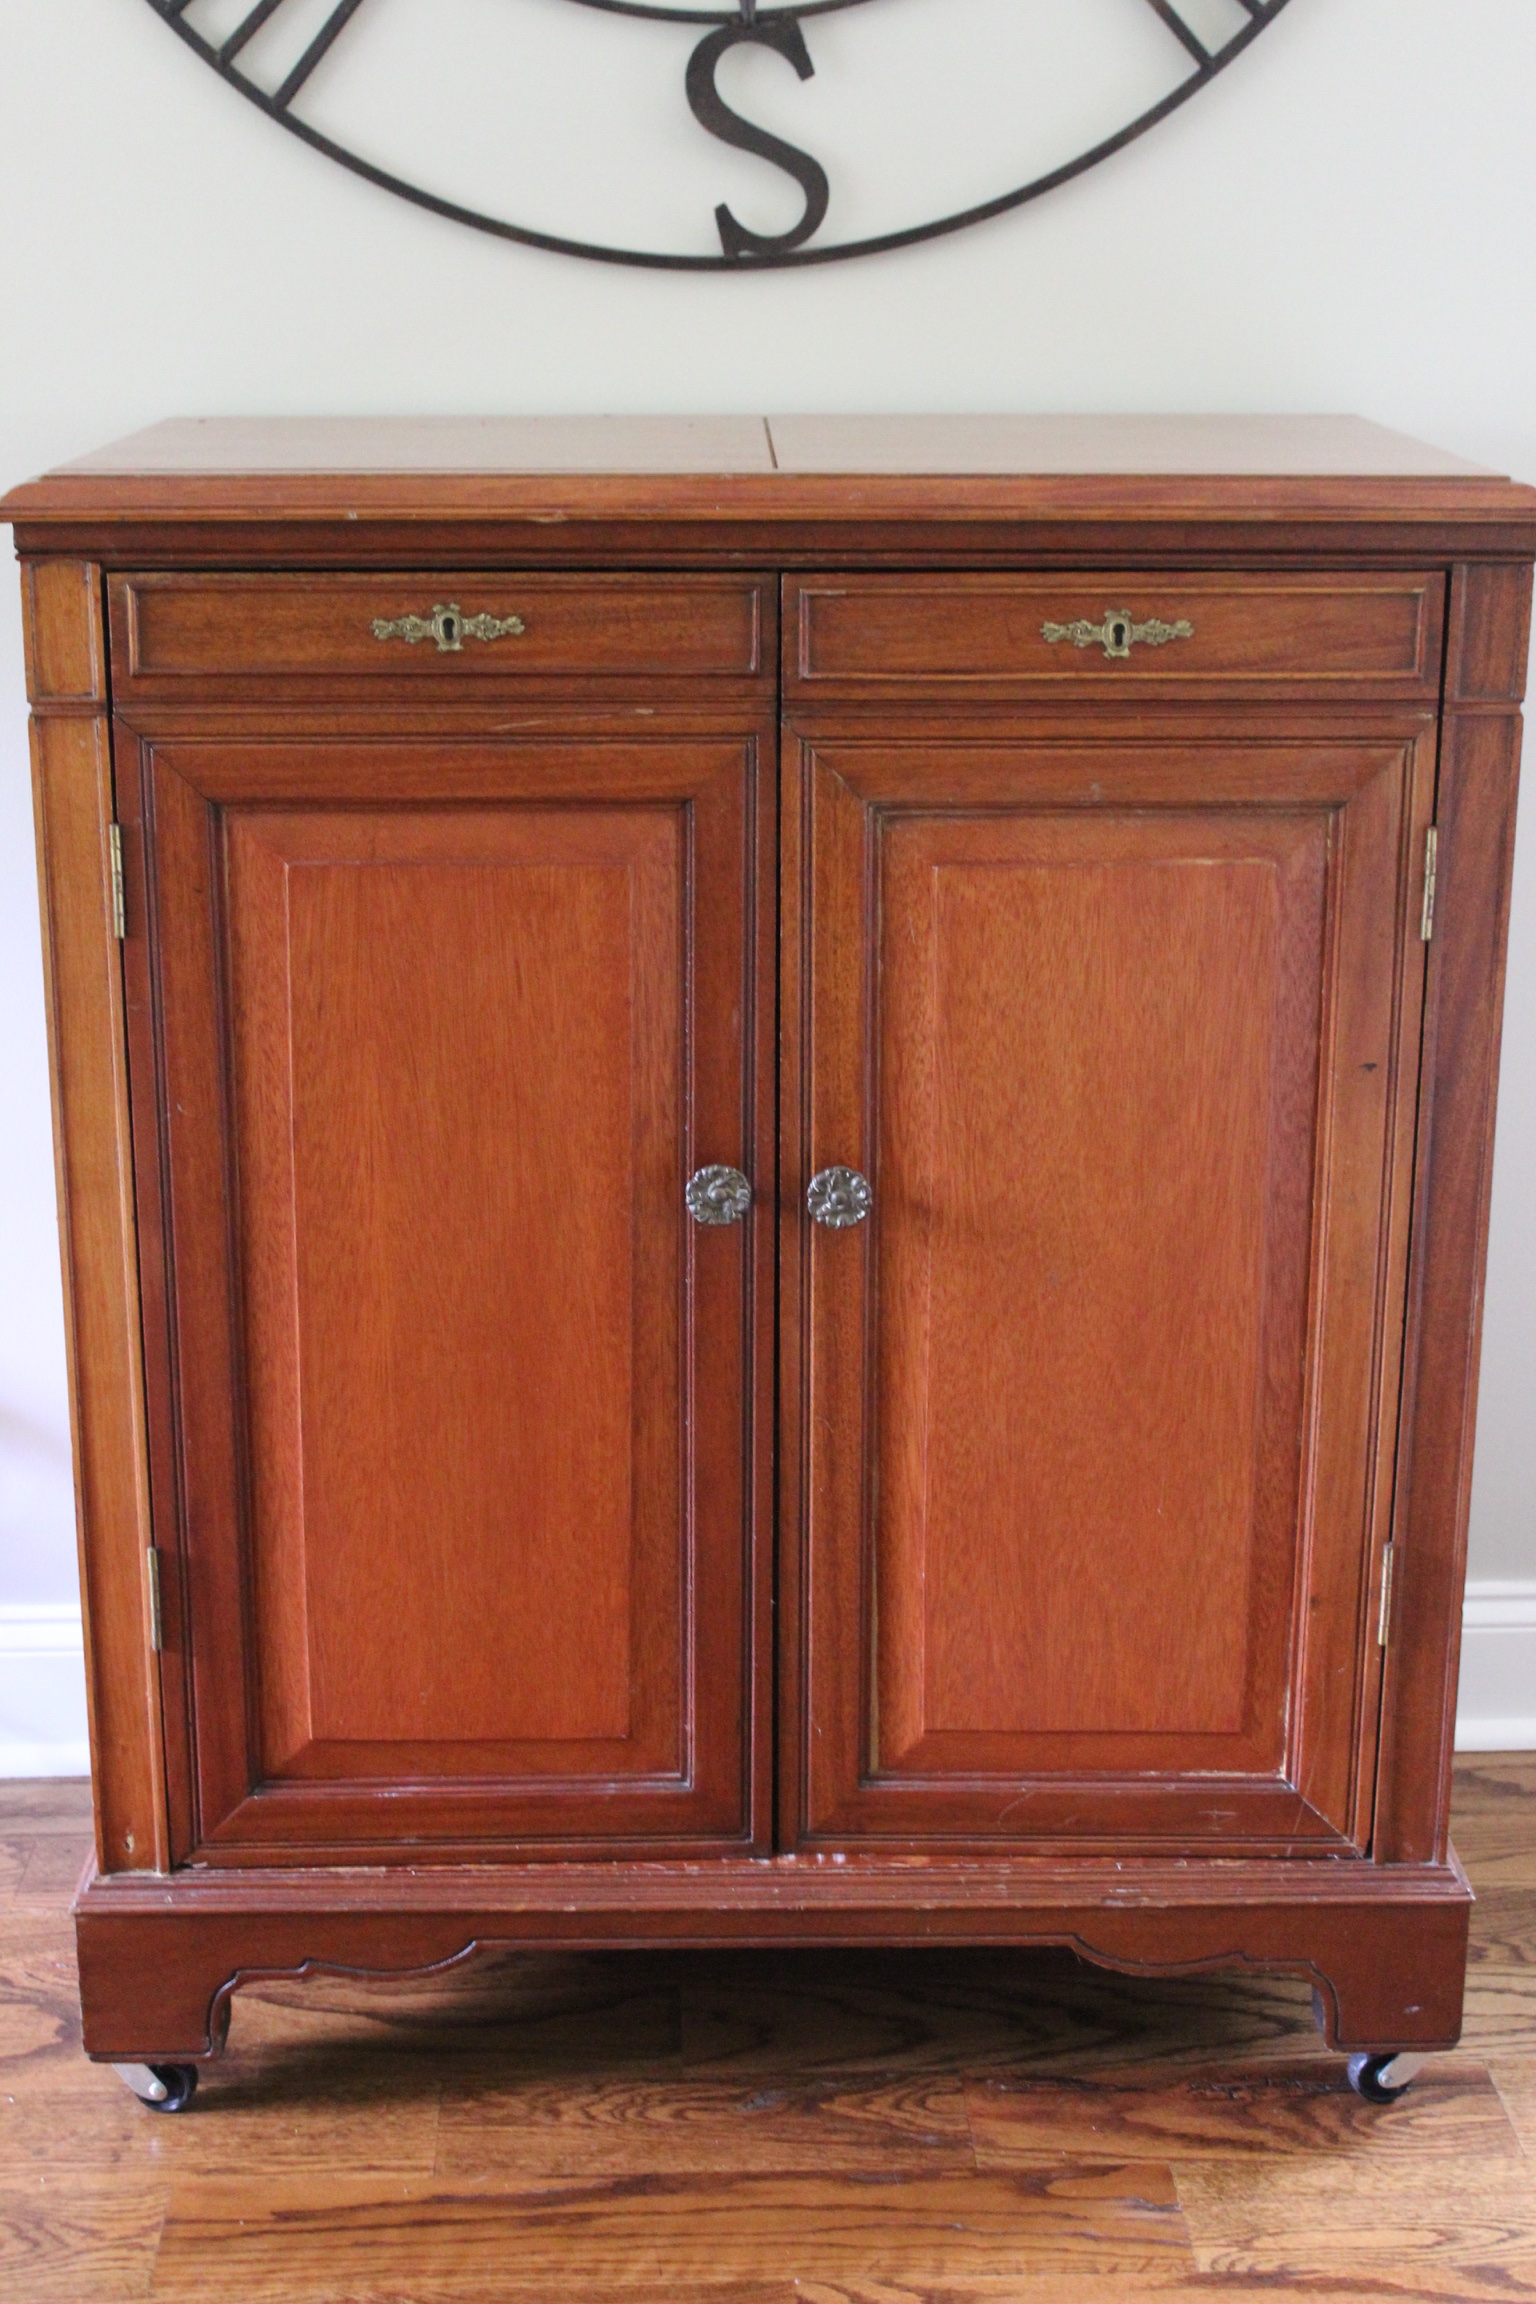
Before it was a very reddish wood that didn’t really go with anything else we own, and I rarely photographed it for this very reason.
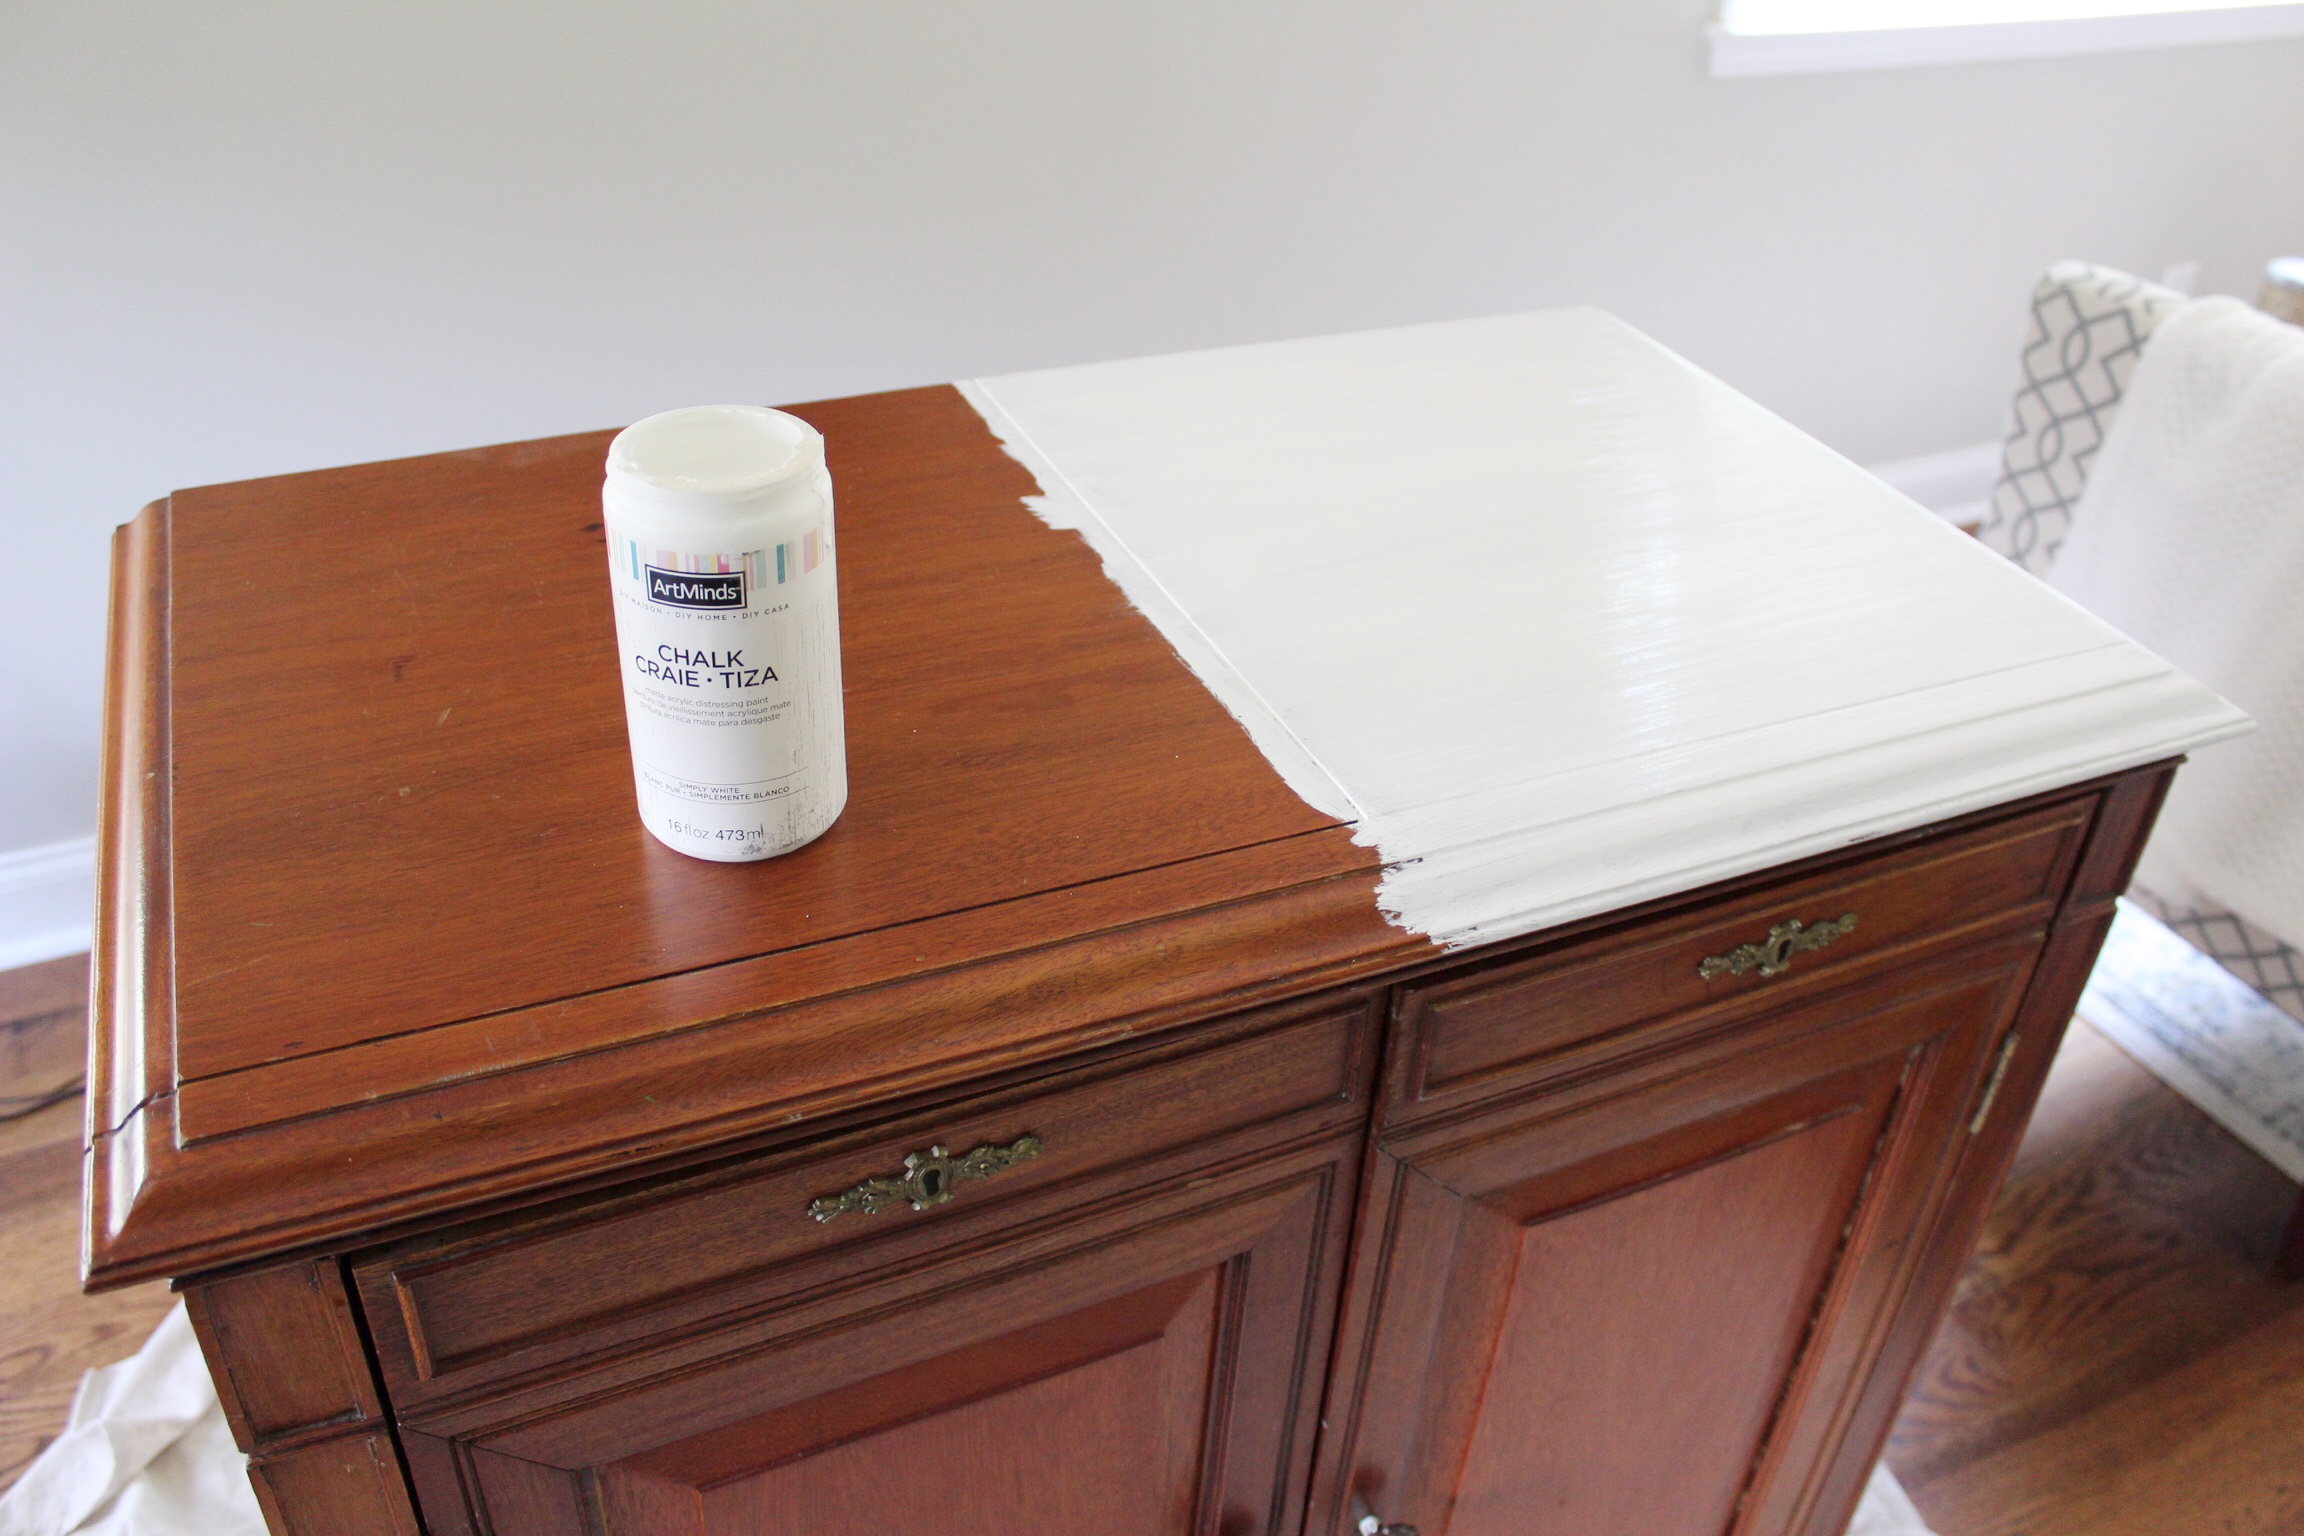
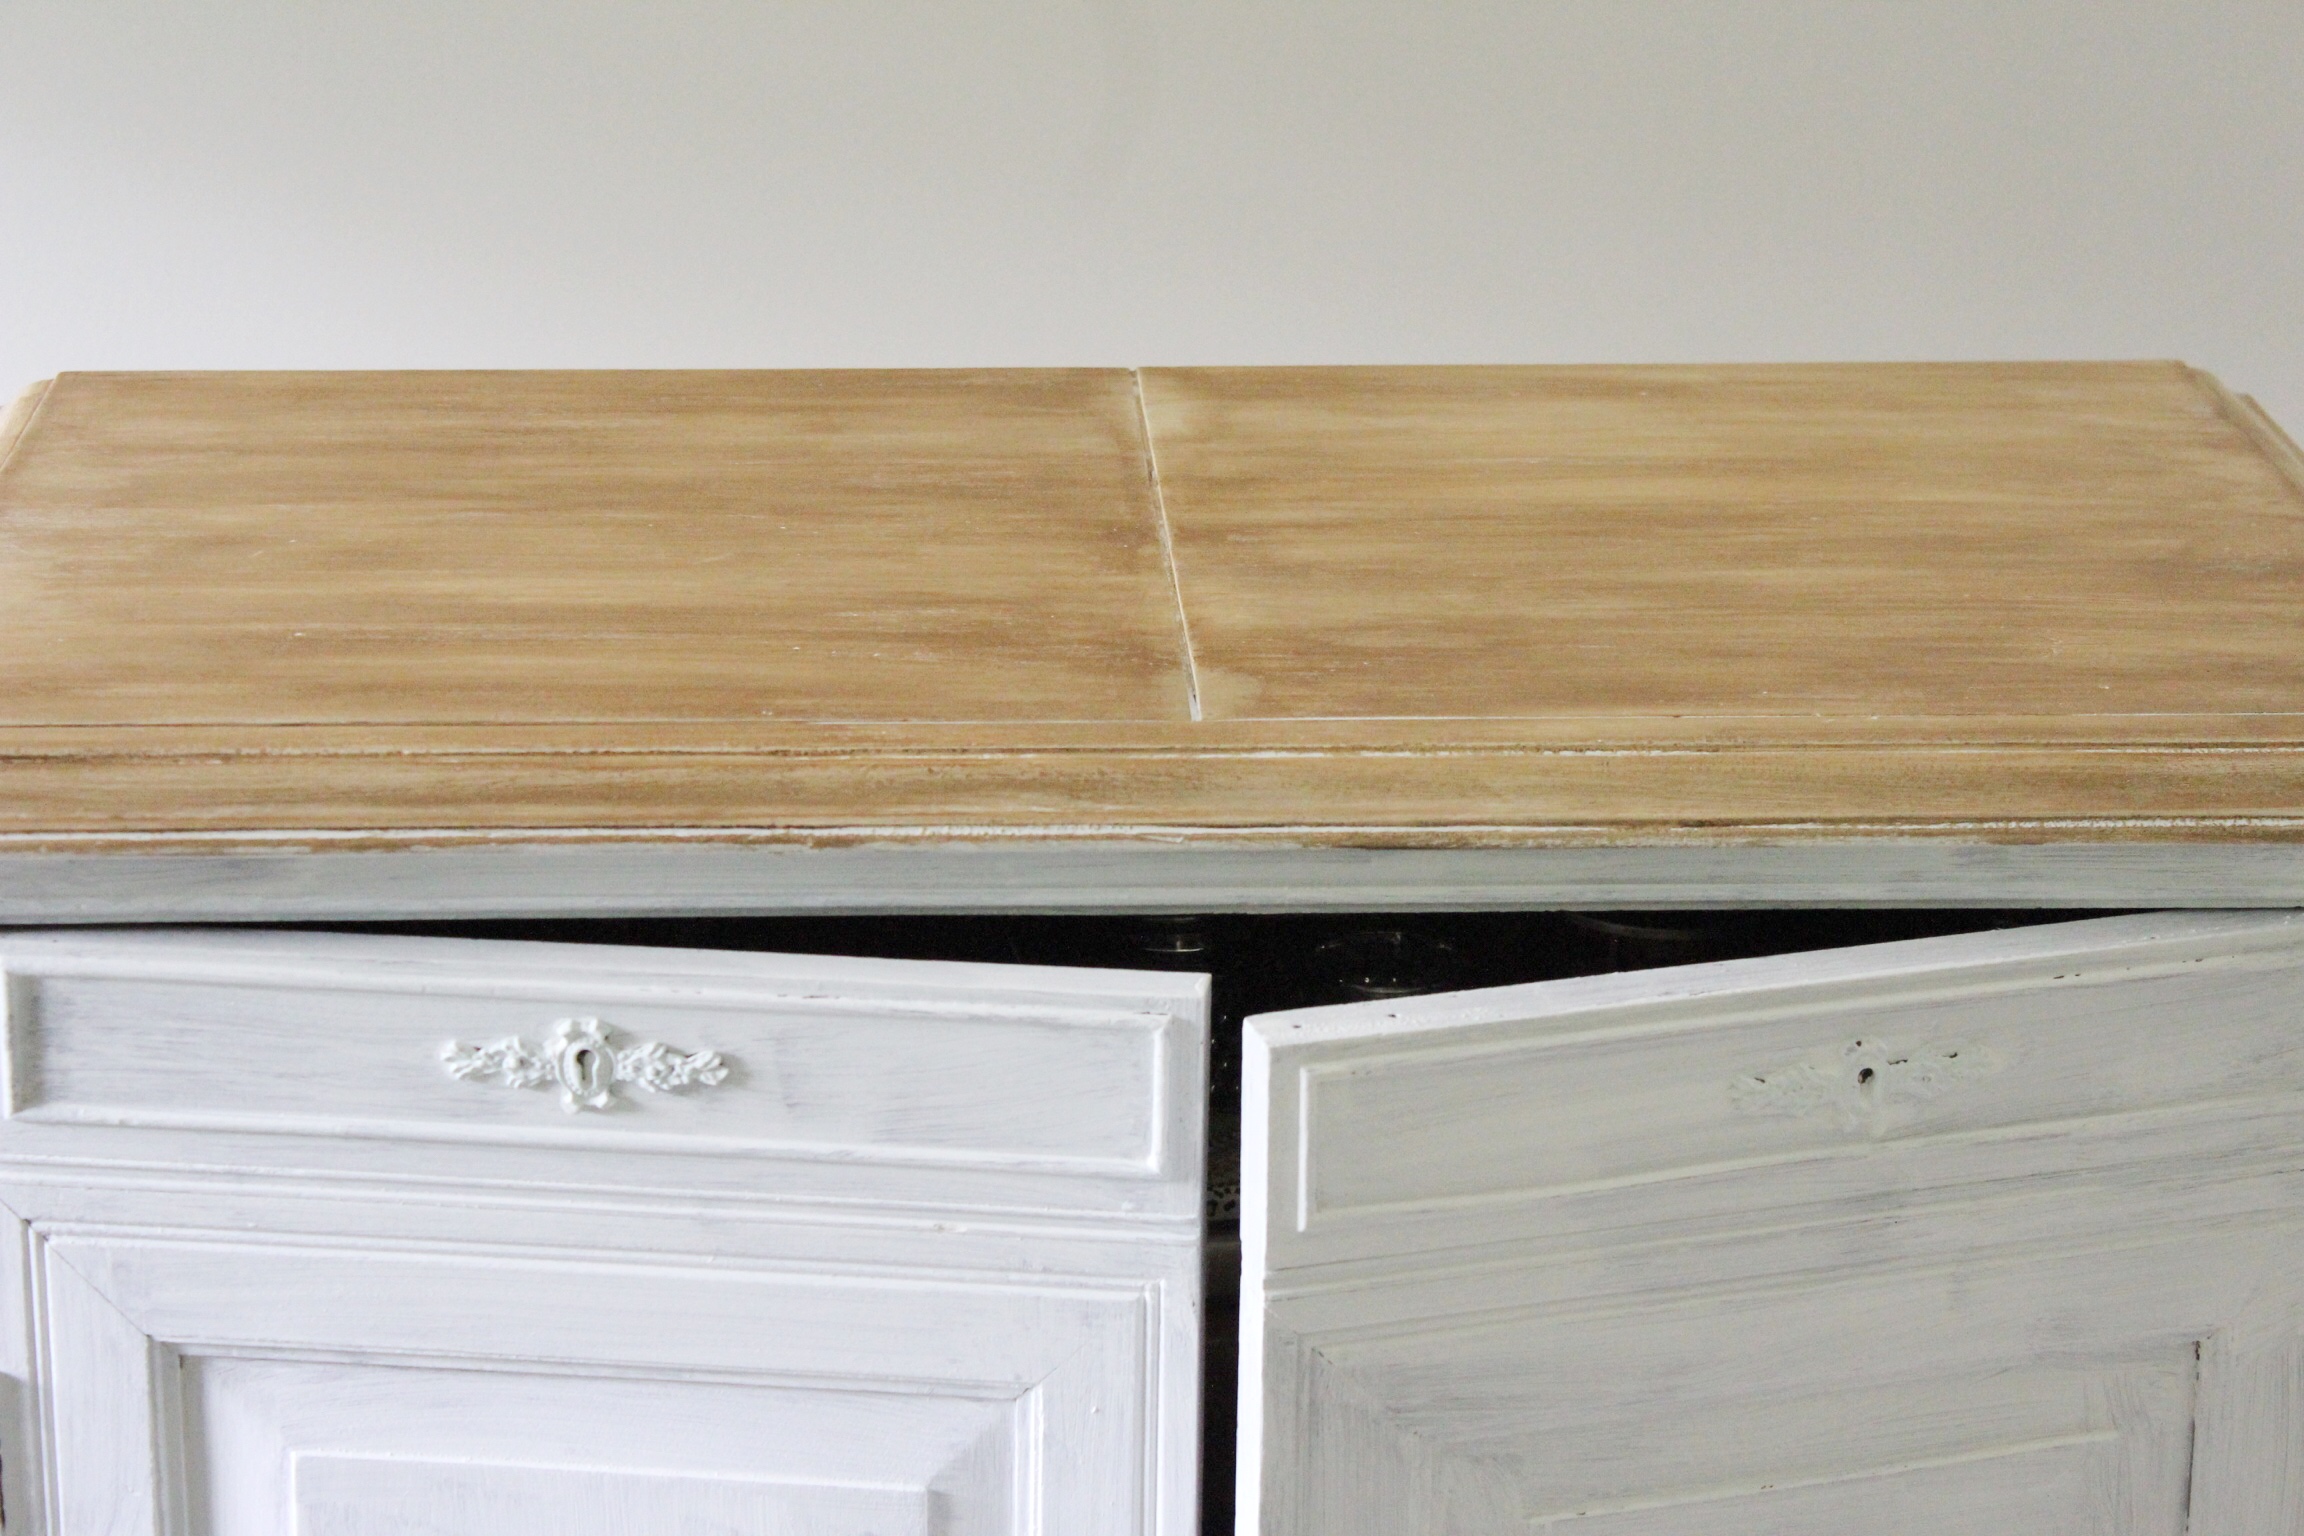
I first sanded the piece down and then wiped it down with a lint free cloth just to get any dust off and to smooth out any unevenness. I then painted it with one coat of this chalk paint from the ArtMinds line from Michaels that I got 50% with a coupon. Keep in mind you don’t have to be perfect with this coat of paints since you are then going to go in with the glaze. I used a Purdy painting brush. They are hands down my favorite for painting furniture!


I let it dry for a good hour before I went in with the ArtMinds Antique Glaze.
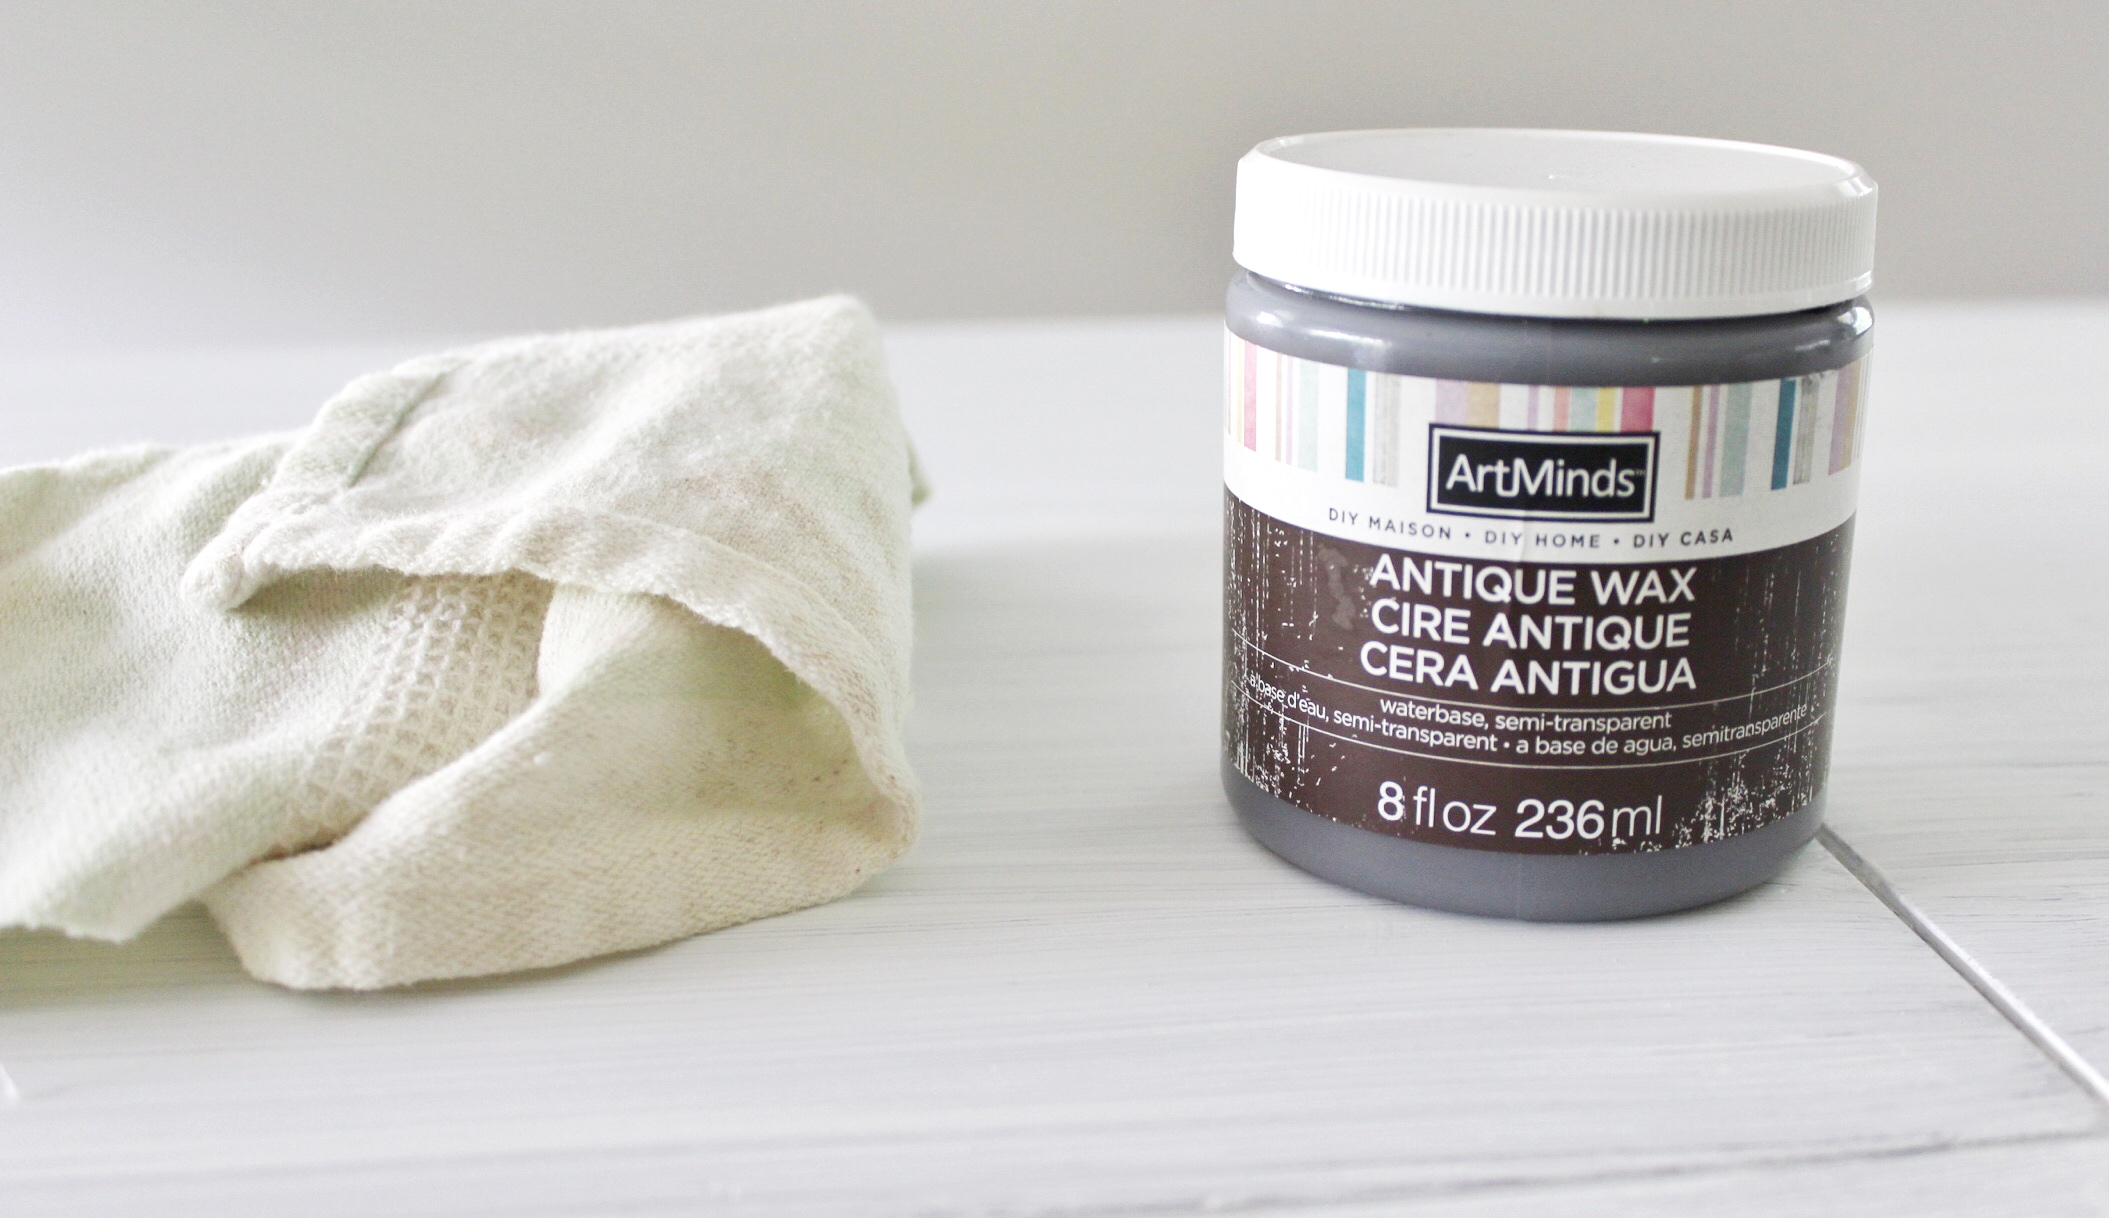
I used an old lint free tea towel to apply the glaze. You don’t have to be careful with this step because it wipes off very easily and you can spread it around and wipe it off with a clean towel to achieve the look you’re going for. I suggest applying the majority of the glaze on your towel to the open areas that are flat and then once most of it is dispersed then go in to the areas that have crevices. This will keep the glaze from getting too heavy and pool in the corners and crevices. You can also use a brush to apply this glaze as well, but I find I have better control when I go in with a cloth. That’s just my personal preference. You do you boo.
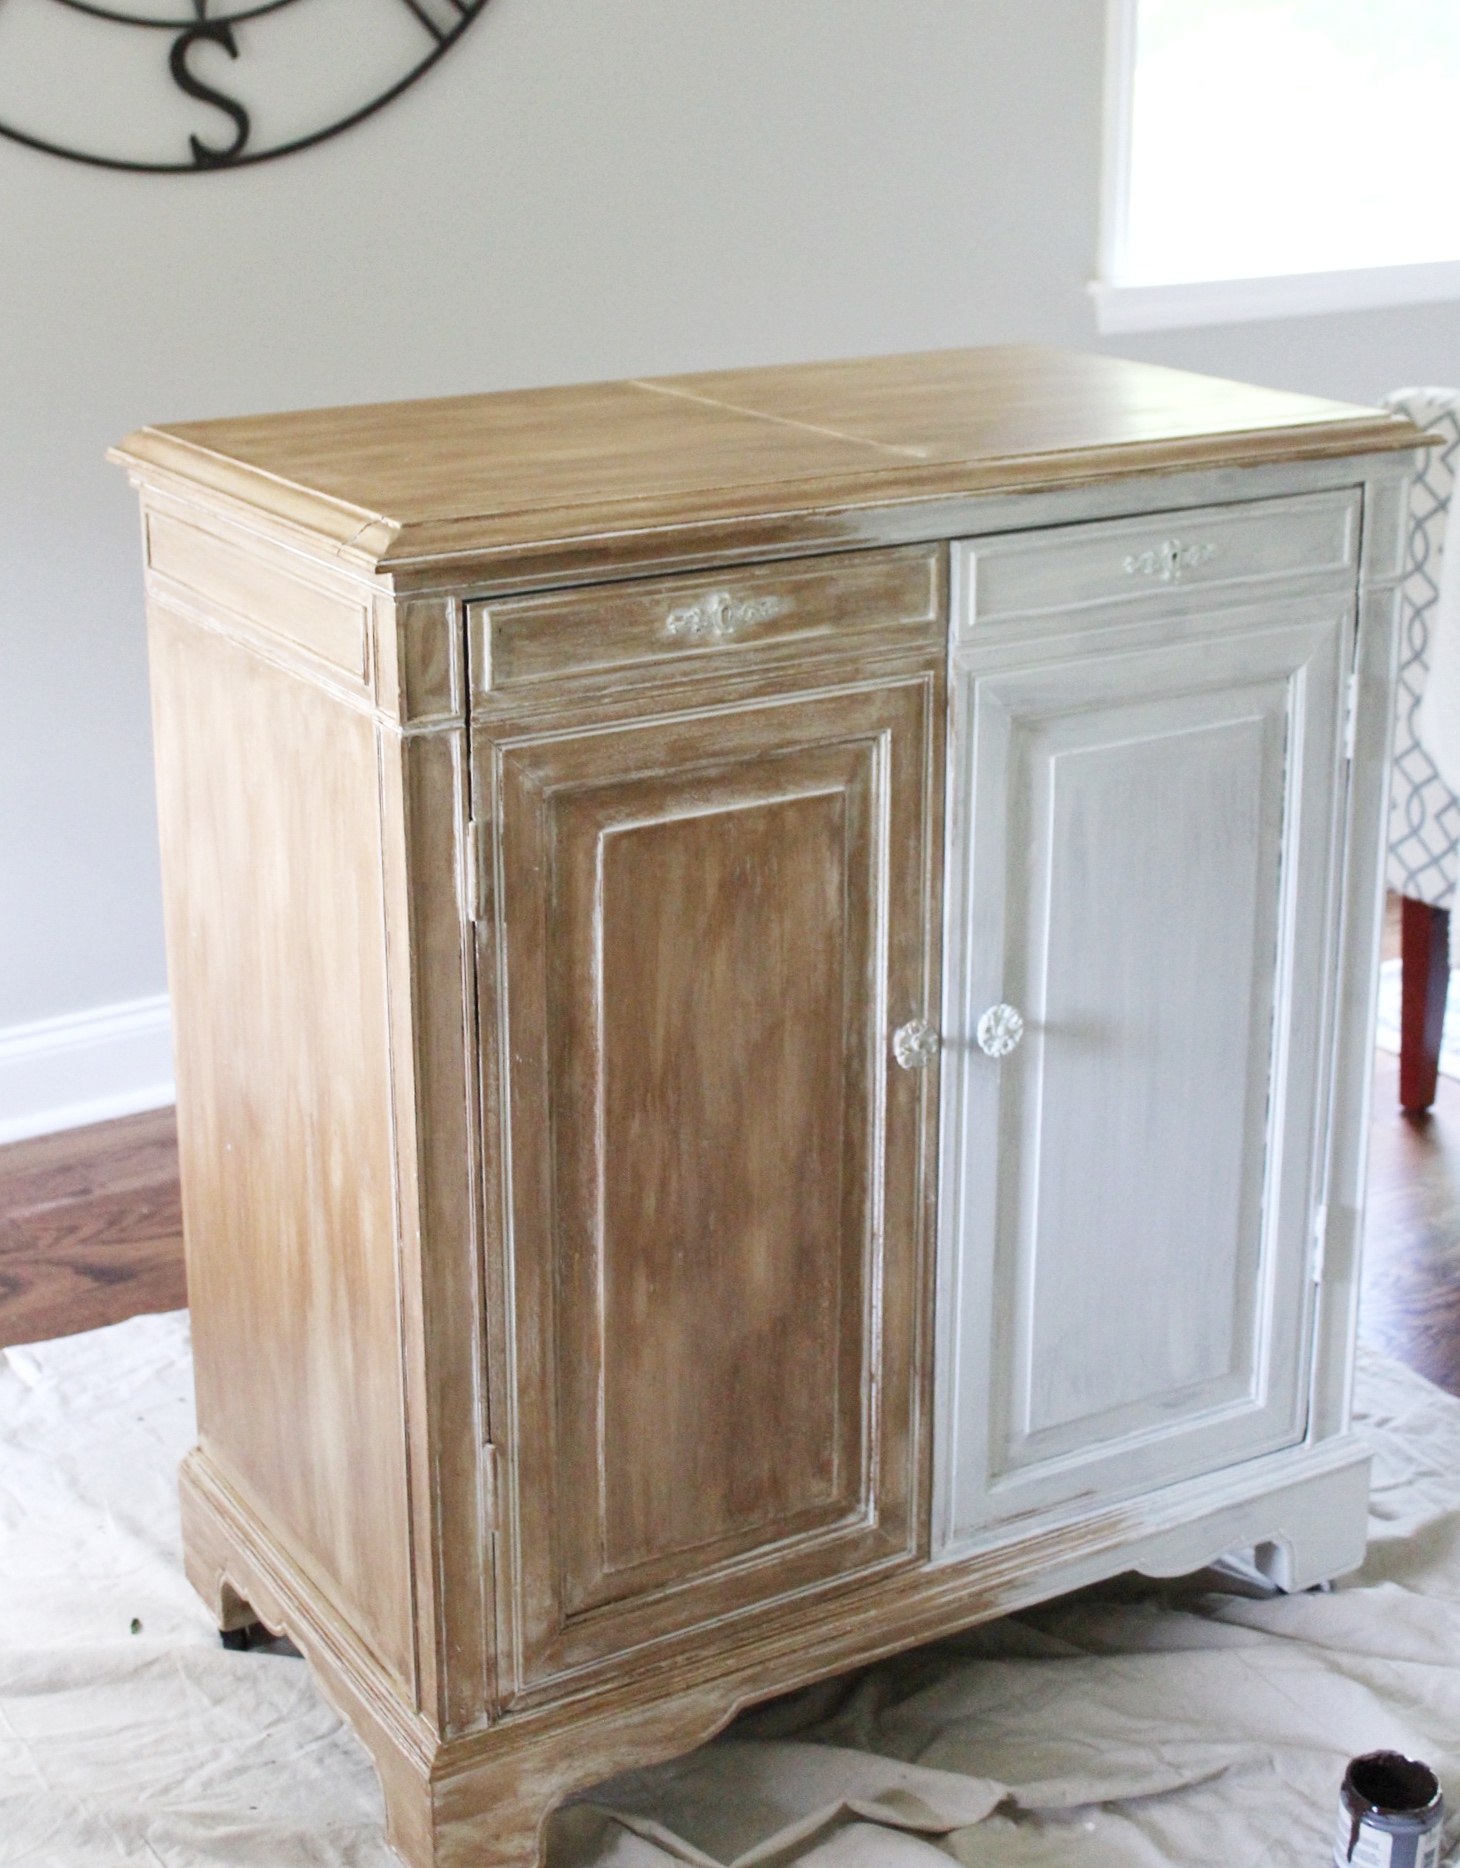
After I applied the glaze I let it dry overnight and then I went back with some sand paper and sanded down the edges and any areas where I might have applied the glaze too heavy. When you do this last step it helps to achieve that weathered look. It will bring out the white chalk paint underneath the glaze and show the grains of the wood. Remember this look is not supposed to be perfect. It’s a weathered wood look.
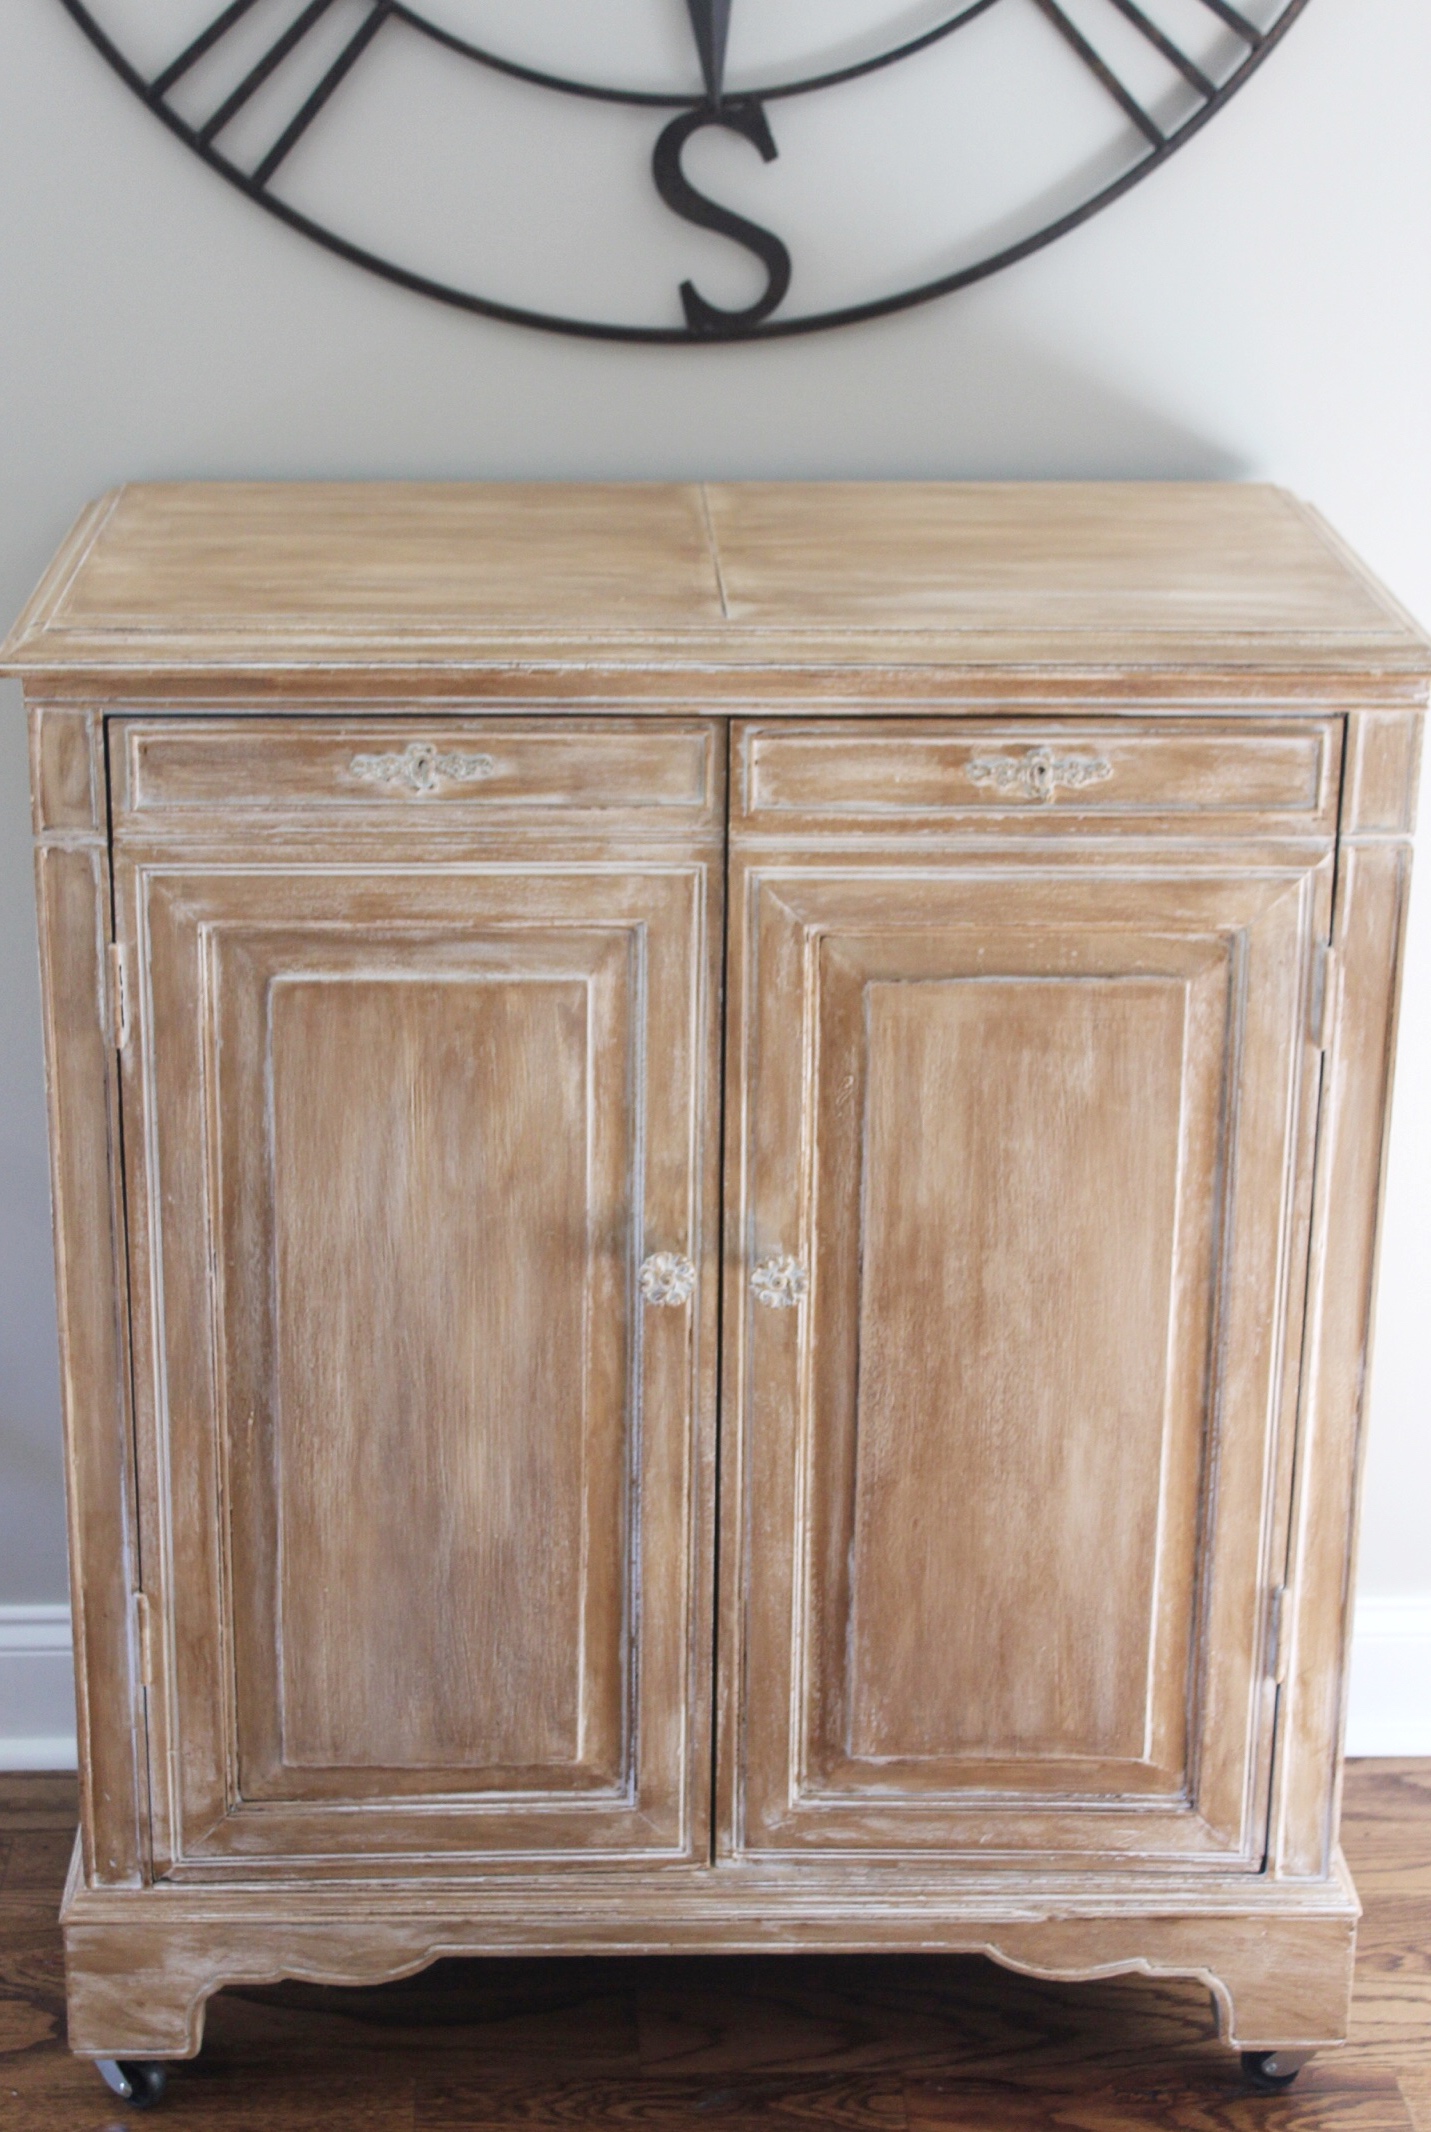
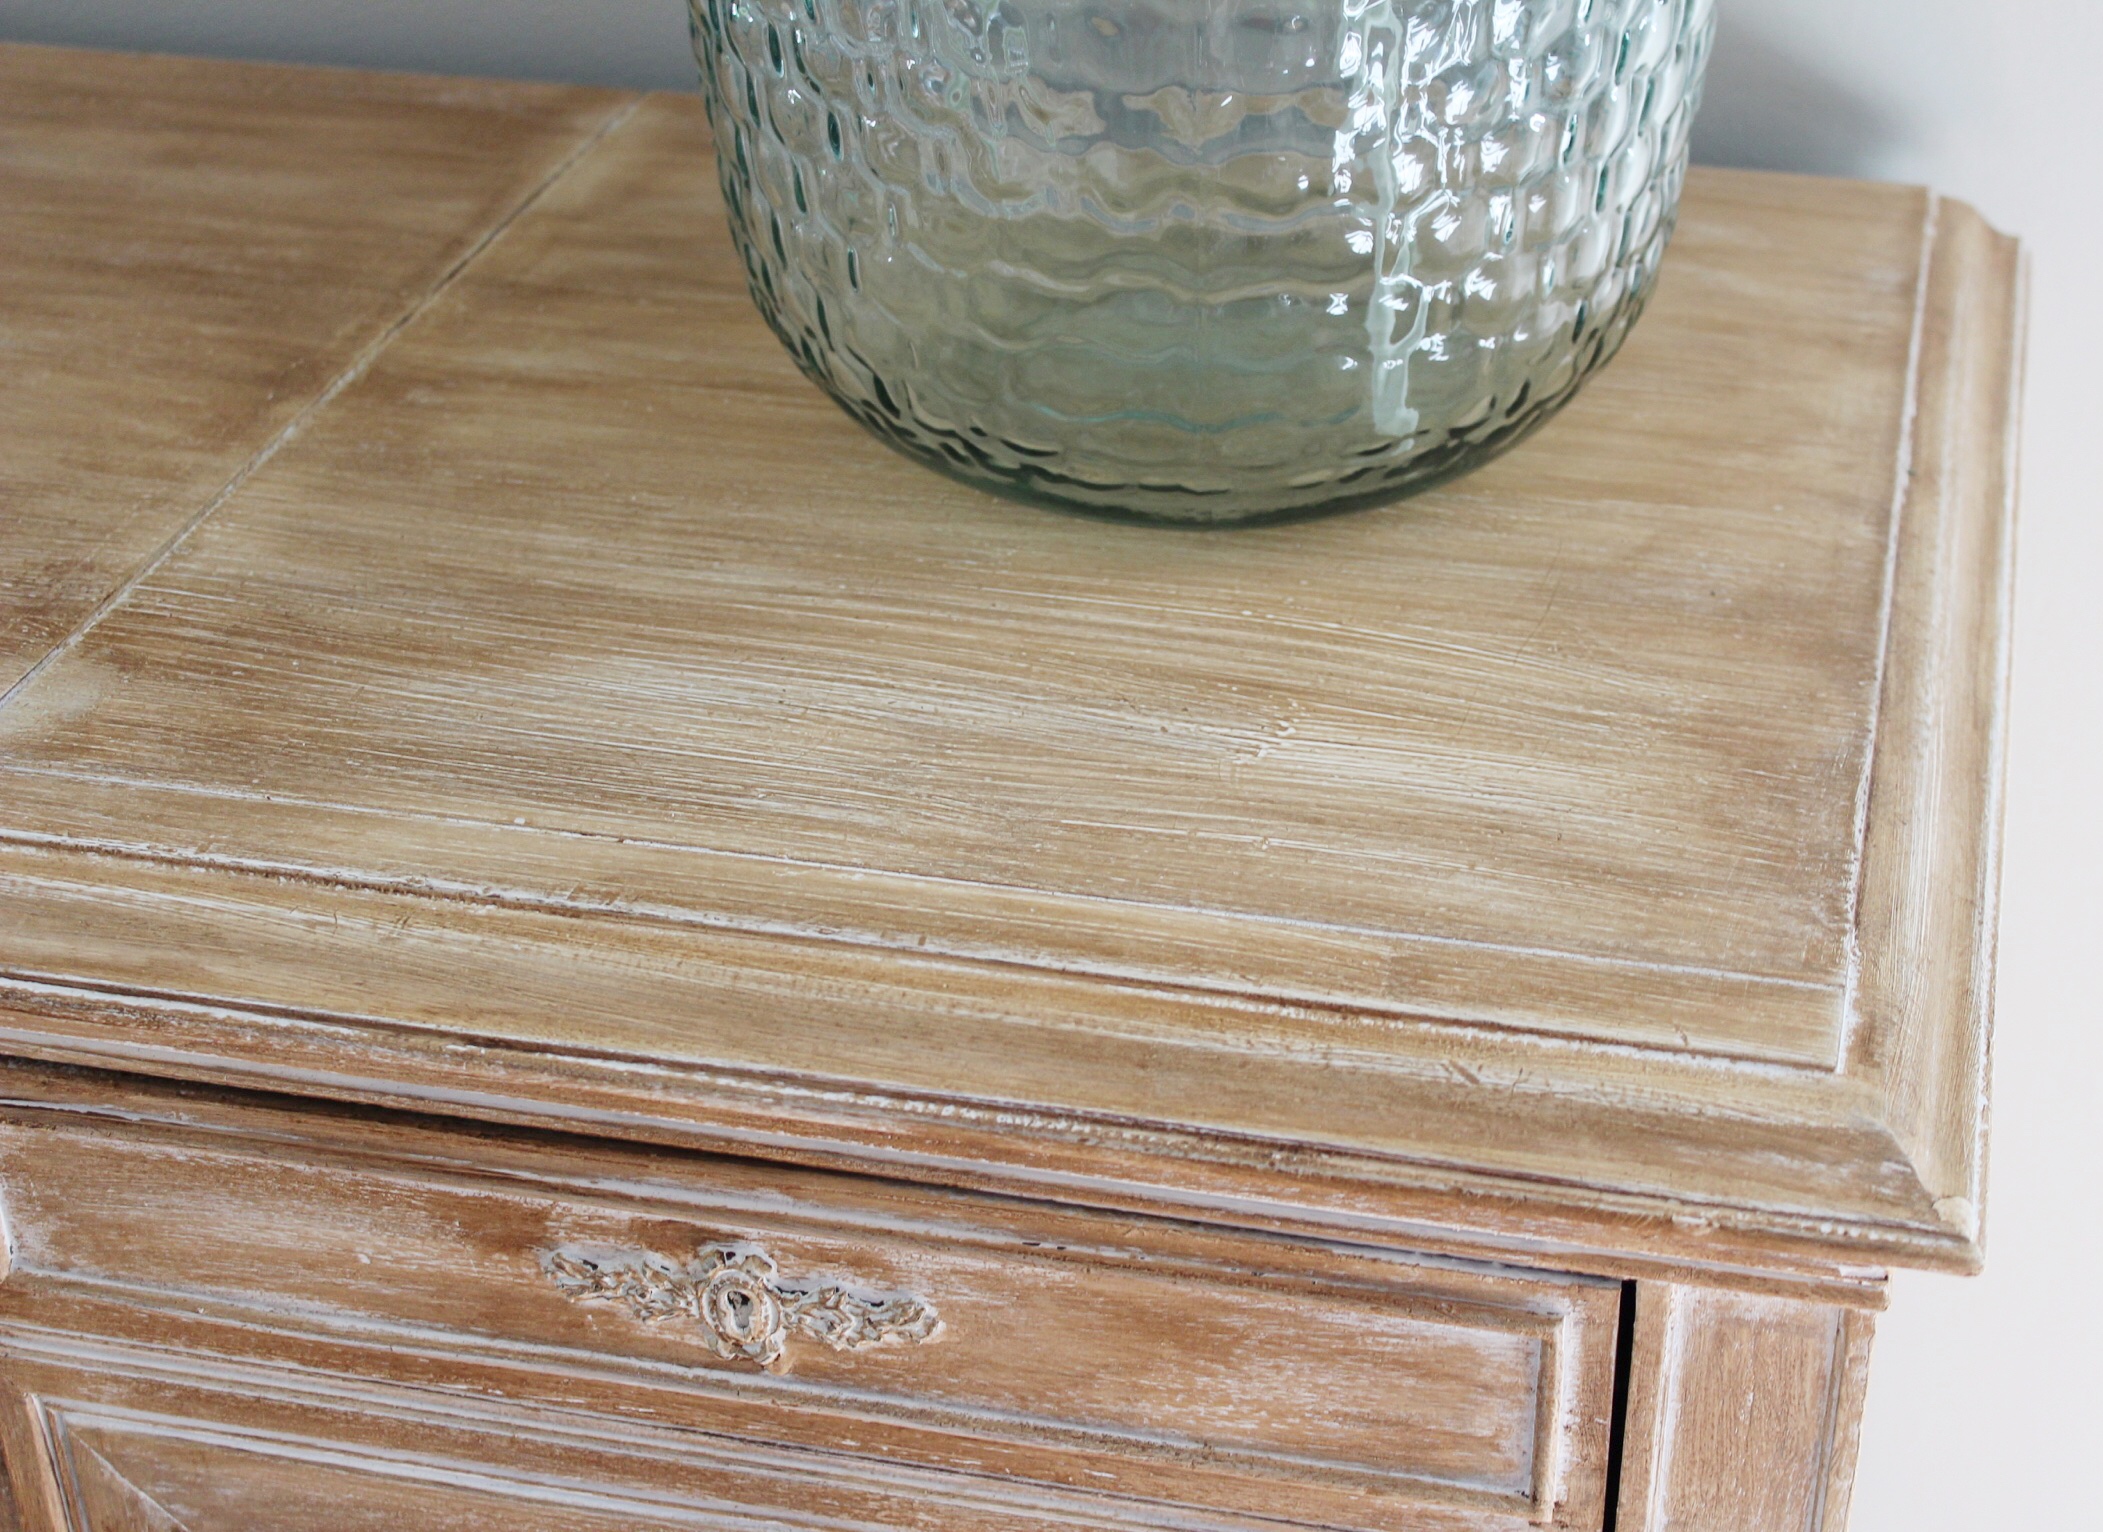

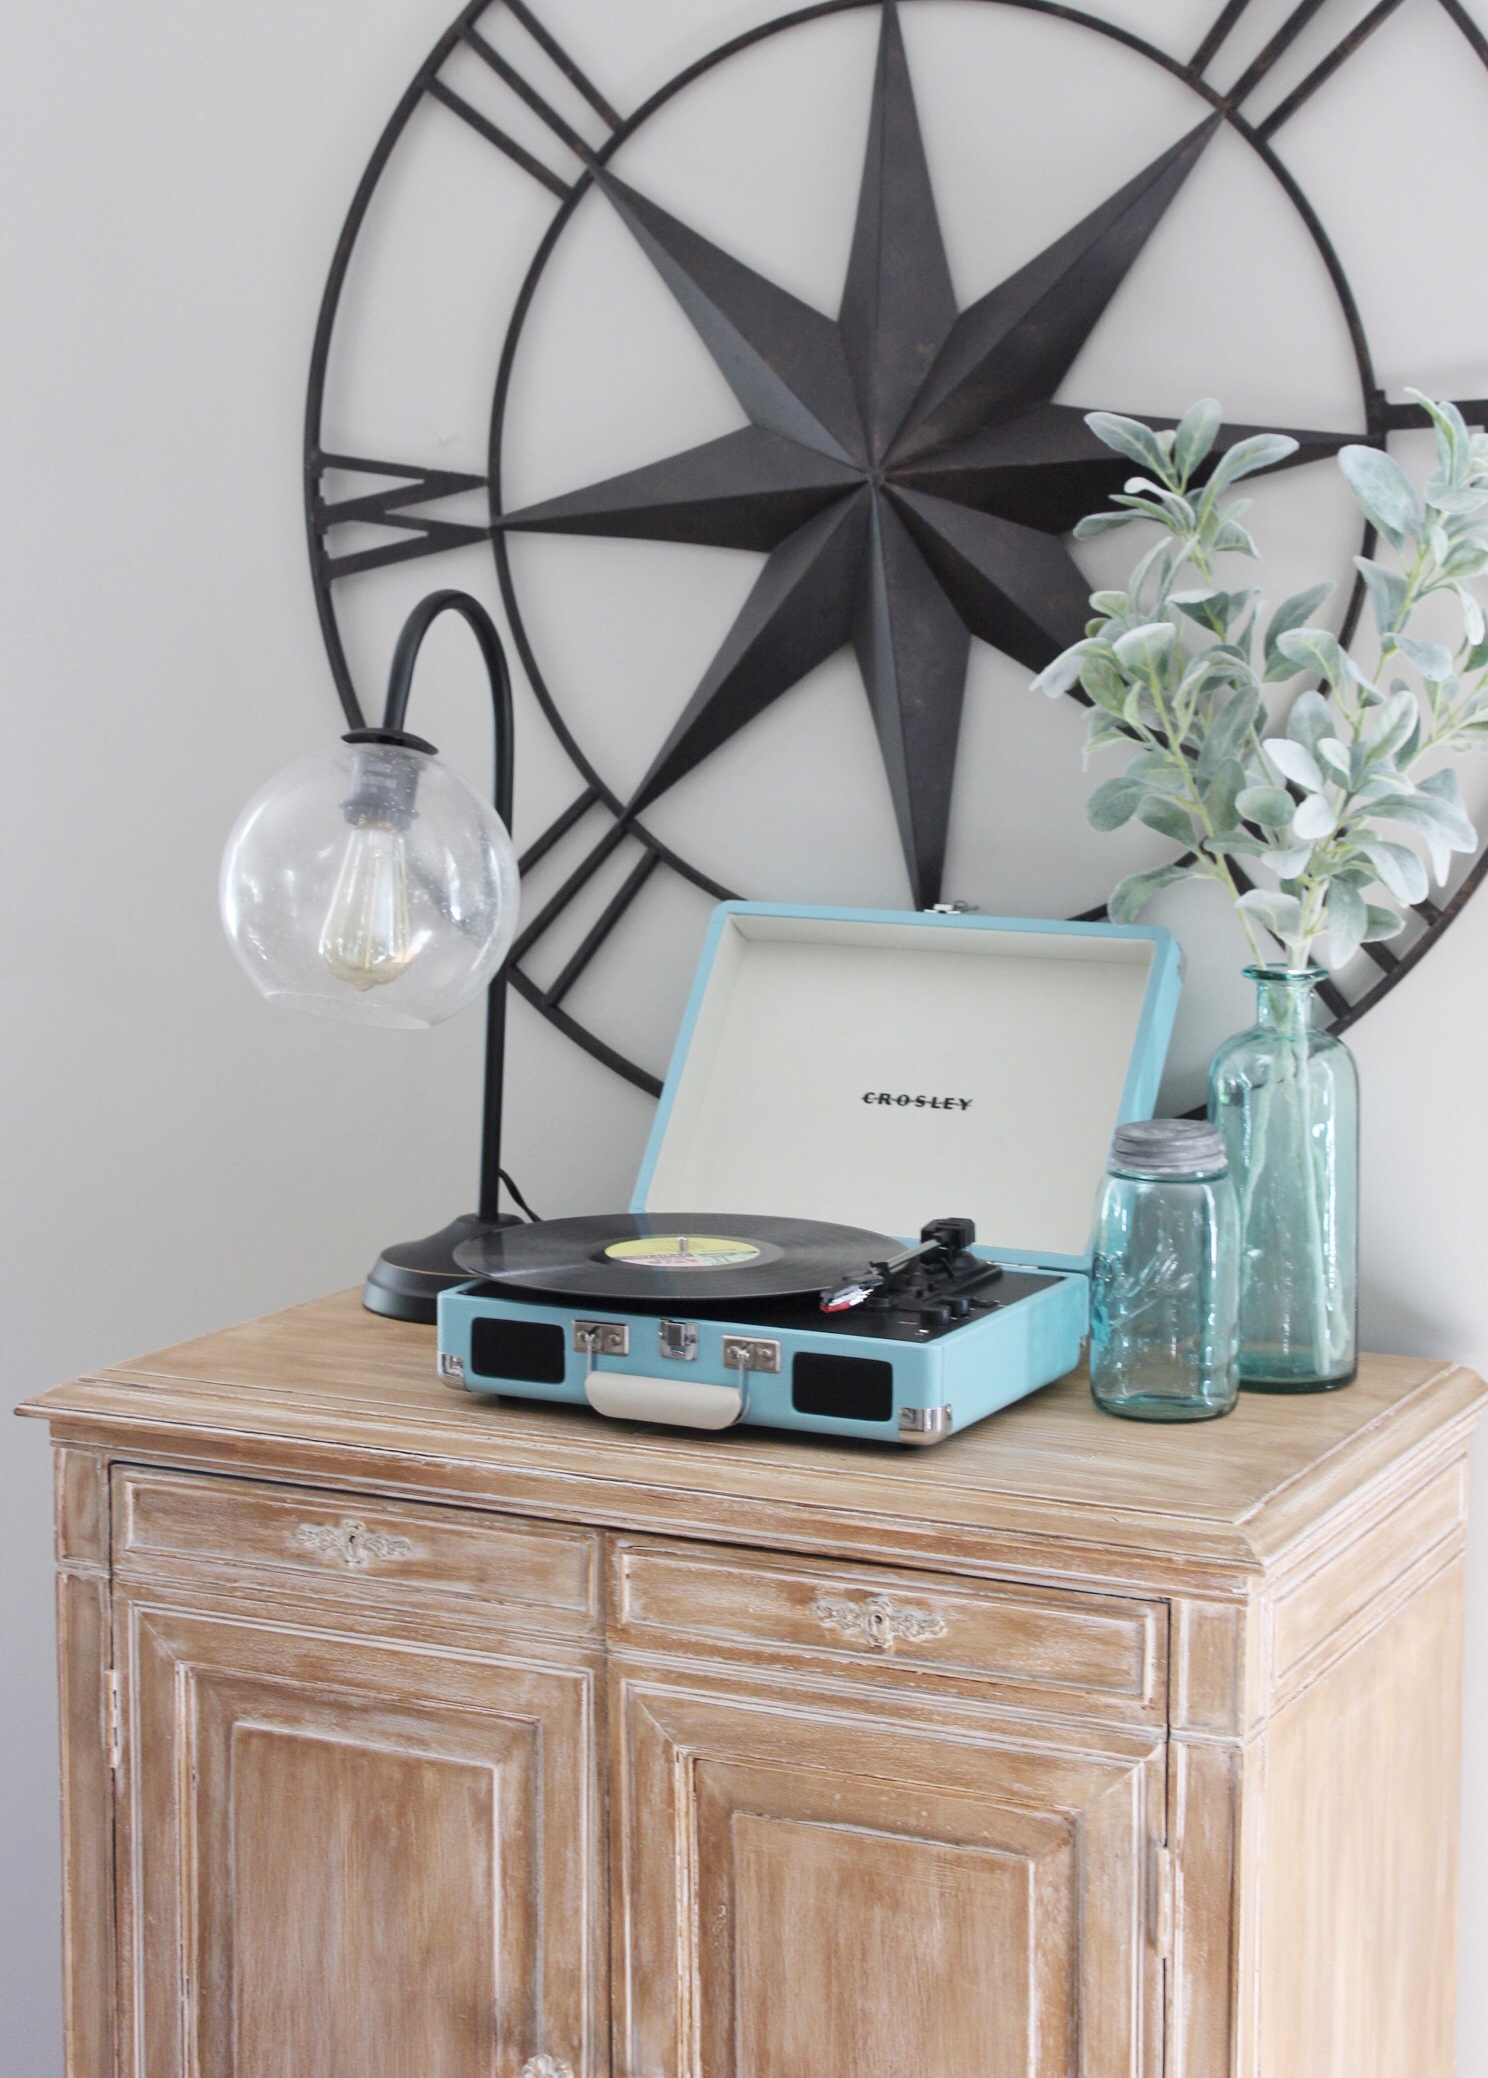
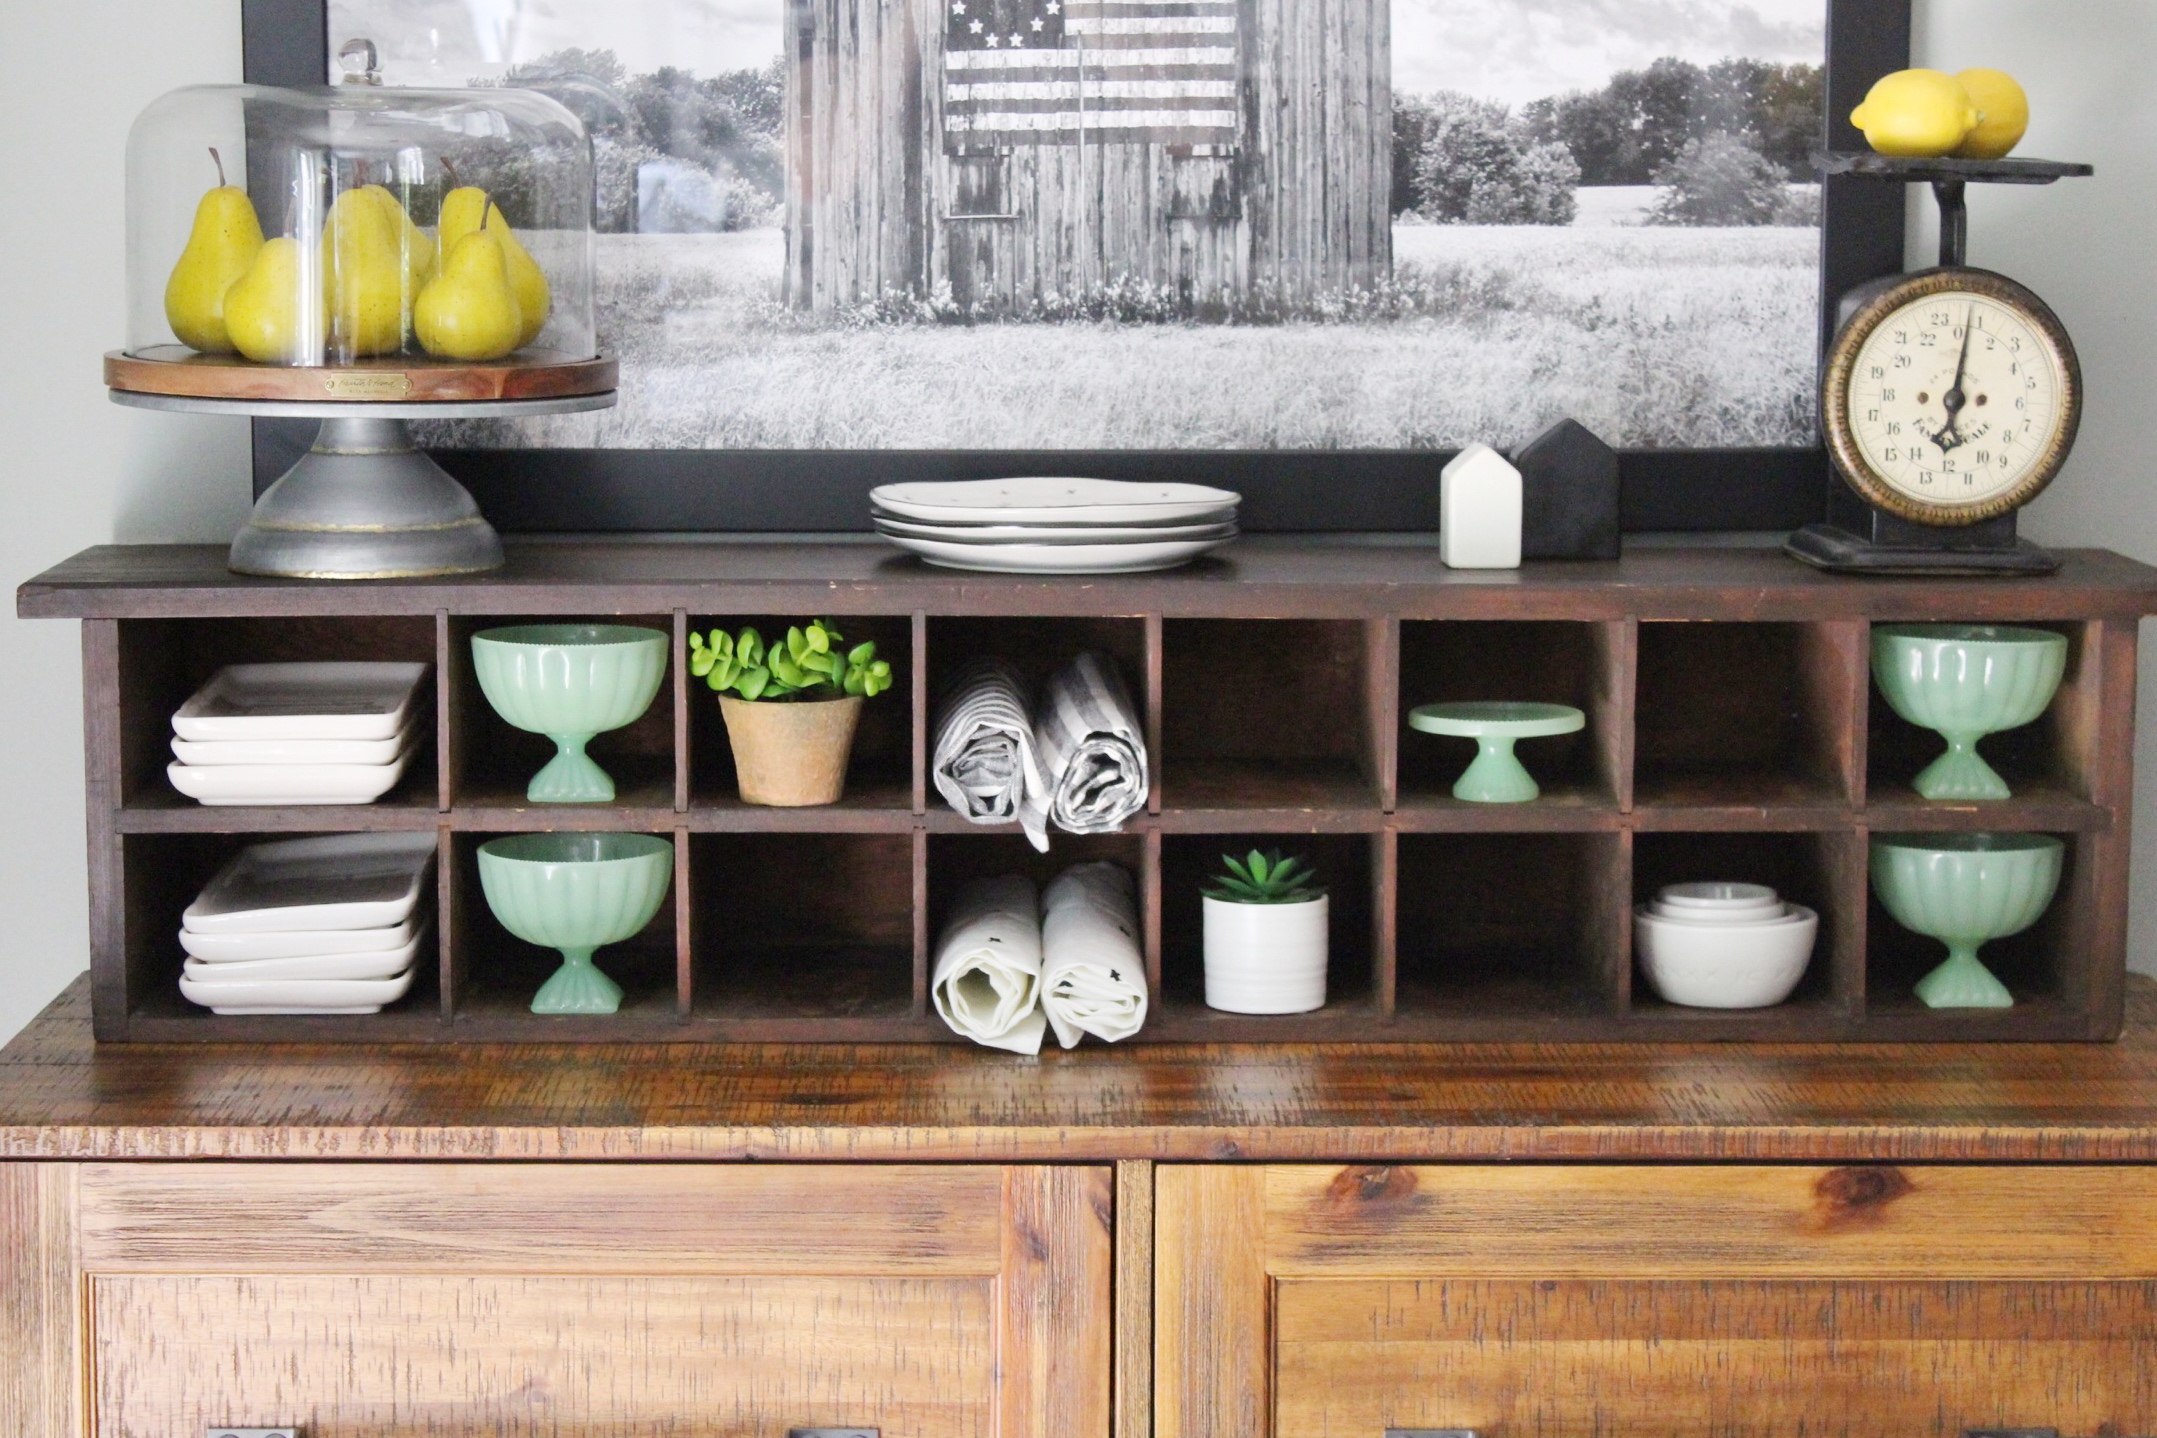
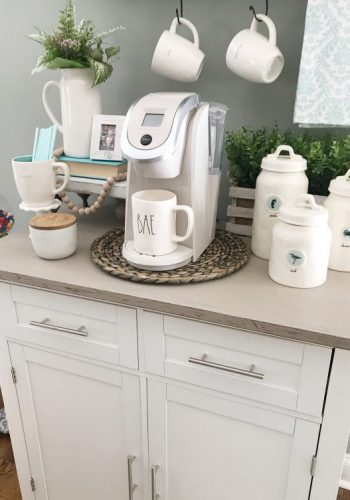
This is such a winning combo in my book! I hope y’all enjoyed this little furniture makeover. Let me know in the comments if you have any questions or want to share your furniture makeovers. I would love to see them!

Thank you little birdies for flying by my nest today!
xoxo,
Robyn

You May Also Like
Fusion Mineral Paint Fort York Red
Farmhouse Paint Colors
2 Comments
Pingback:
Pingback: