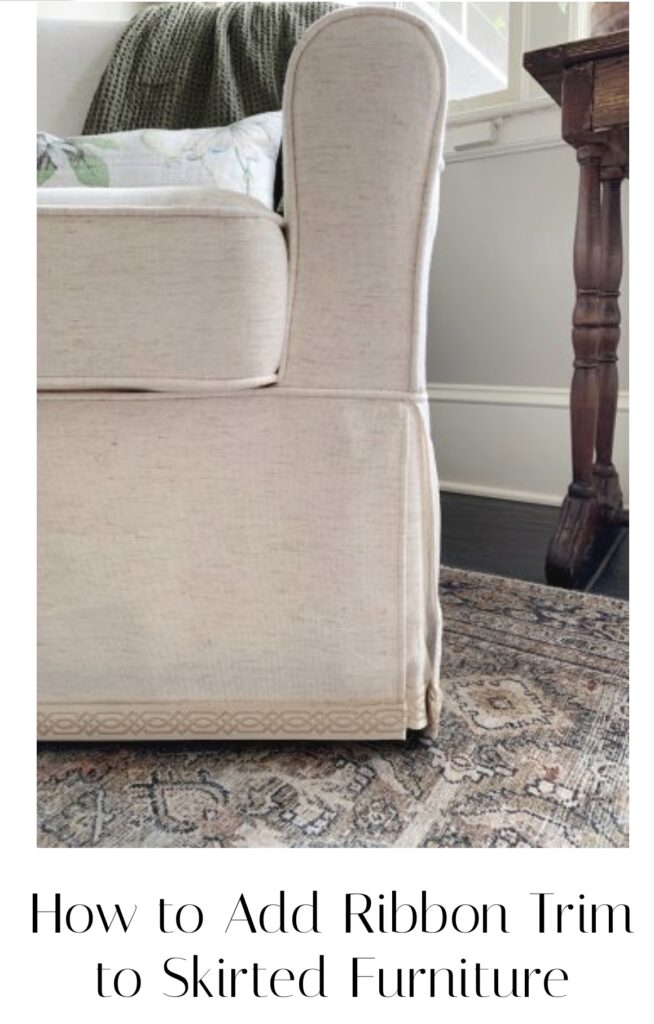
How to Add Ribbon Trim to Skirted Furniture
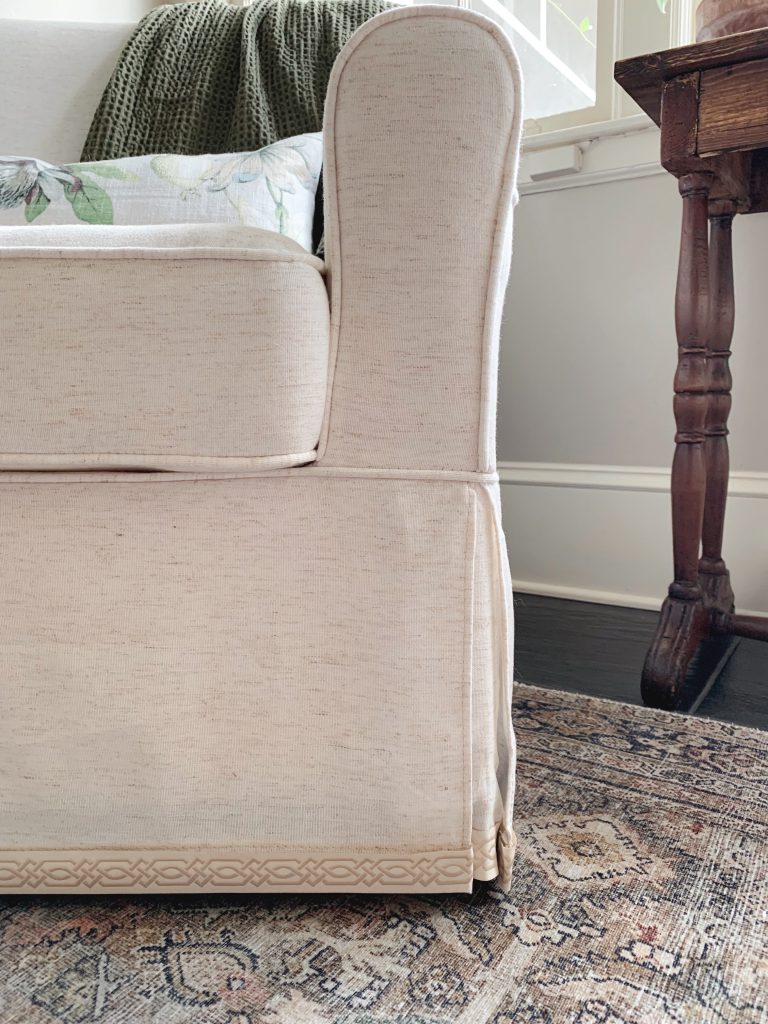
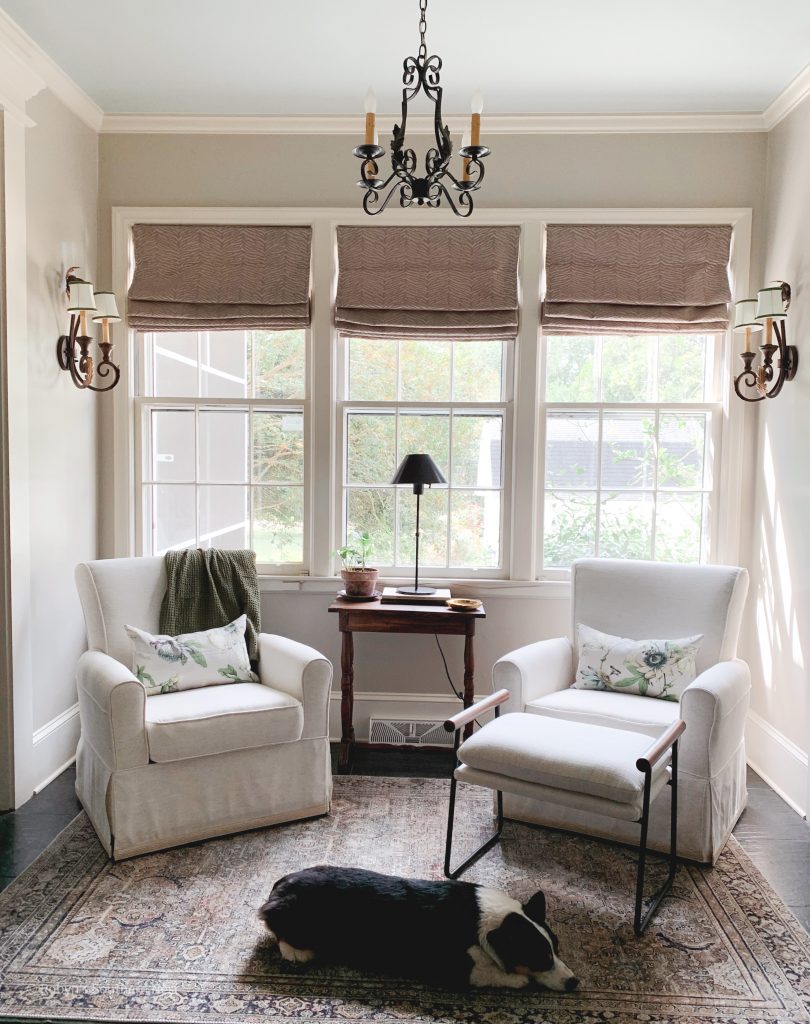
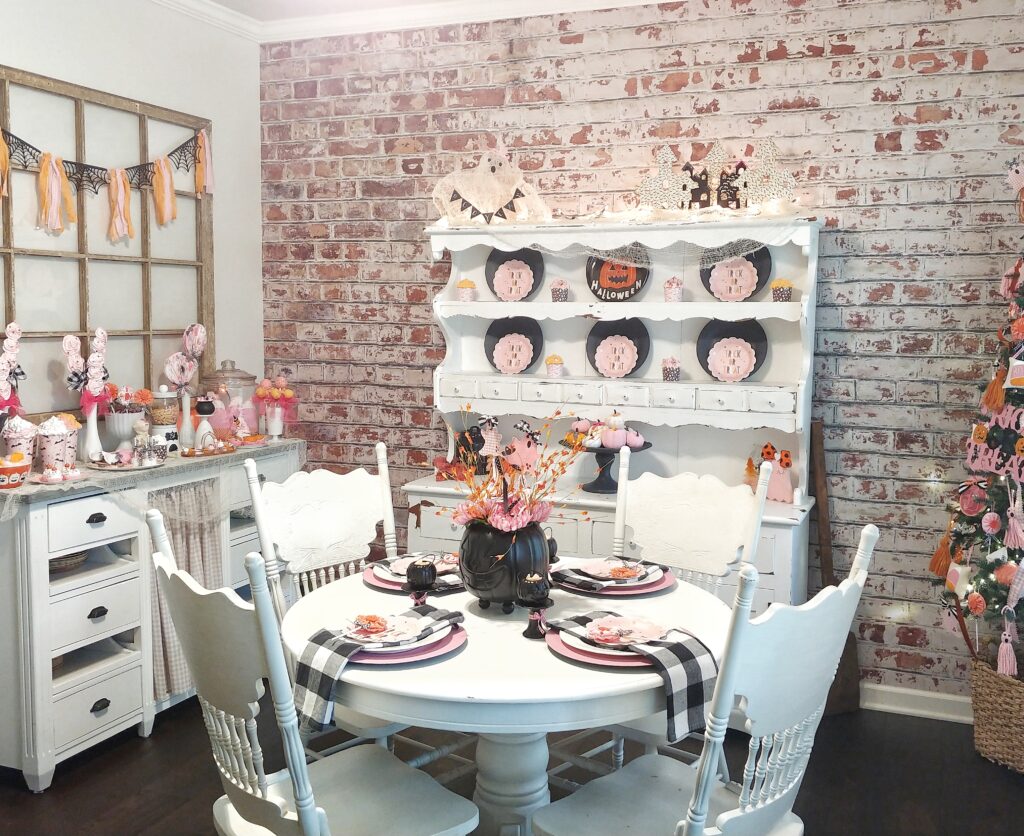
Today I’m sharing how to add ribbon trim to skirted furniture. When I ordered our swivel chairs for our keeping room I knew I wanted to customize them just a bit. It’s kind of like adding mascara when you’re doing your makeup. It’s just that finishing touch that makes them look complete and custom. Because the skirt was already attached I decided the best way to add trim to the skirt was to use a “no sew” method. This technique is also perfect for curtains as well.
How I Did It:
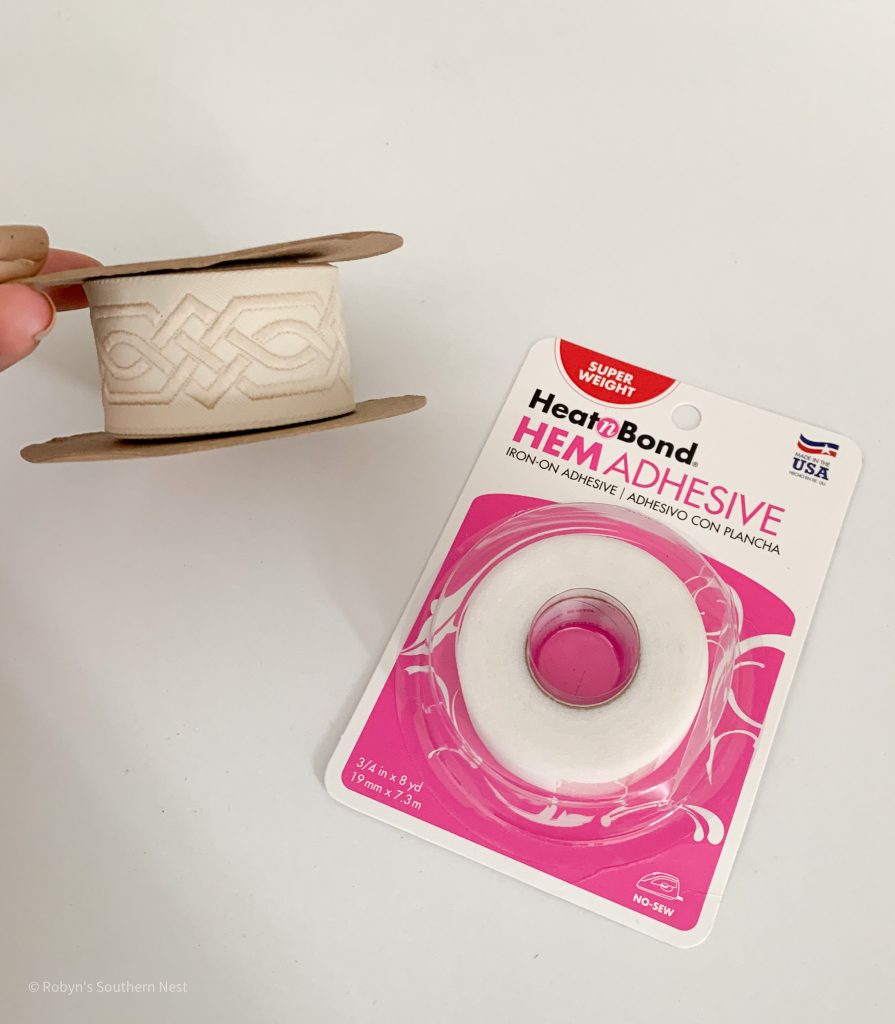
I first measured each of the skirts around the chairs to get an overall length of how much trim and hem adhesive I would need. I also used the super weight hem adhesive since this trim is more on the thicker side. According to the package this will hold denim and corduroy.
These chairs have a weighted skirt to them, meaning there is a metal bar sewn into the bottom of the skirt which helps keep a nice weight to it. I cut the trim and adhesive into the lengths I needed and heated up my hair straightener for an easy application.
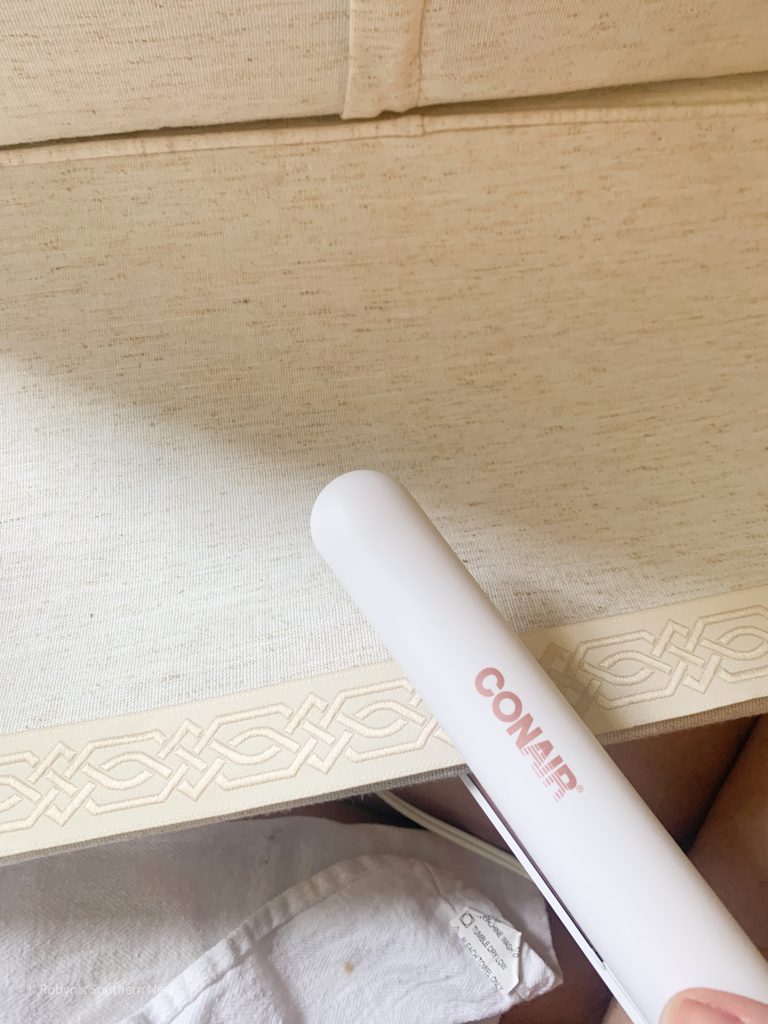
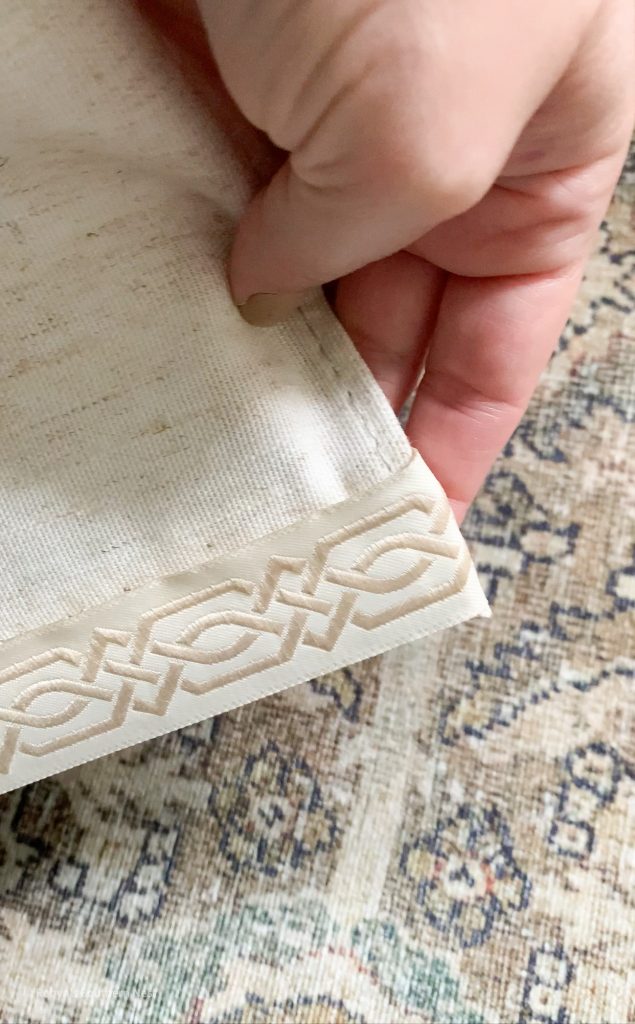
You can totally use a regular iron to apply this hem adhesive, but for this project a hair straightener worked perfectly. I lined up the trim and adhesive and kept about an inch to wrap around the back of the skirt. Then I applied my straightener for about 6 seconds. Slowly working my way down the trim. You can also use a cotton cloth in between if you are worried about any transferring. With this trim I didn’t have any issues with that. Just be sure to test a piece. I started at the back of the chair just in case it didn’t work out.
These chairs also have a corner piece of fabric that I added a small piece of trim to. Don’t forget to trim out that piece if your furniture has that. That way there are no gaps when you look at the chair skirt.
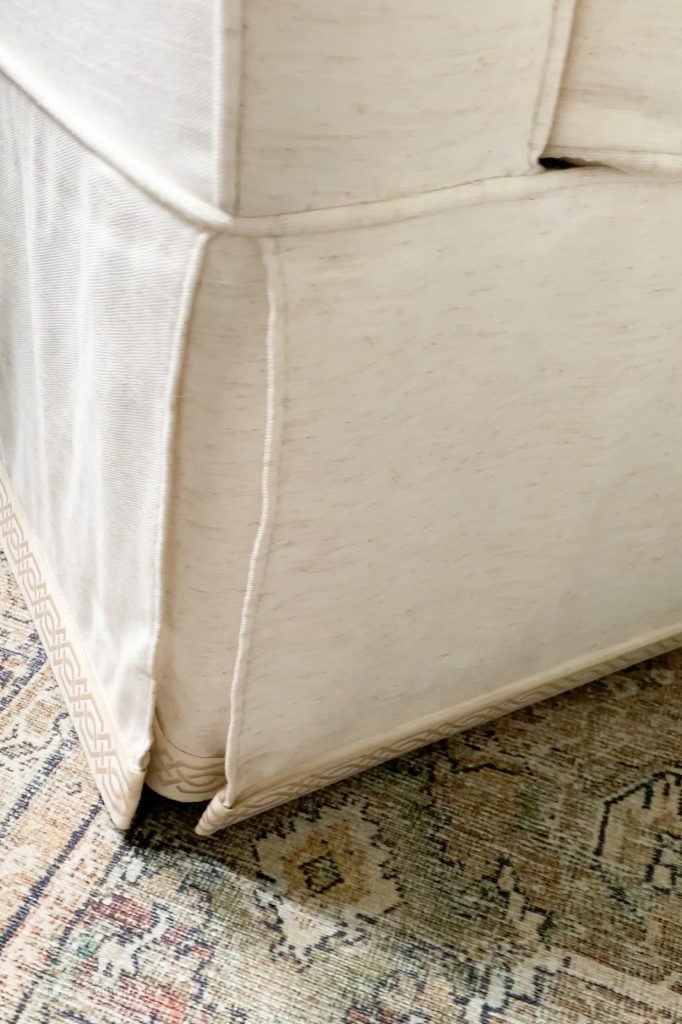
This project took me about and hour and half to complete both chairs. After heating it up the first time, I let it cool and then went back over it again with the straightener to be sure it was completely bonded and secure all the way around.
Supplies:
Cotton cloth (optional)
Thanks for flying by sweet friends! You can see the full reveal of this space here.
It’s Good To Be Home Blog Hop
Every month I get together with a few of my blogger friends to share inspiration from their accounts. This month is chock full of wonderful inspiration. Feel free to hop on over to their blogs and tell them I said hello!


xoxo,
Robyn
Shop the Supplies

Pin For Later


3 Comments
Lynn
I love this idea, Robyn! It adds jus the right fnishing touch to the piece! Just beautiful!
Becky
This is such a great idea, Robyn! I also love that you used a flat iron. Ingenious!
Aliet
Oh my goodness, the hair straightener is GENIUS!!