Decorating on a Budget- Broyhill Hutches get an update!
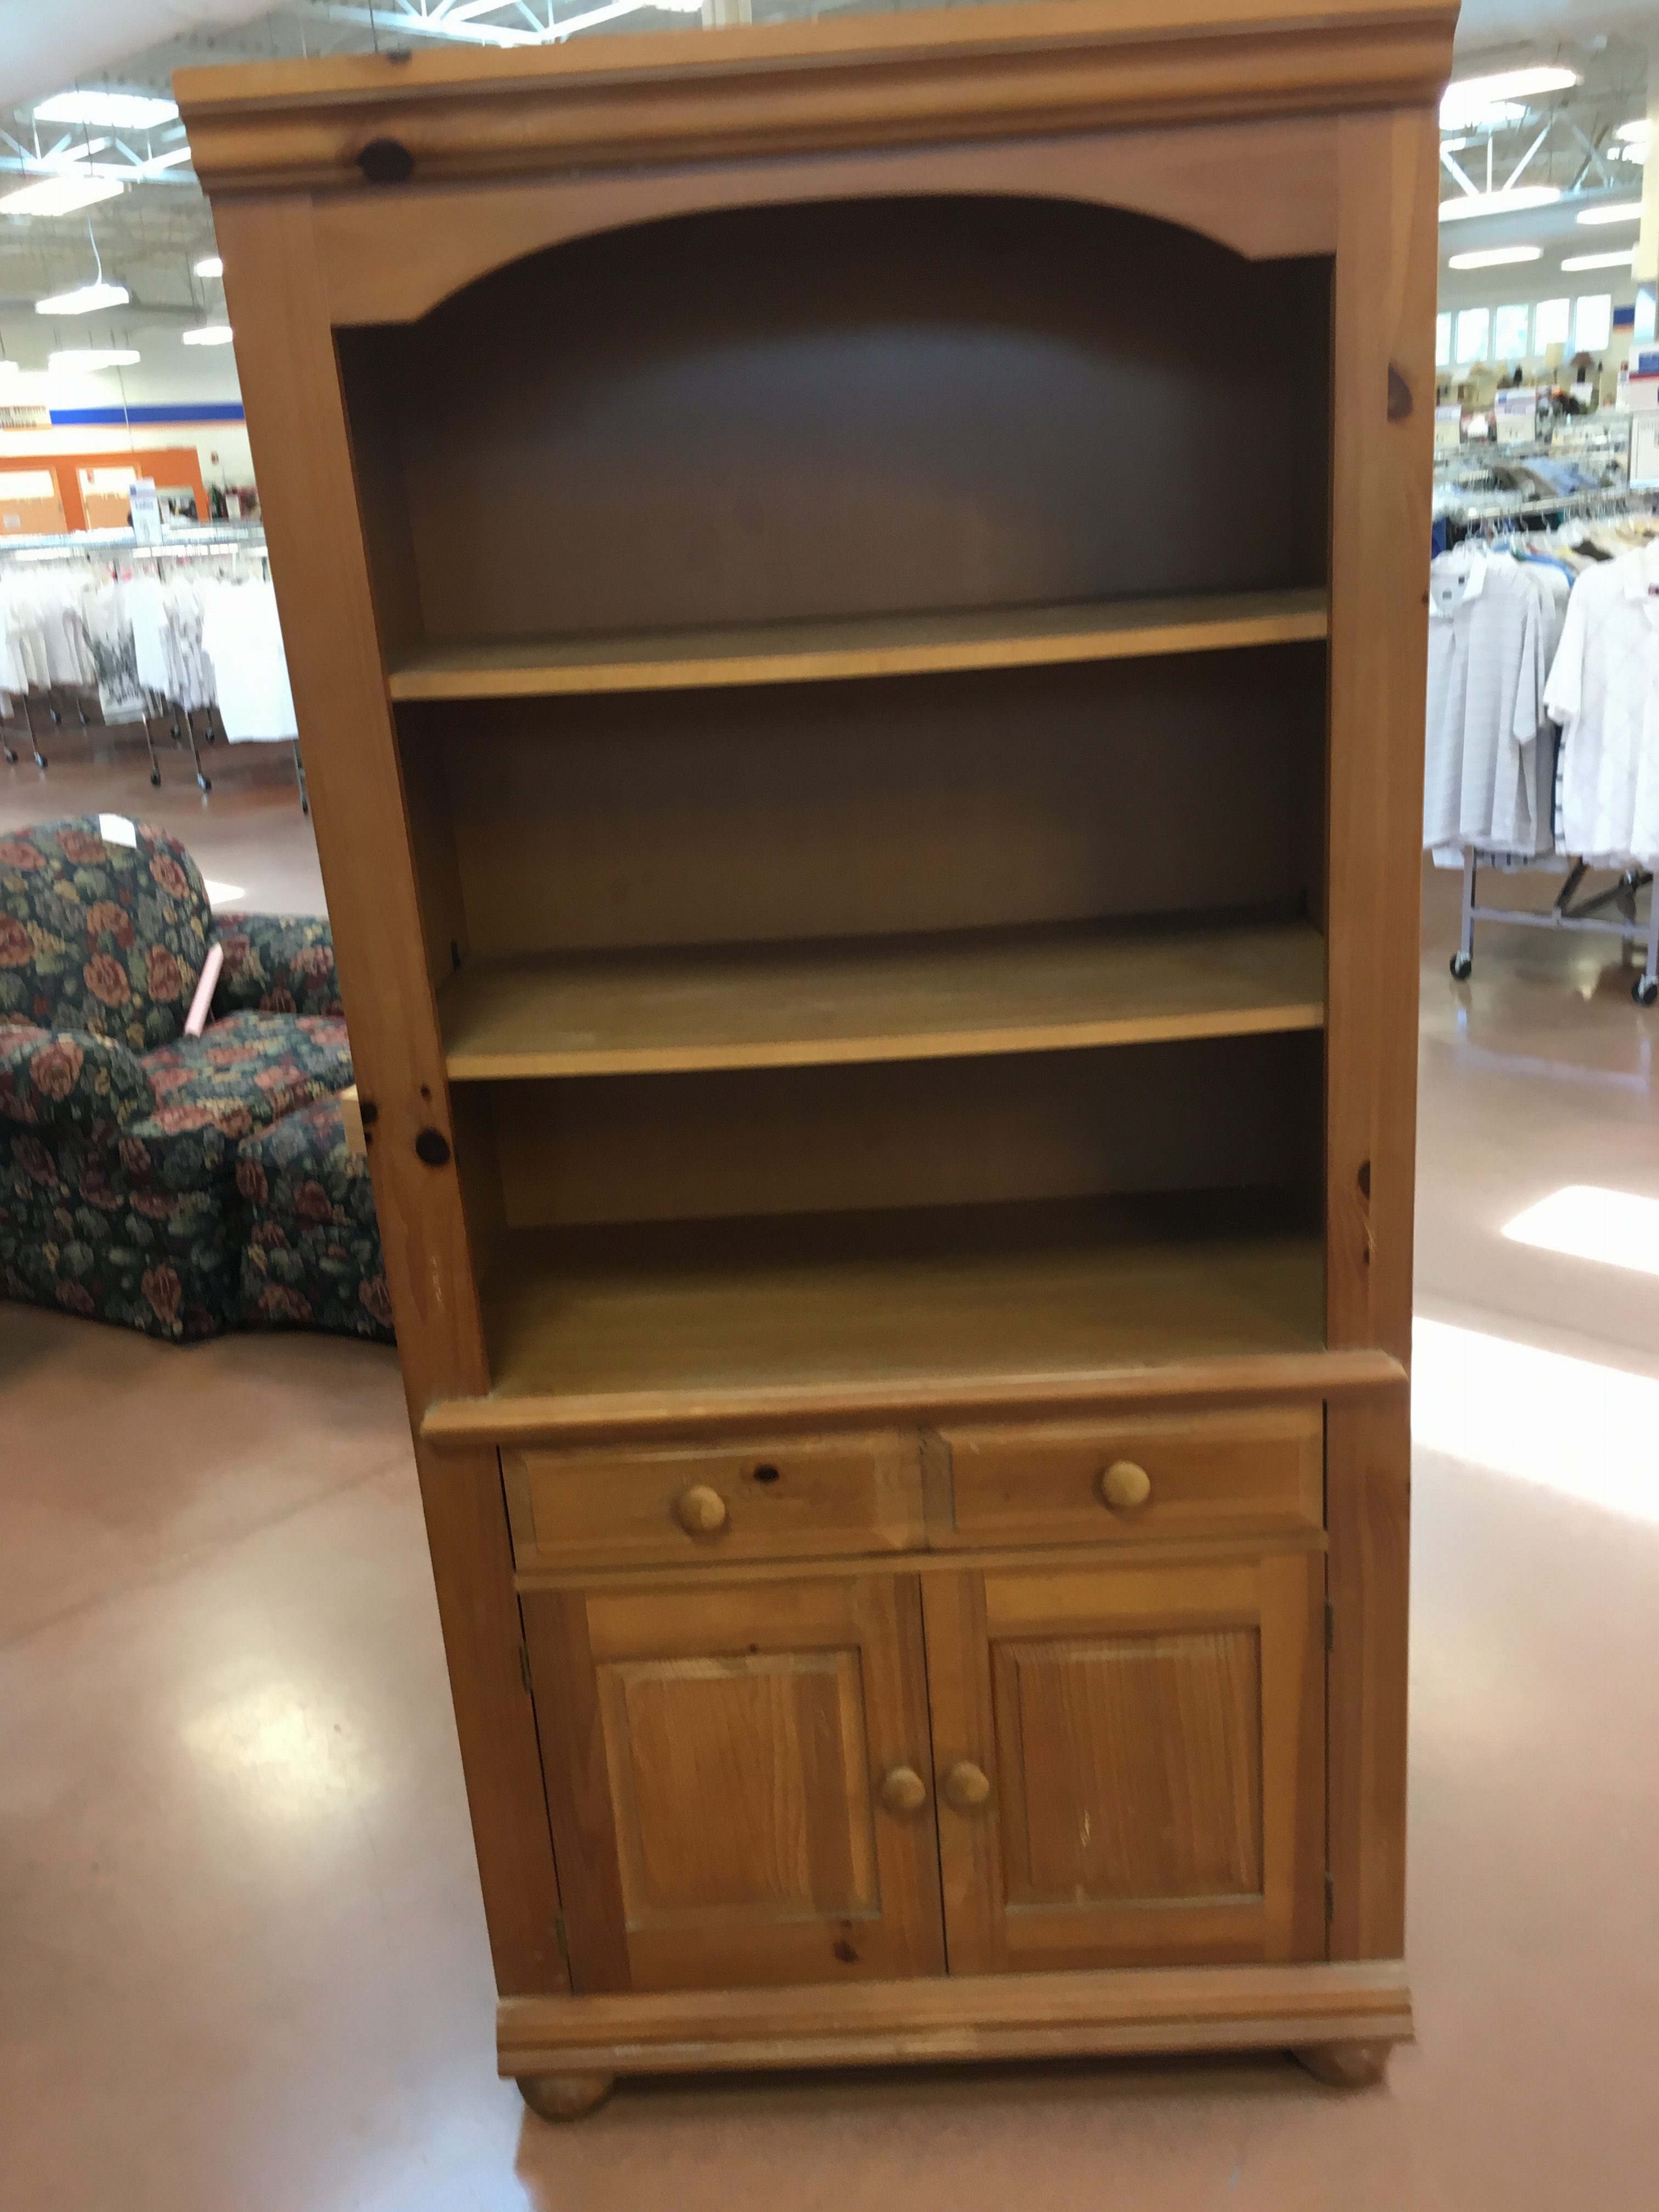
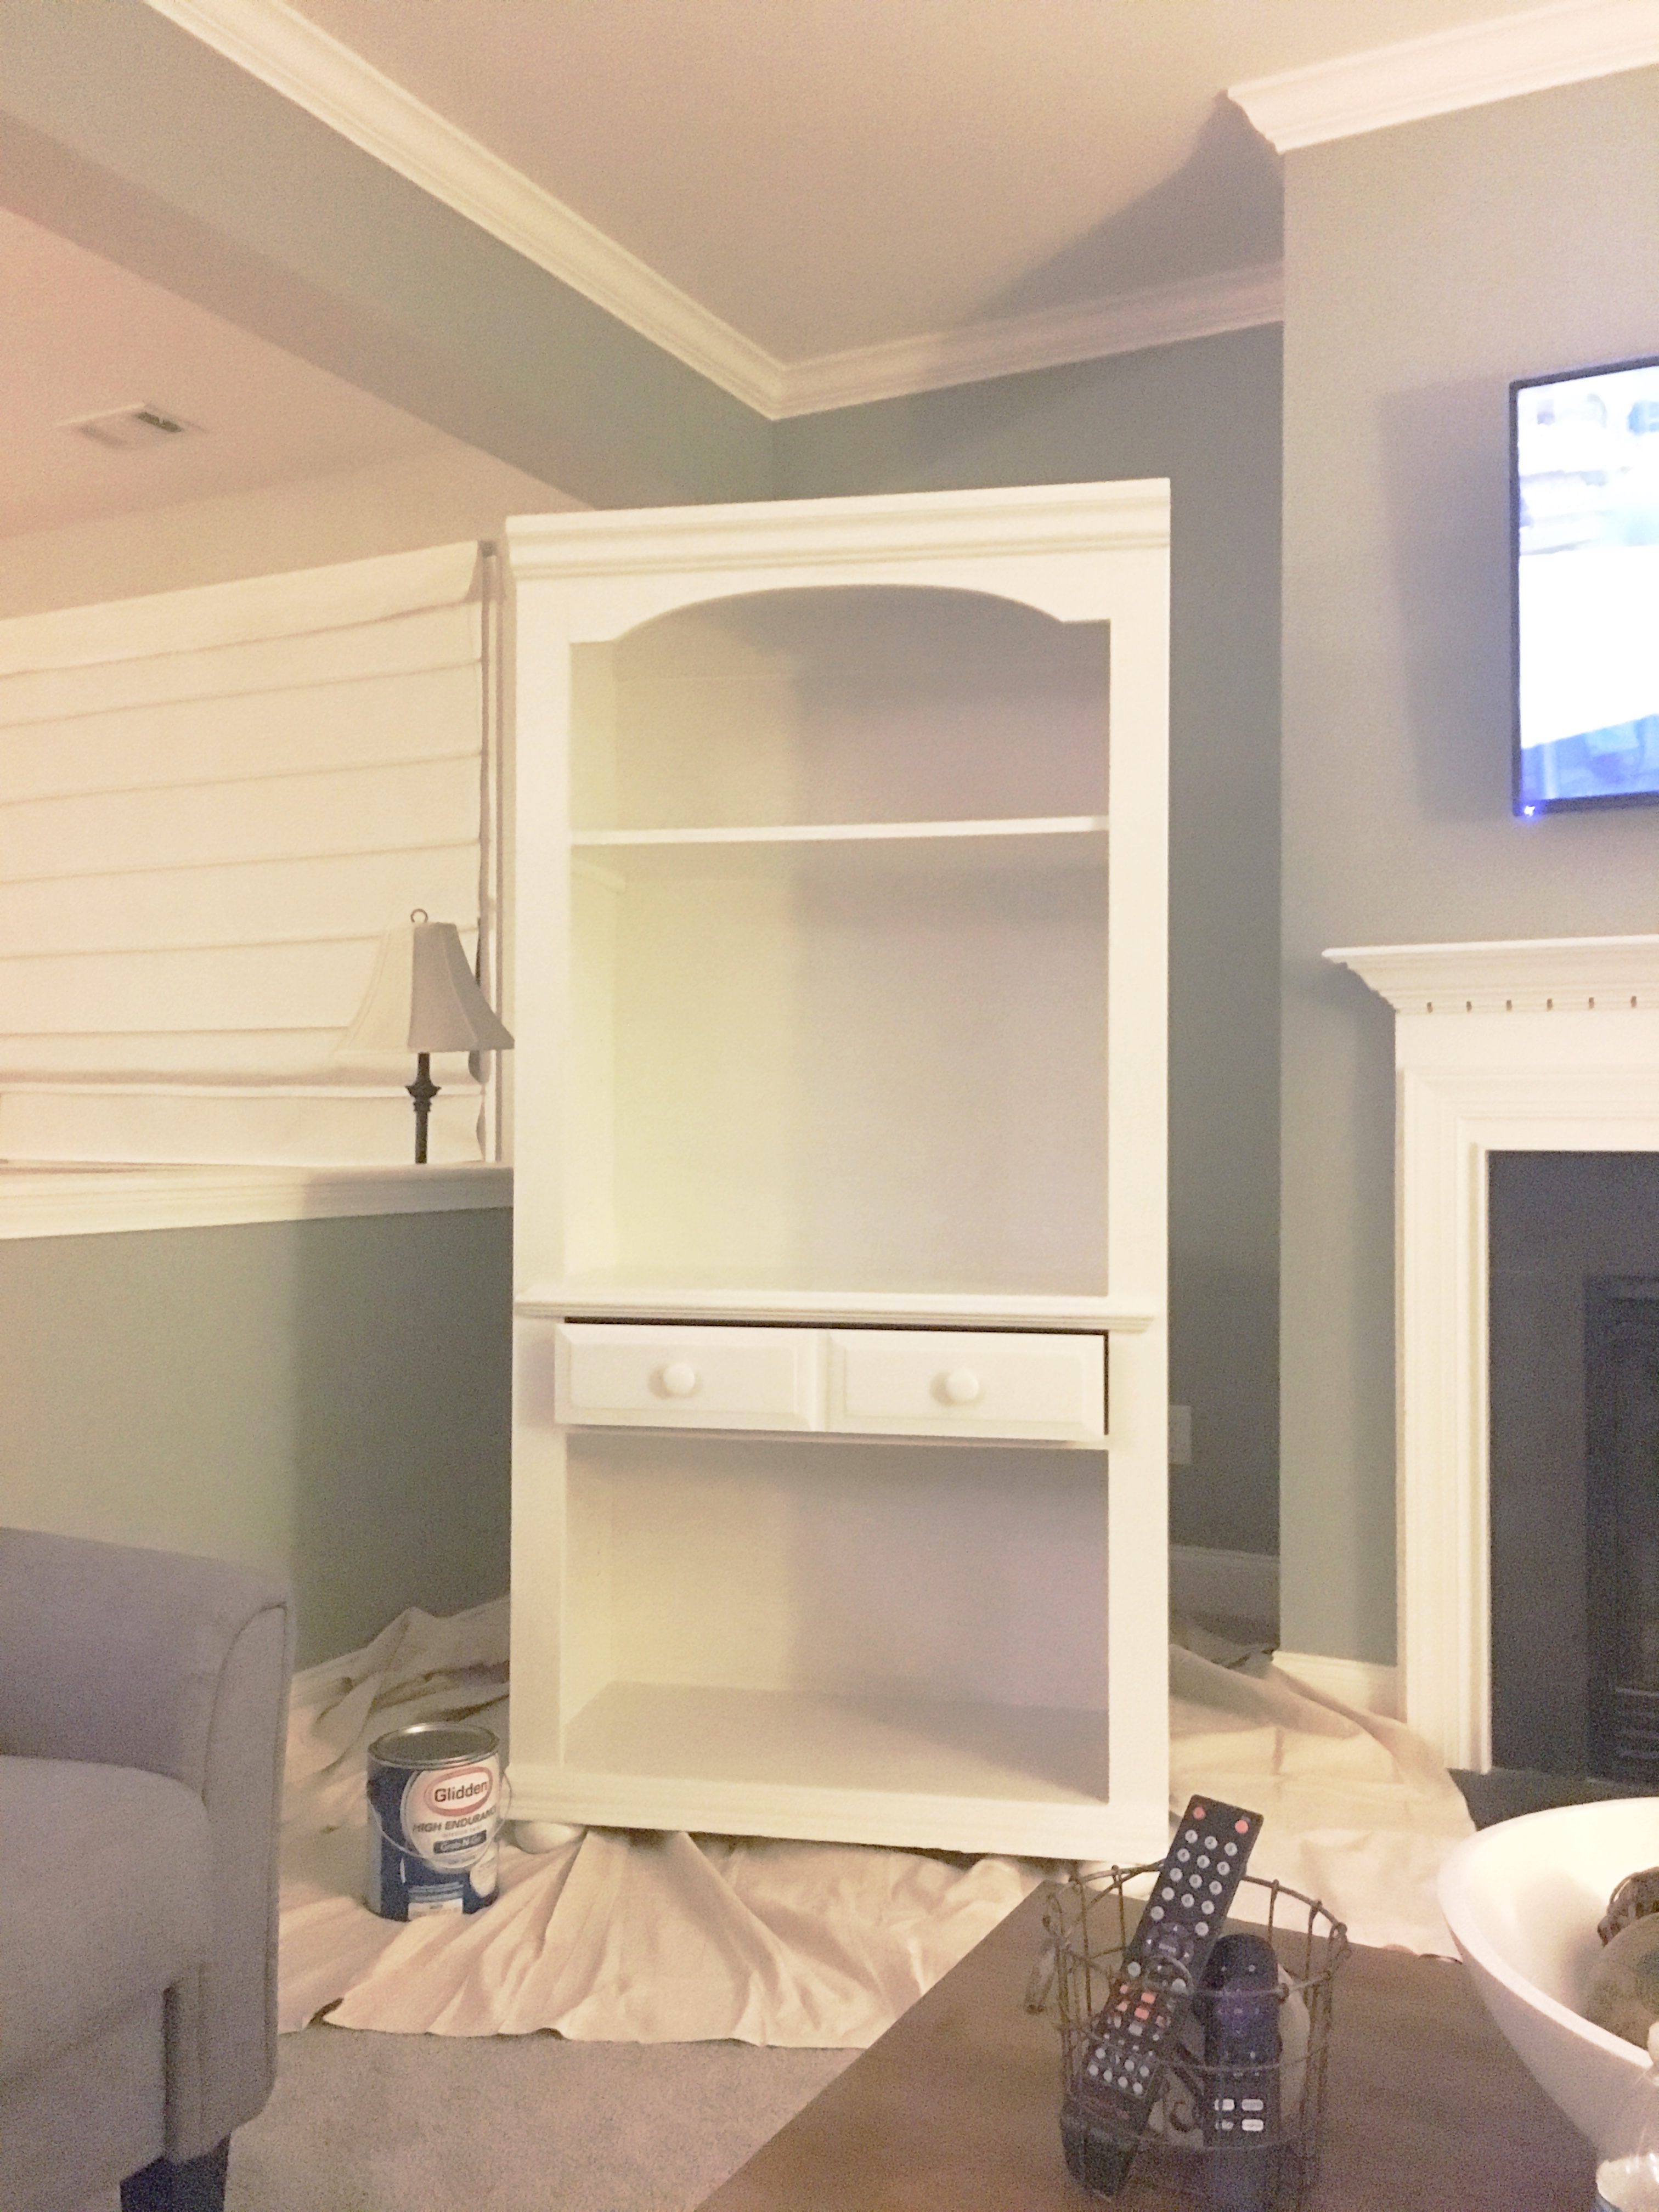
When I got a text from my husband during his lunch break showing off some awesome Broyhill hutches he found at Goodwill for $50 each…I just couldn’t pass up that opportunity to say “yes to the picture”! He has a great eye, but always of course wants my final approval which I appreciate greatly! I was already trying to figure out what to do with the empty spaces on either side of our fireplace, so when I saw his find it was like it was meant to be. $100 later and another $100 for a U-haul…we had our pieces. I keep telling Chris his next vehicle needs to be a truck..no excuses! The good ole Lexus can hold some stuff, but we definitely need something bigger for these types of hauls. Here’s what they looked like when we first got them. I’m sure they were beautiful in all their glory in the late 80s early 90s, but it was time to bring them up to date. Like many people say…nothing a little paint and TLC can’t fix. They were in such great shape. You could tell that the previous owner really took good care of them, so that made the project a little easier for sure. The painting was very very time consuming, but in the end so rewarding!
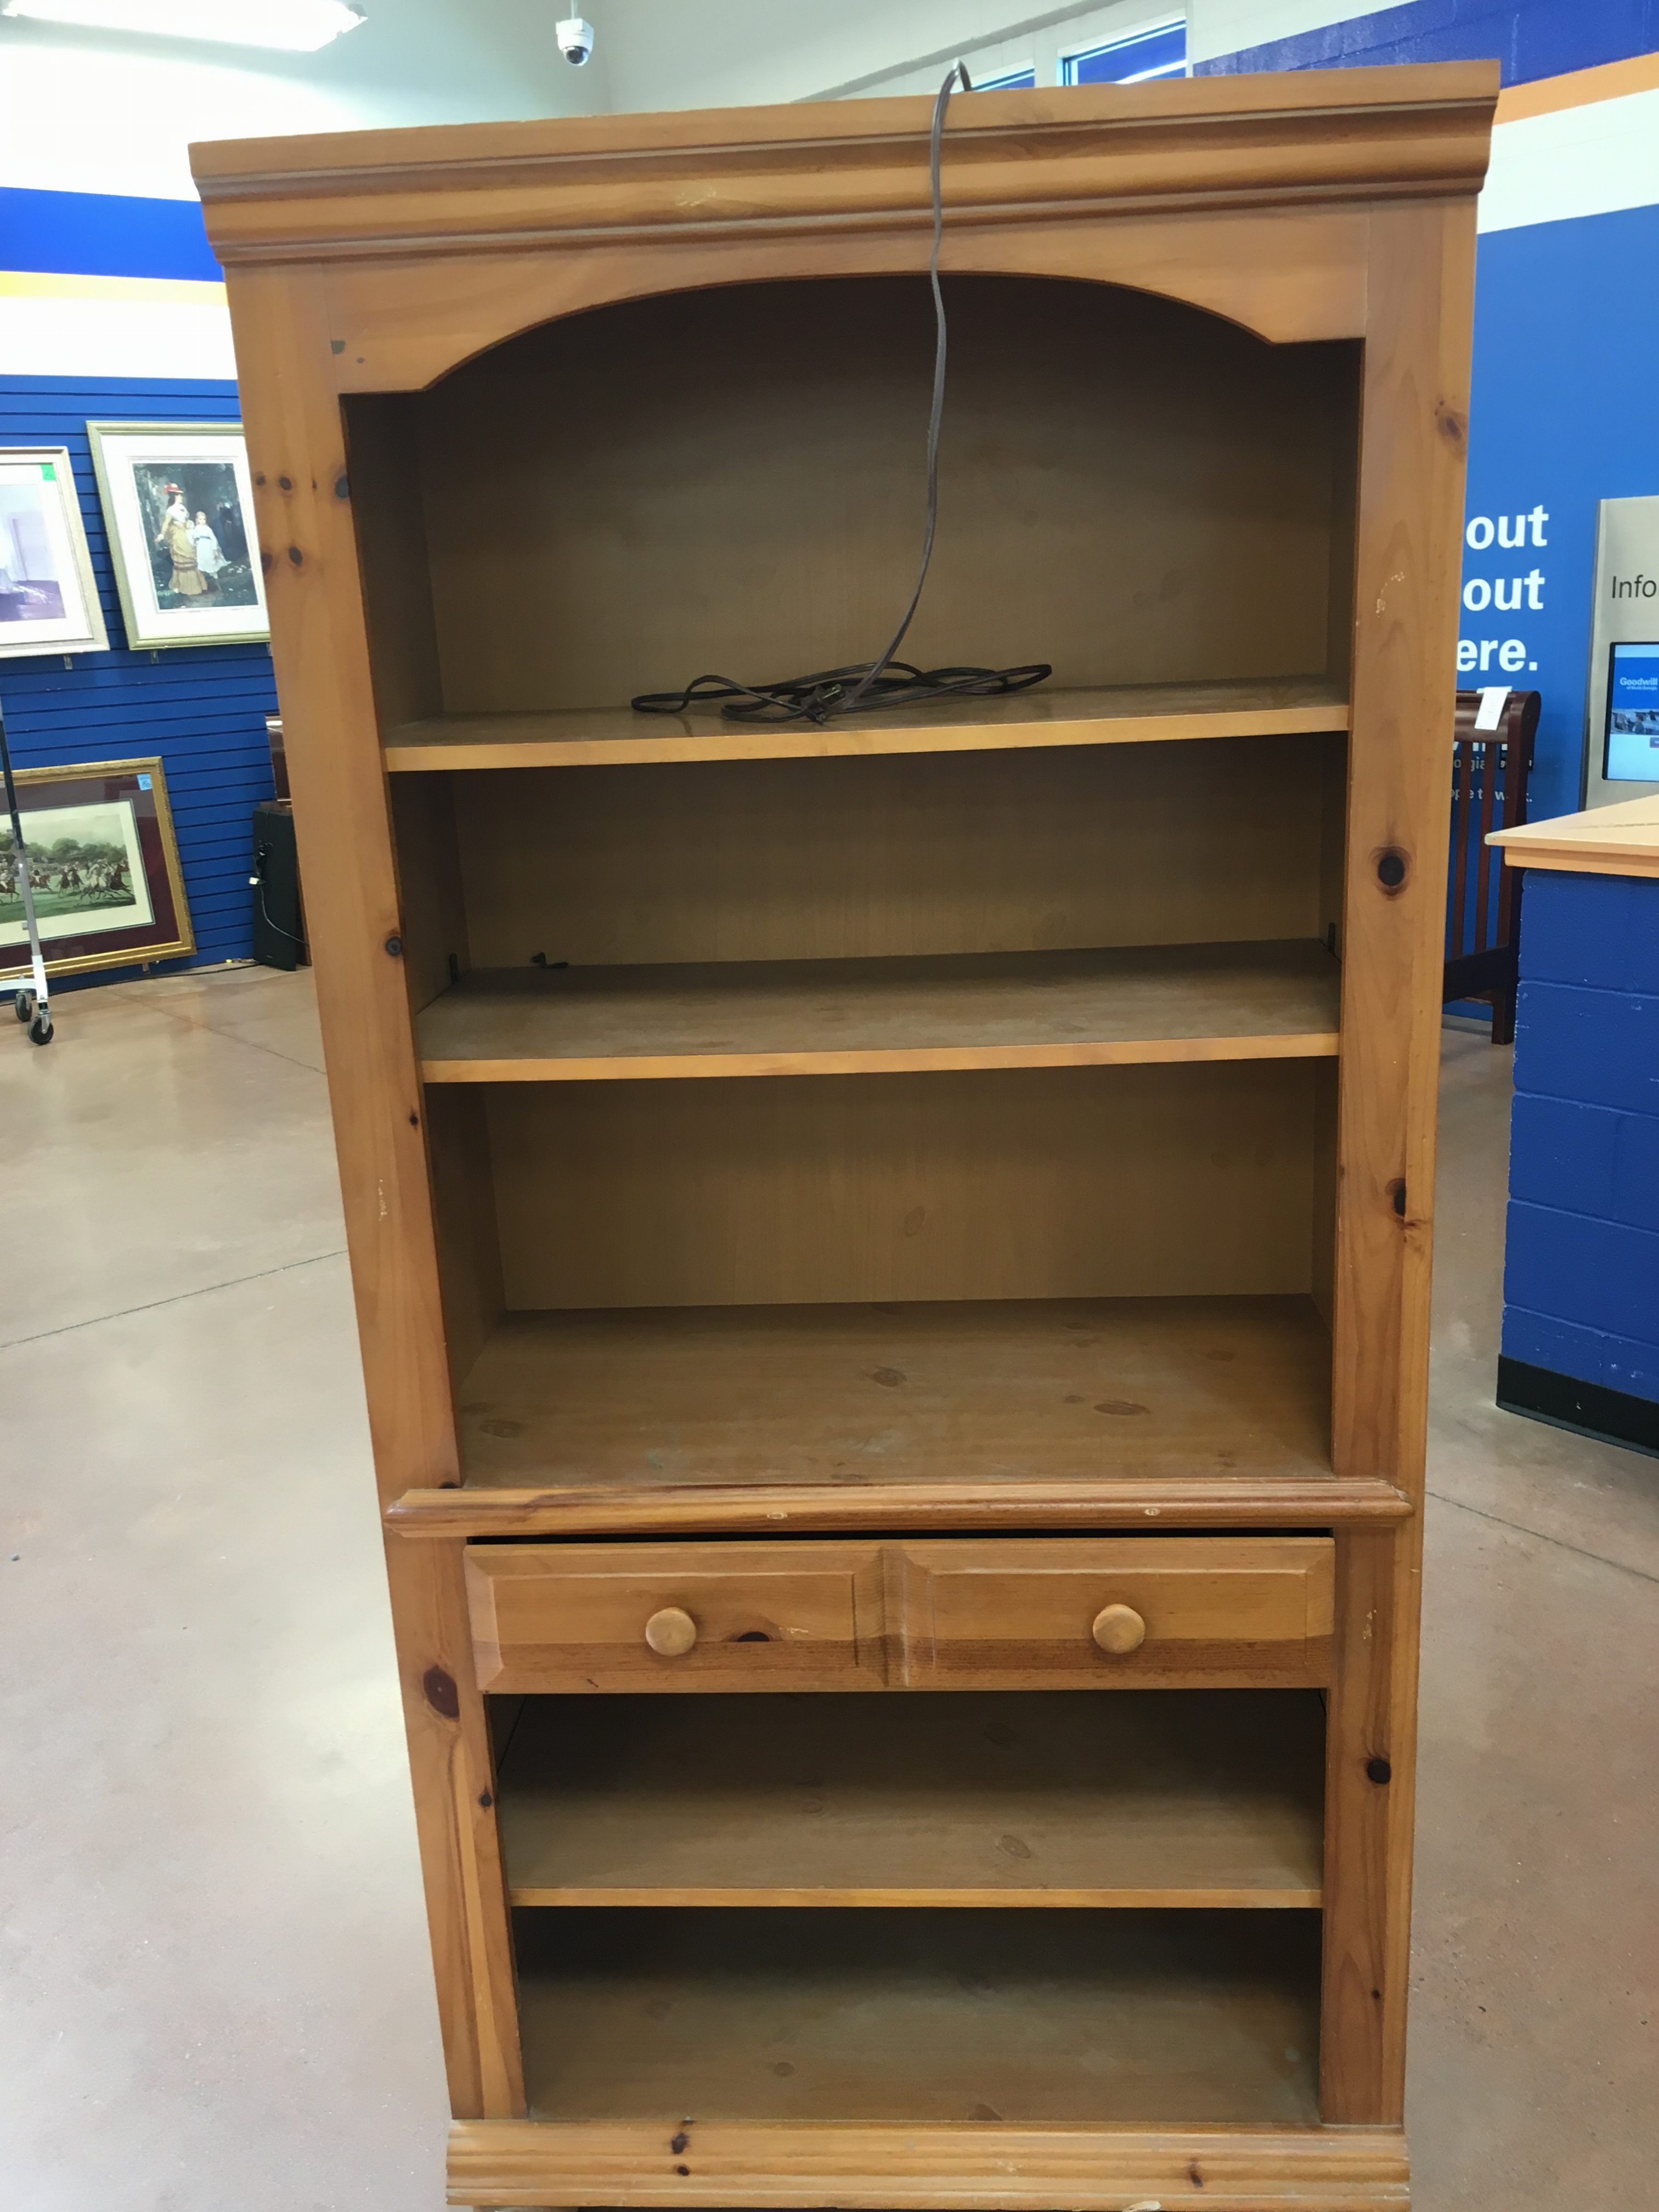
Before:
I decided white was the way to go on these beasts…but I soon realized by the 3rd coat it was my biggest painting project to date, and my arms and hand were definitely feeling it. There were just so many nooks and crannies to each piece, not to mention once you finished one you then realized you still had another one to go. I didn’t want to go shabby chic with these pieces mainly because not all the components were actual wood. There was some MDF in the mix which I decided would look better polished, and then I could add in some shabby/distressed hardware to really pull the look together to go with our industrial farmhouse look.
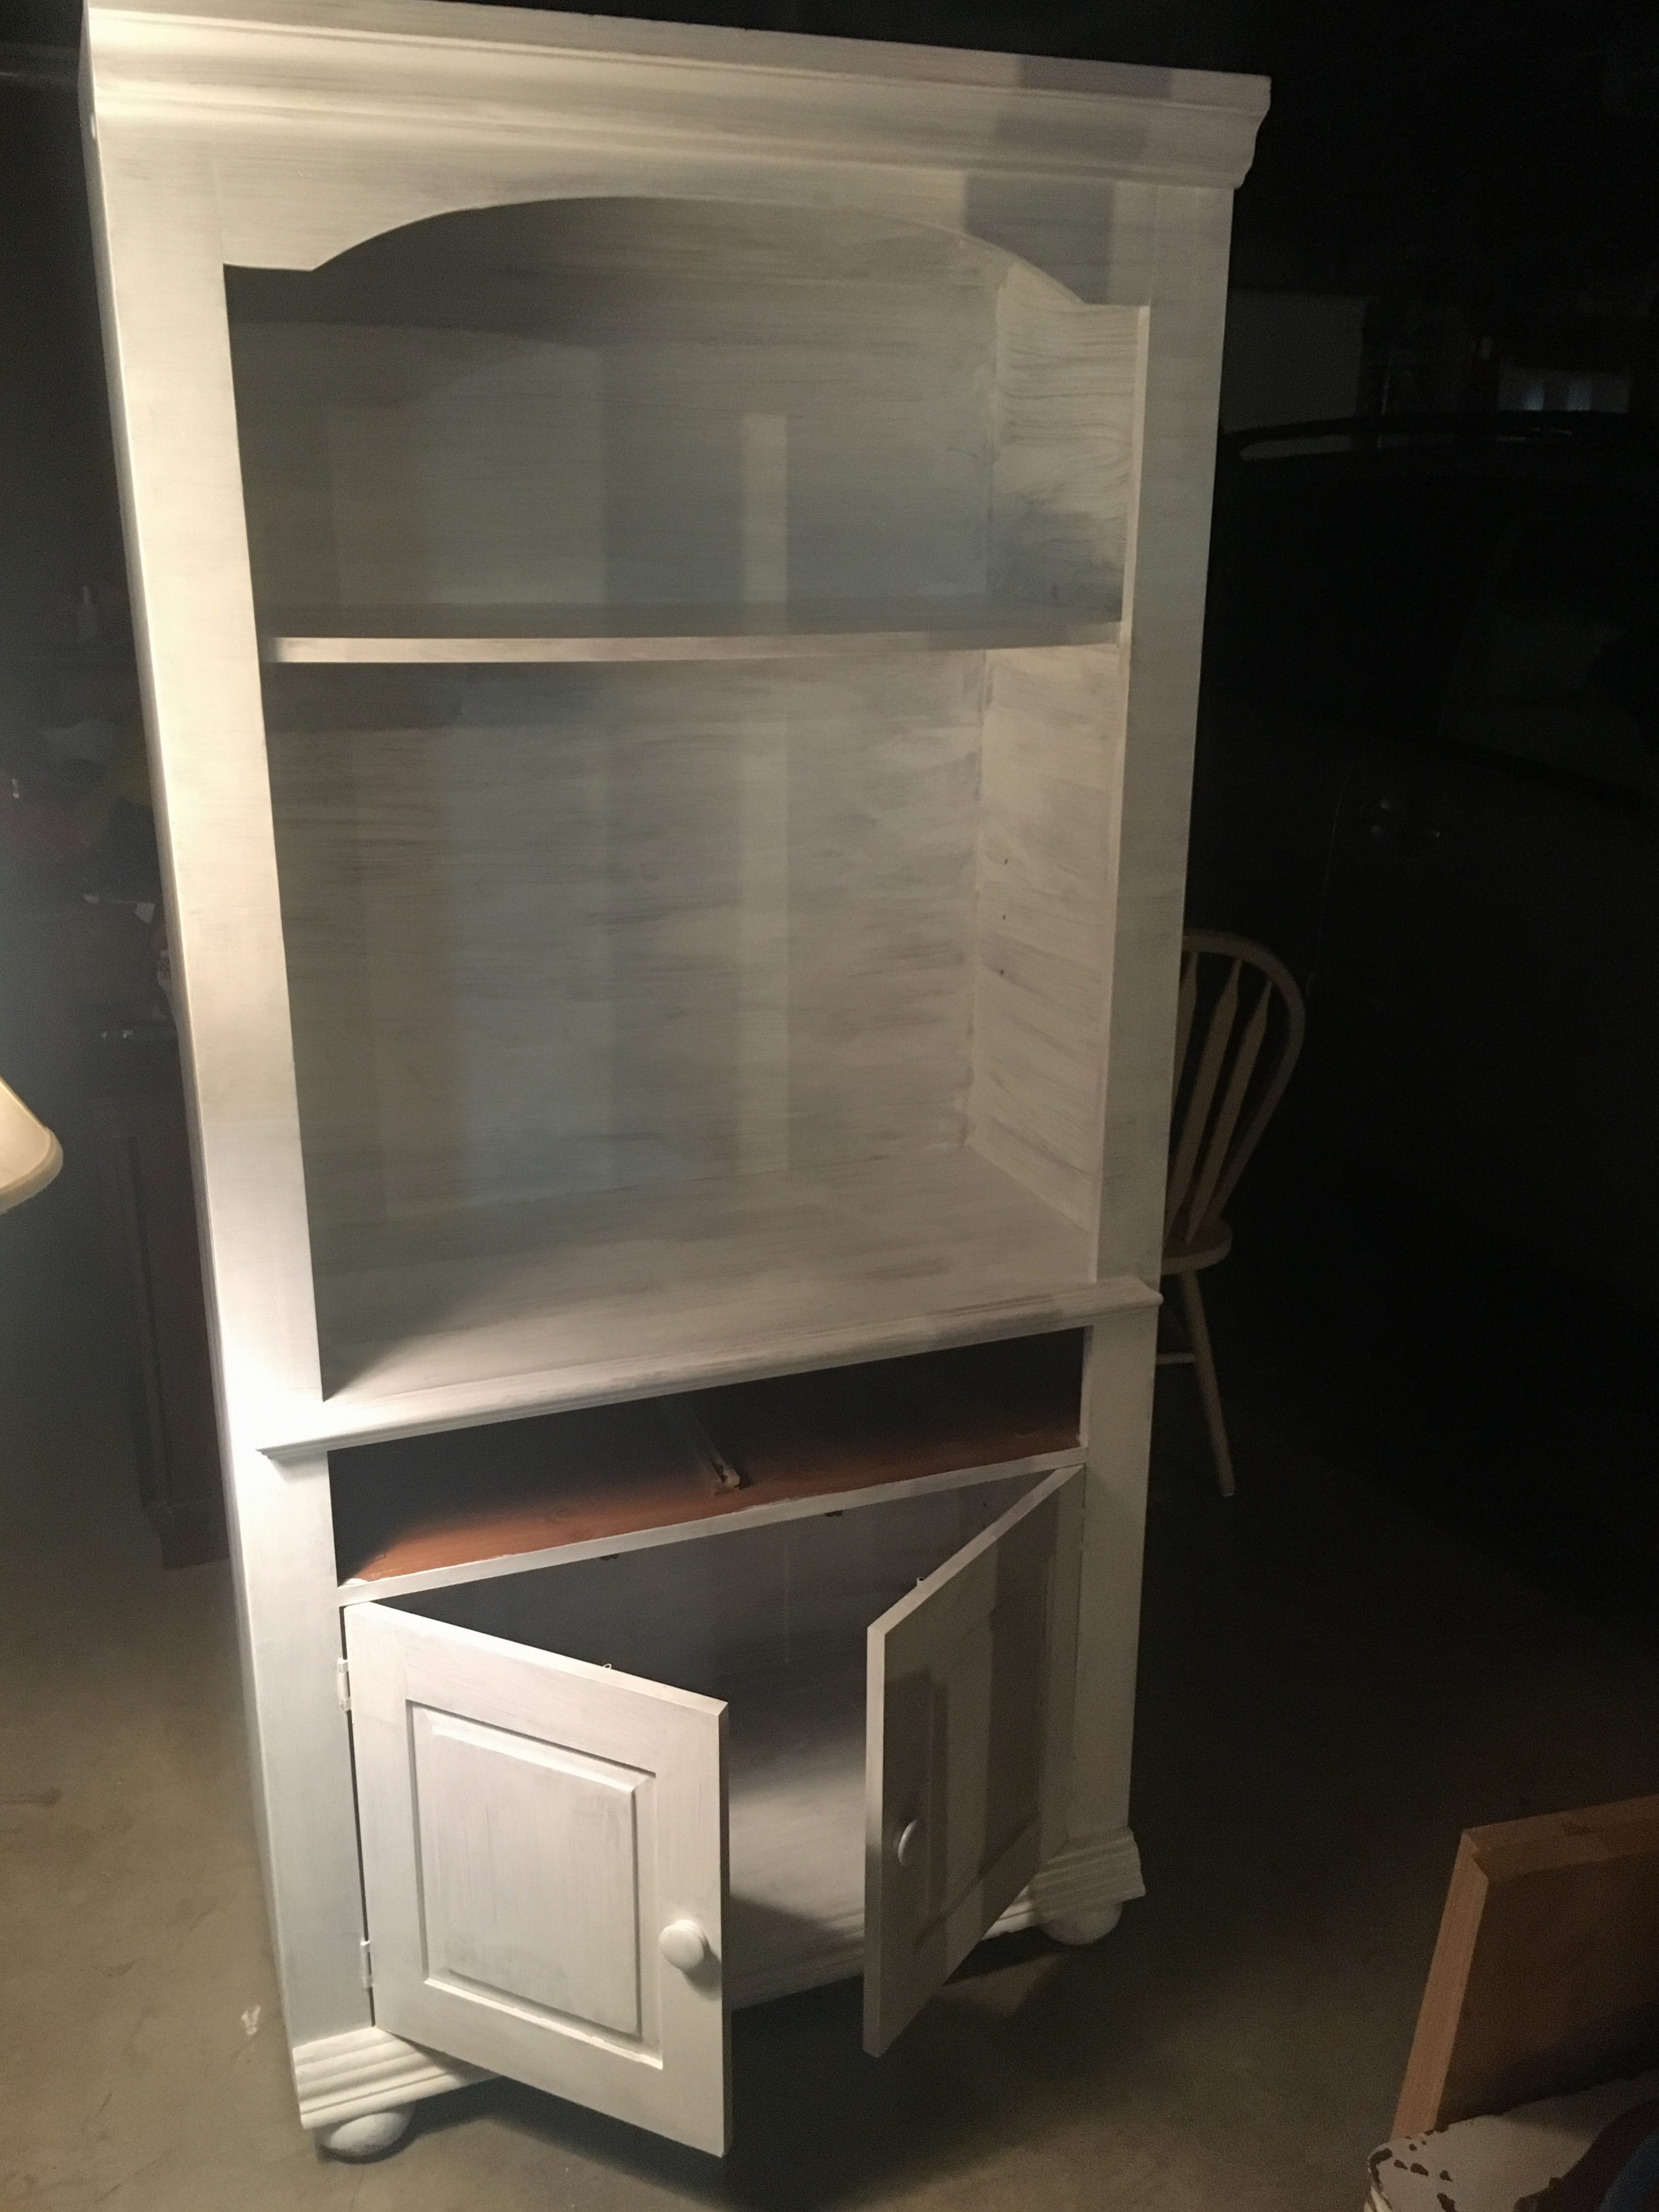
I used a gallon of the Glidden Grab-N-Go in semi-gloss white from Wal-Mart. The paint covers beautifully, actually even a little better than the Valspar I used for a first coat on one of the hutches. Like I said it took 3 coats to get that “semi-professional” coverage. I still had paint to spare after 3 coats on each hutch. I decided to use this same paint on our black painted California King sleigh bed. It’s probably the best $19.76 I’ve spent in quite some time since it went so far! I will show that bed project at a later date..so please stay tuned.
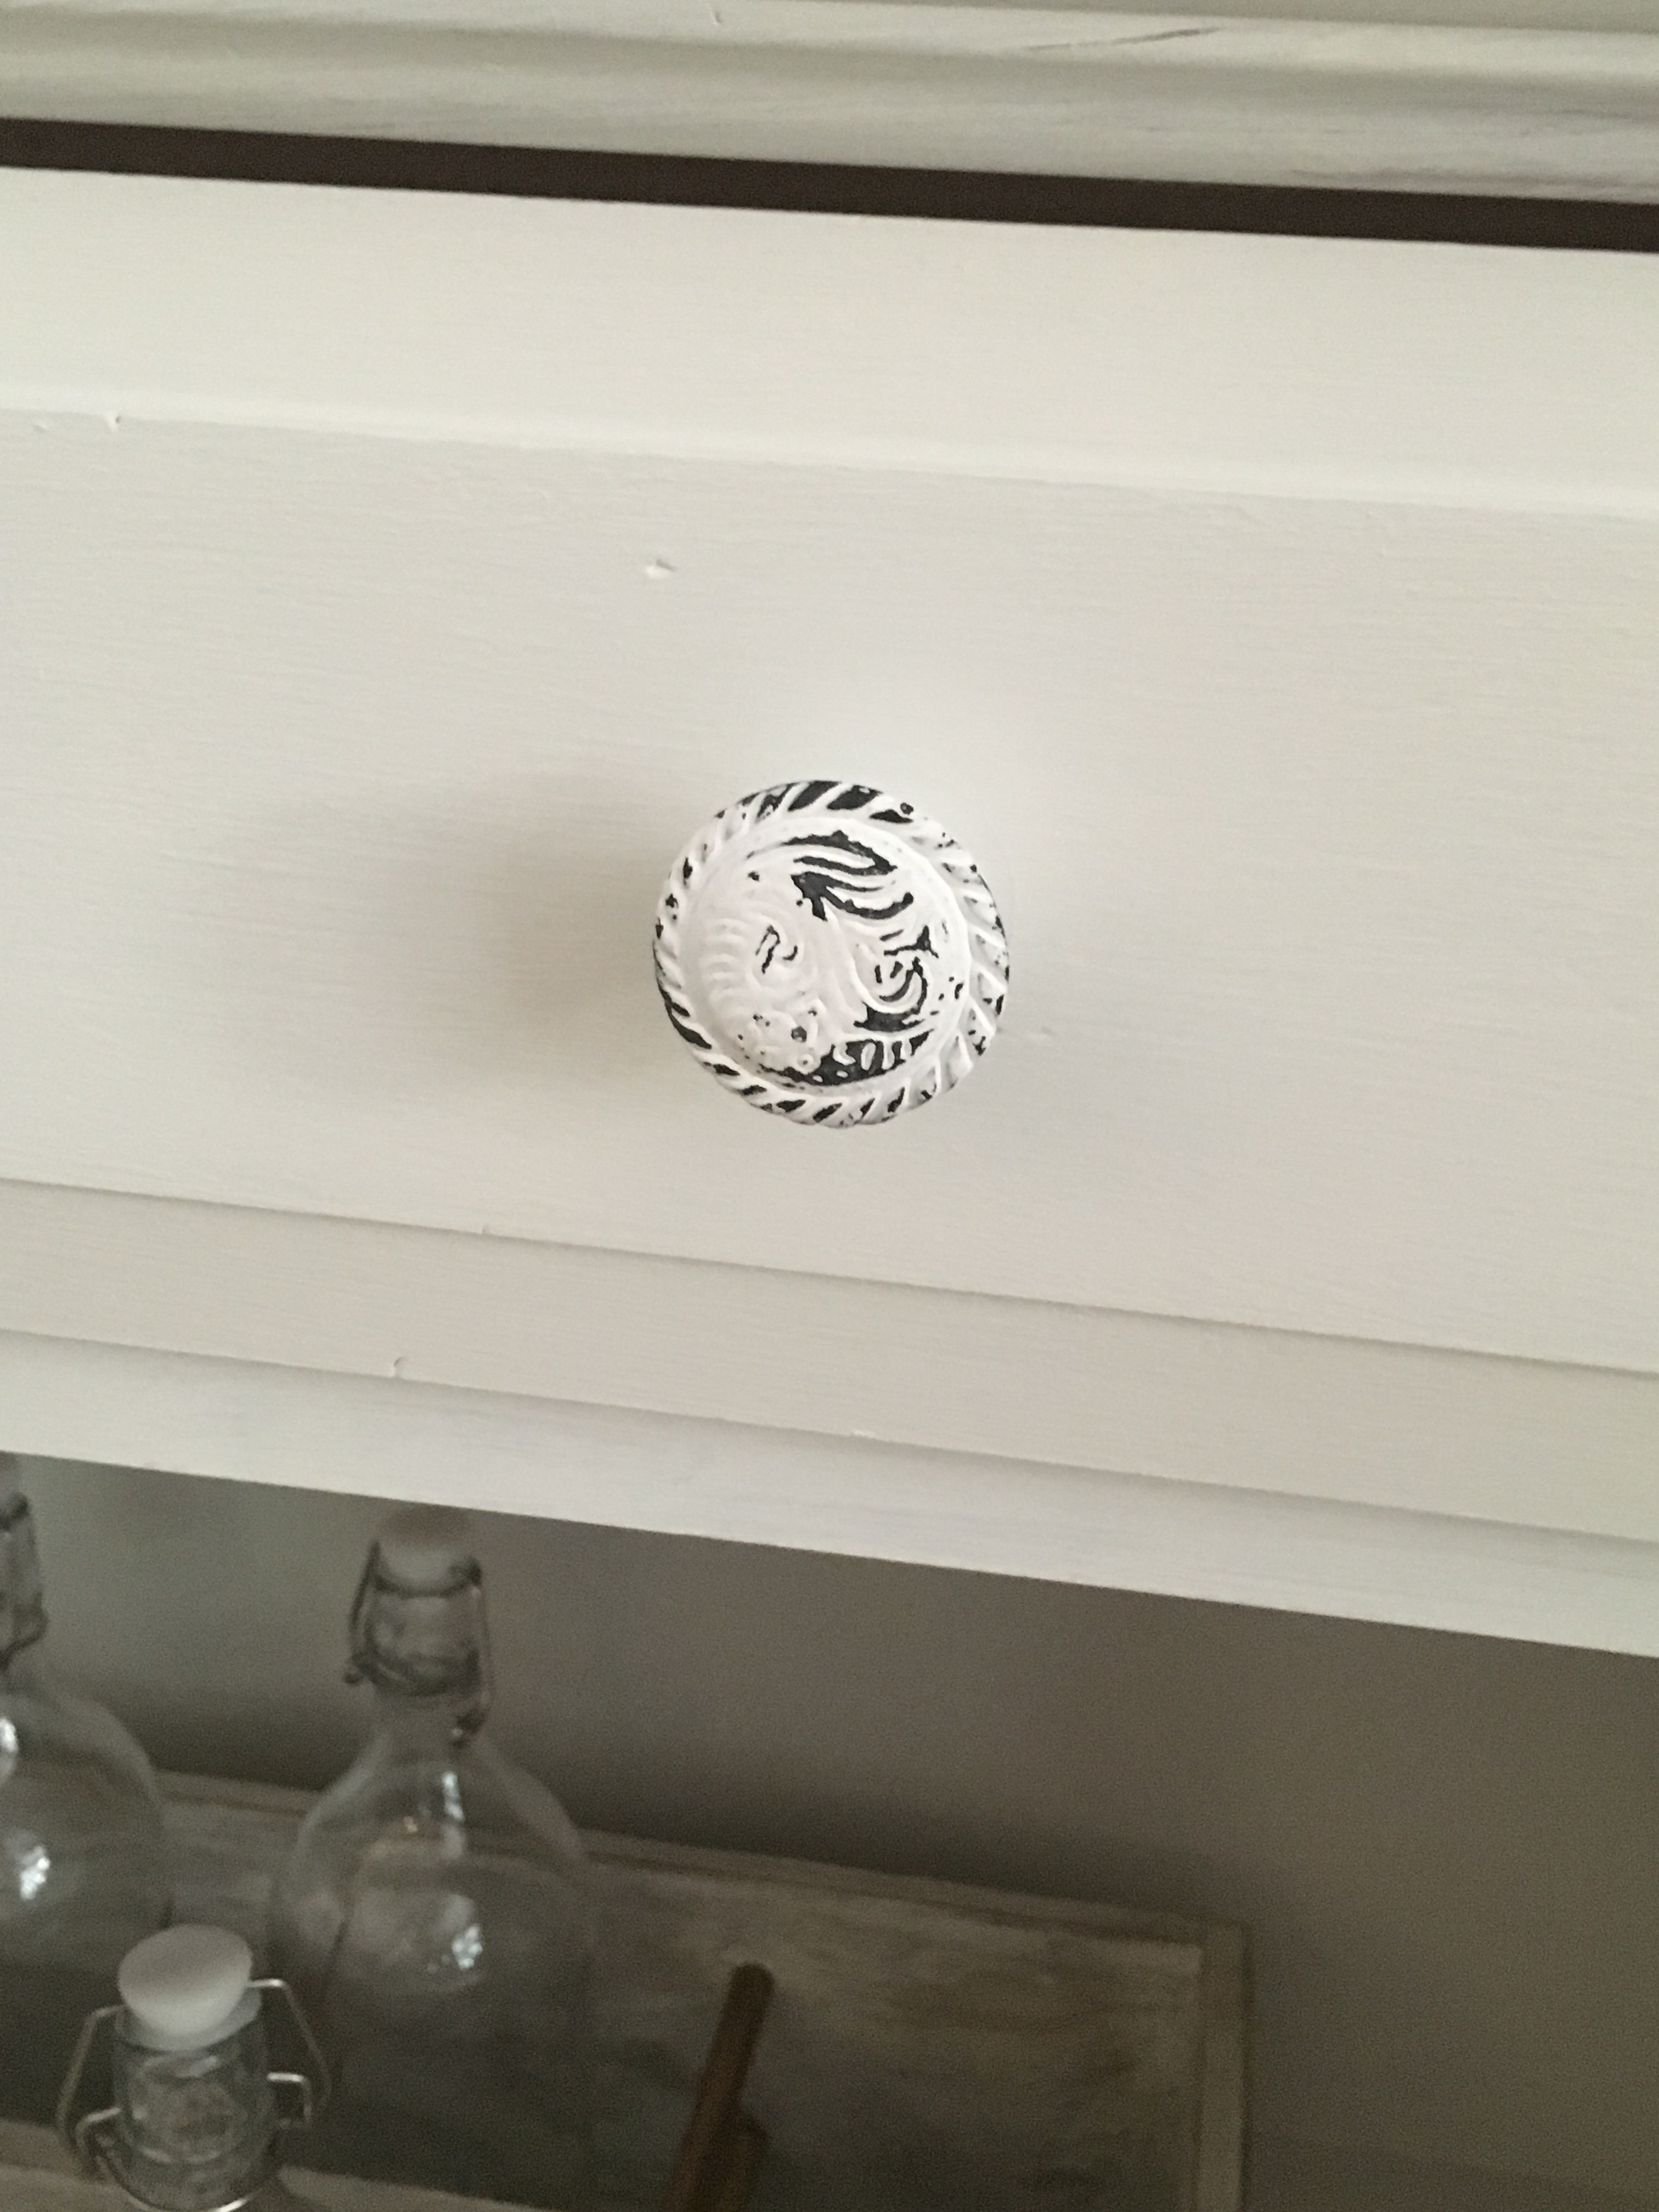
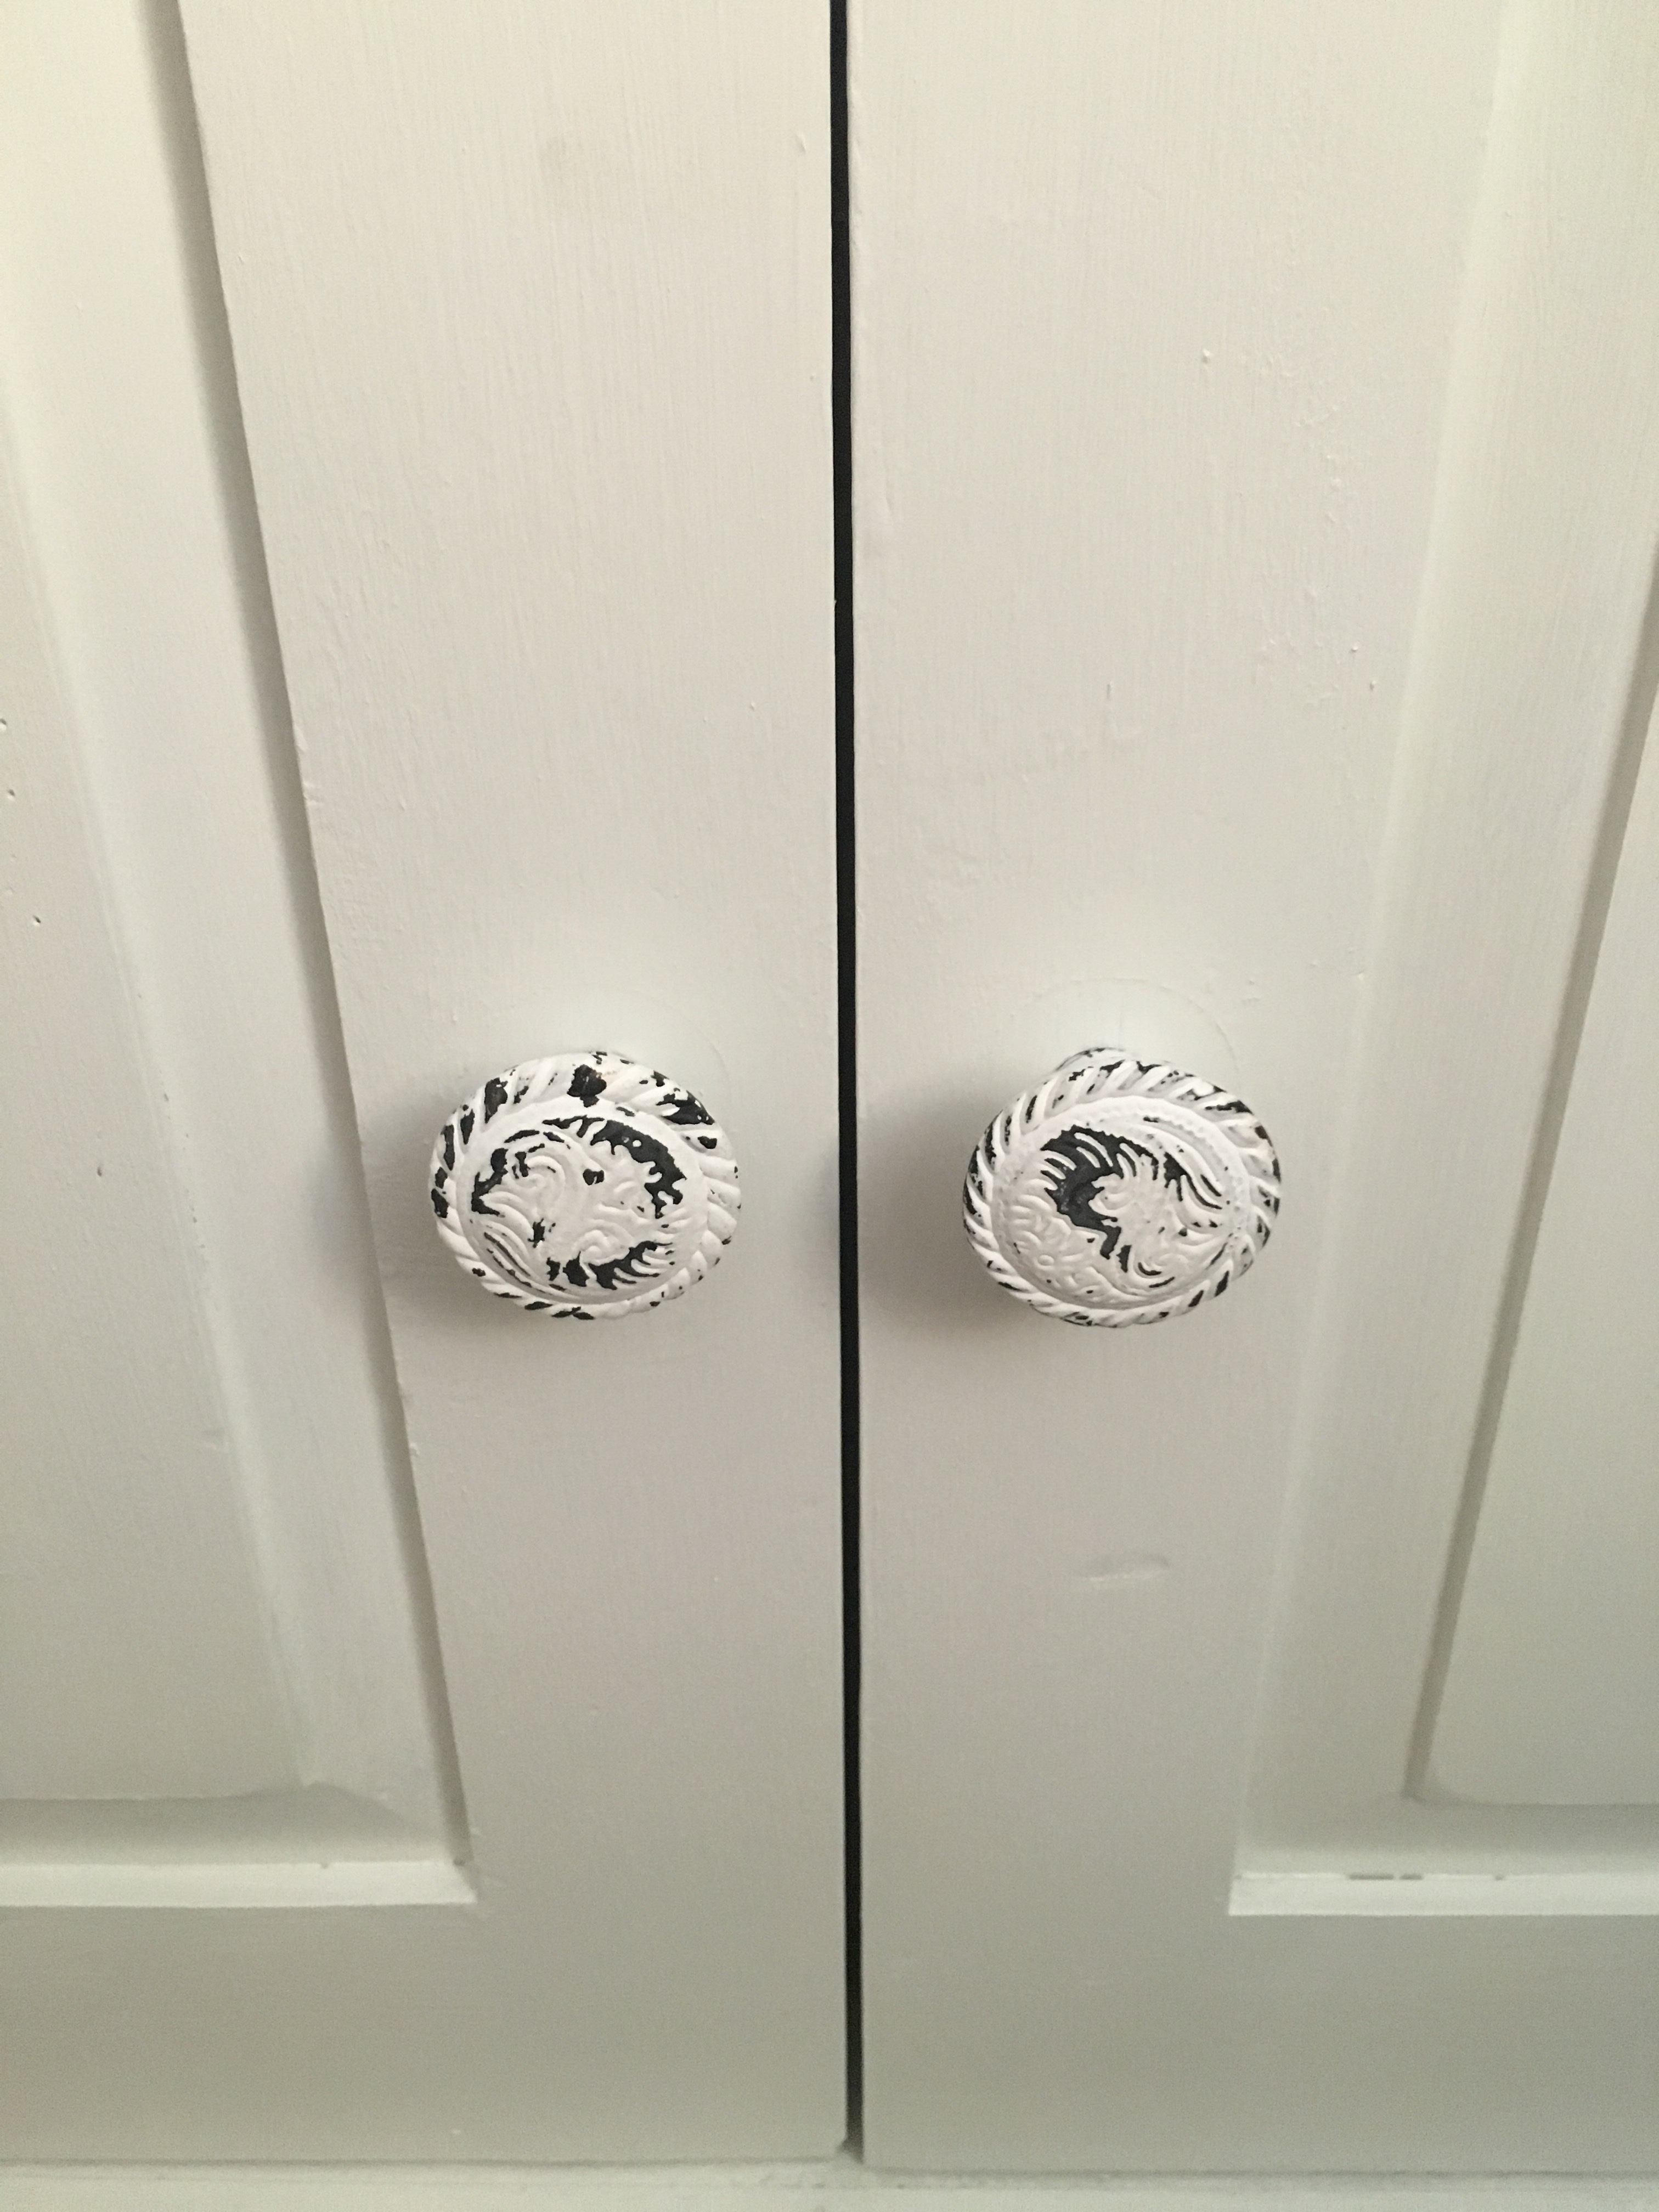
I ordered this cute distressed hardware from Hobby Lobby when they had their pulls on sale. I think they were originally $3.99 each and then on sale I scored them for $2 each.
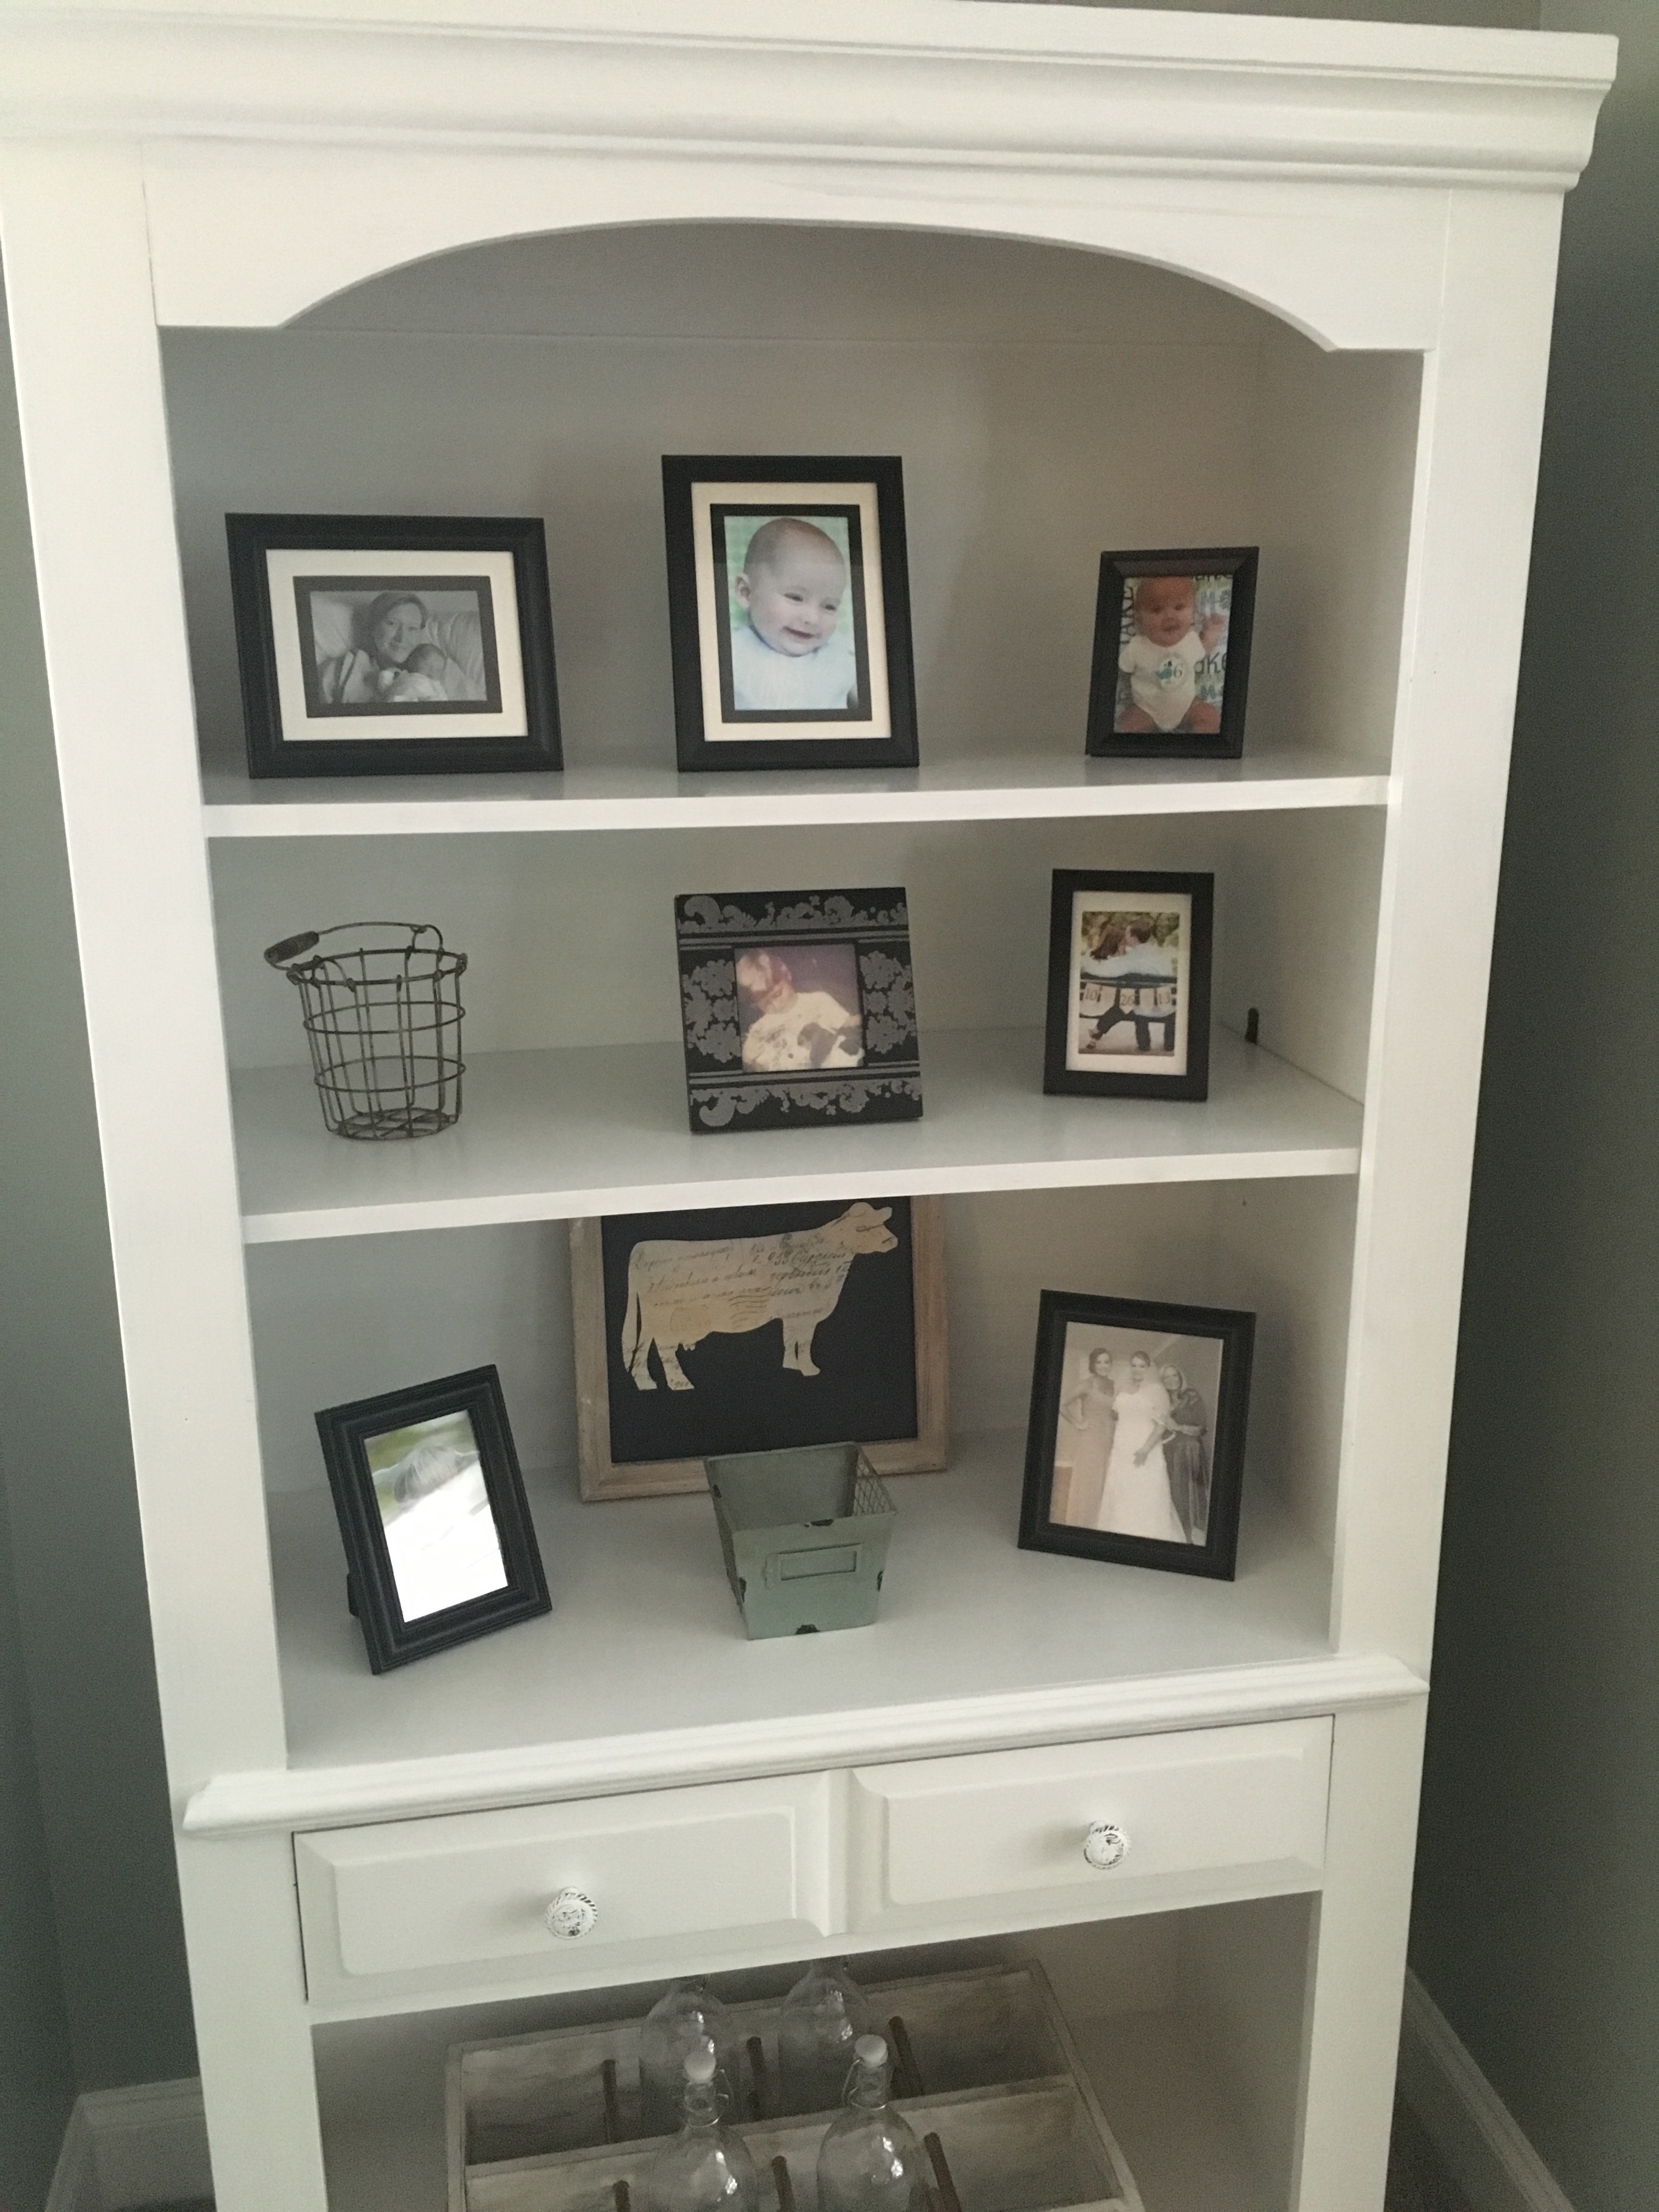
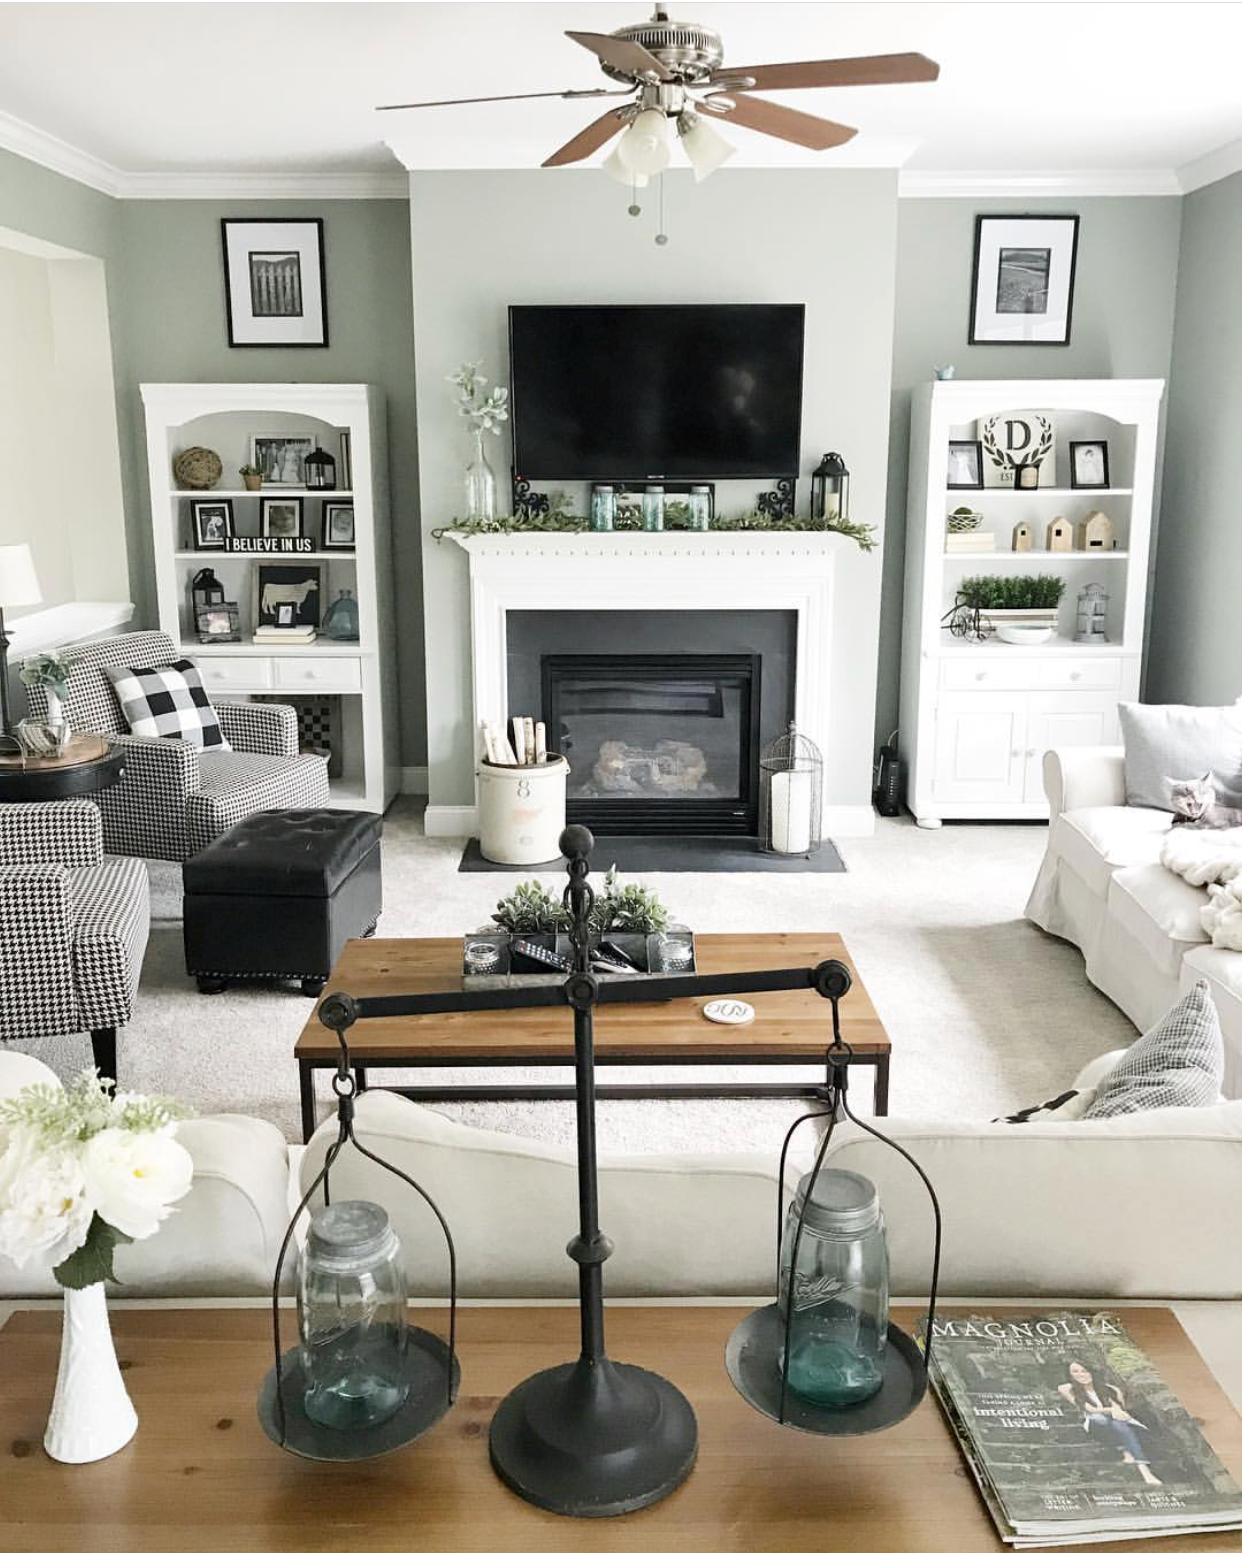
So in total for everything I think we spent around $230ish which isn’t too bad considering Chris found some other larger pieces at Goodwill to put on the U-haul when he went back to pick up the hutches. In fact, he is painting one of the old TV stands from that haul as we speak with some chalk paint to go in his “Man Den”. It’s his first chalk paint project without any help so I can’t wait to see it! On the left hutch we cut out the back of the bottom to shove all of the cable/internet equipment to hide all the madness behind those cute cupboards. No one likes to see cords, boxes, cables etc. So it worked out beautifully!
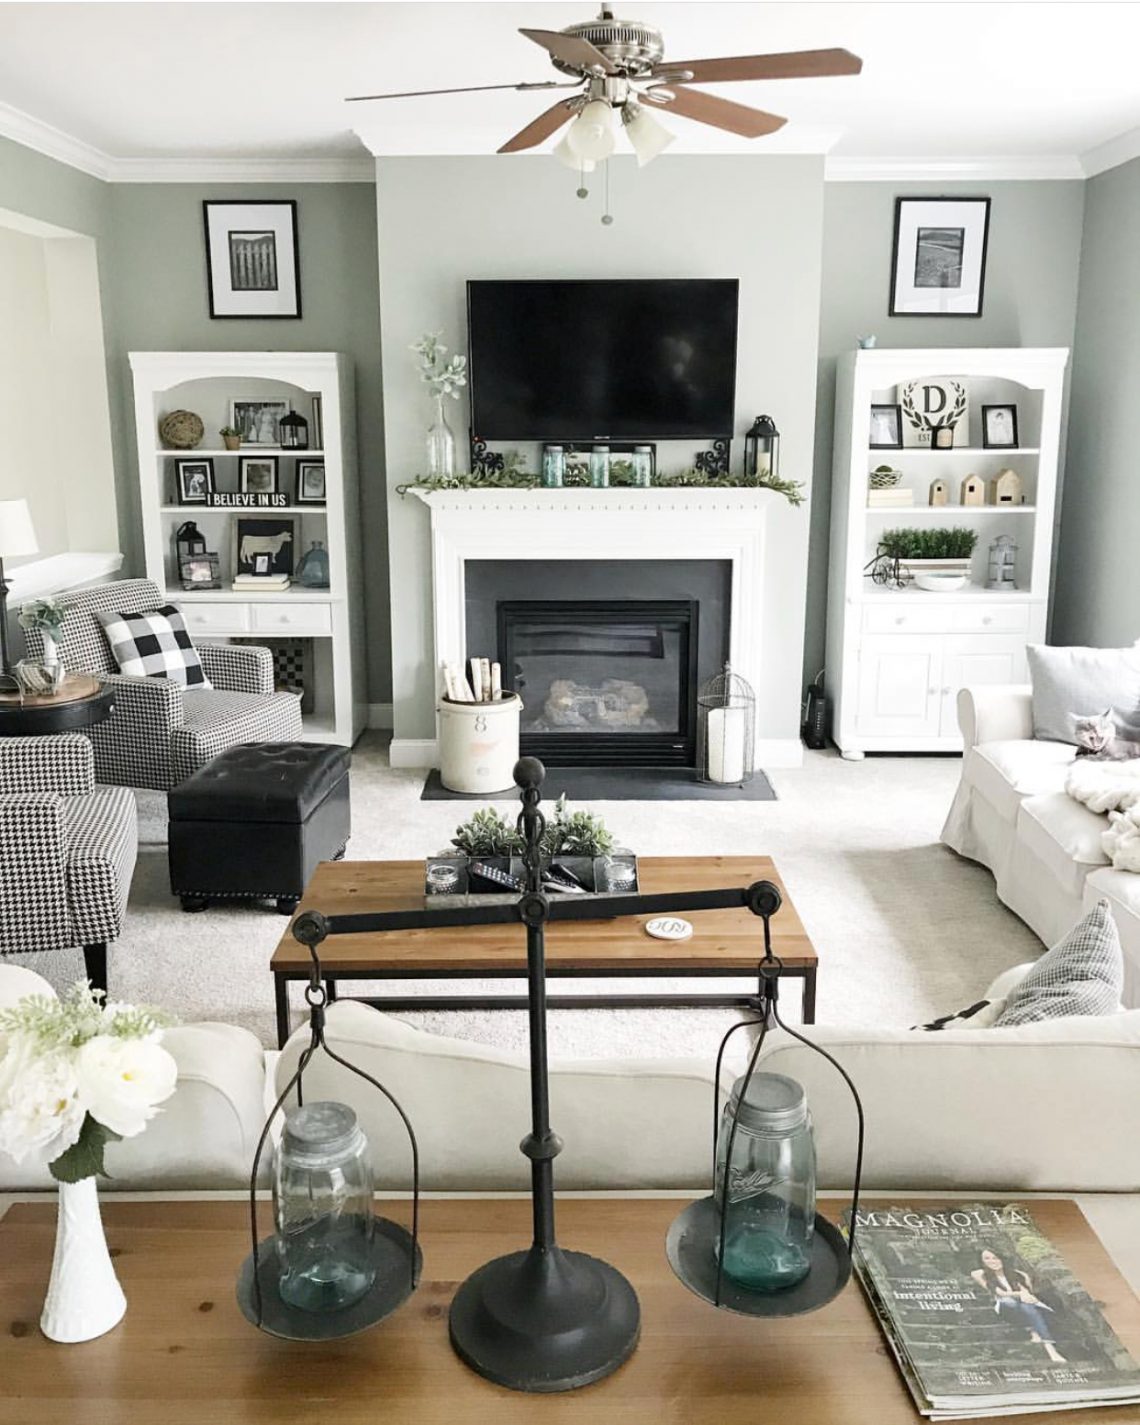
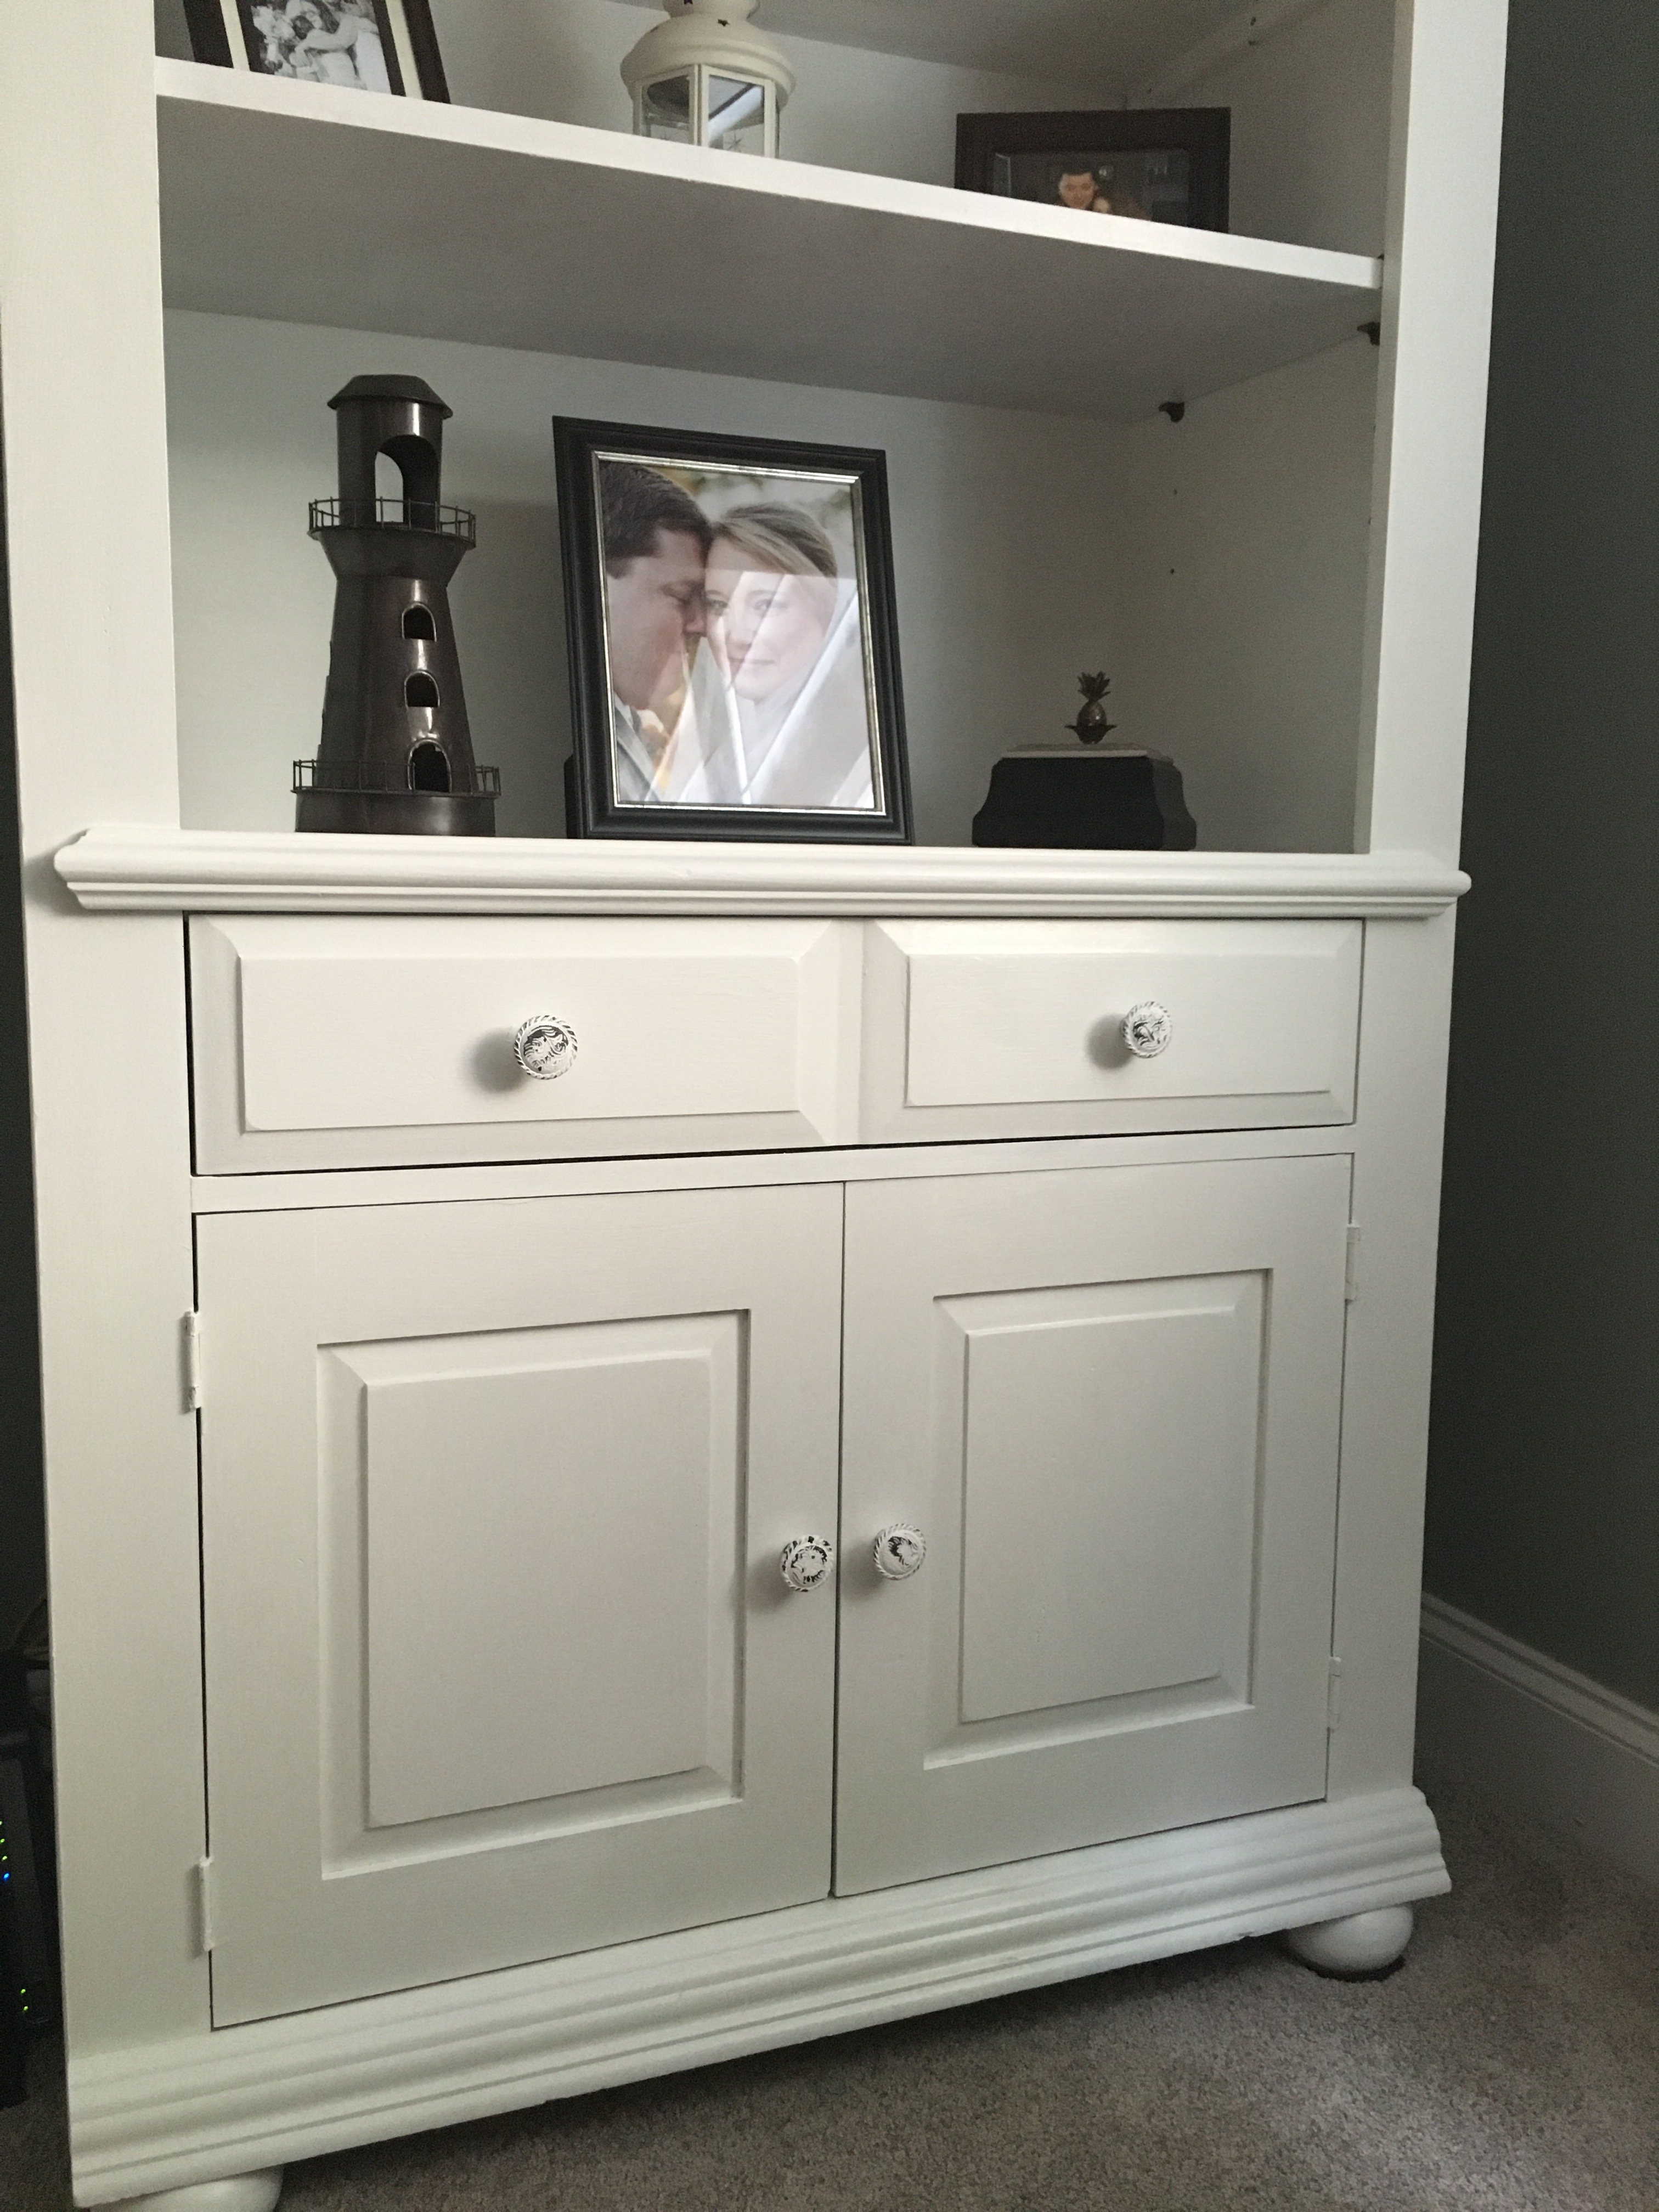
Without further ado here are our beautiful white hutches. I just love them!
After:
Thank you little birdies for flying by my nest,
Robyn


2 Comments
Jody Green
Its even more lively in person!
Lu
Great job! I recently bought solid wood Fontana coffee and end tables. Did you sand first? Did you apply a finish topcoat paint? Thanks