How I Created Our Gallery Wall
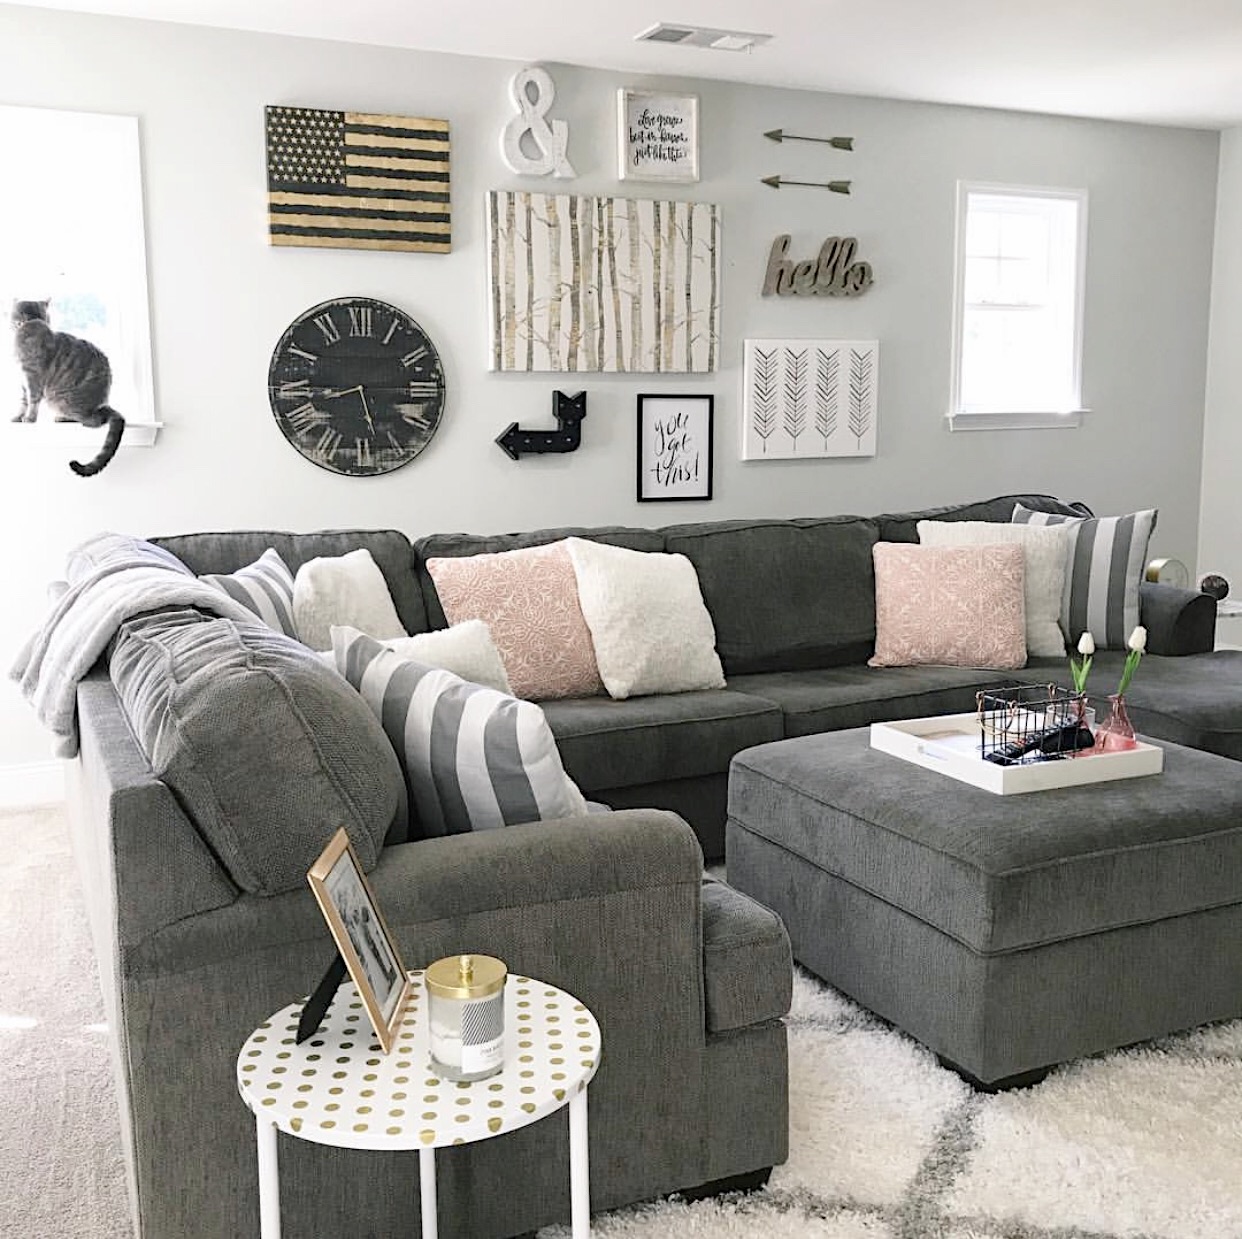
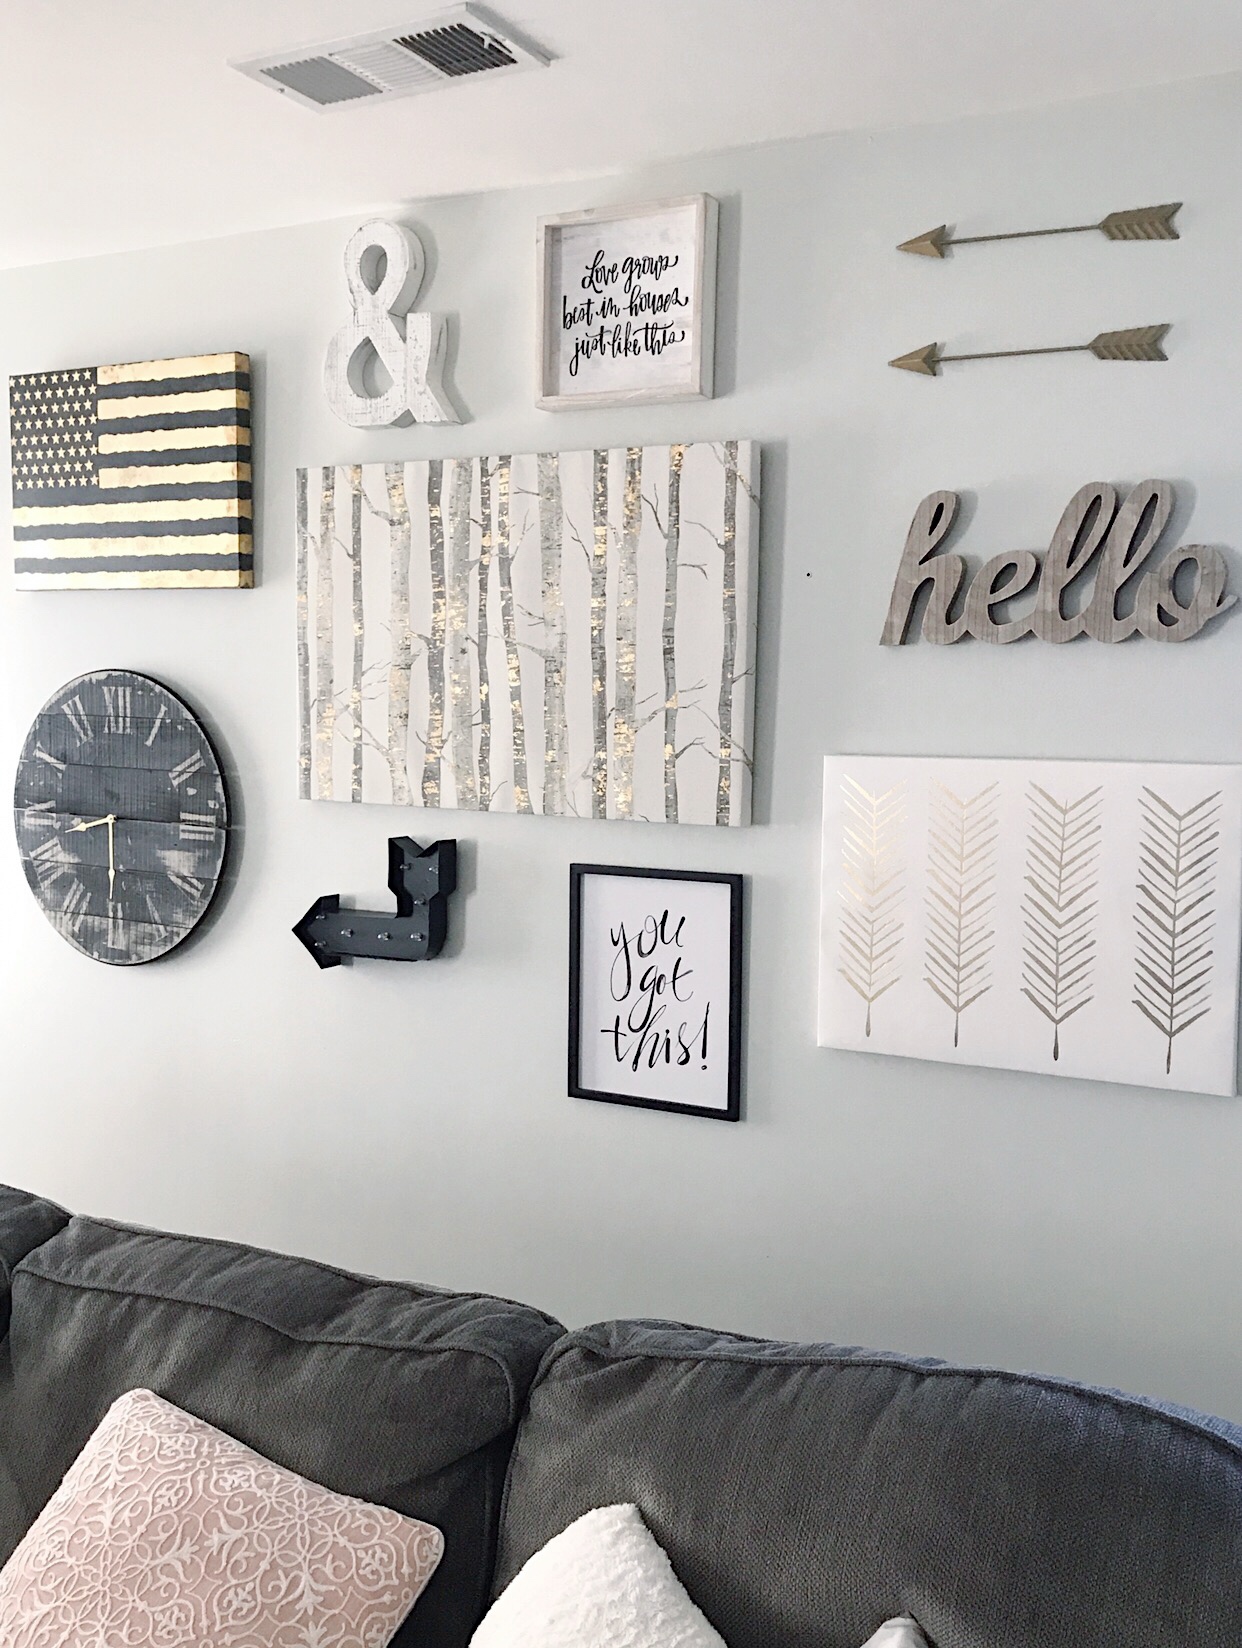
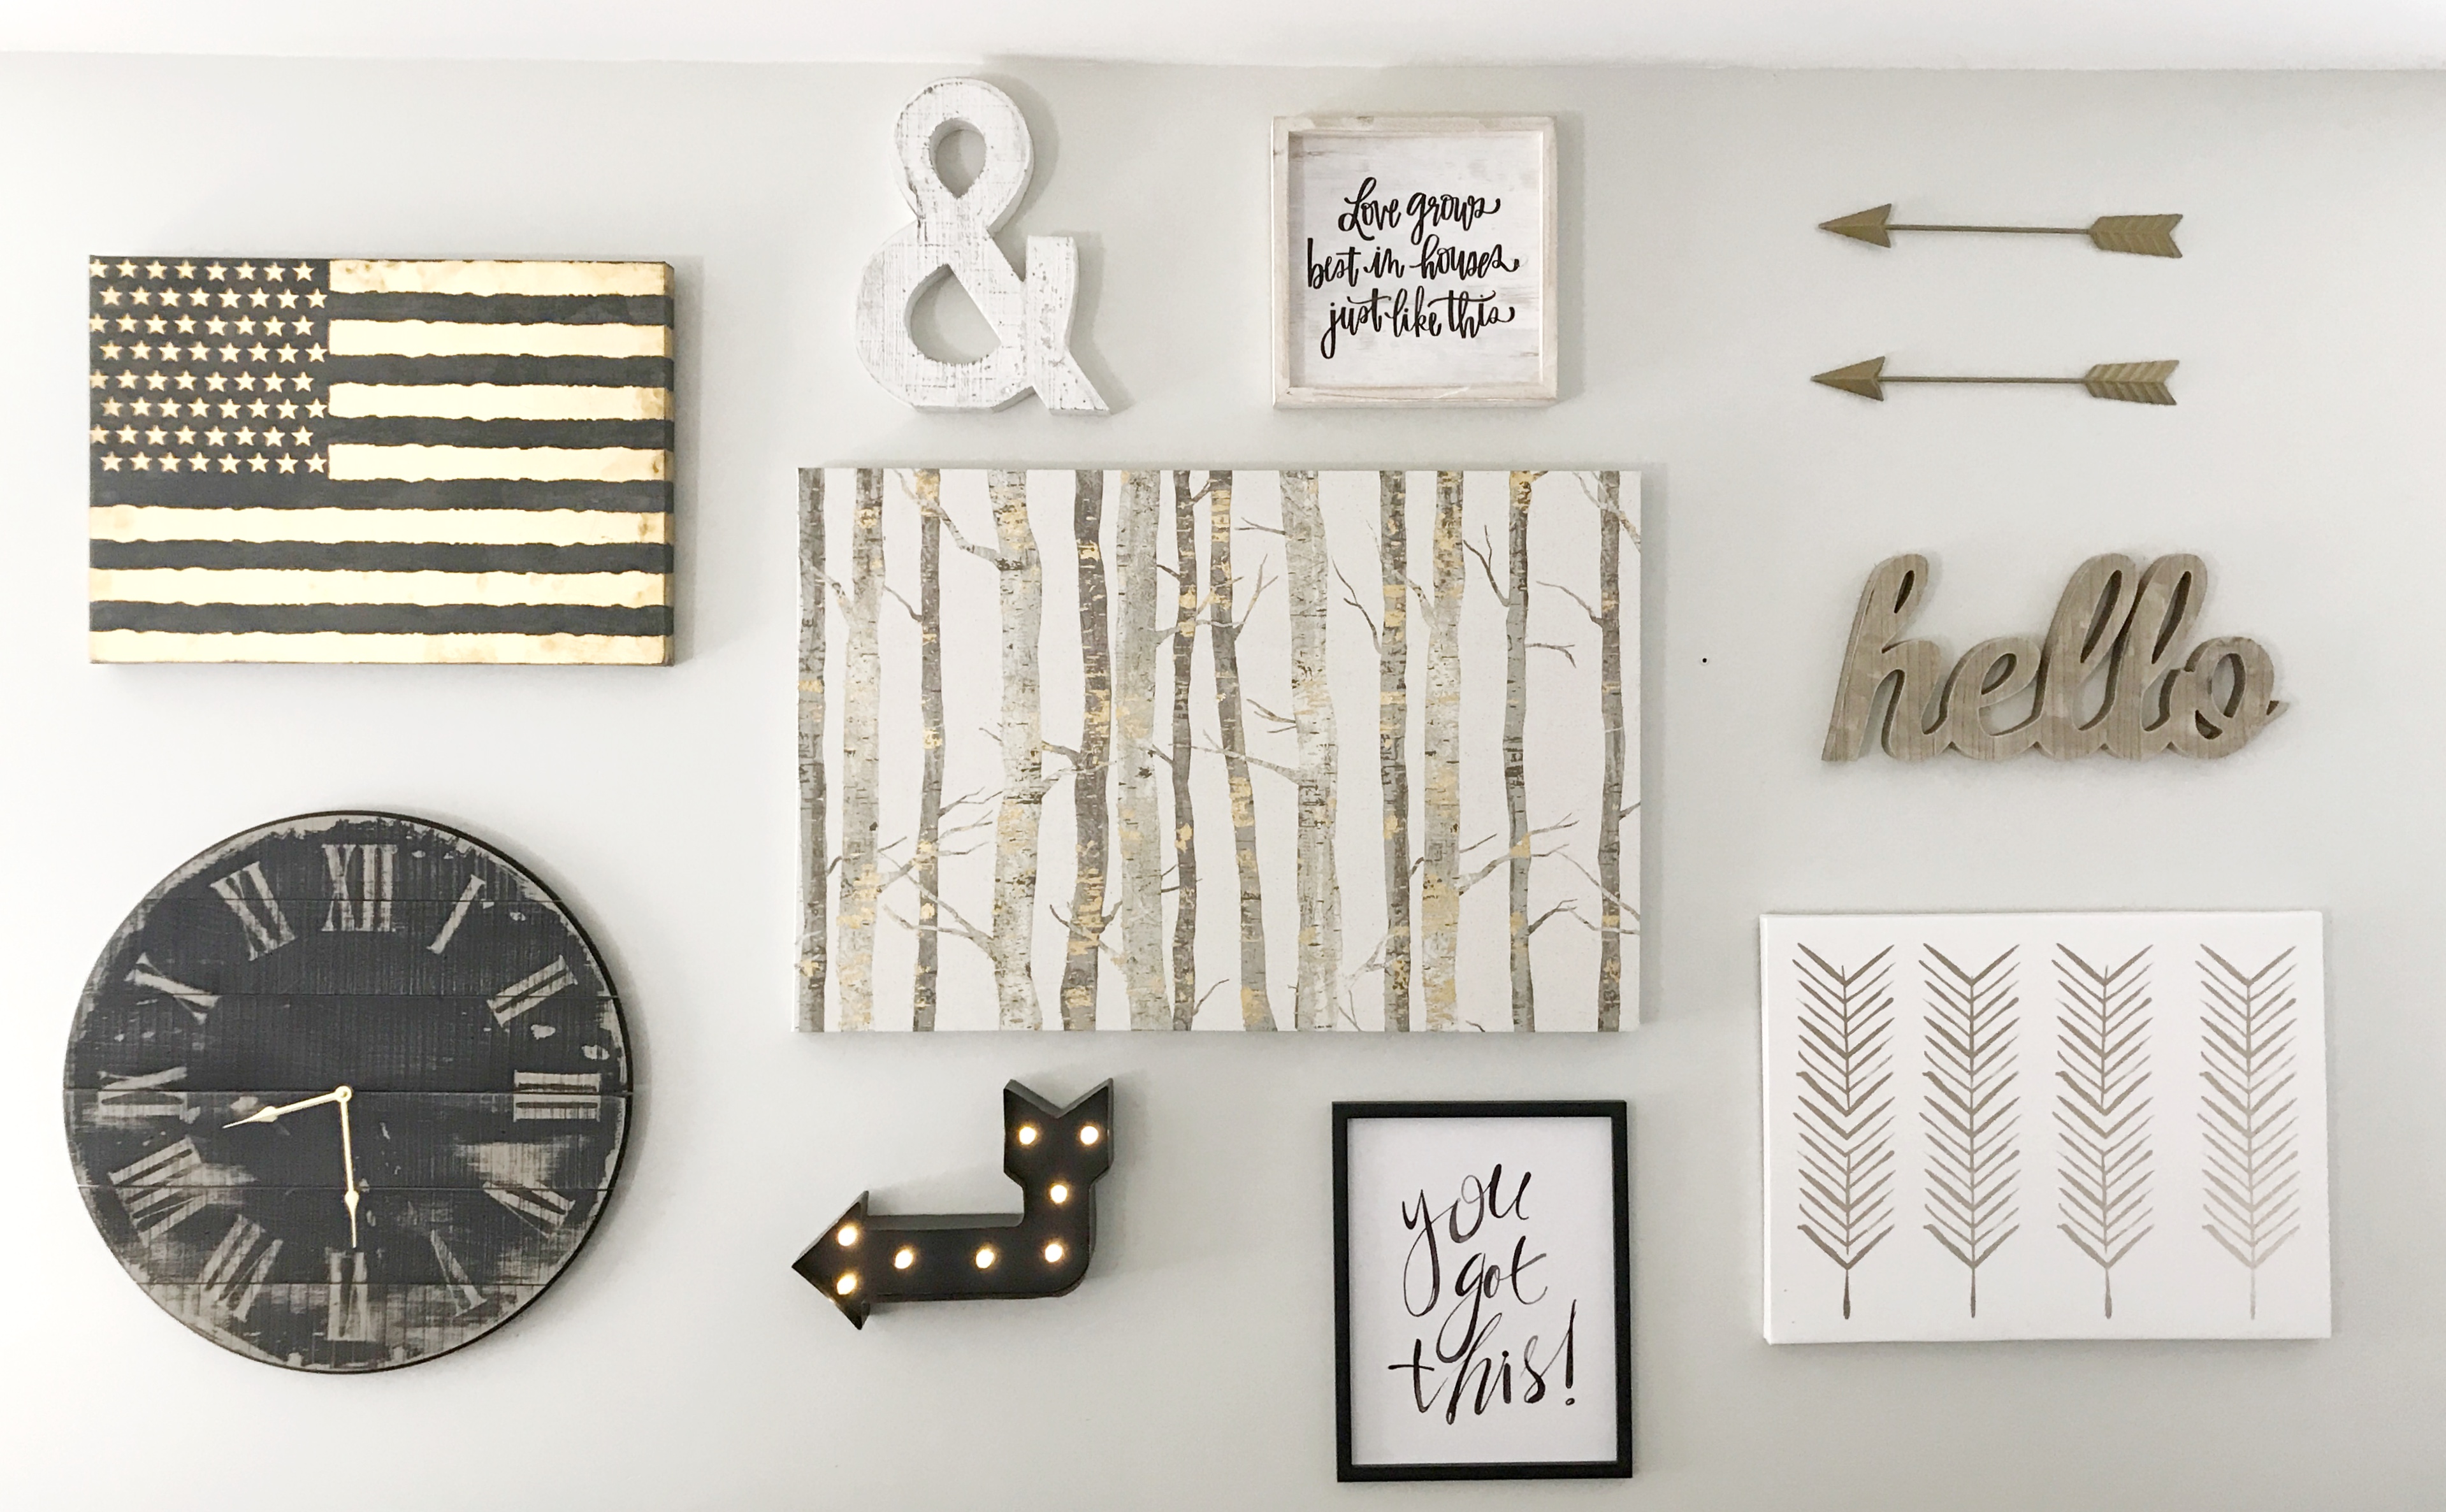
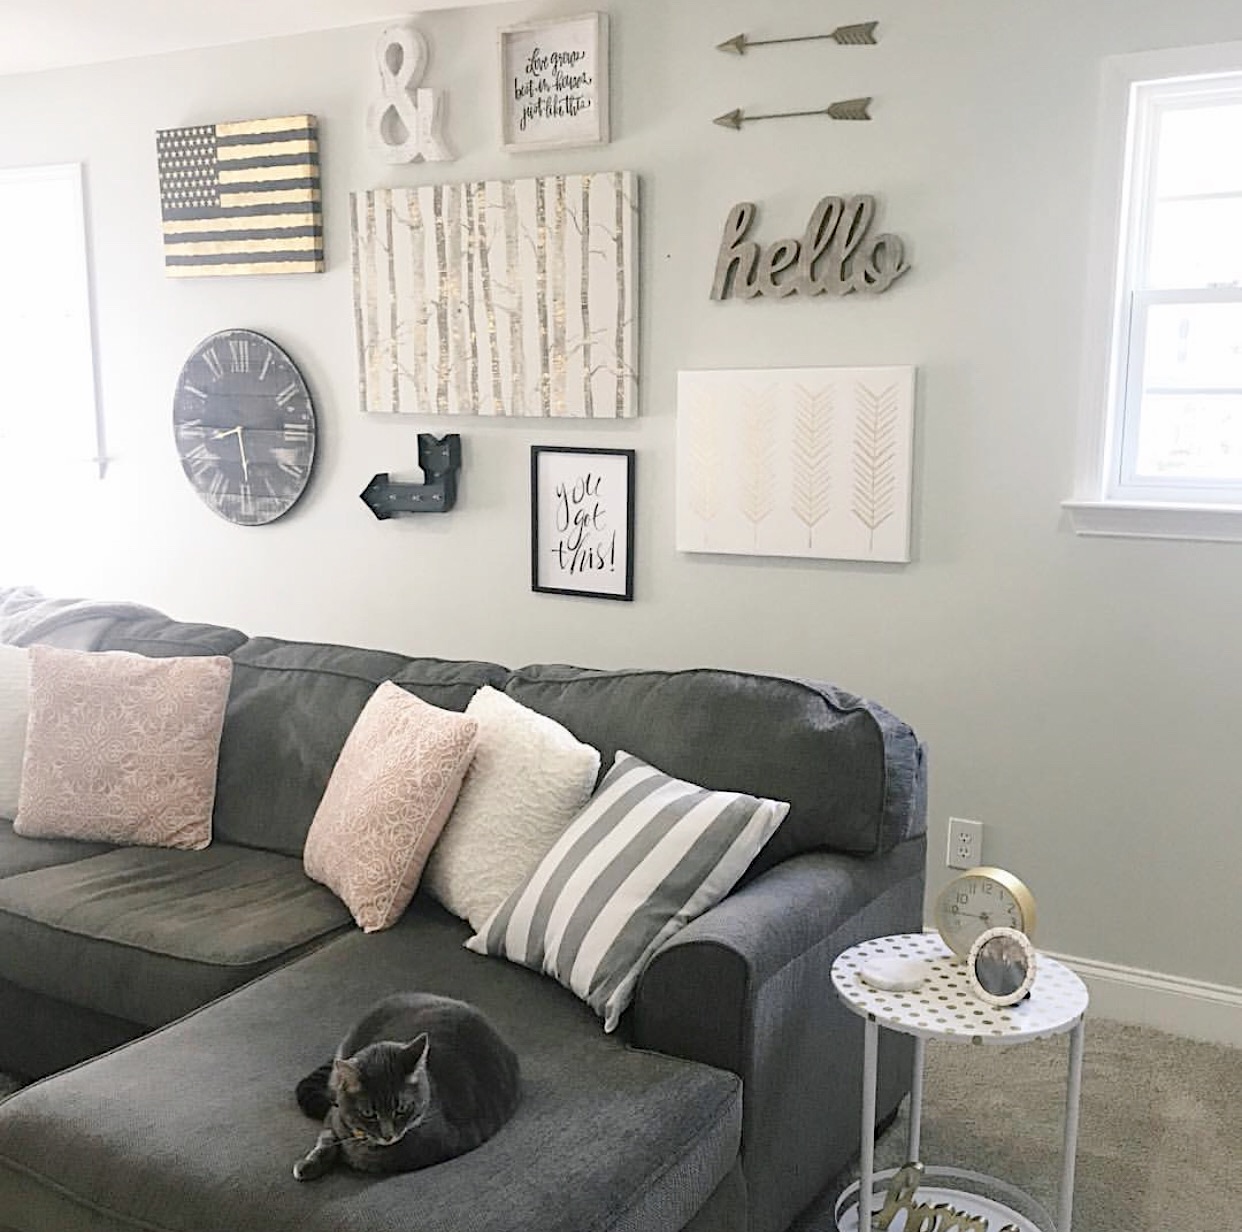
Happy Monday! I hope you’re having a good day thus far! I wanted to hop on and show you how I created our gallery wall upstairs in our loft. We have a very large wall behind our sectional sofa, so I knew that it would have to take a giant piece of art to cover that entire wall. Instead I took to Hobby Lobby and gathered a bunch of my favorite wall art pieces on 50% off of course, to make one large gallery wall.
Upstairs we have a lot of black and gray with pops of gold and pink so I knew I wanted to keep the gallery wall neutral so that I could always switch out the accent color in the future. Of course Mickey D. had to get in on the fun!
5 Tips I used to Create this Gallery Wall
- Wood elements
- Art with words or letters
- 3D art
- Metal accents
- Clock or Light feature
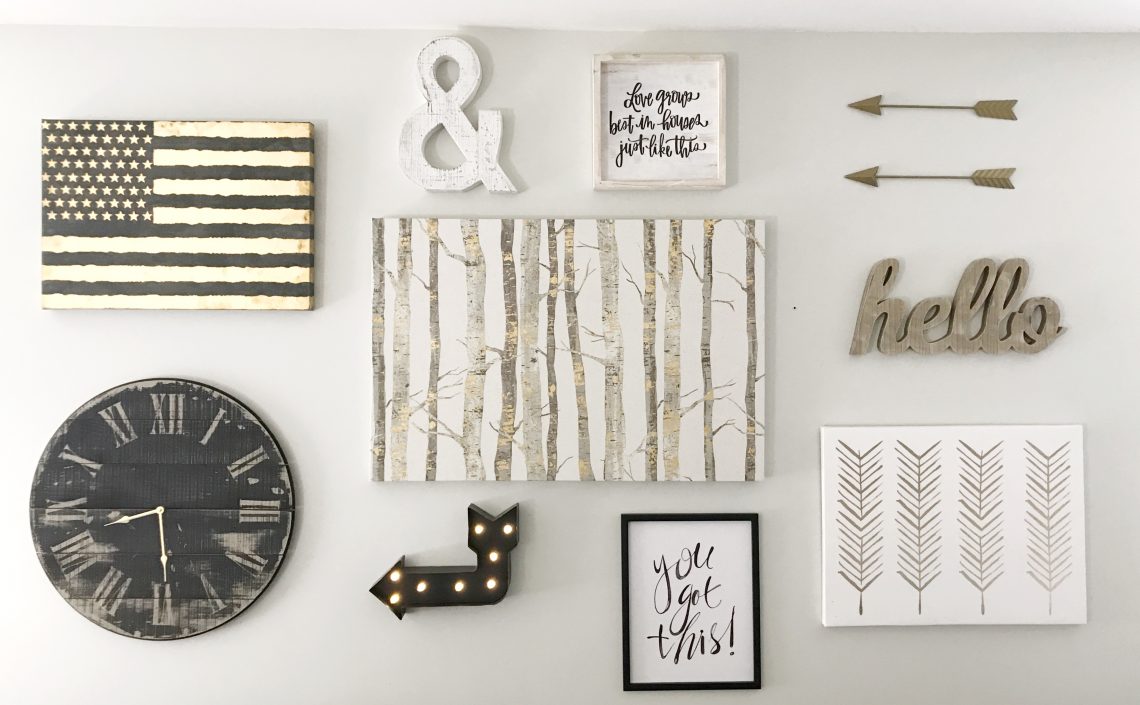
Before I purchased all these items I drew out a diagram on where I wanted everything to go. I took note of their measurements as well, so I wasn’t surprised when the items arrived! I highly suggest doing this if you are purchasing stuff online instead of in store.

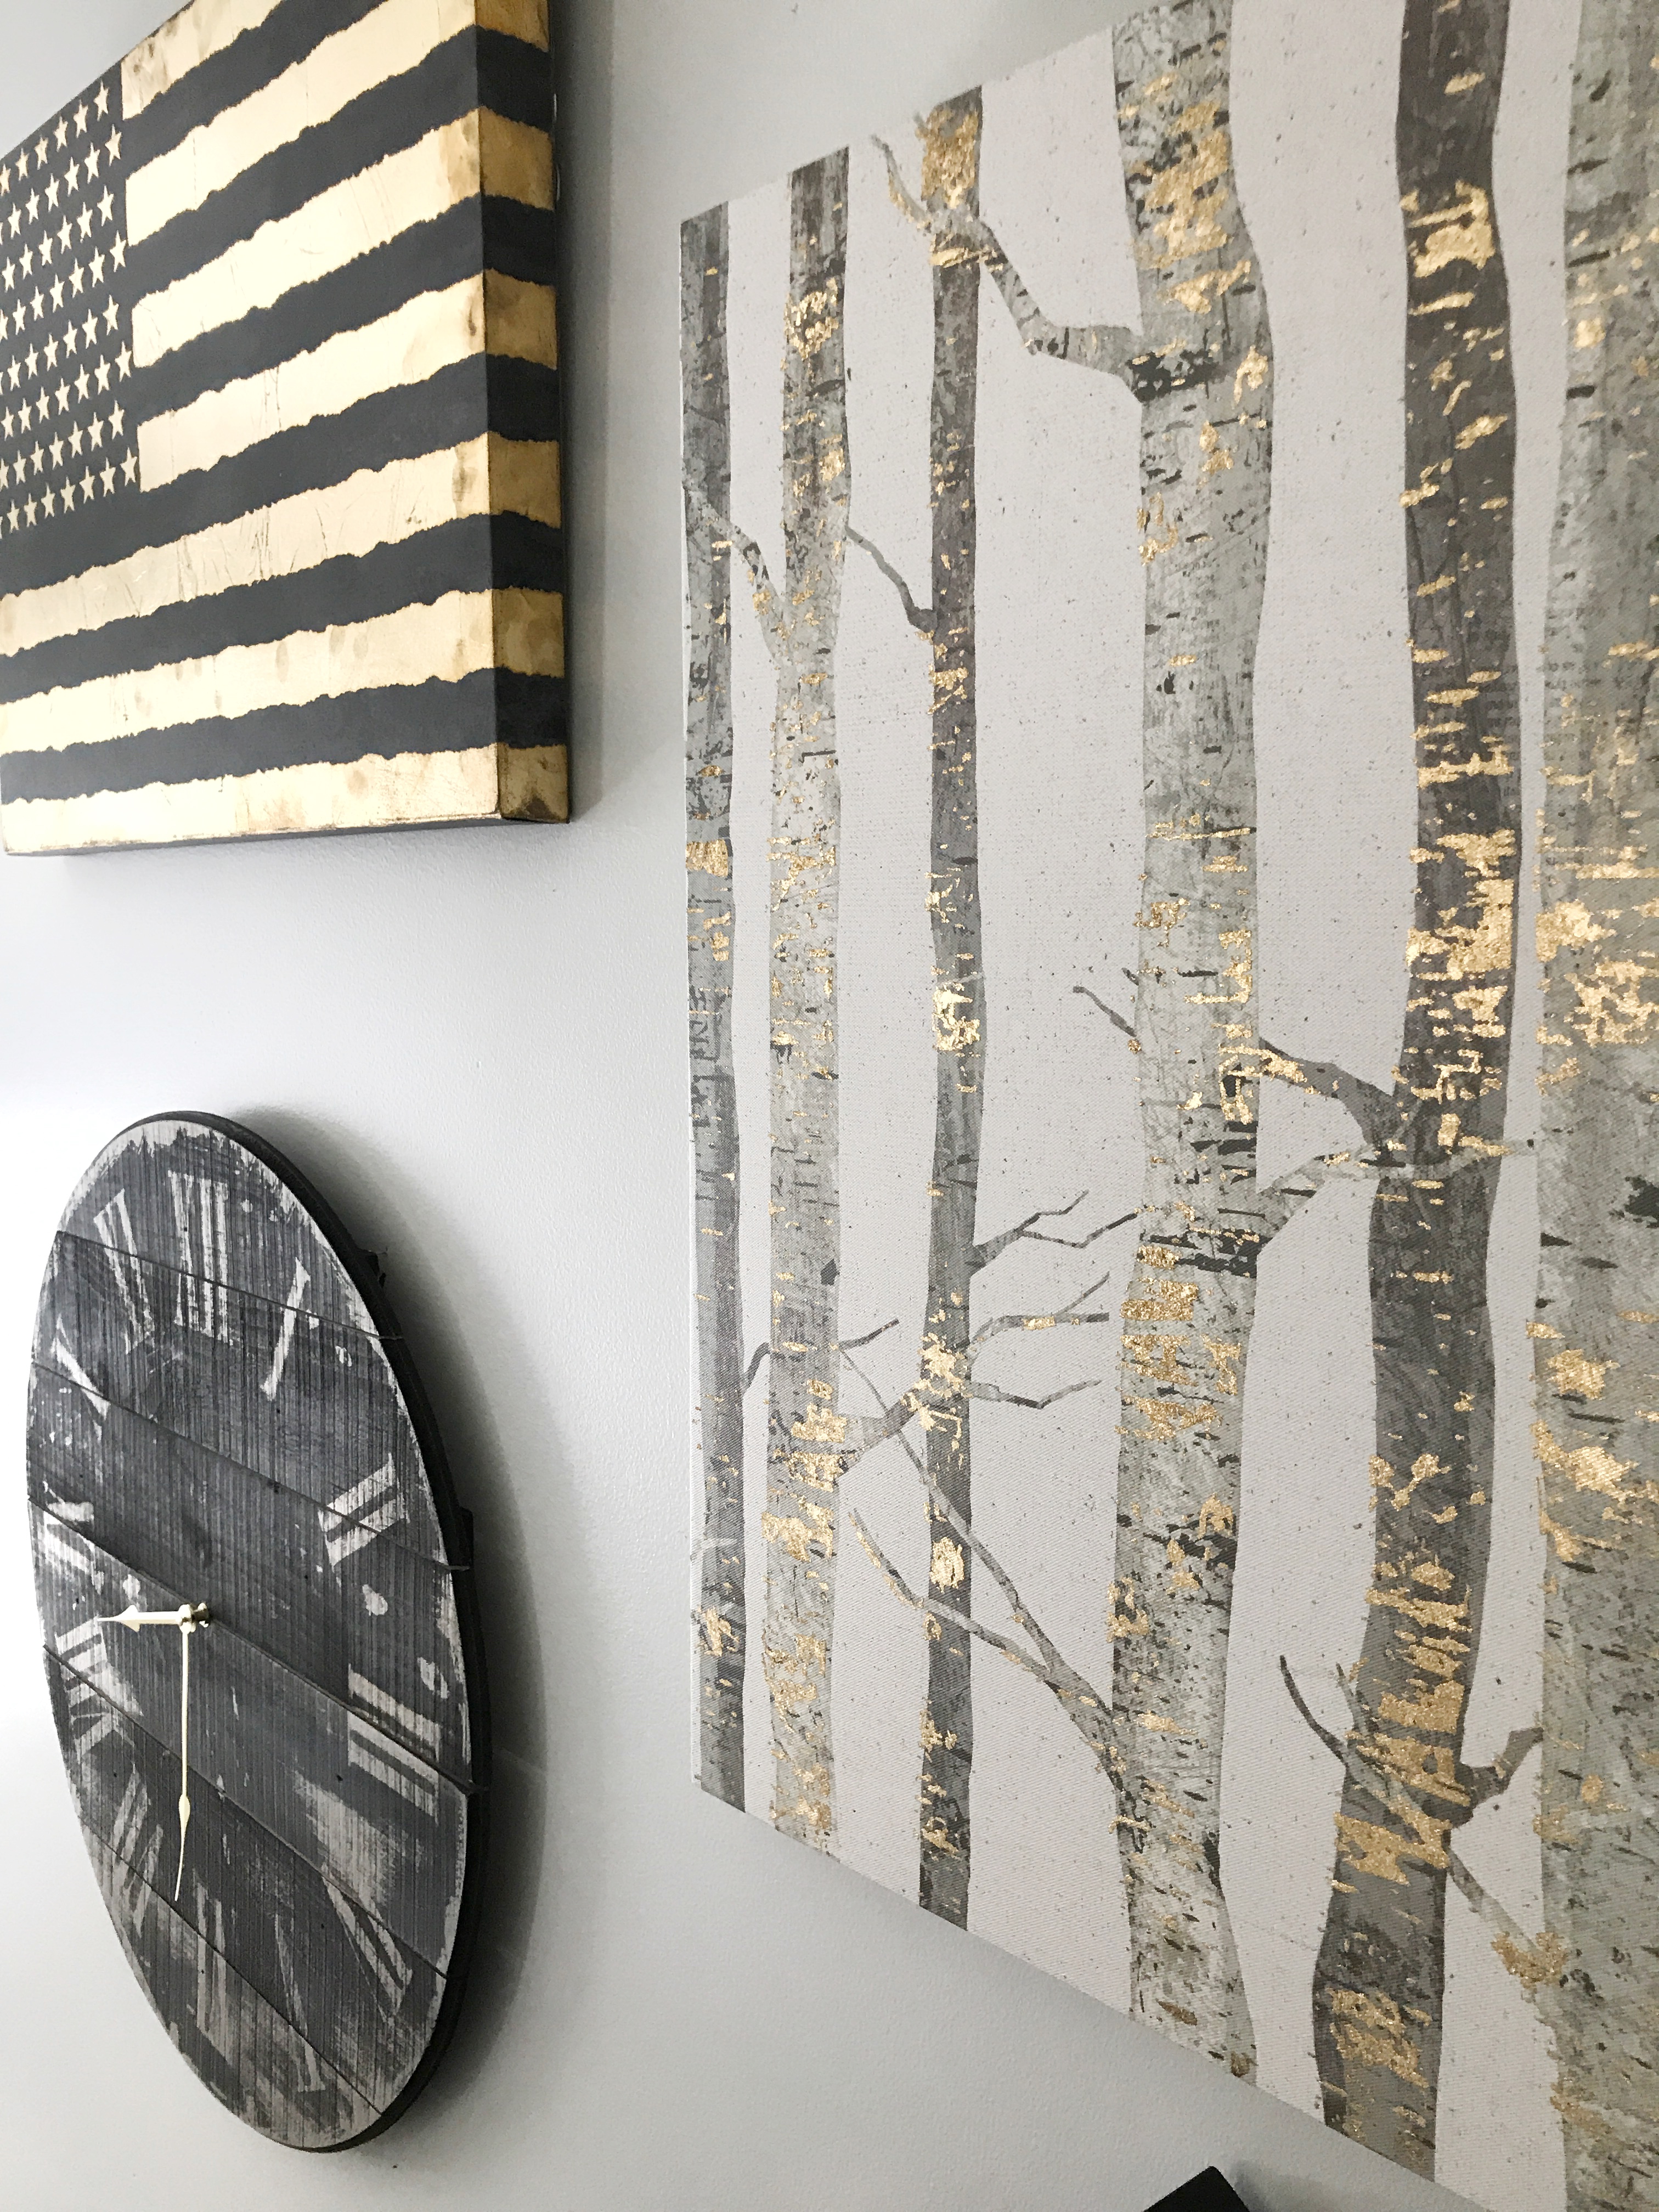
When all the pieces arrived I laid them all on the floor to arrange them how I wanted, and as you can see I did have to deviate a little from the original diagram. I knew I wanted the largest piece (the birch trees) to go in the middle so I hung that one up first and then the flag and the feathers I did on a diagonal from the birch trees. I’ve found that if you measure everything out it will drive you insane! But if you must measure more power to you!
*Hanging Pictures Hack*
Here is my one lifesaver tip when hanging stuff on the wall. I believe I first saw it on Facebook if I’m not mistaken.
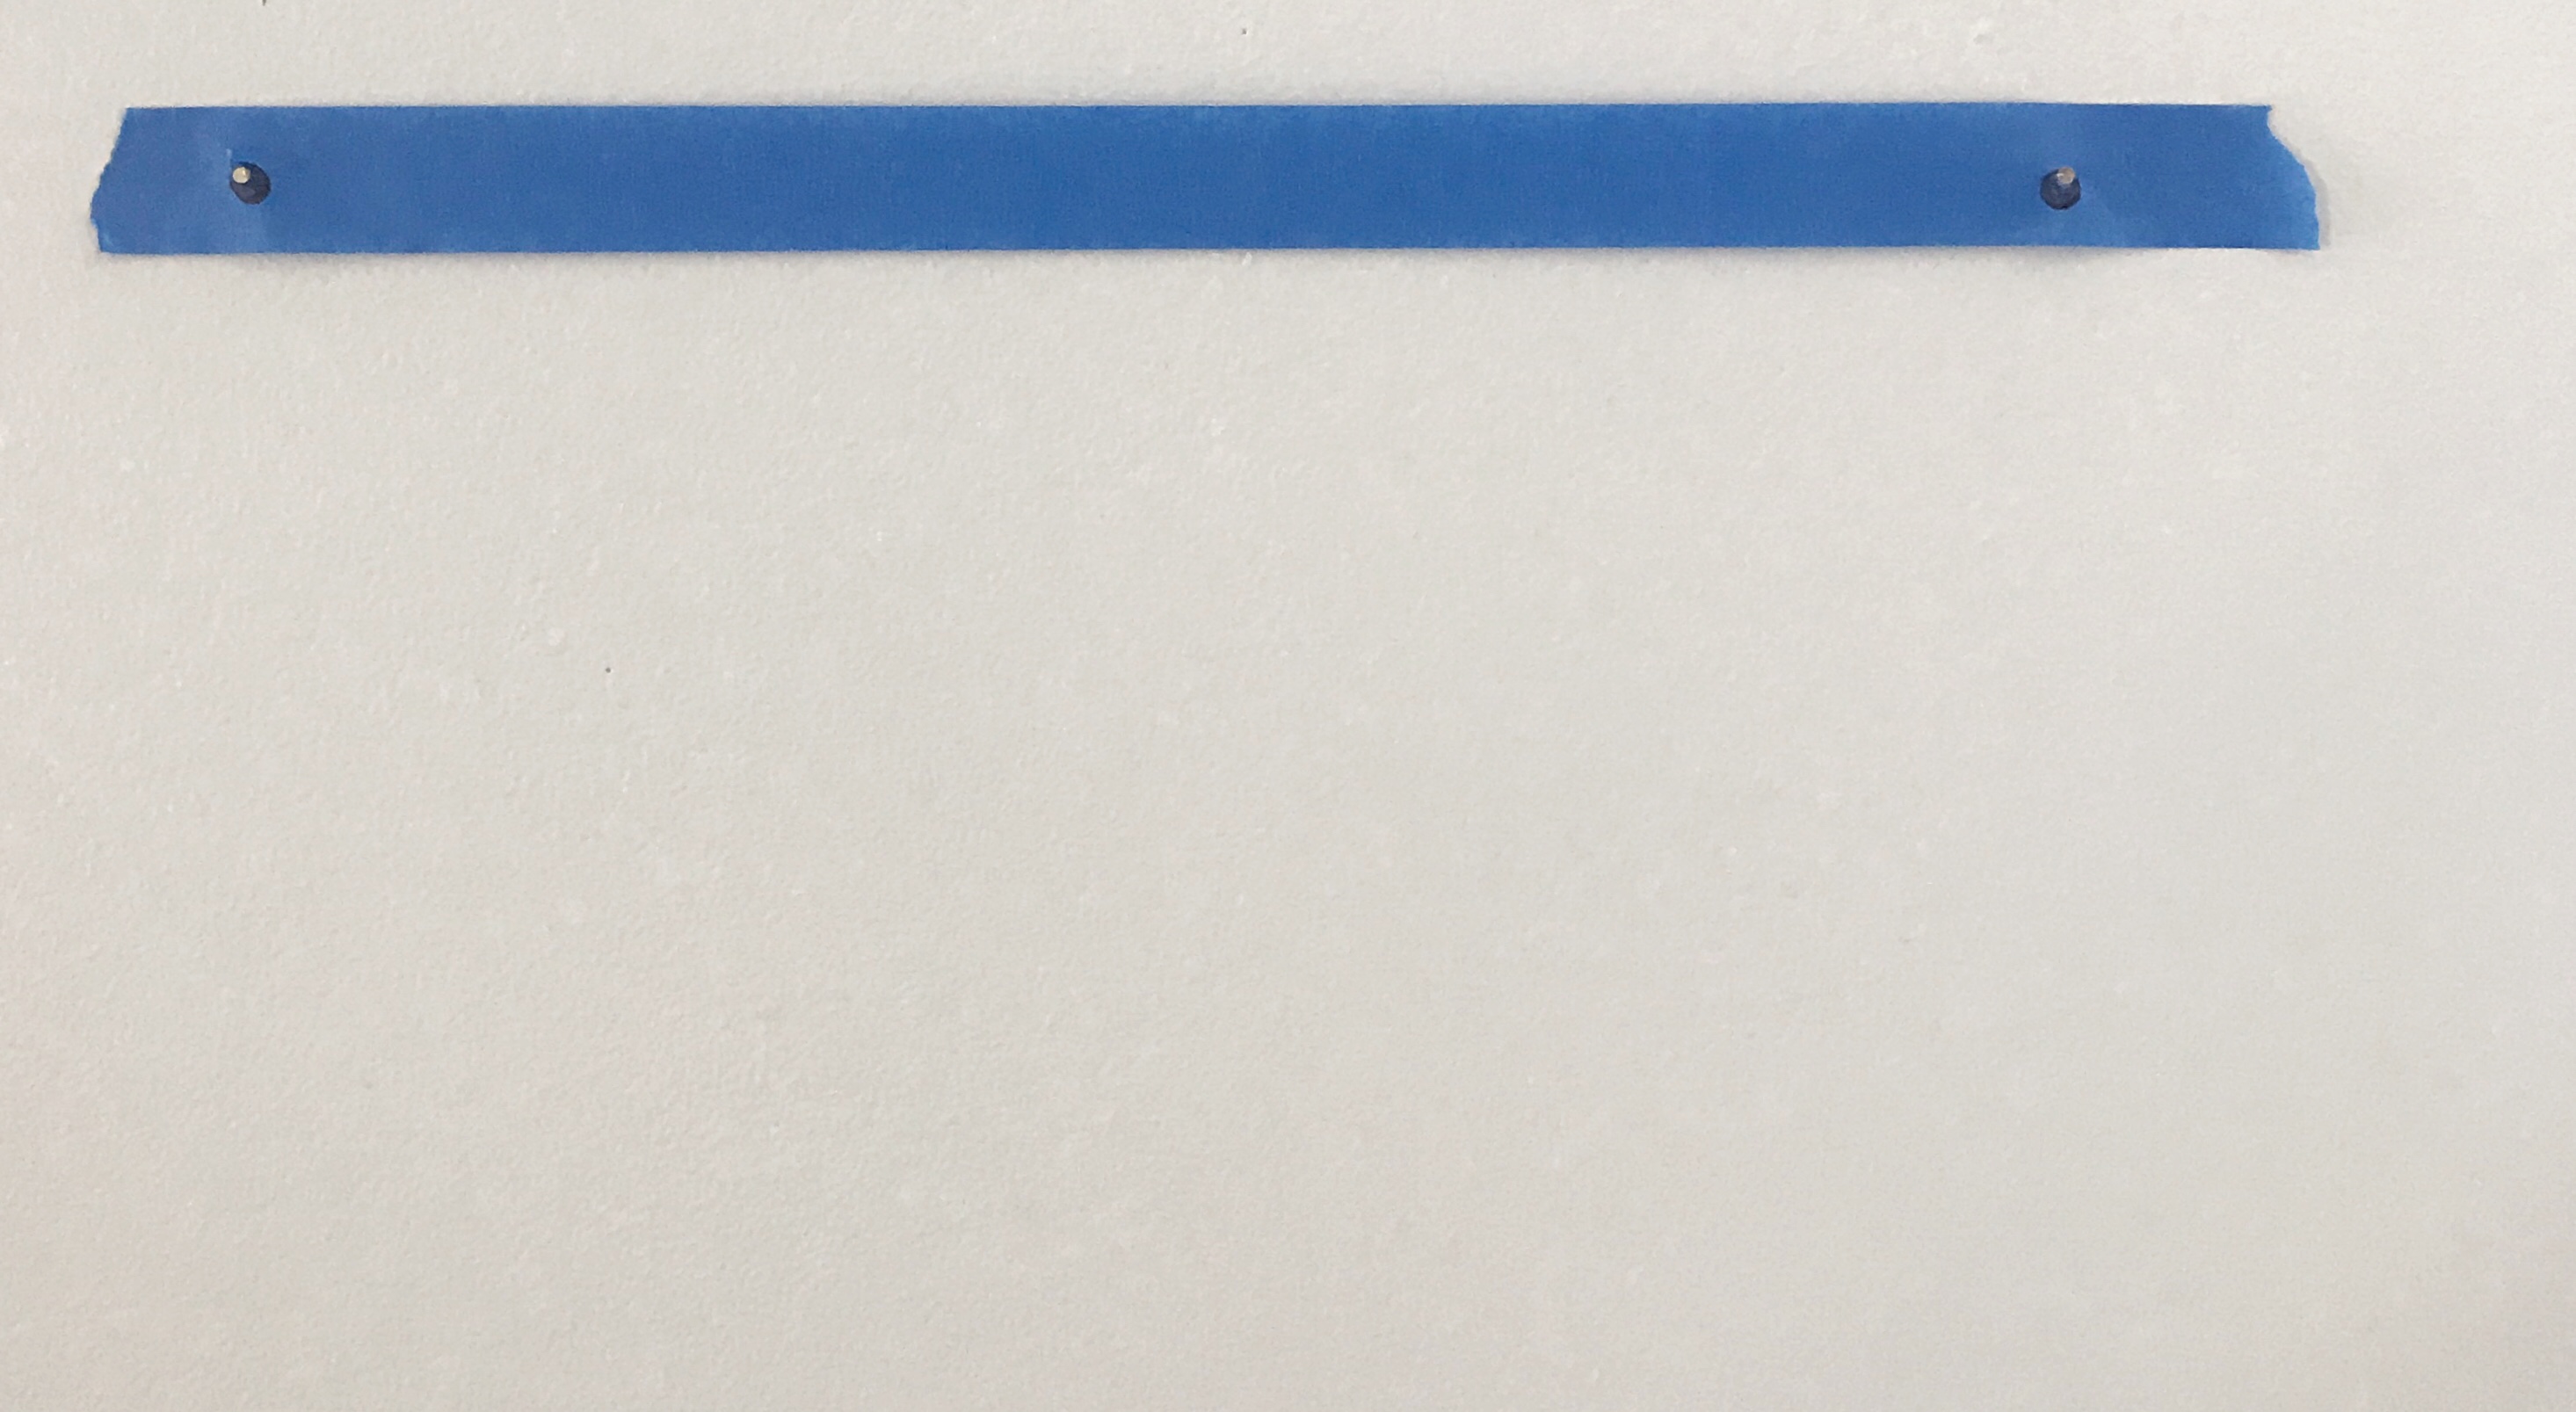
1.Take some painters tape and tape it over the holes on the back of your art piece.
2. Mark the holes with a sharpie.
3. After your holes are marked, take the tape off carefully and attach that piece of tape to the wall.
4. Hammer in your nails where you marked the holes.
5. Take the tape off leaving your nails in the wall and hang up your picture!
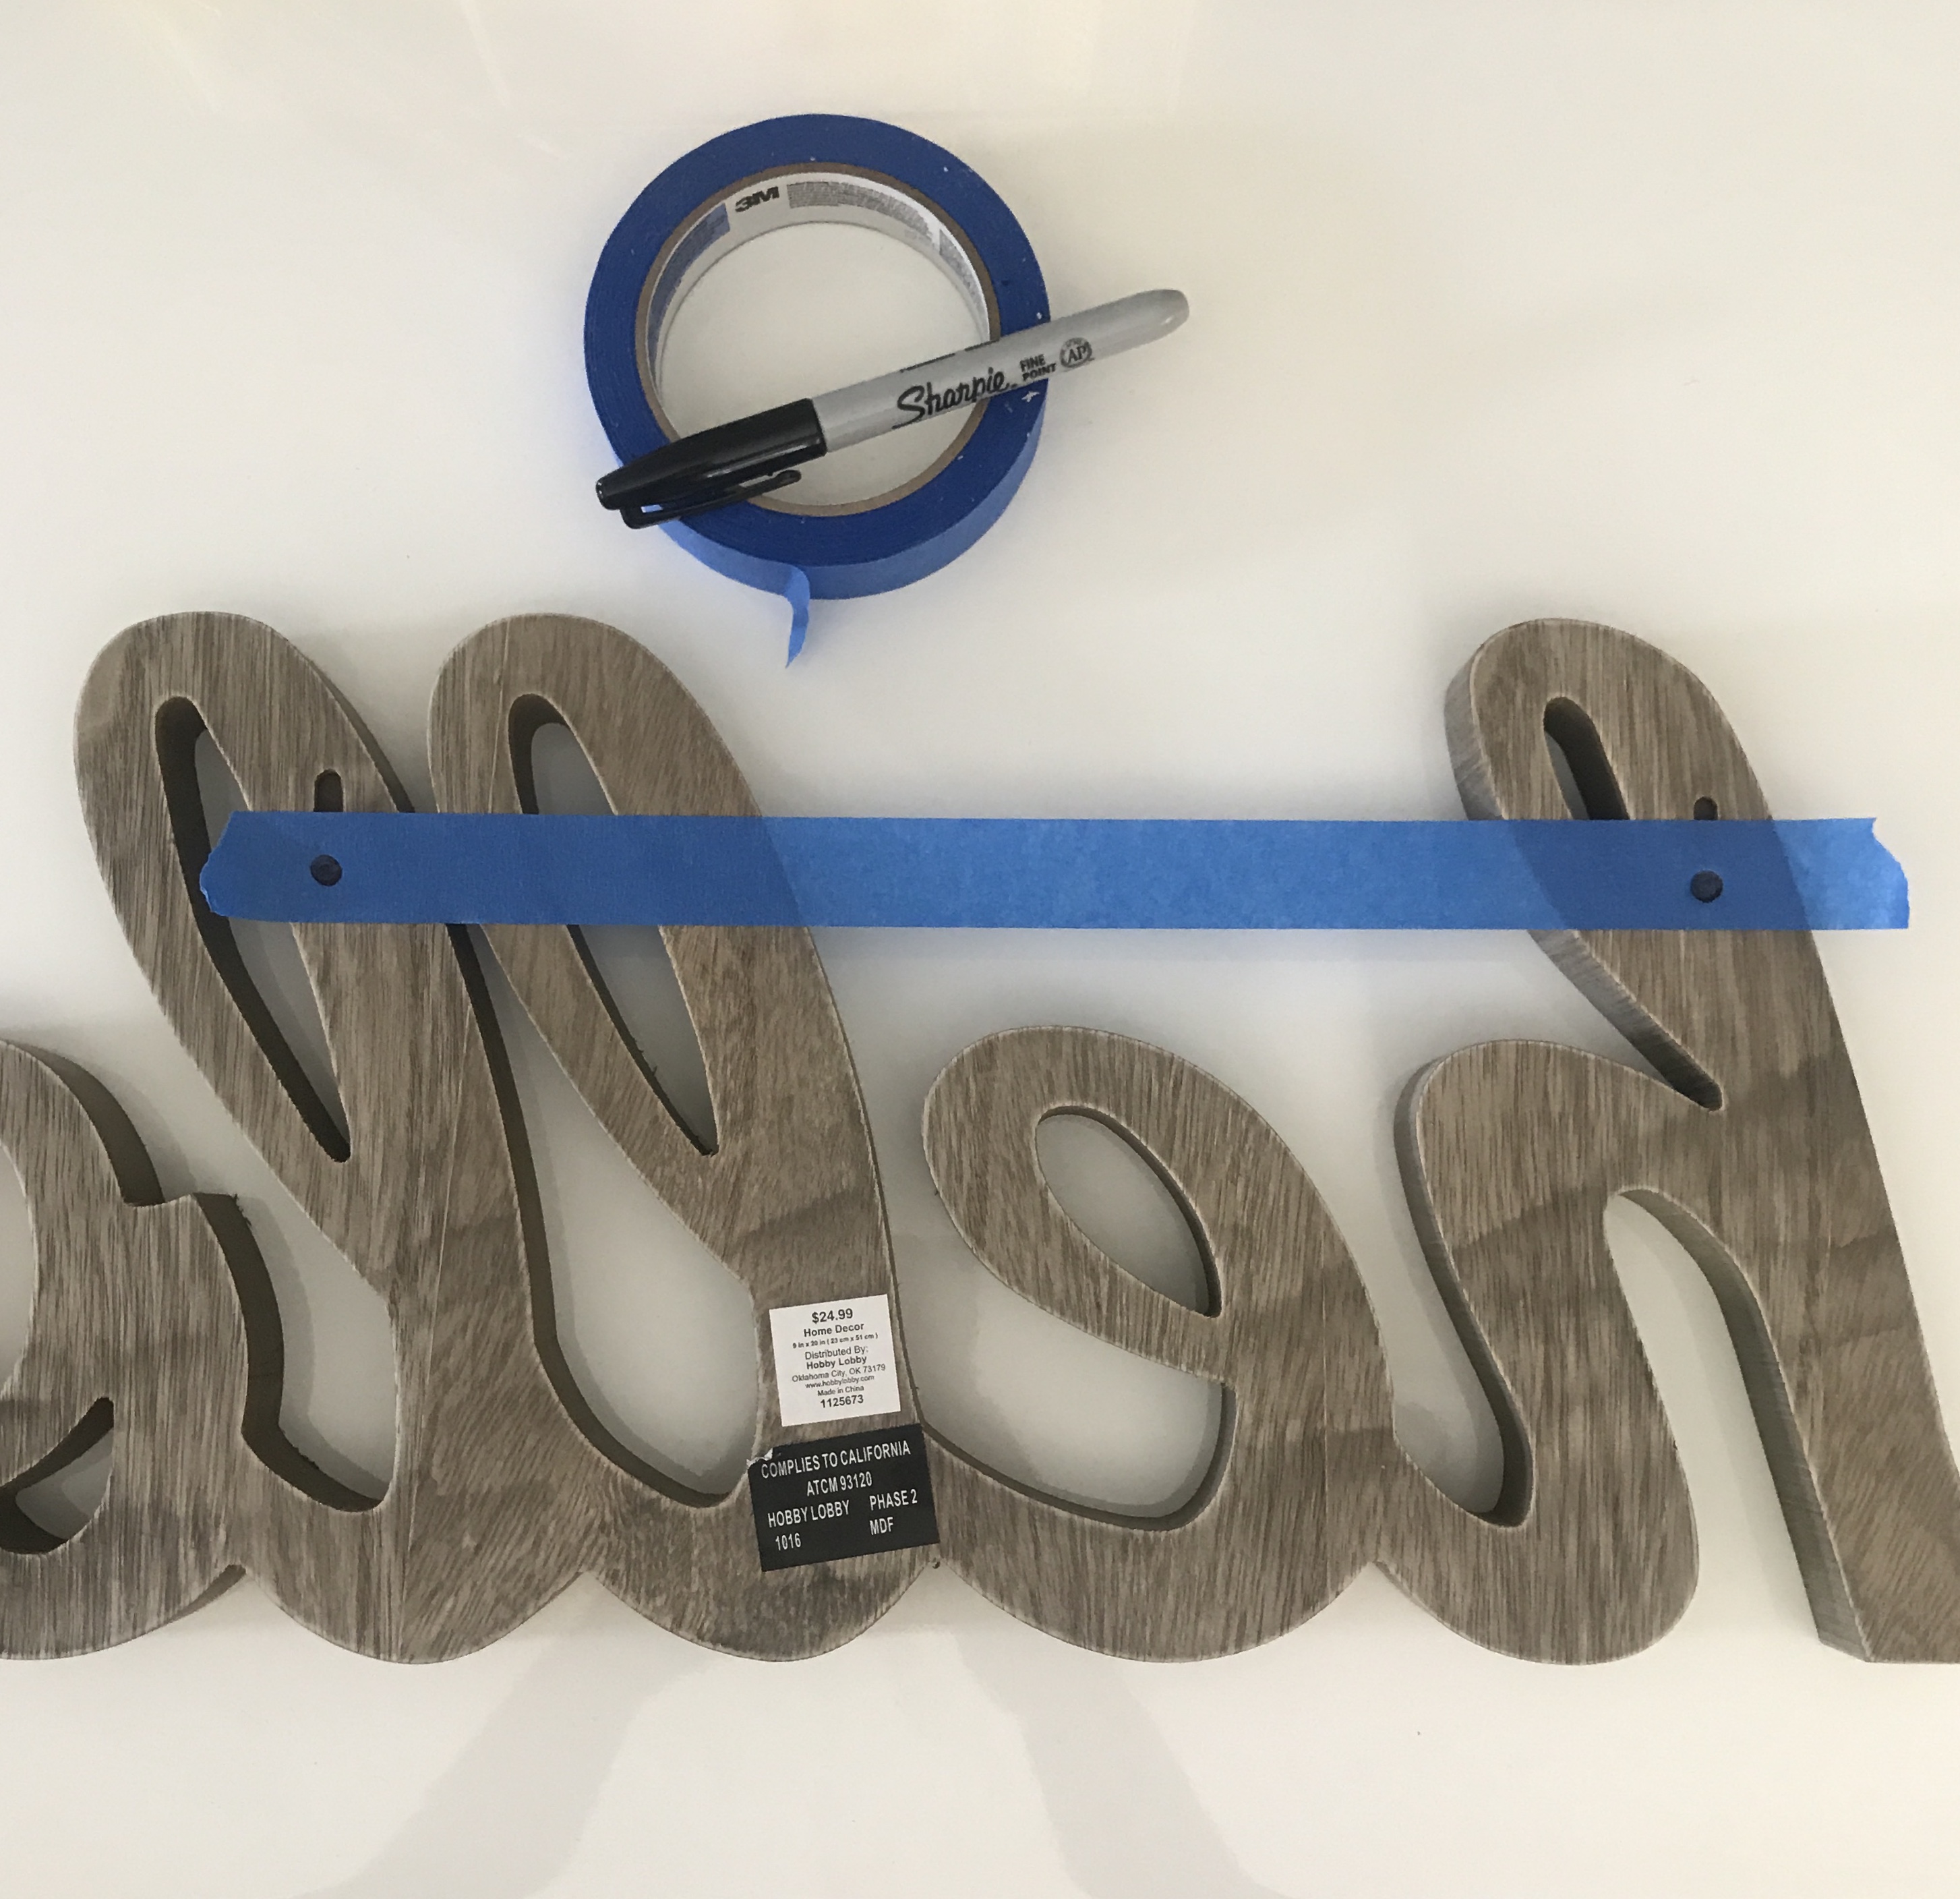
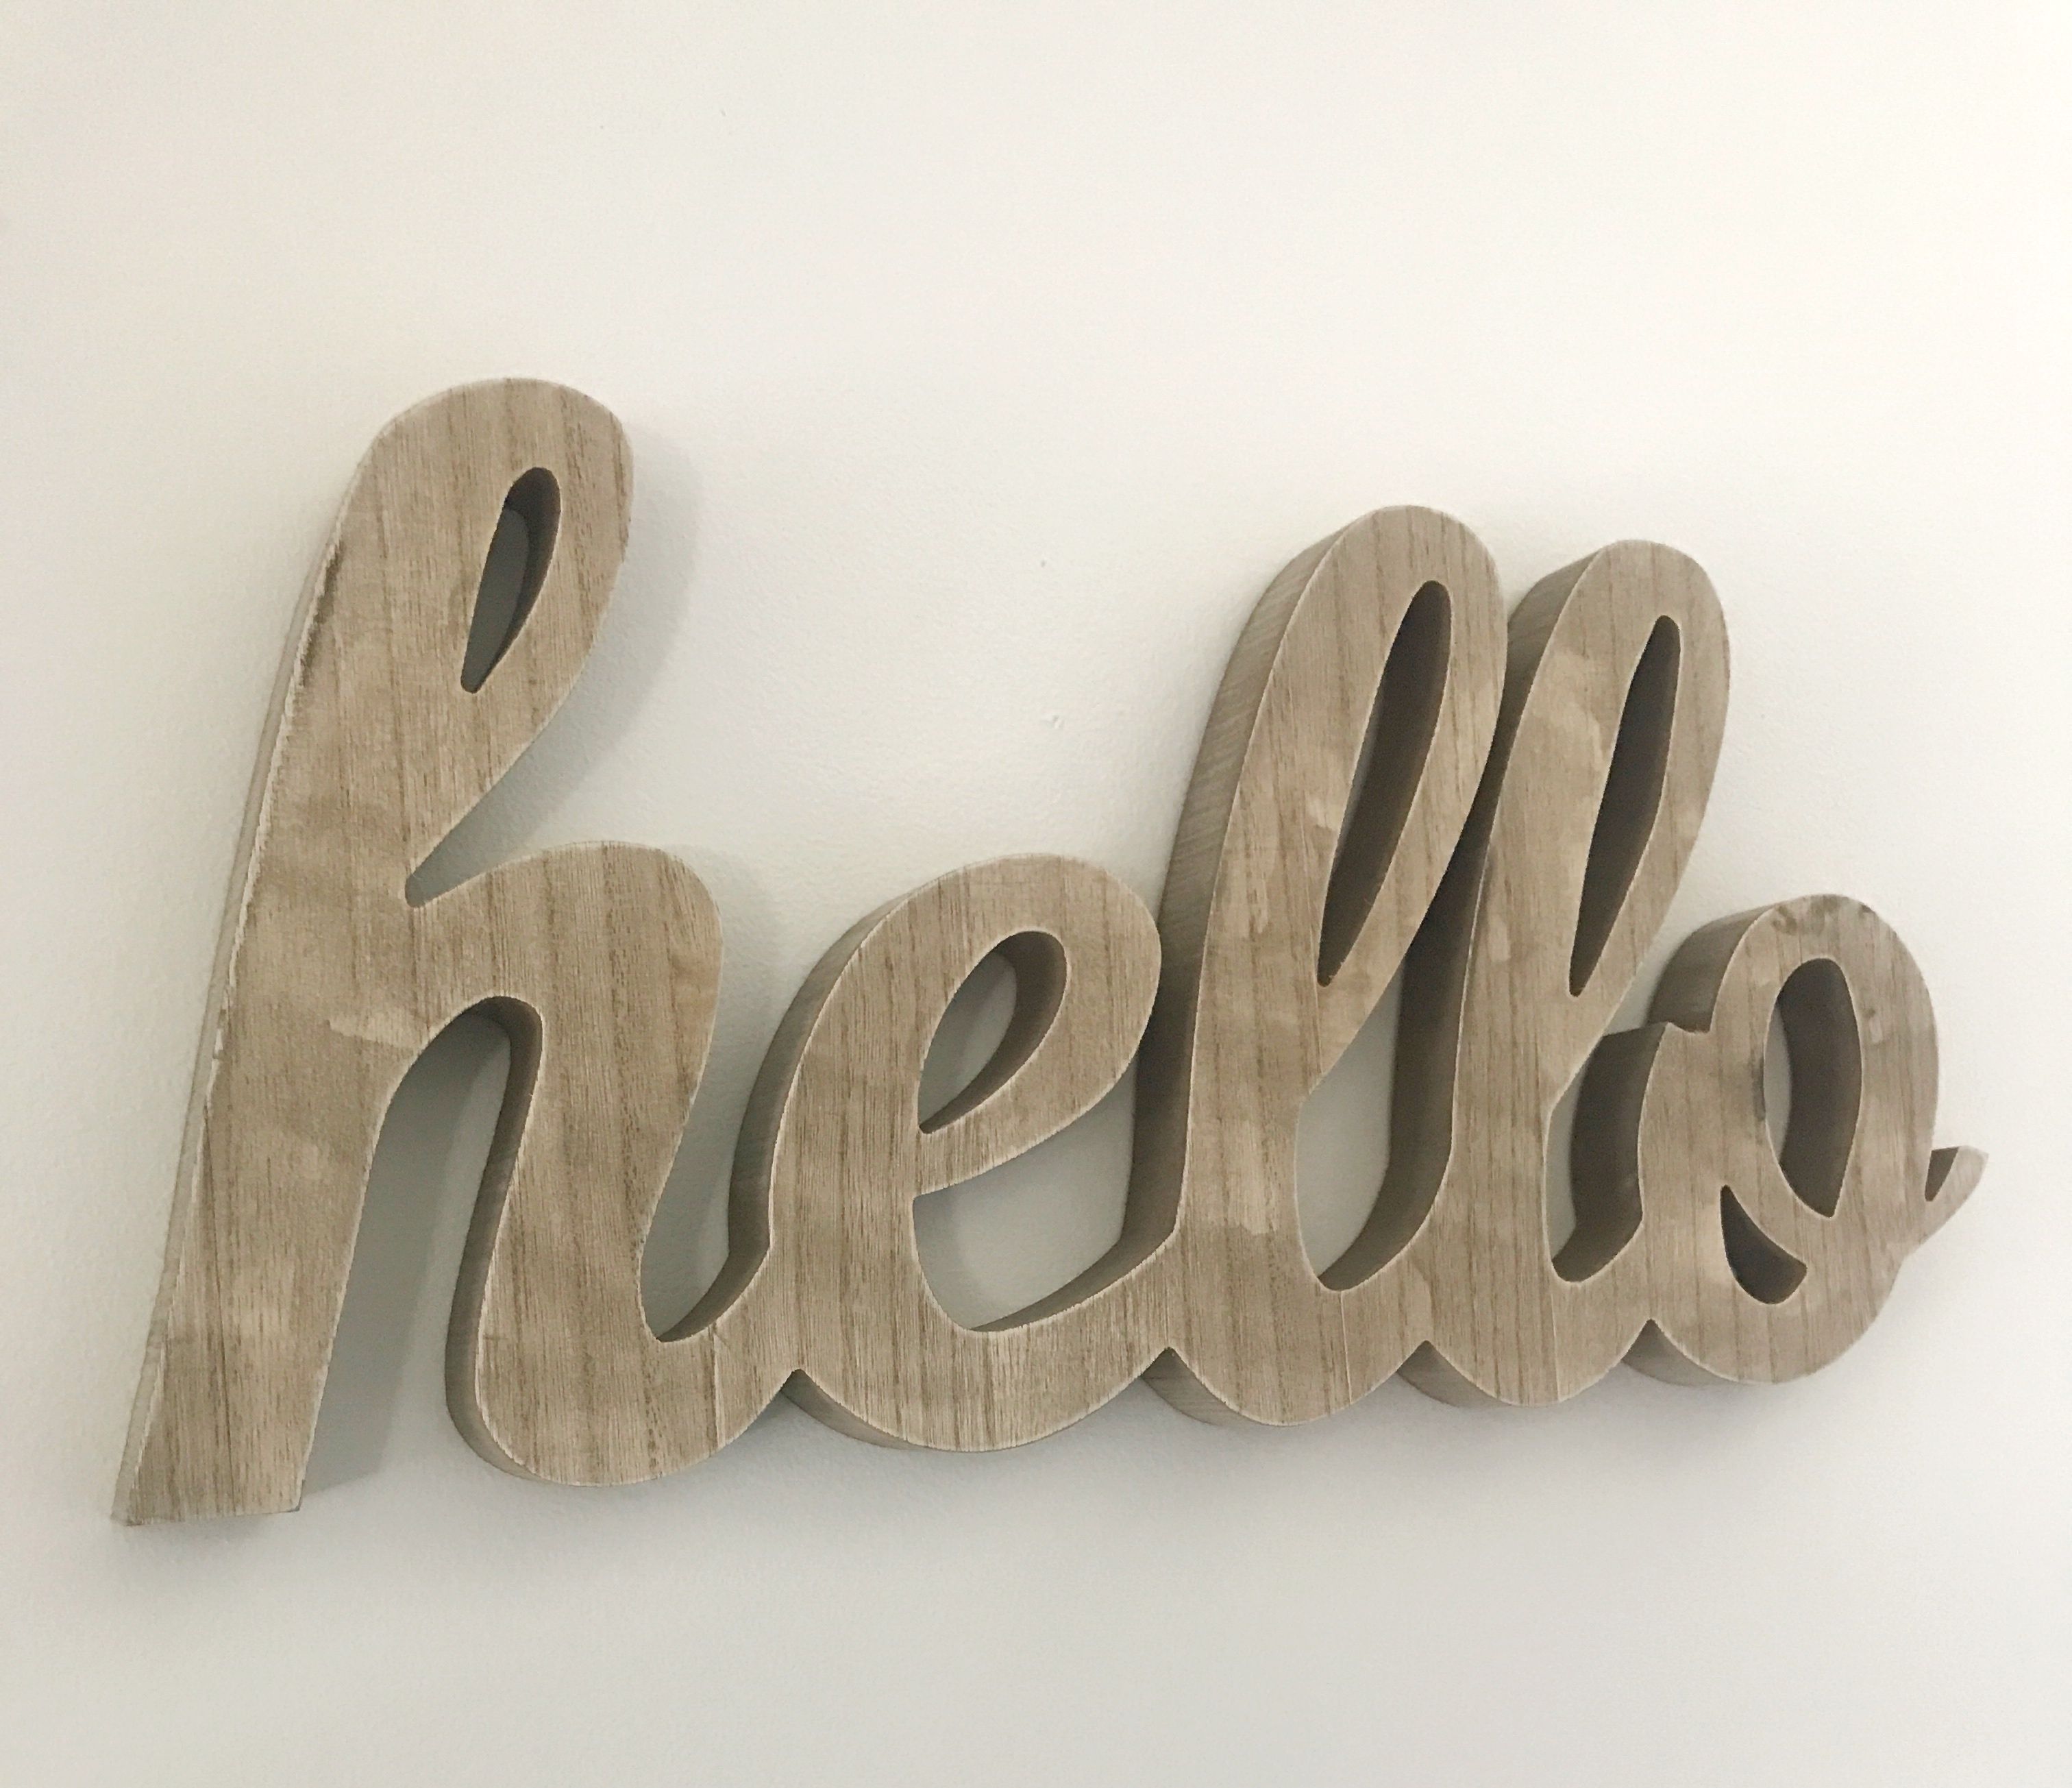
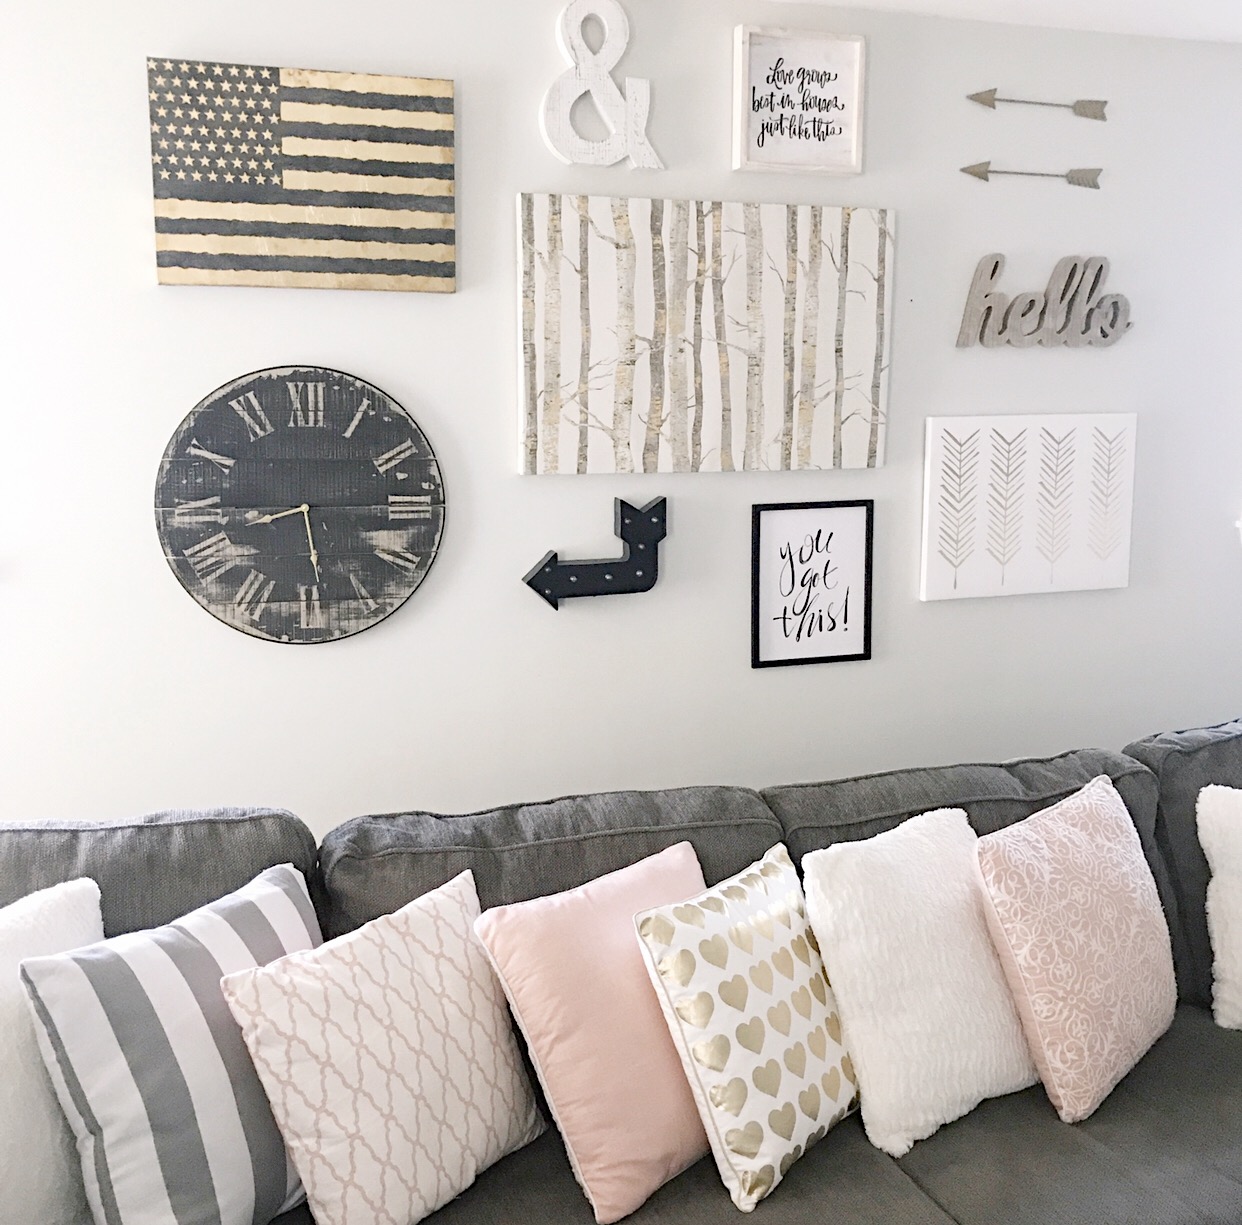
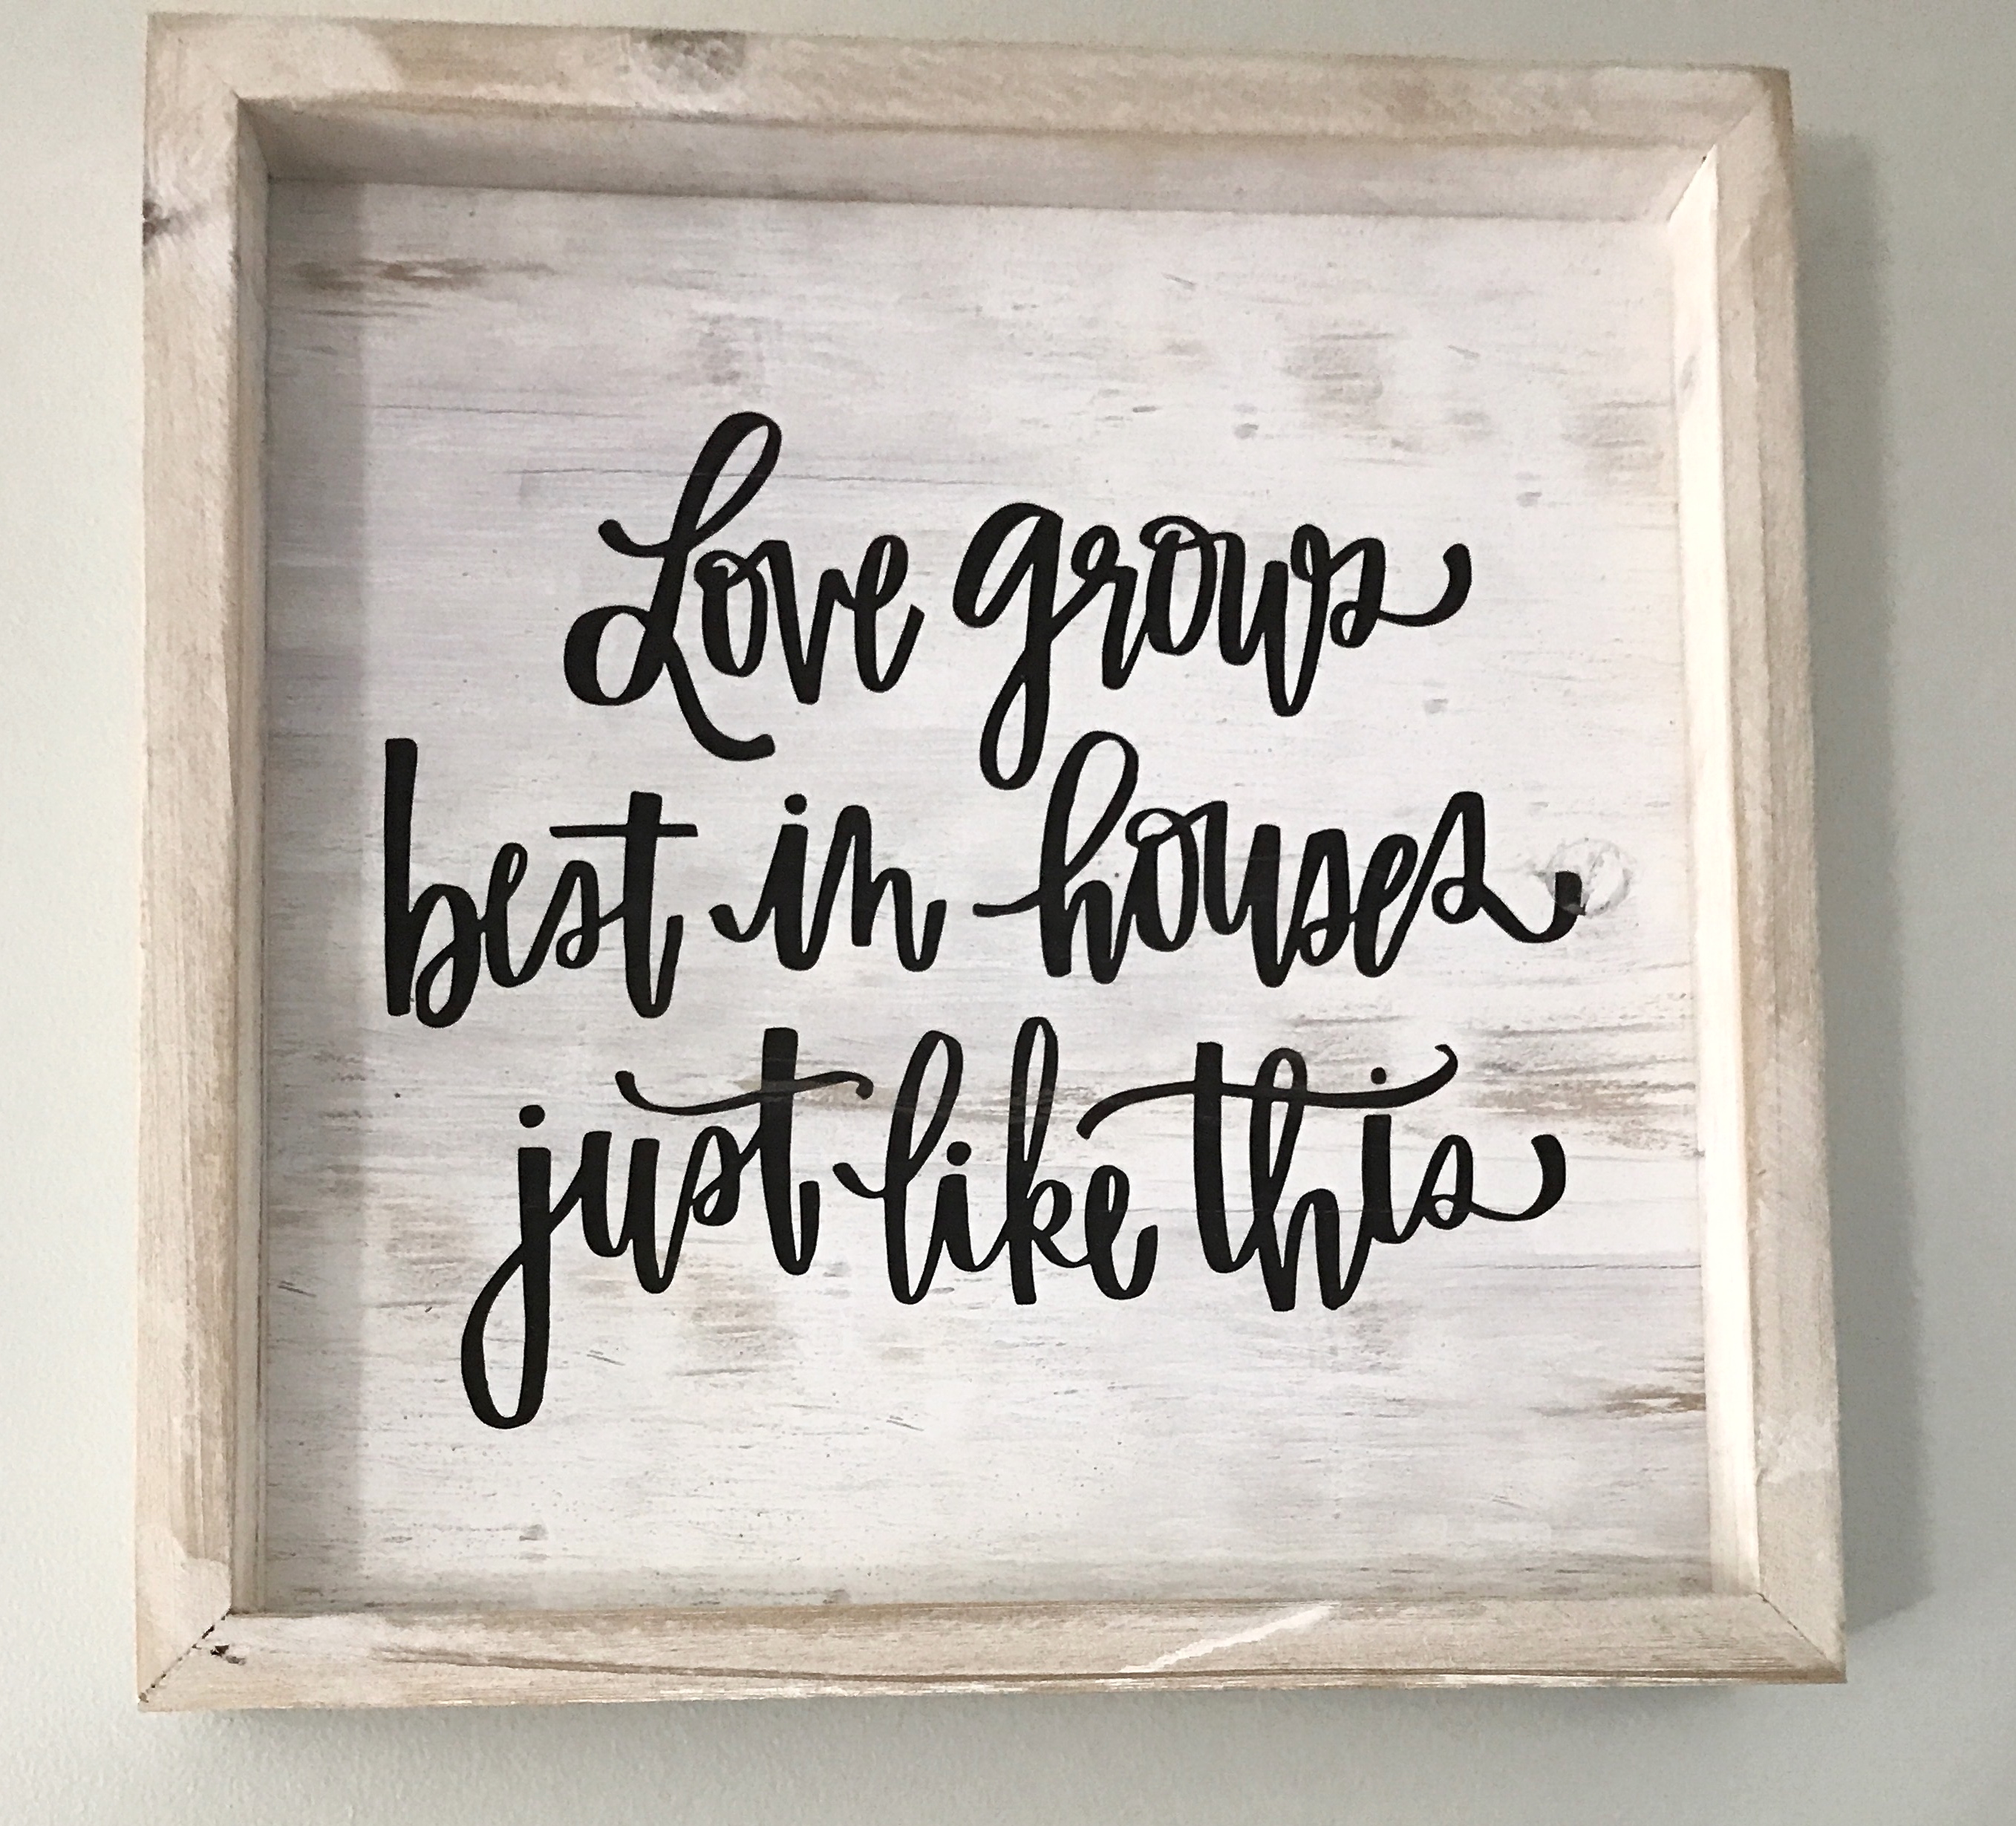
Genius right?!! This comes in handy when the holes on the back of your items aren’t attached in a straight line like this “Hello” wood cutout above. I can’t tell you how many times I’ve measured holes only to realize they were at different heights!
If you don’t want to use nails in your walls I suggest using these small 3M hooks! These come in handy especially if you plan on changing up your wall again or your are a renter and aren’t allowed to nail anything in the walls.
I hope you’ve enjoyed this little how to guide on creating a gallery wall. Have a wonderful week!
xoxo,
Robyn 🙂
Blogging music: 90s R&B


You May Also Like
4th of July Rae Dunn Ice Cream Social
Decorating After Christmas