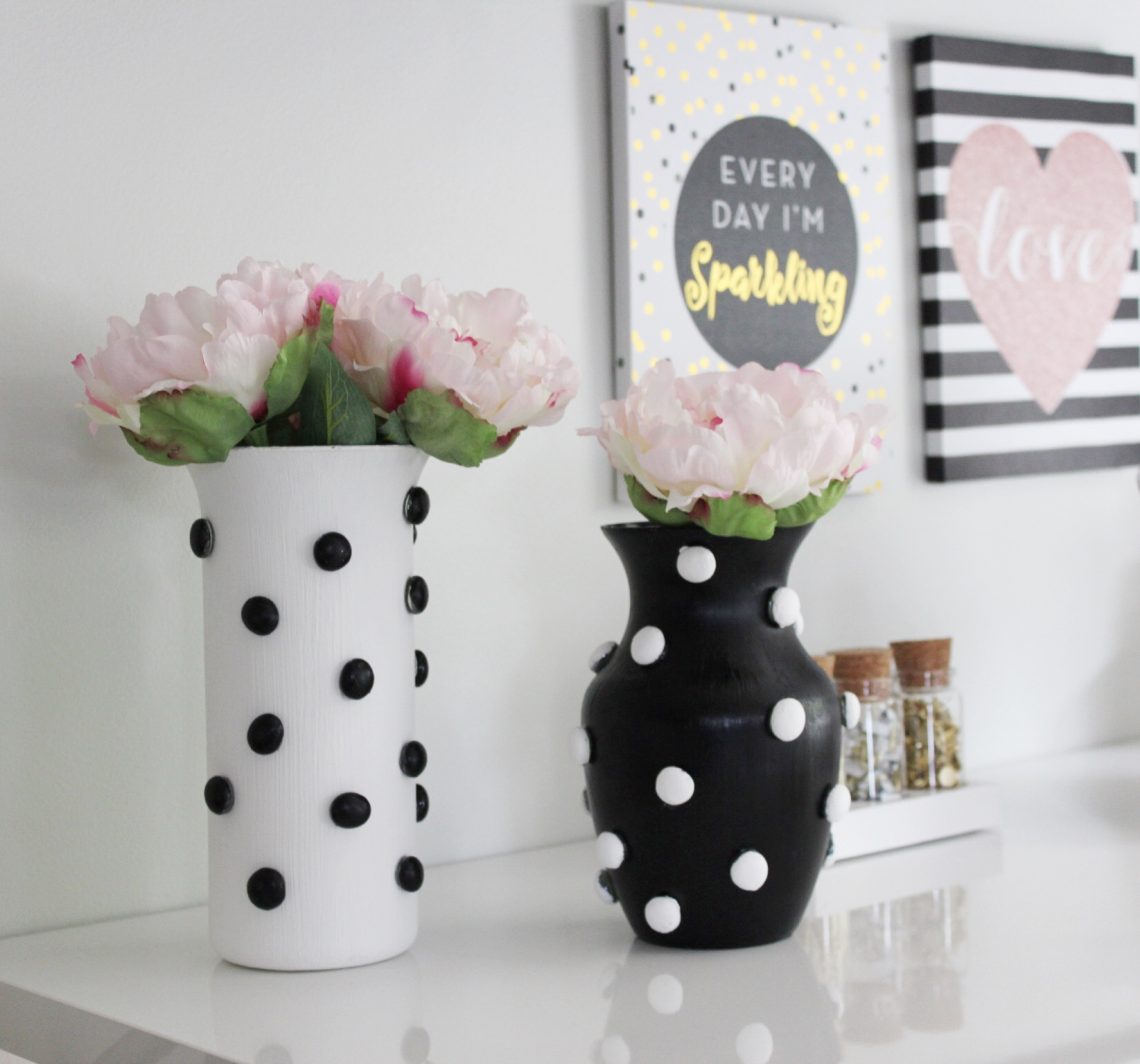
Designer Inspired Vase DIY
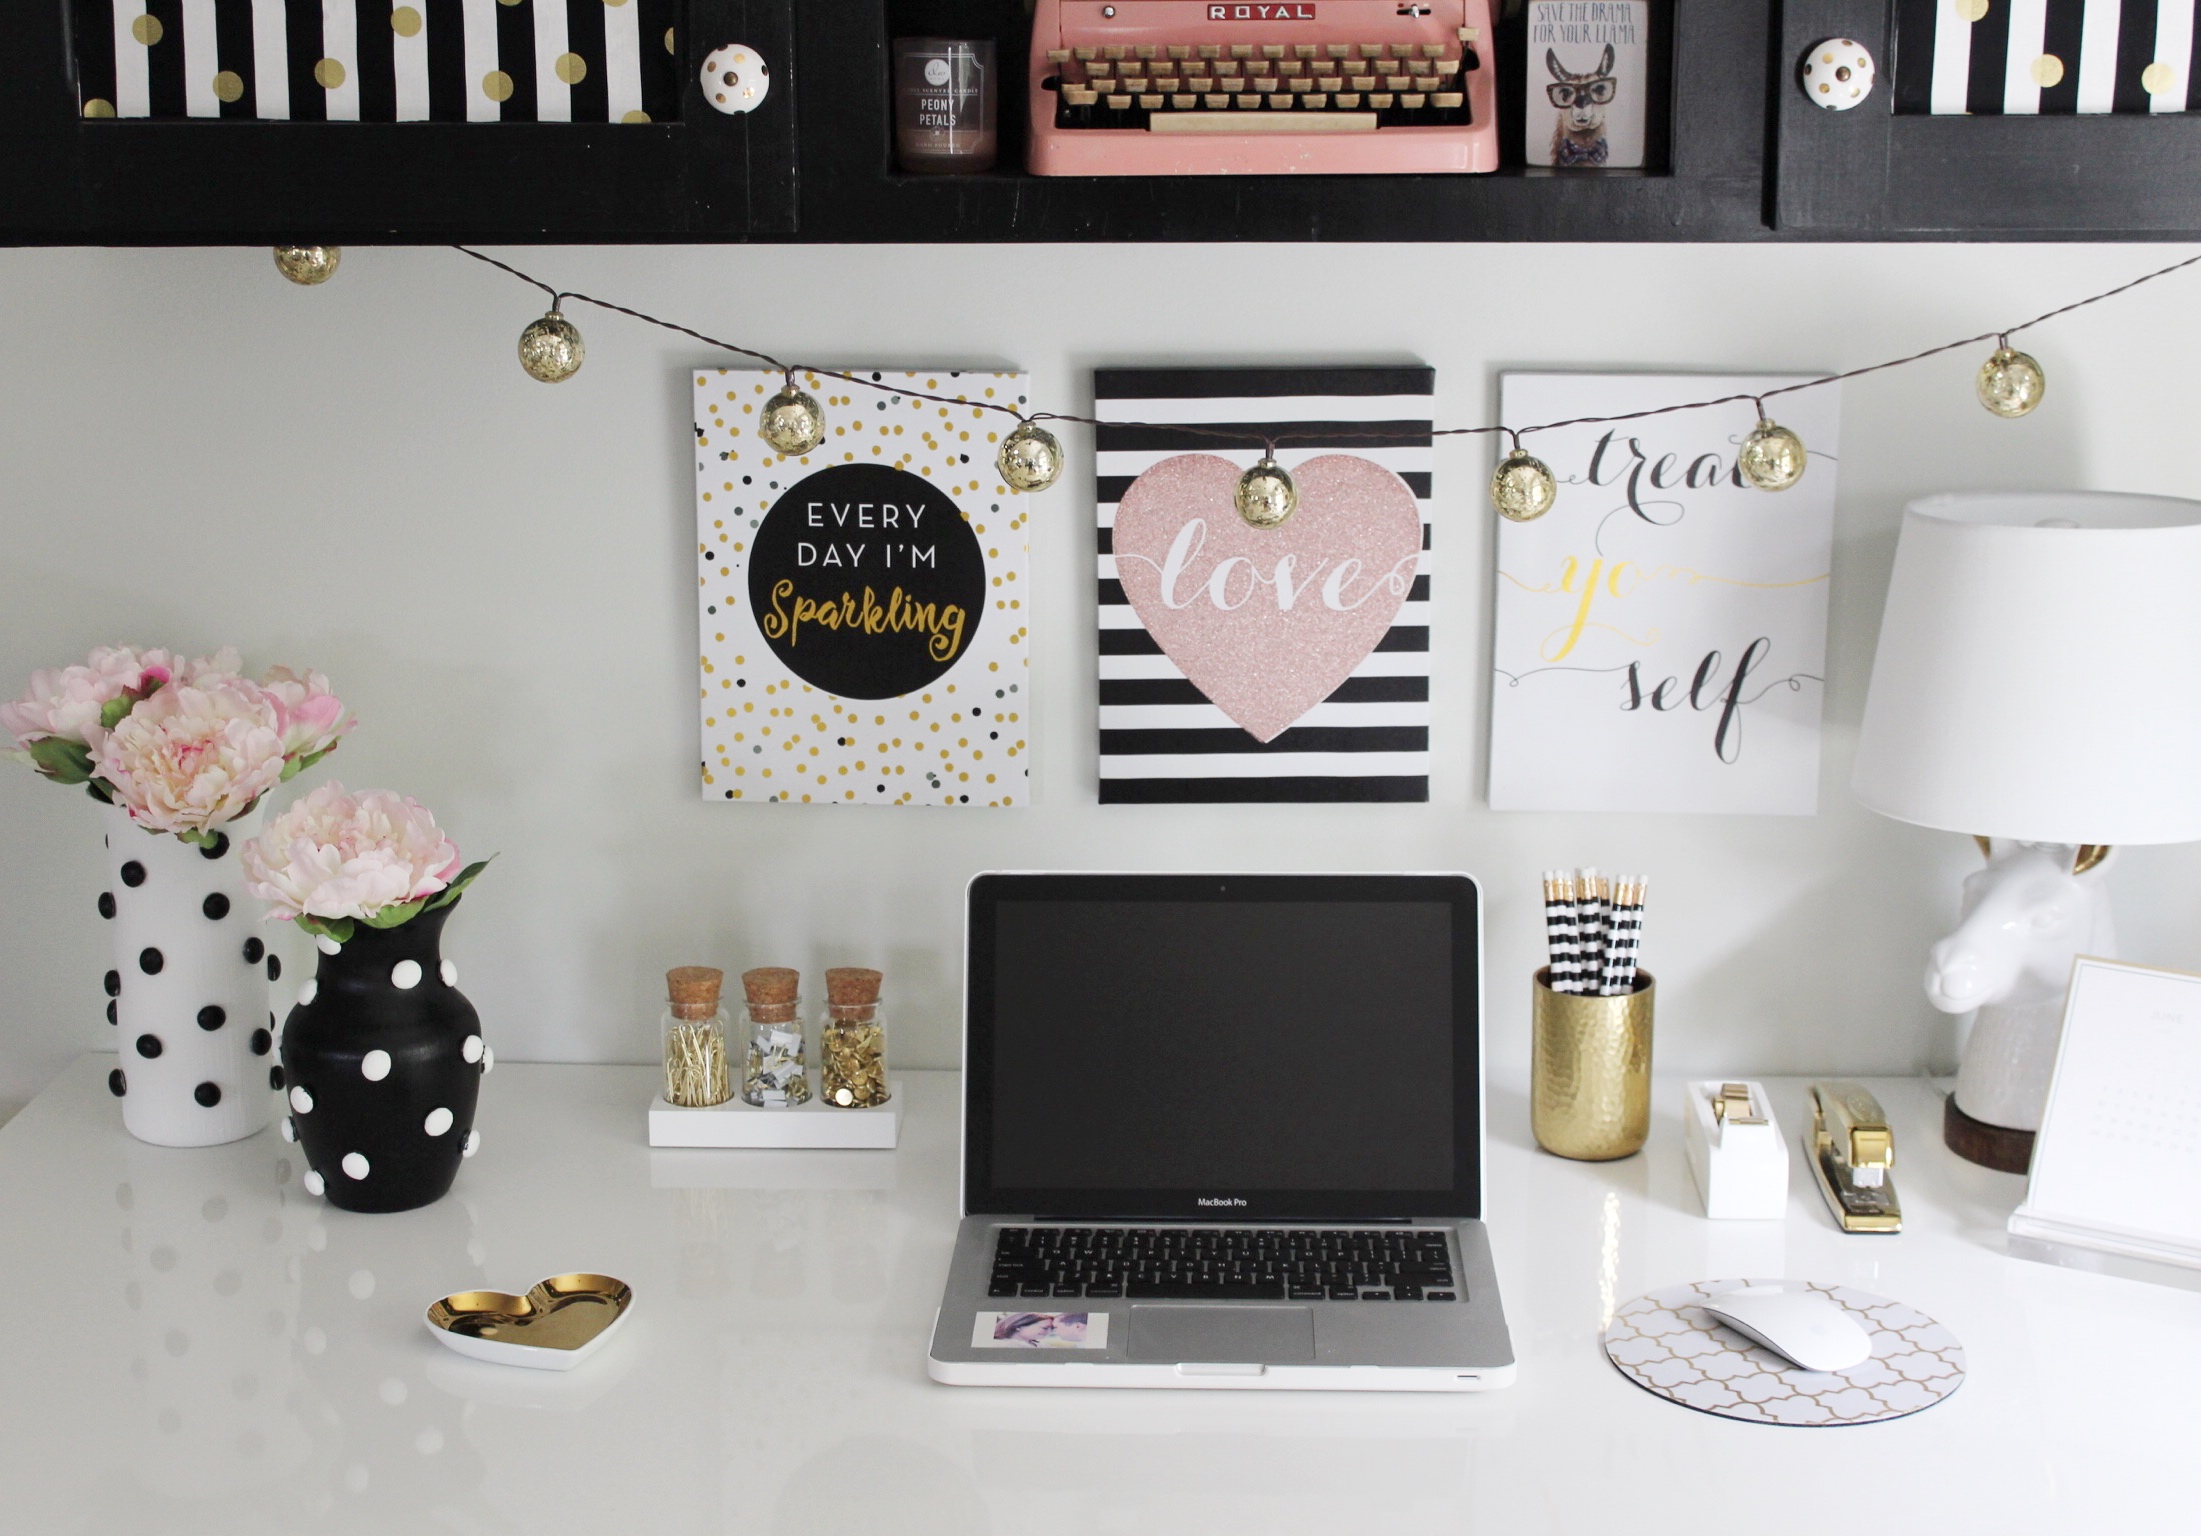
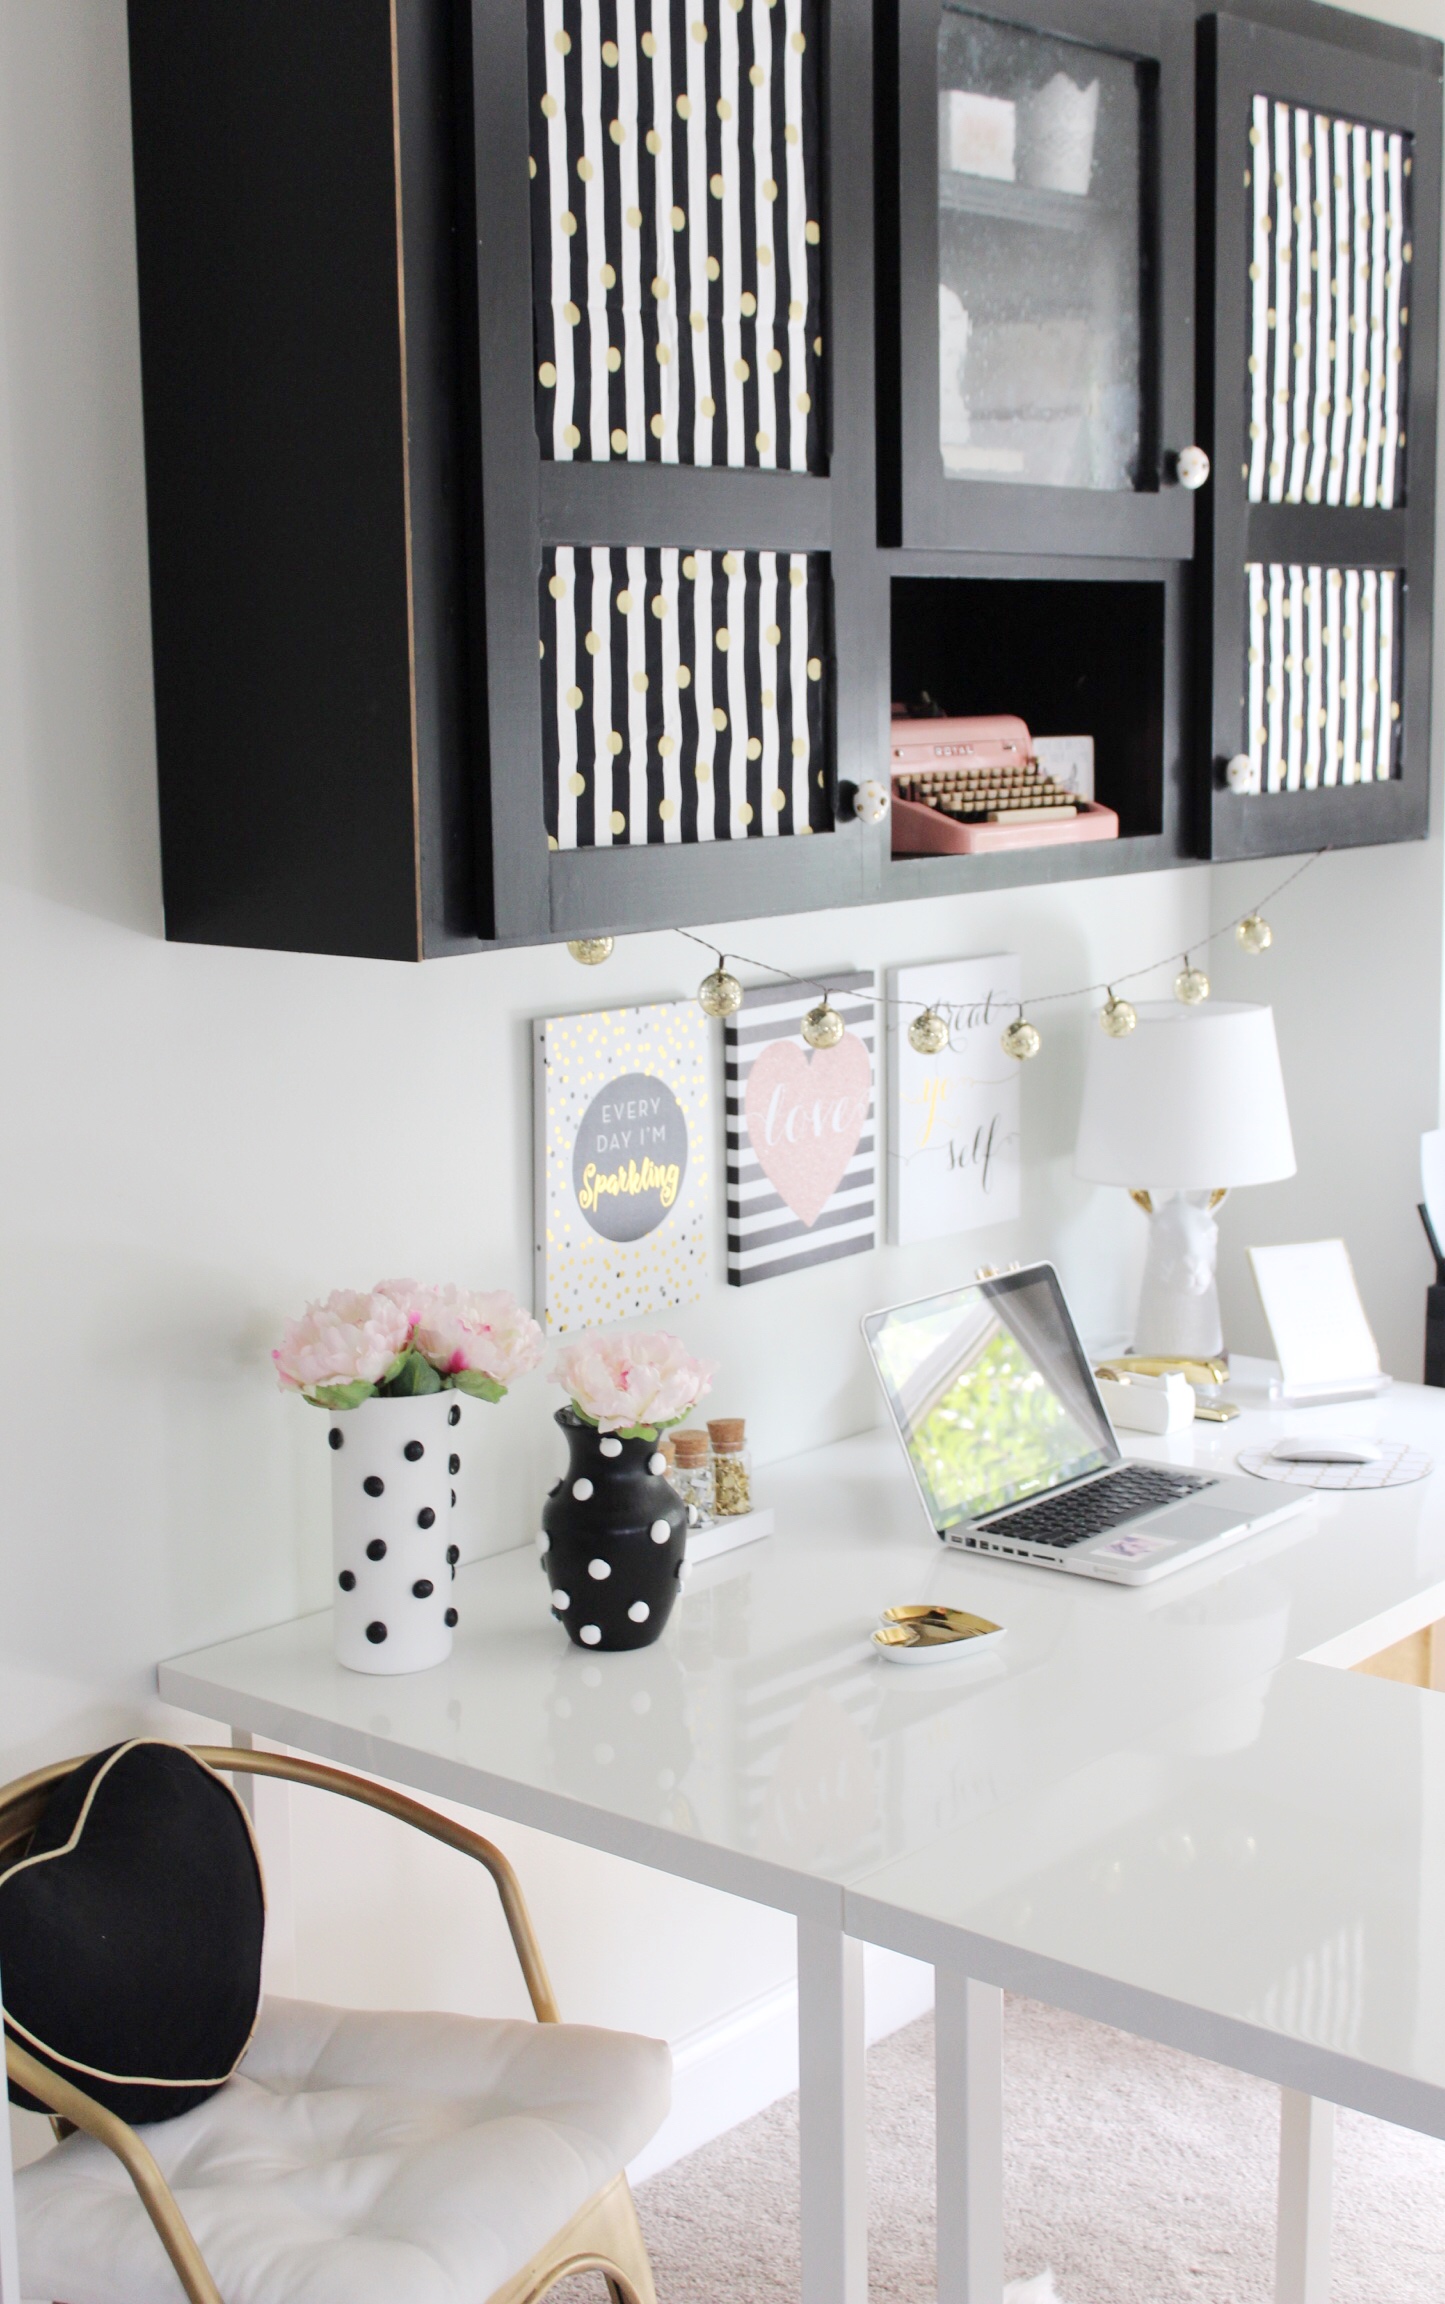
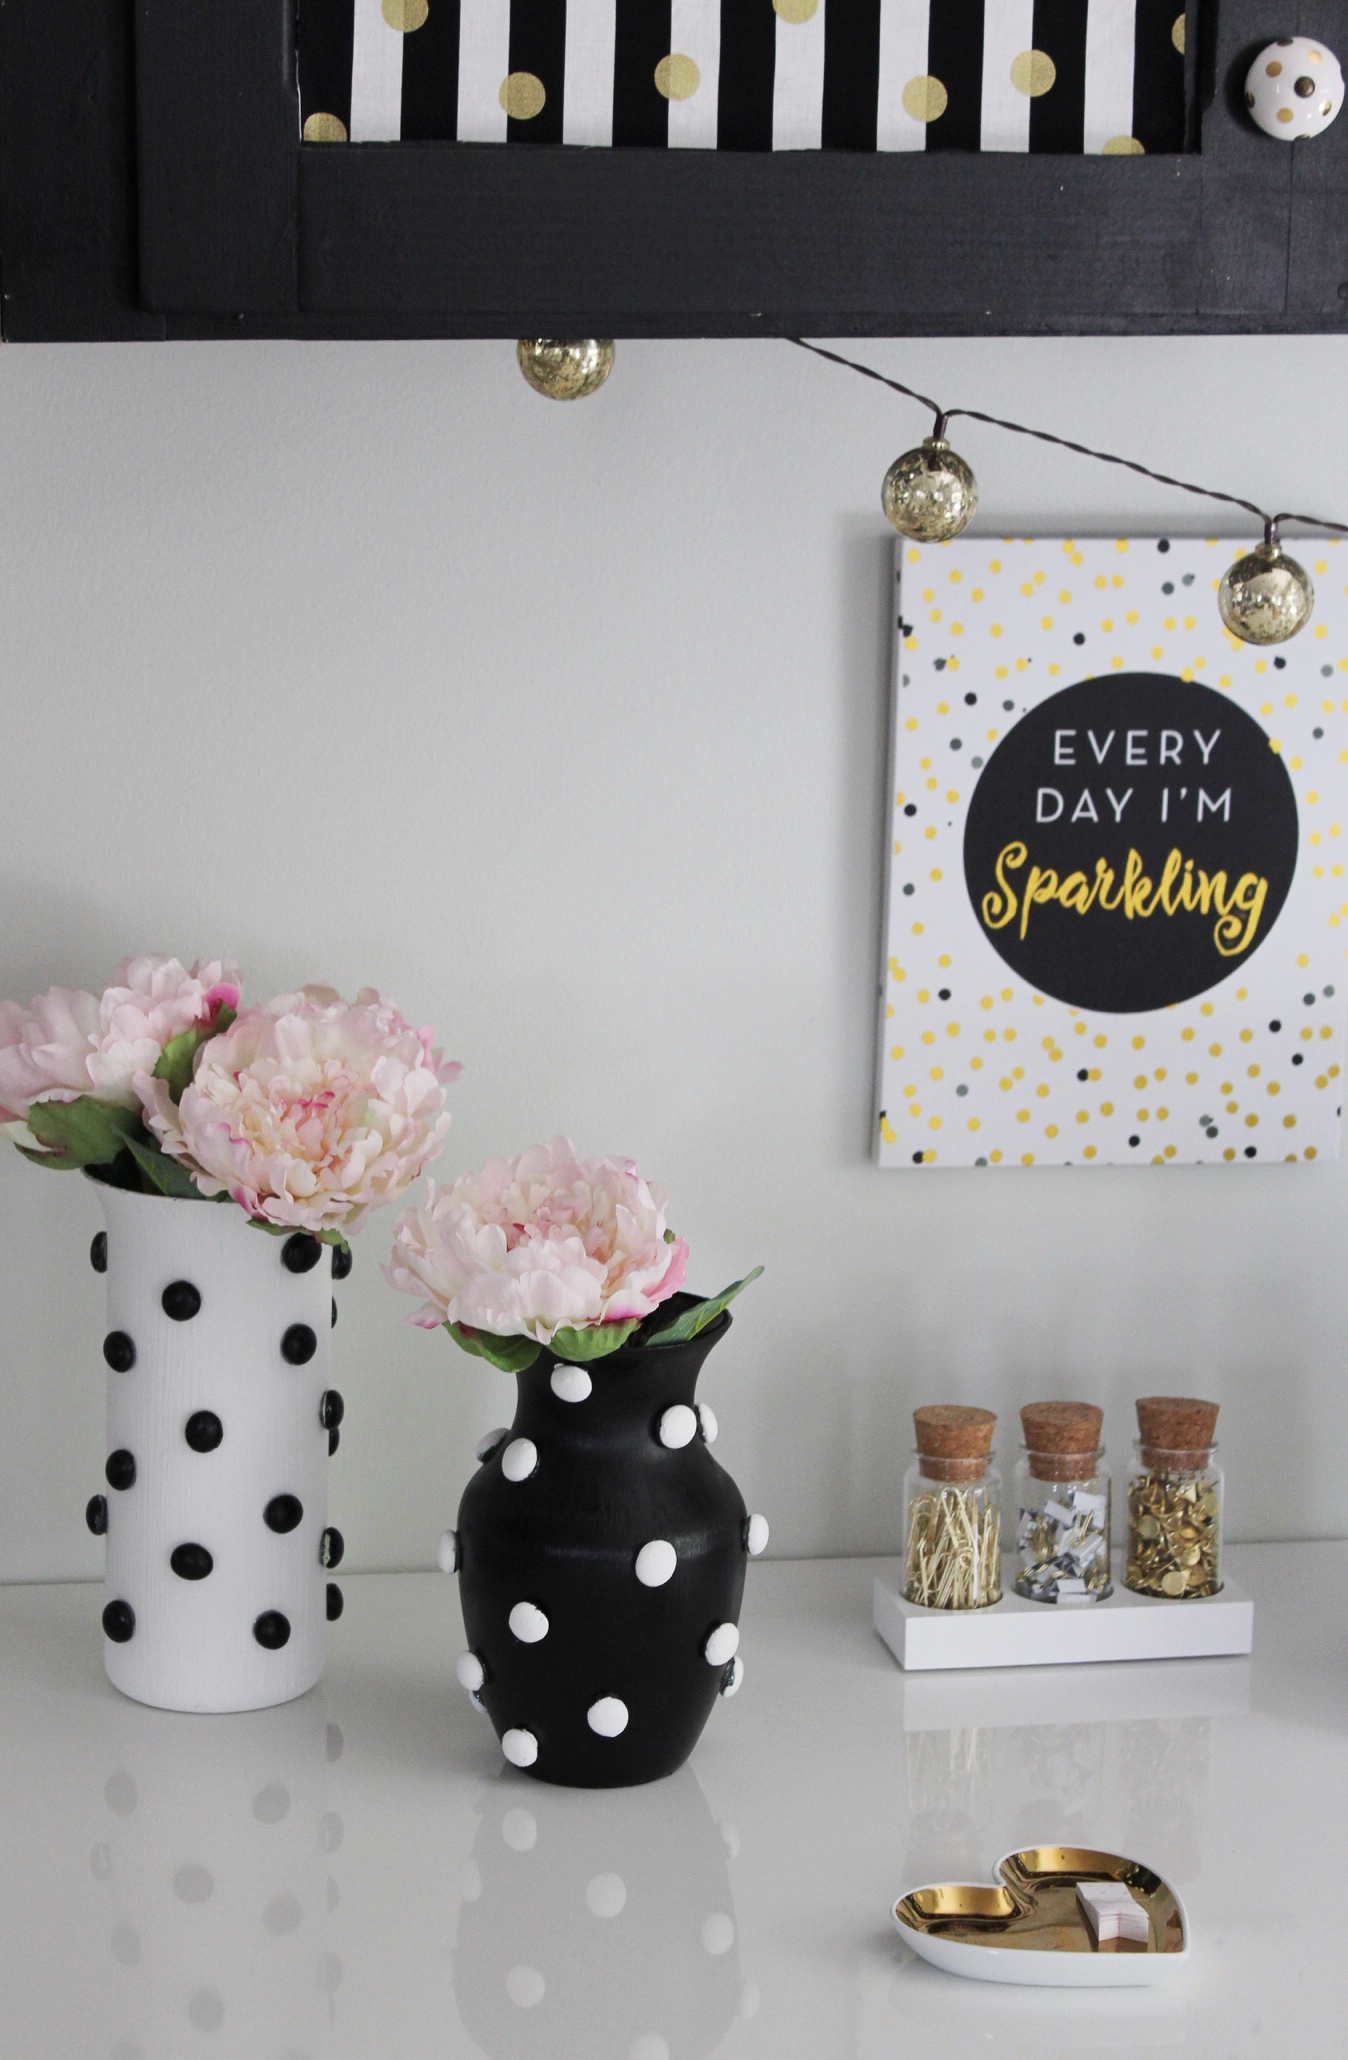
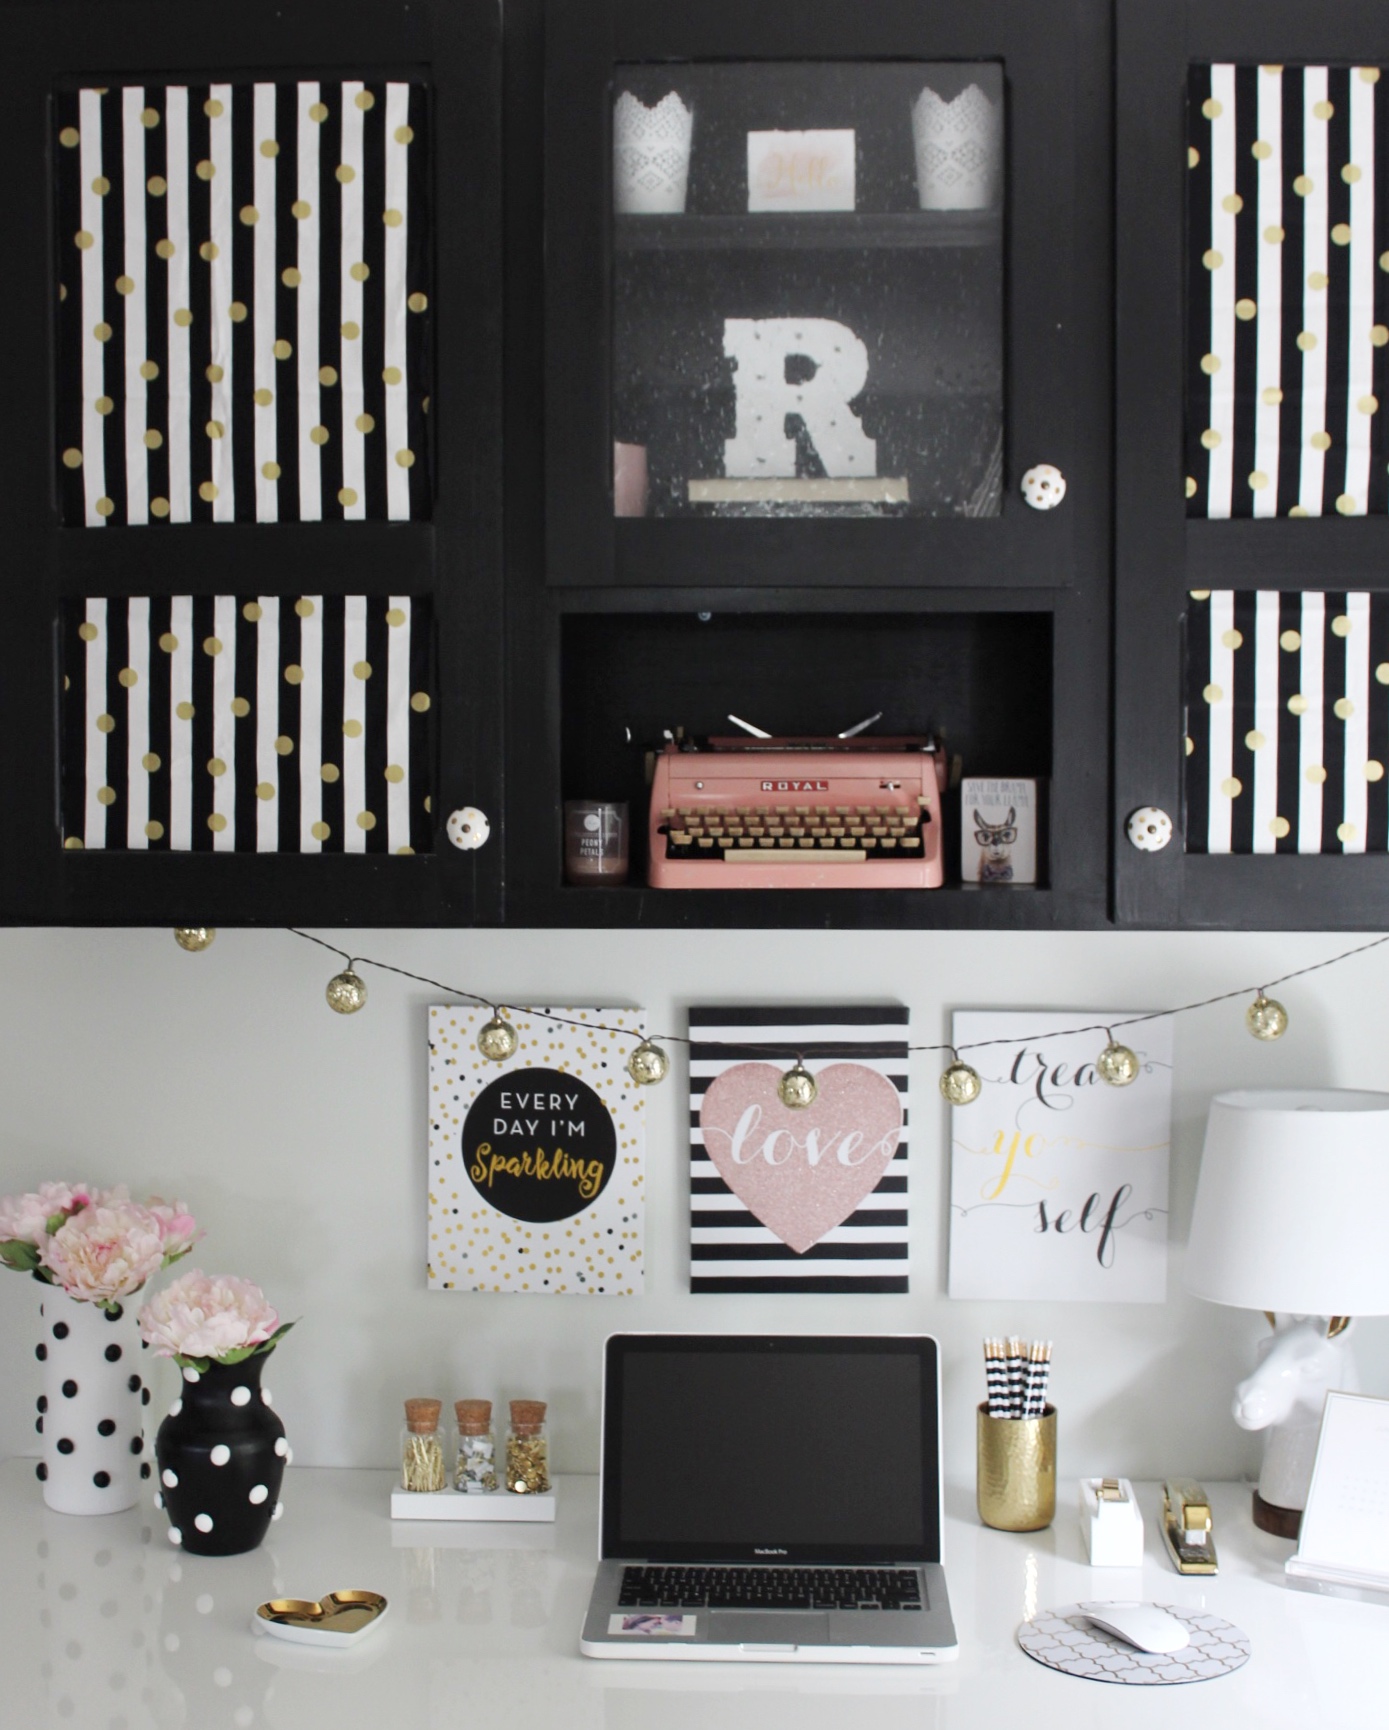
Happy Thursday! I did a fun little DIY project yesterday that I wanted to share with y’all. I have a plethora of clear vases from all of the floral arrangements I’ve gotten in my adult life. You know, the kind that you probably give away to Goodwill or the ones that are in the depths of your cabinets just collecting dust. Well I’m glad I kept a few of them in order to do this fun little DIY project. I wanted some cute vases to put at my desk that would match my Kate Spade inspired theme in my office. I took to my stash and found two perfect vases that would look cute together. I also had some black and white chalk paint on hand from previous projects. At first I was going to do stripes but I thought that would be too hard and tedious for this chick. Then I realized I had some floral stones up in my craft closet that I could paint. Taa daa!!! Polka dotted vases for the win! They just make me smile!

Supplies Needed:
Clear vase of your choice
Clear Floral Stones with a flat back to them (Dollar Tree) Here’s some on Amazon if you don’t have a Dollar Tree.
Chalk paint in the colors of your choice. I used Martha Stewart’s Chalk paint for the black paint and ArtMinds brand from Michaels for the white paint. Any brand will do for this project.
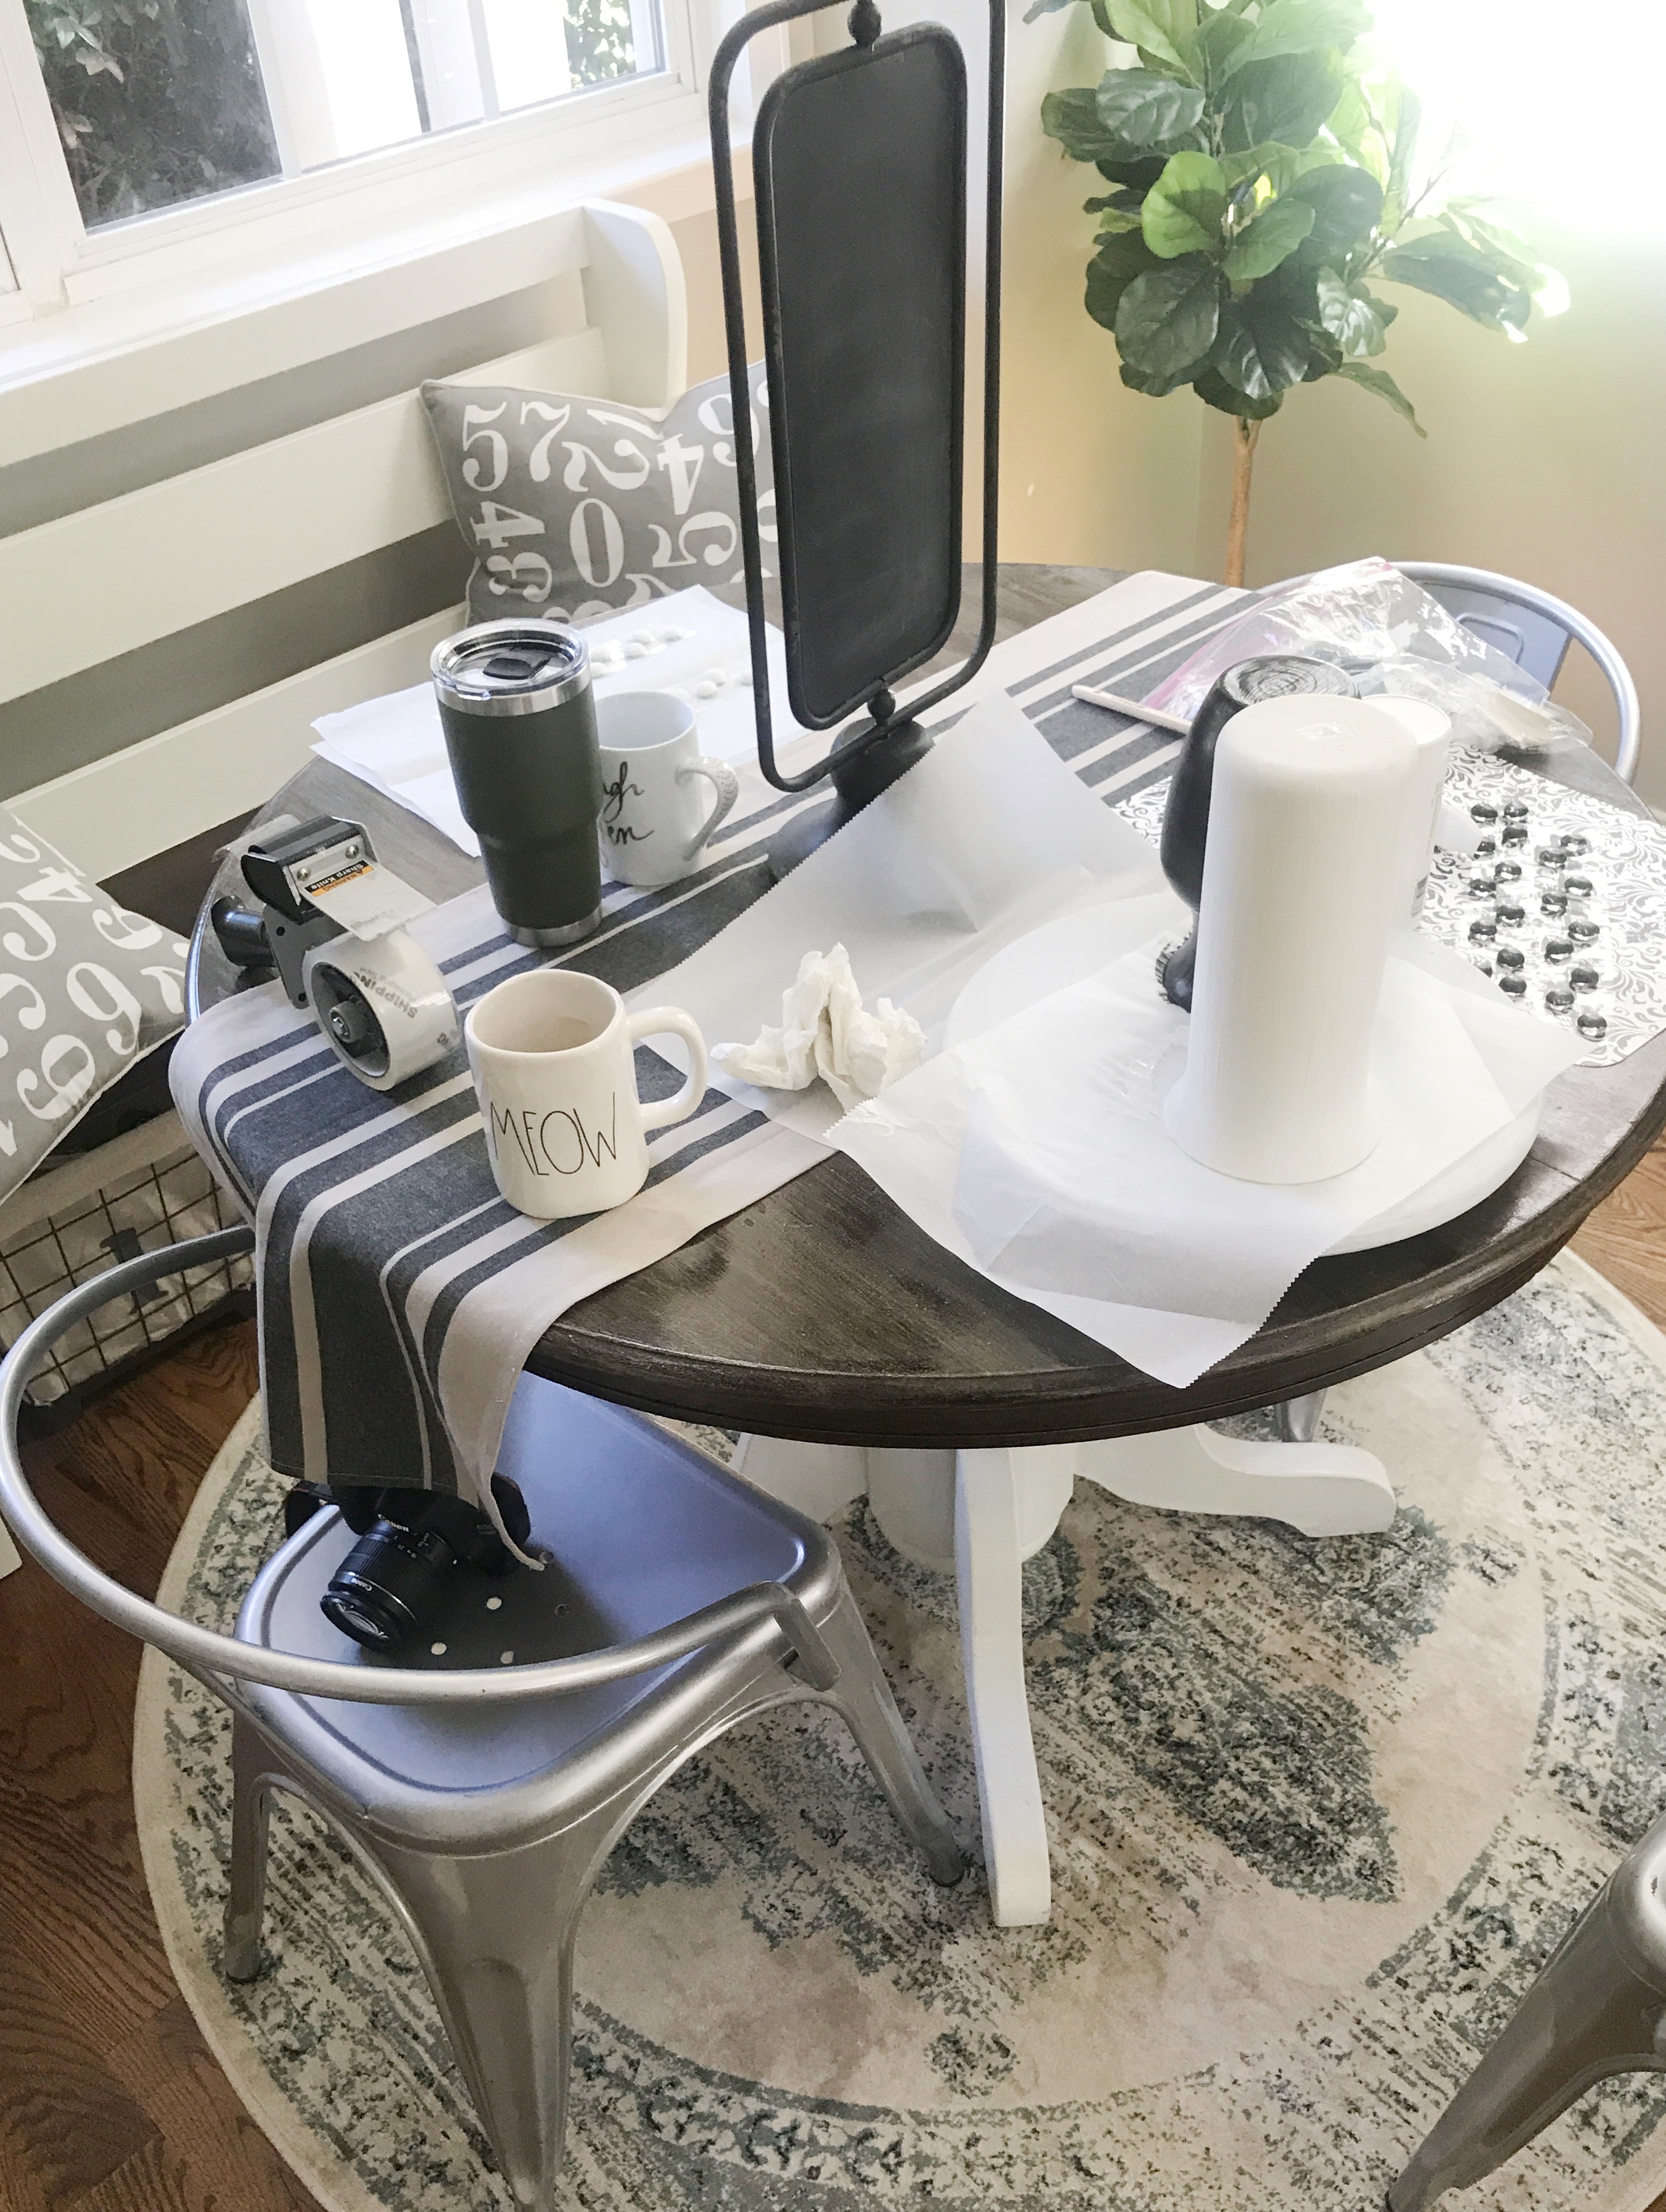
Optional: Lazy Susan I used this to paint the vases to make it easier so I wouldn’t have to hold them and I could just rotate them around. I found my lazy susan at Goodwill and repainted it.
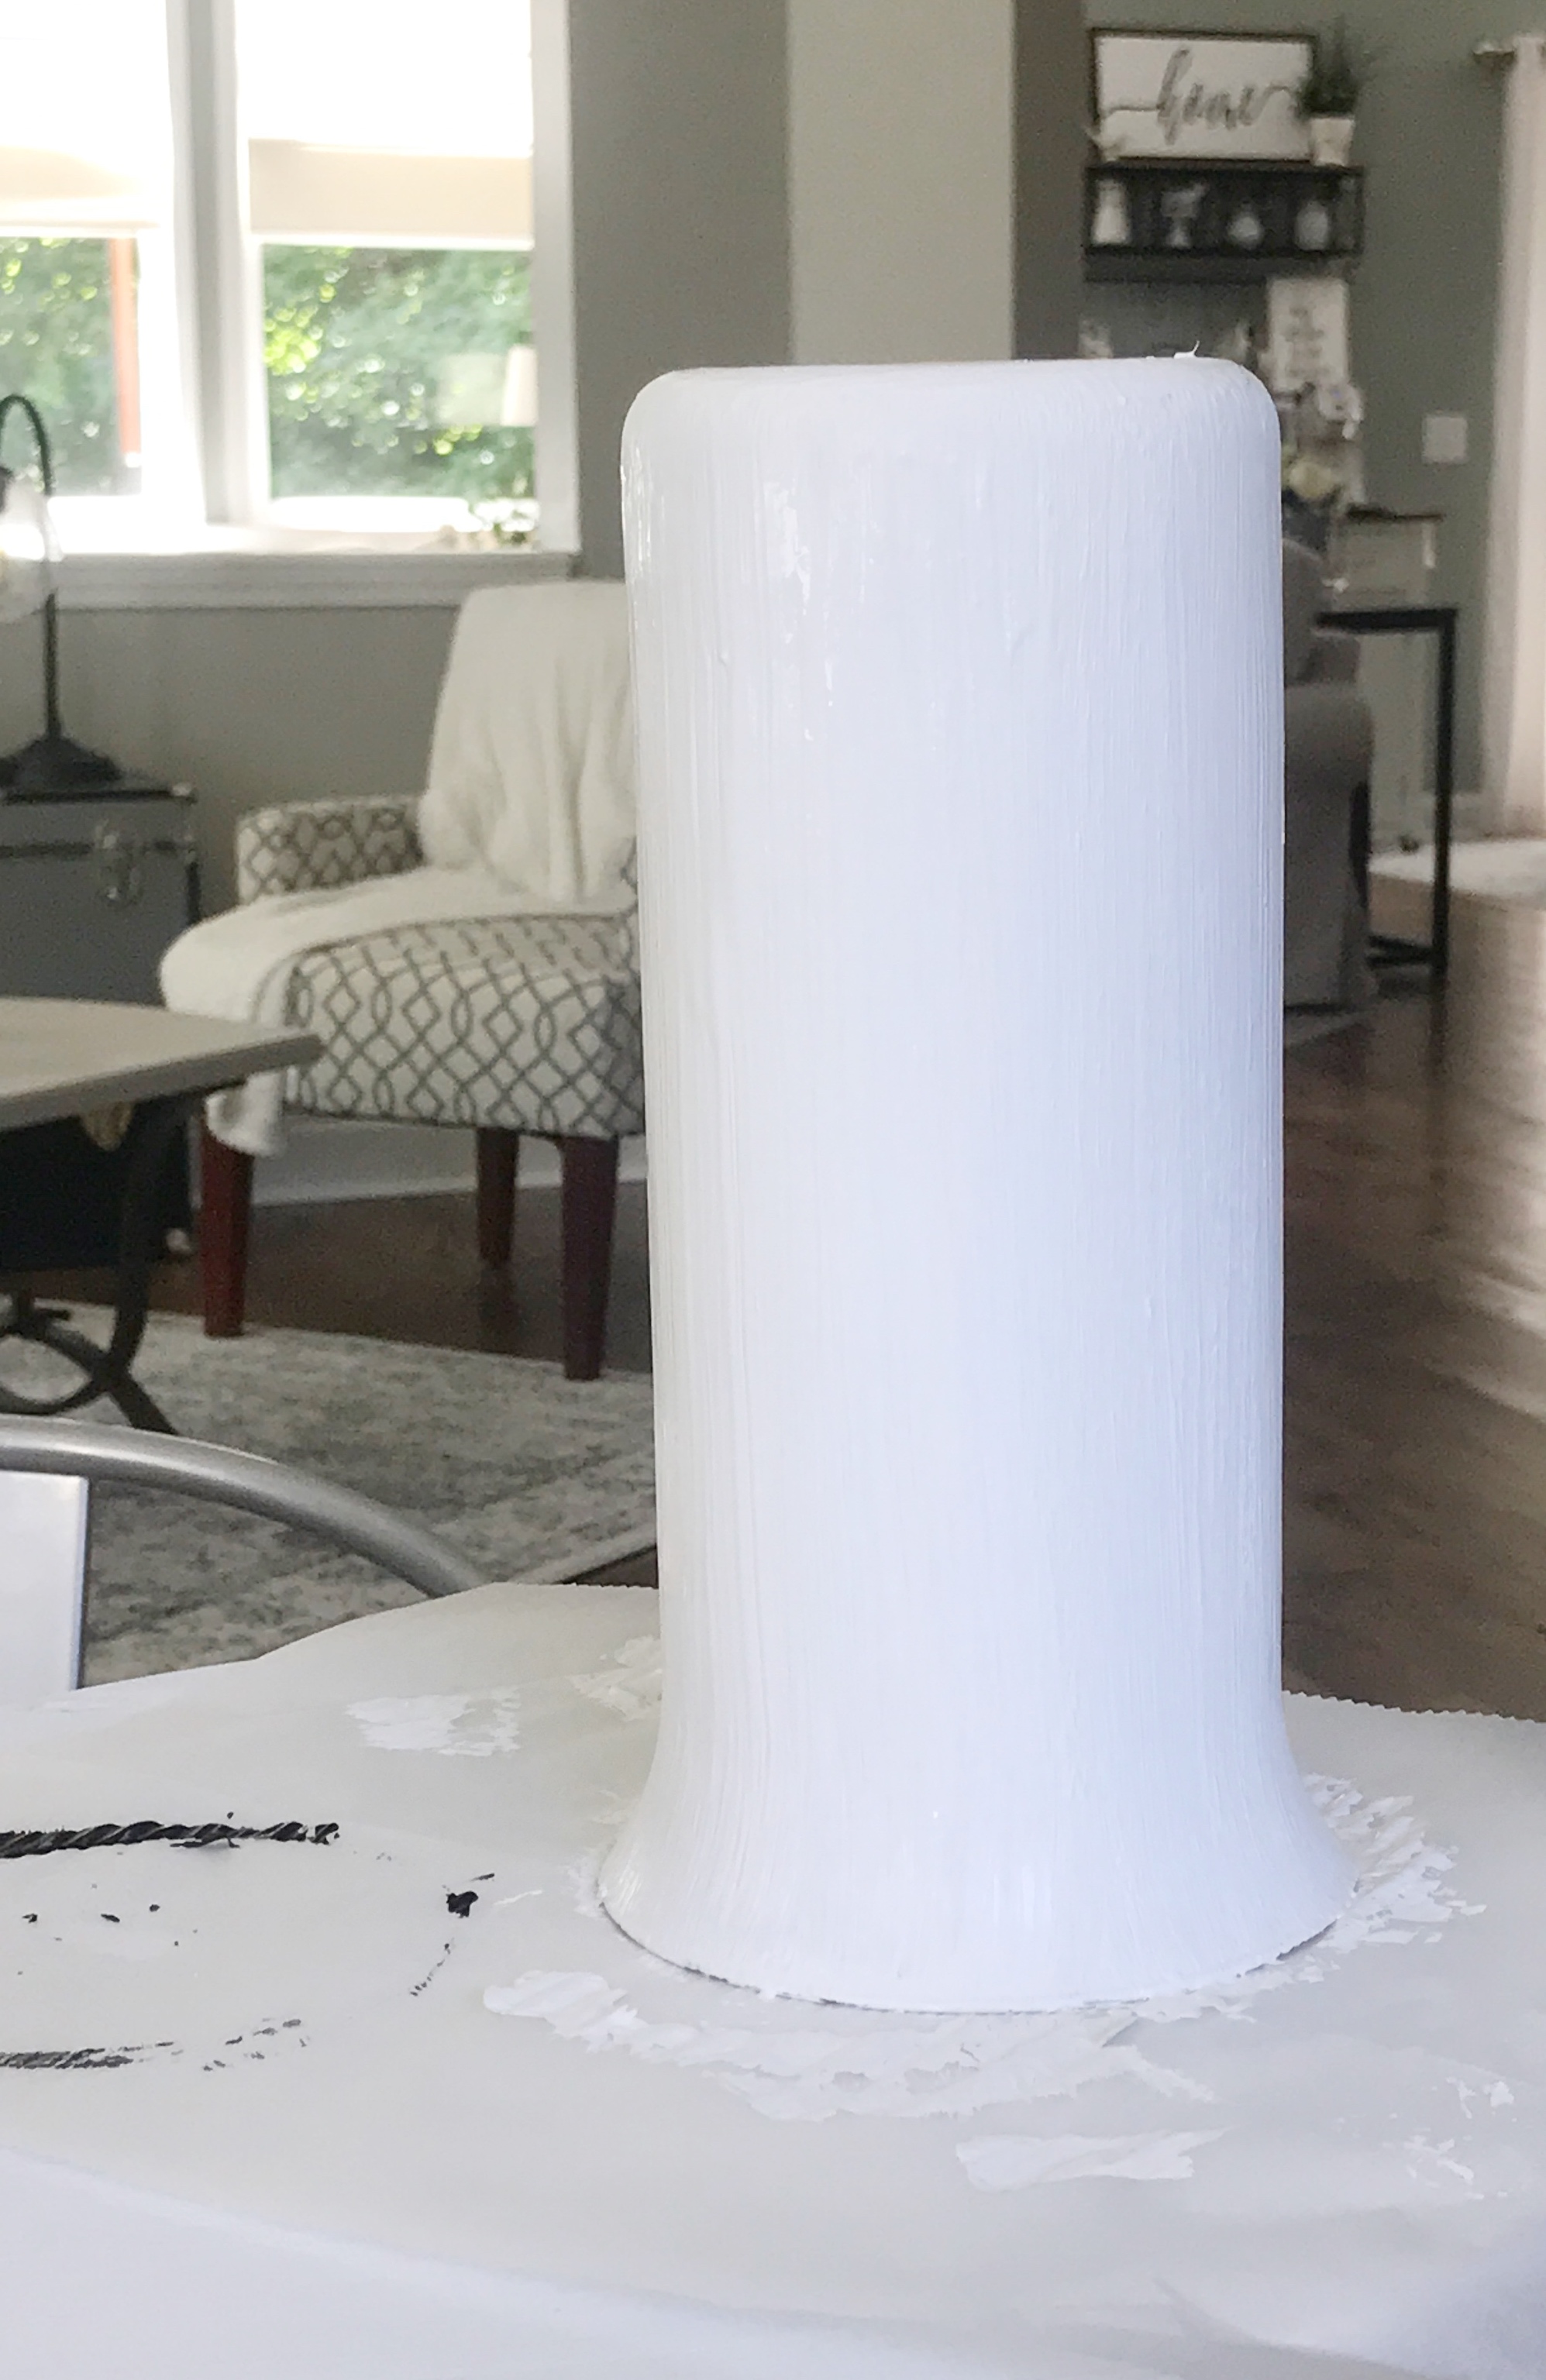
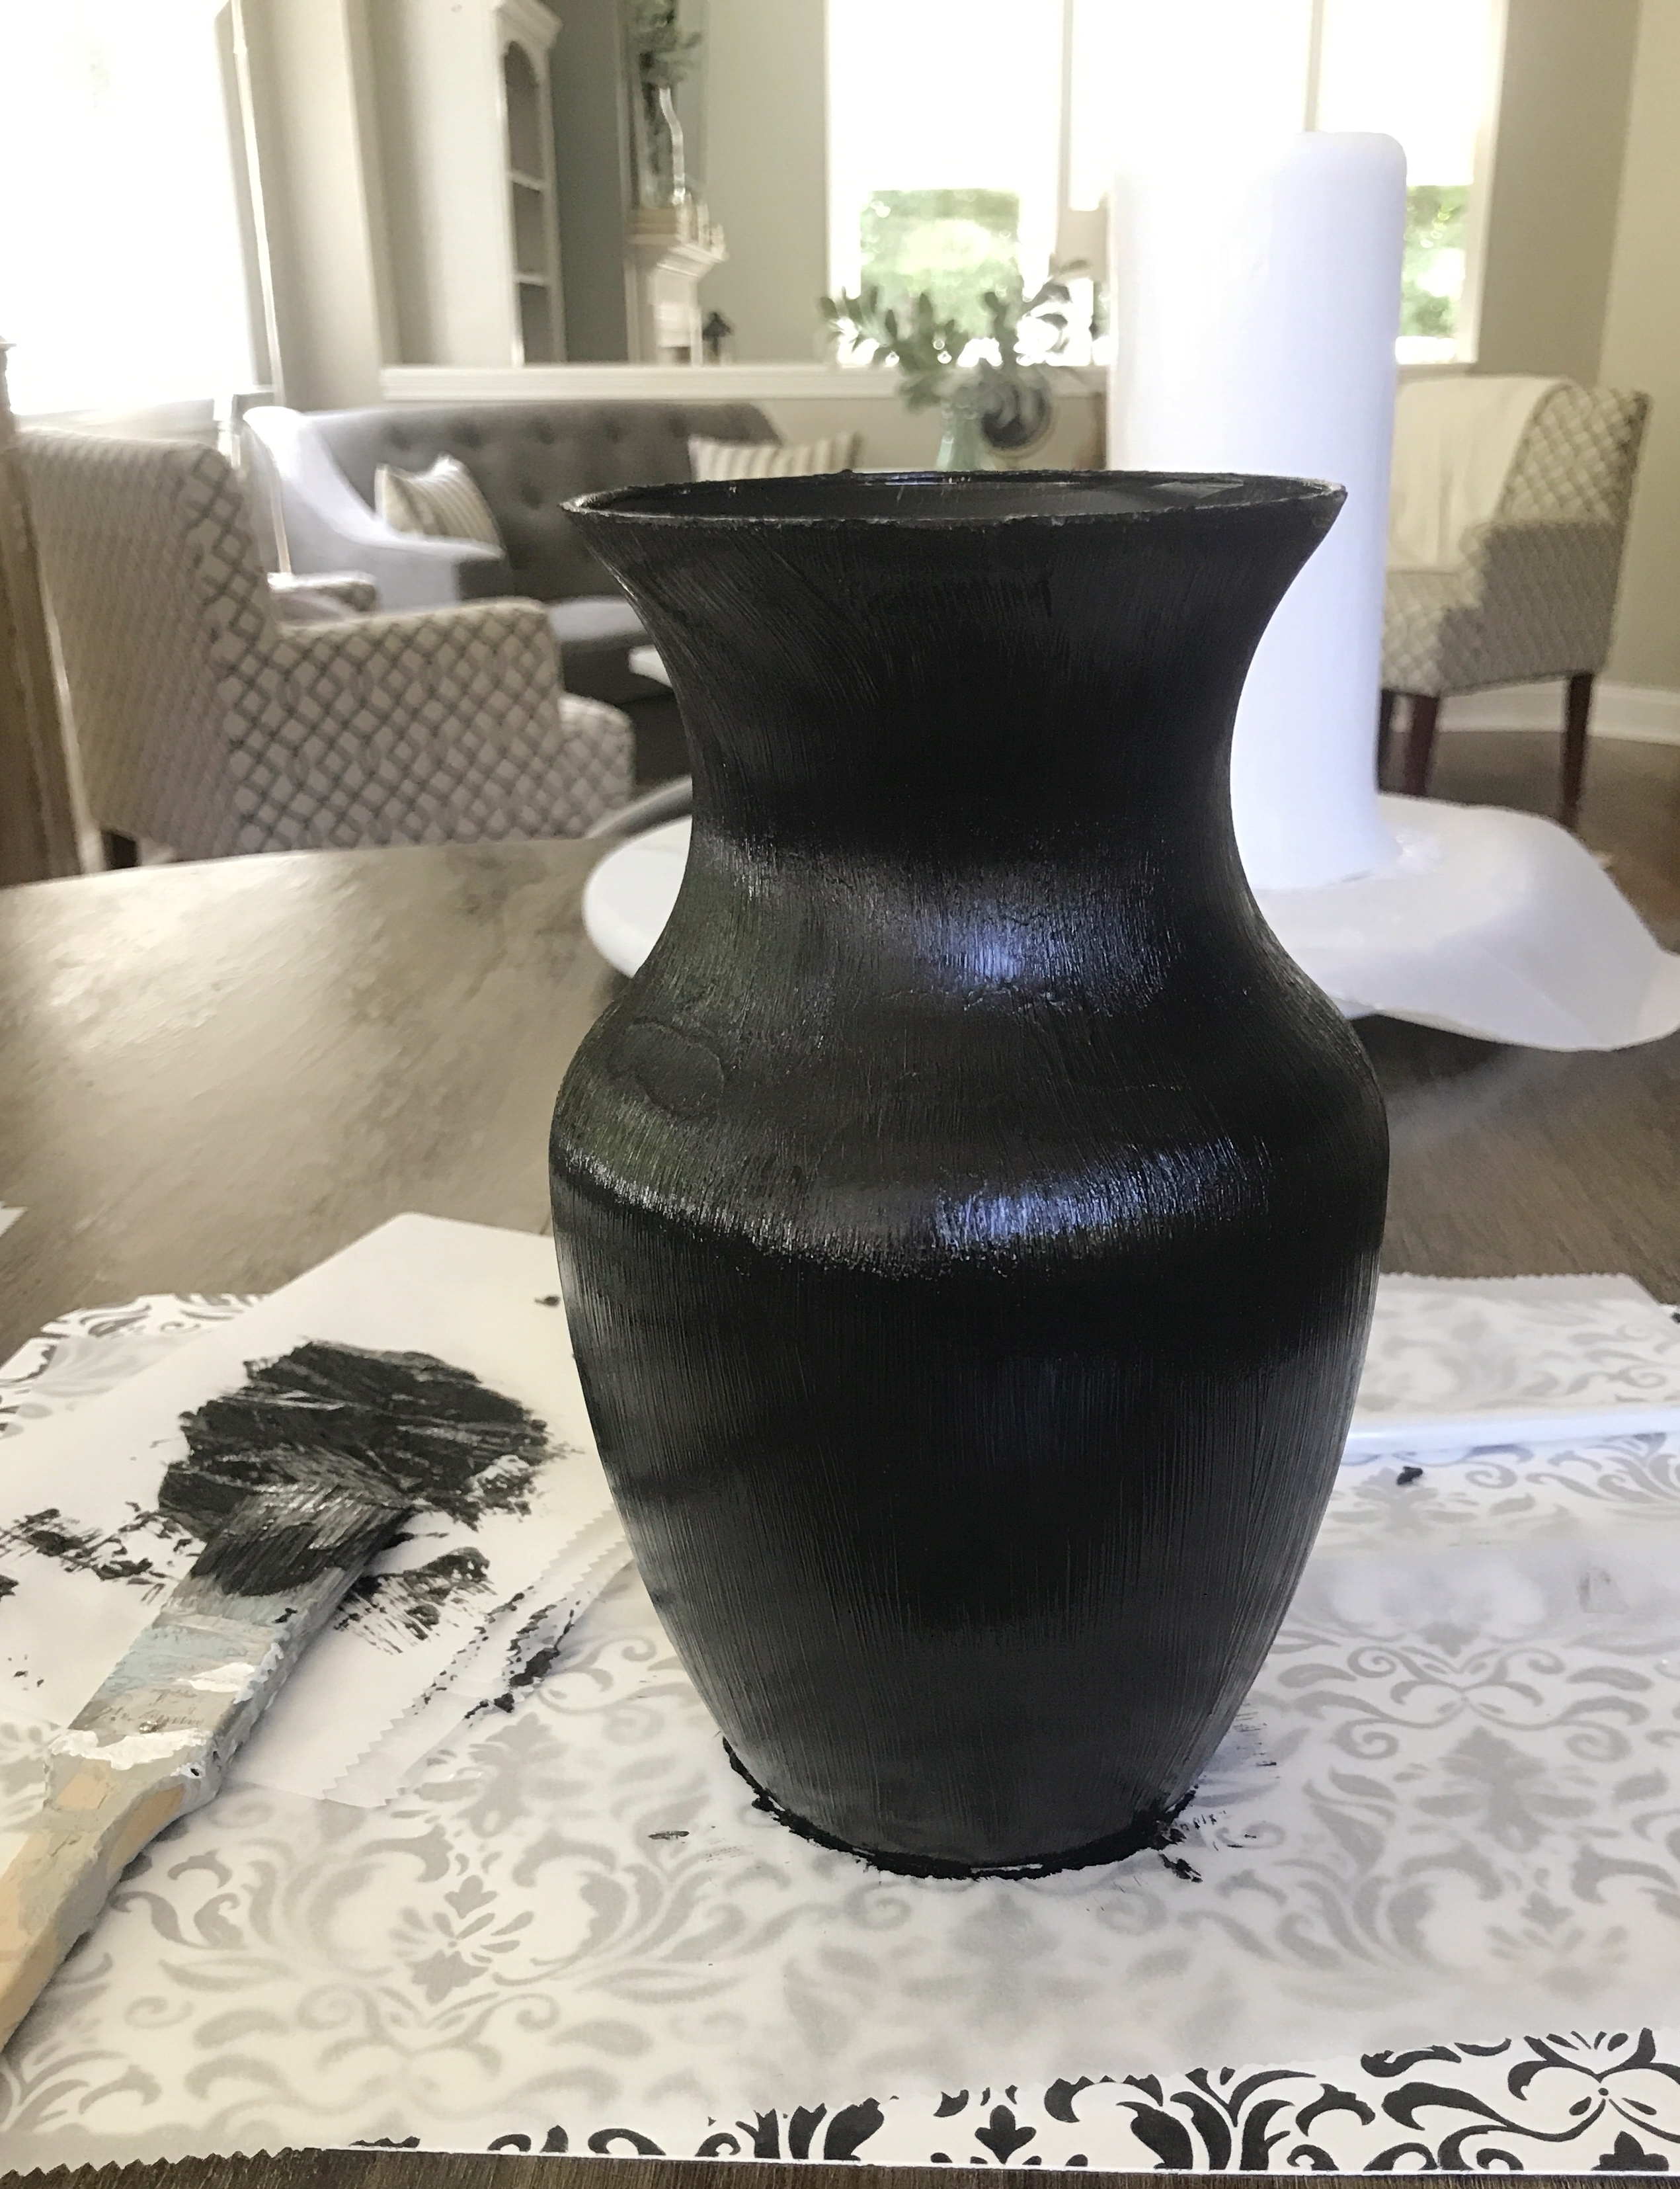
I first painted one coat of each color paint on the vases to give it a good first base.
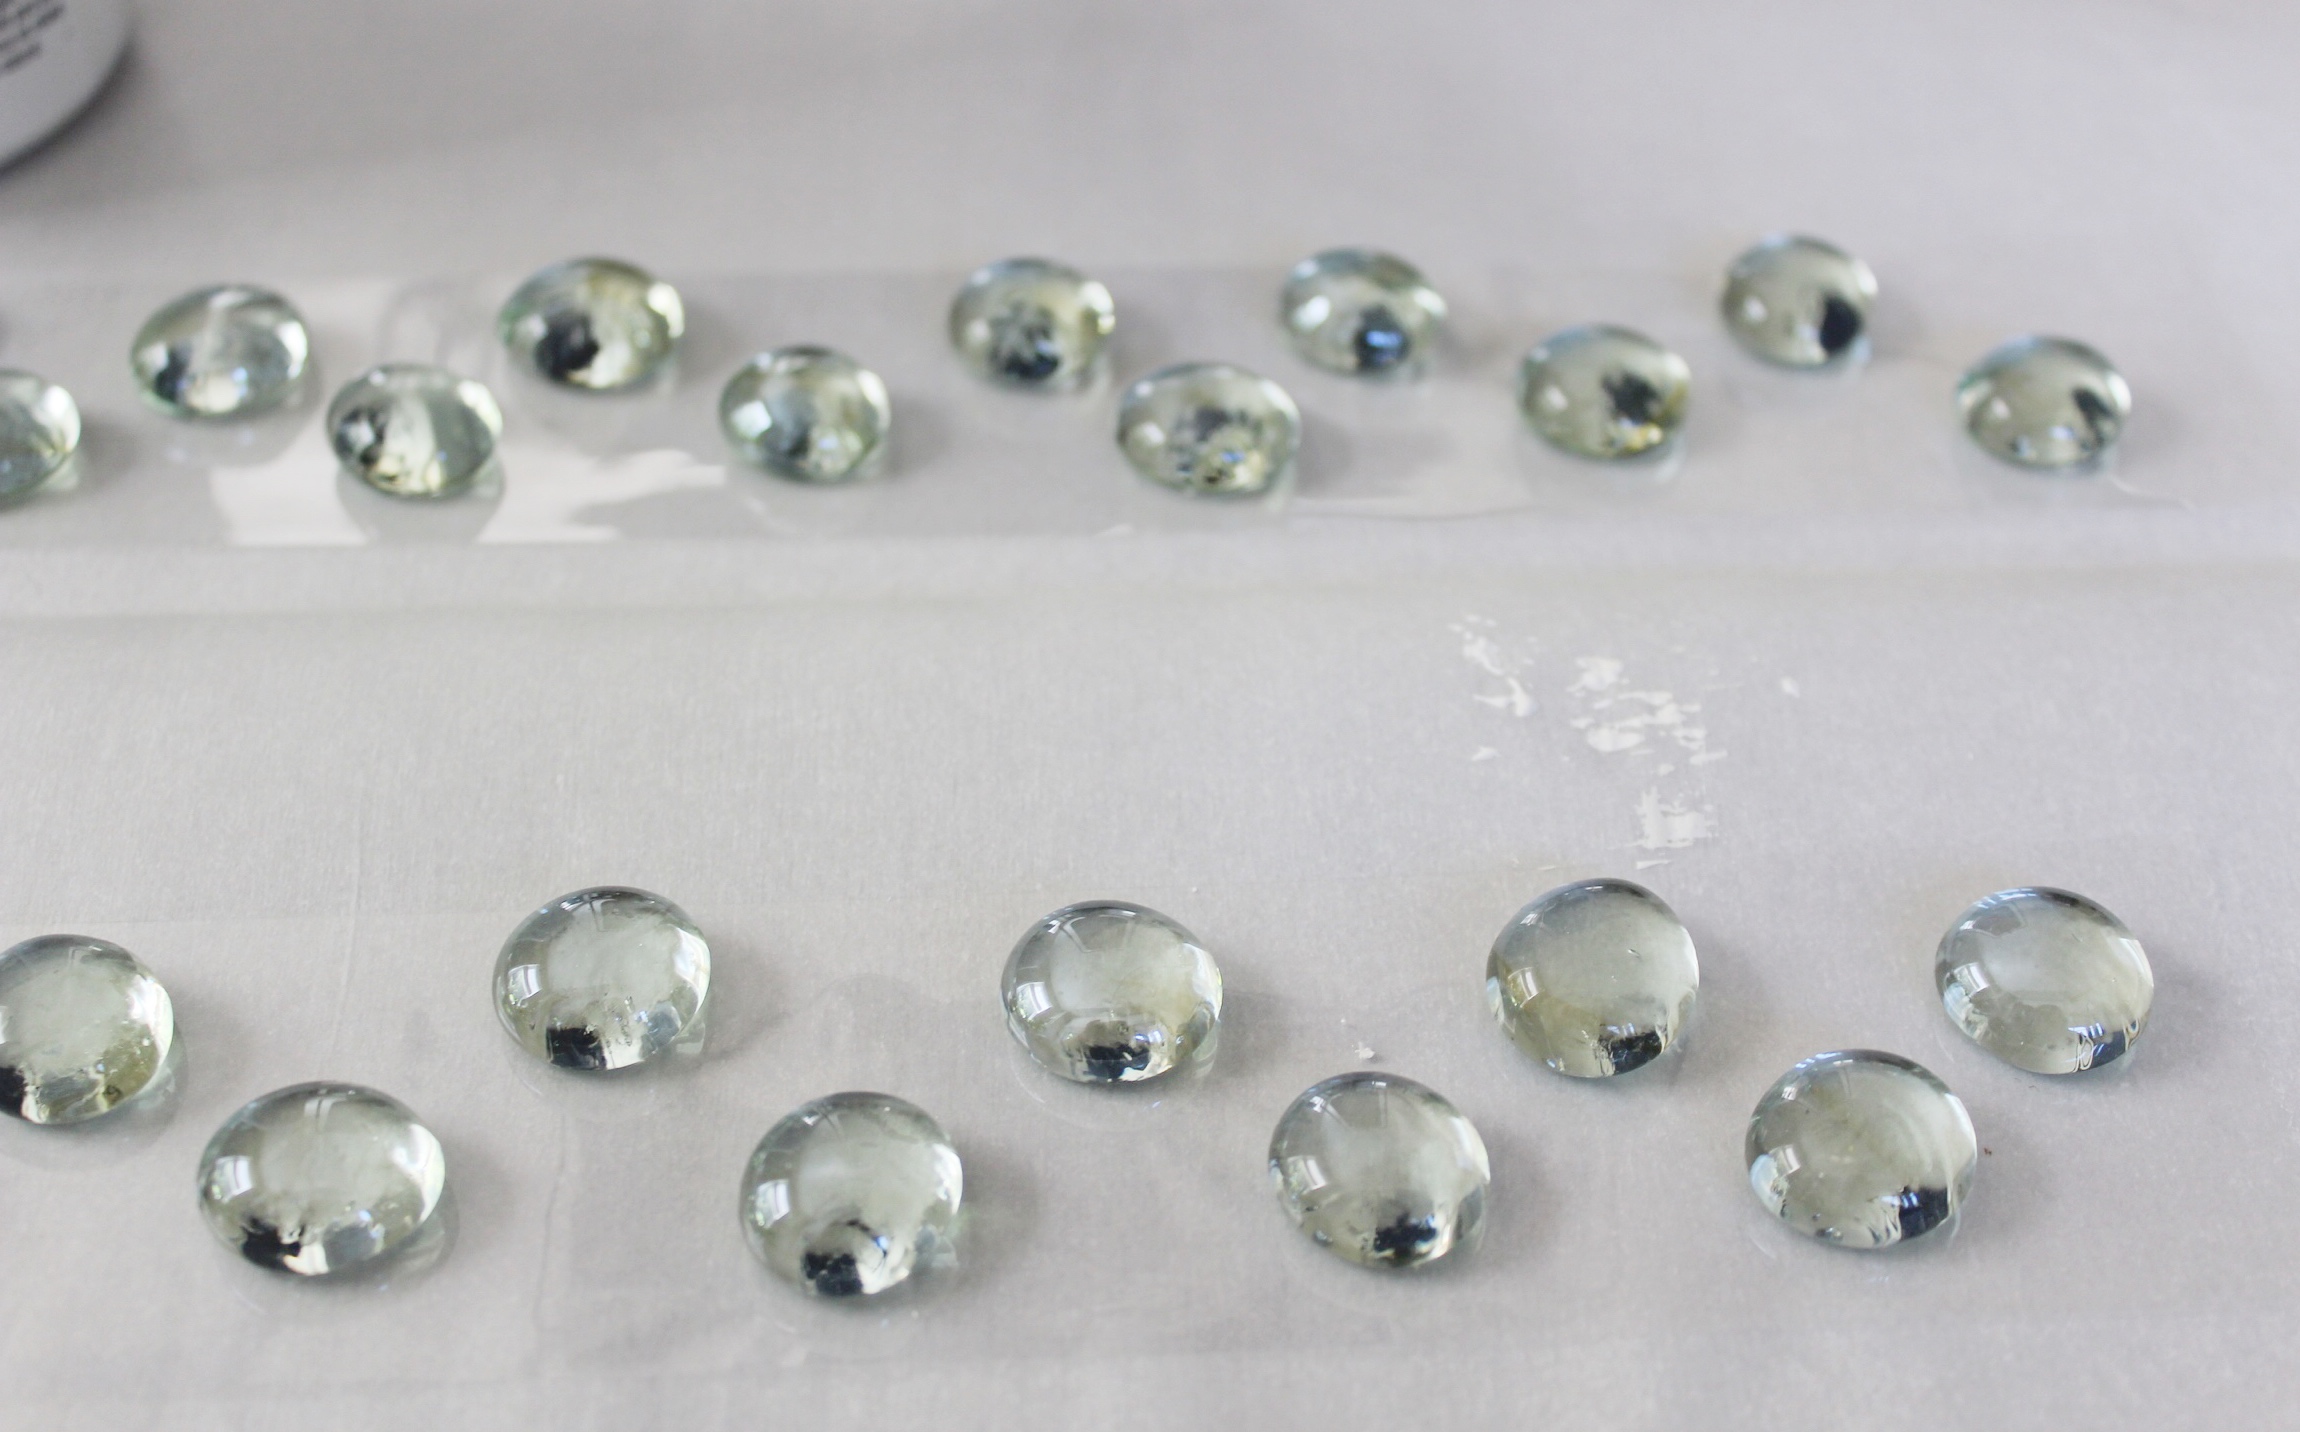
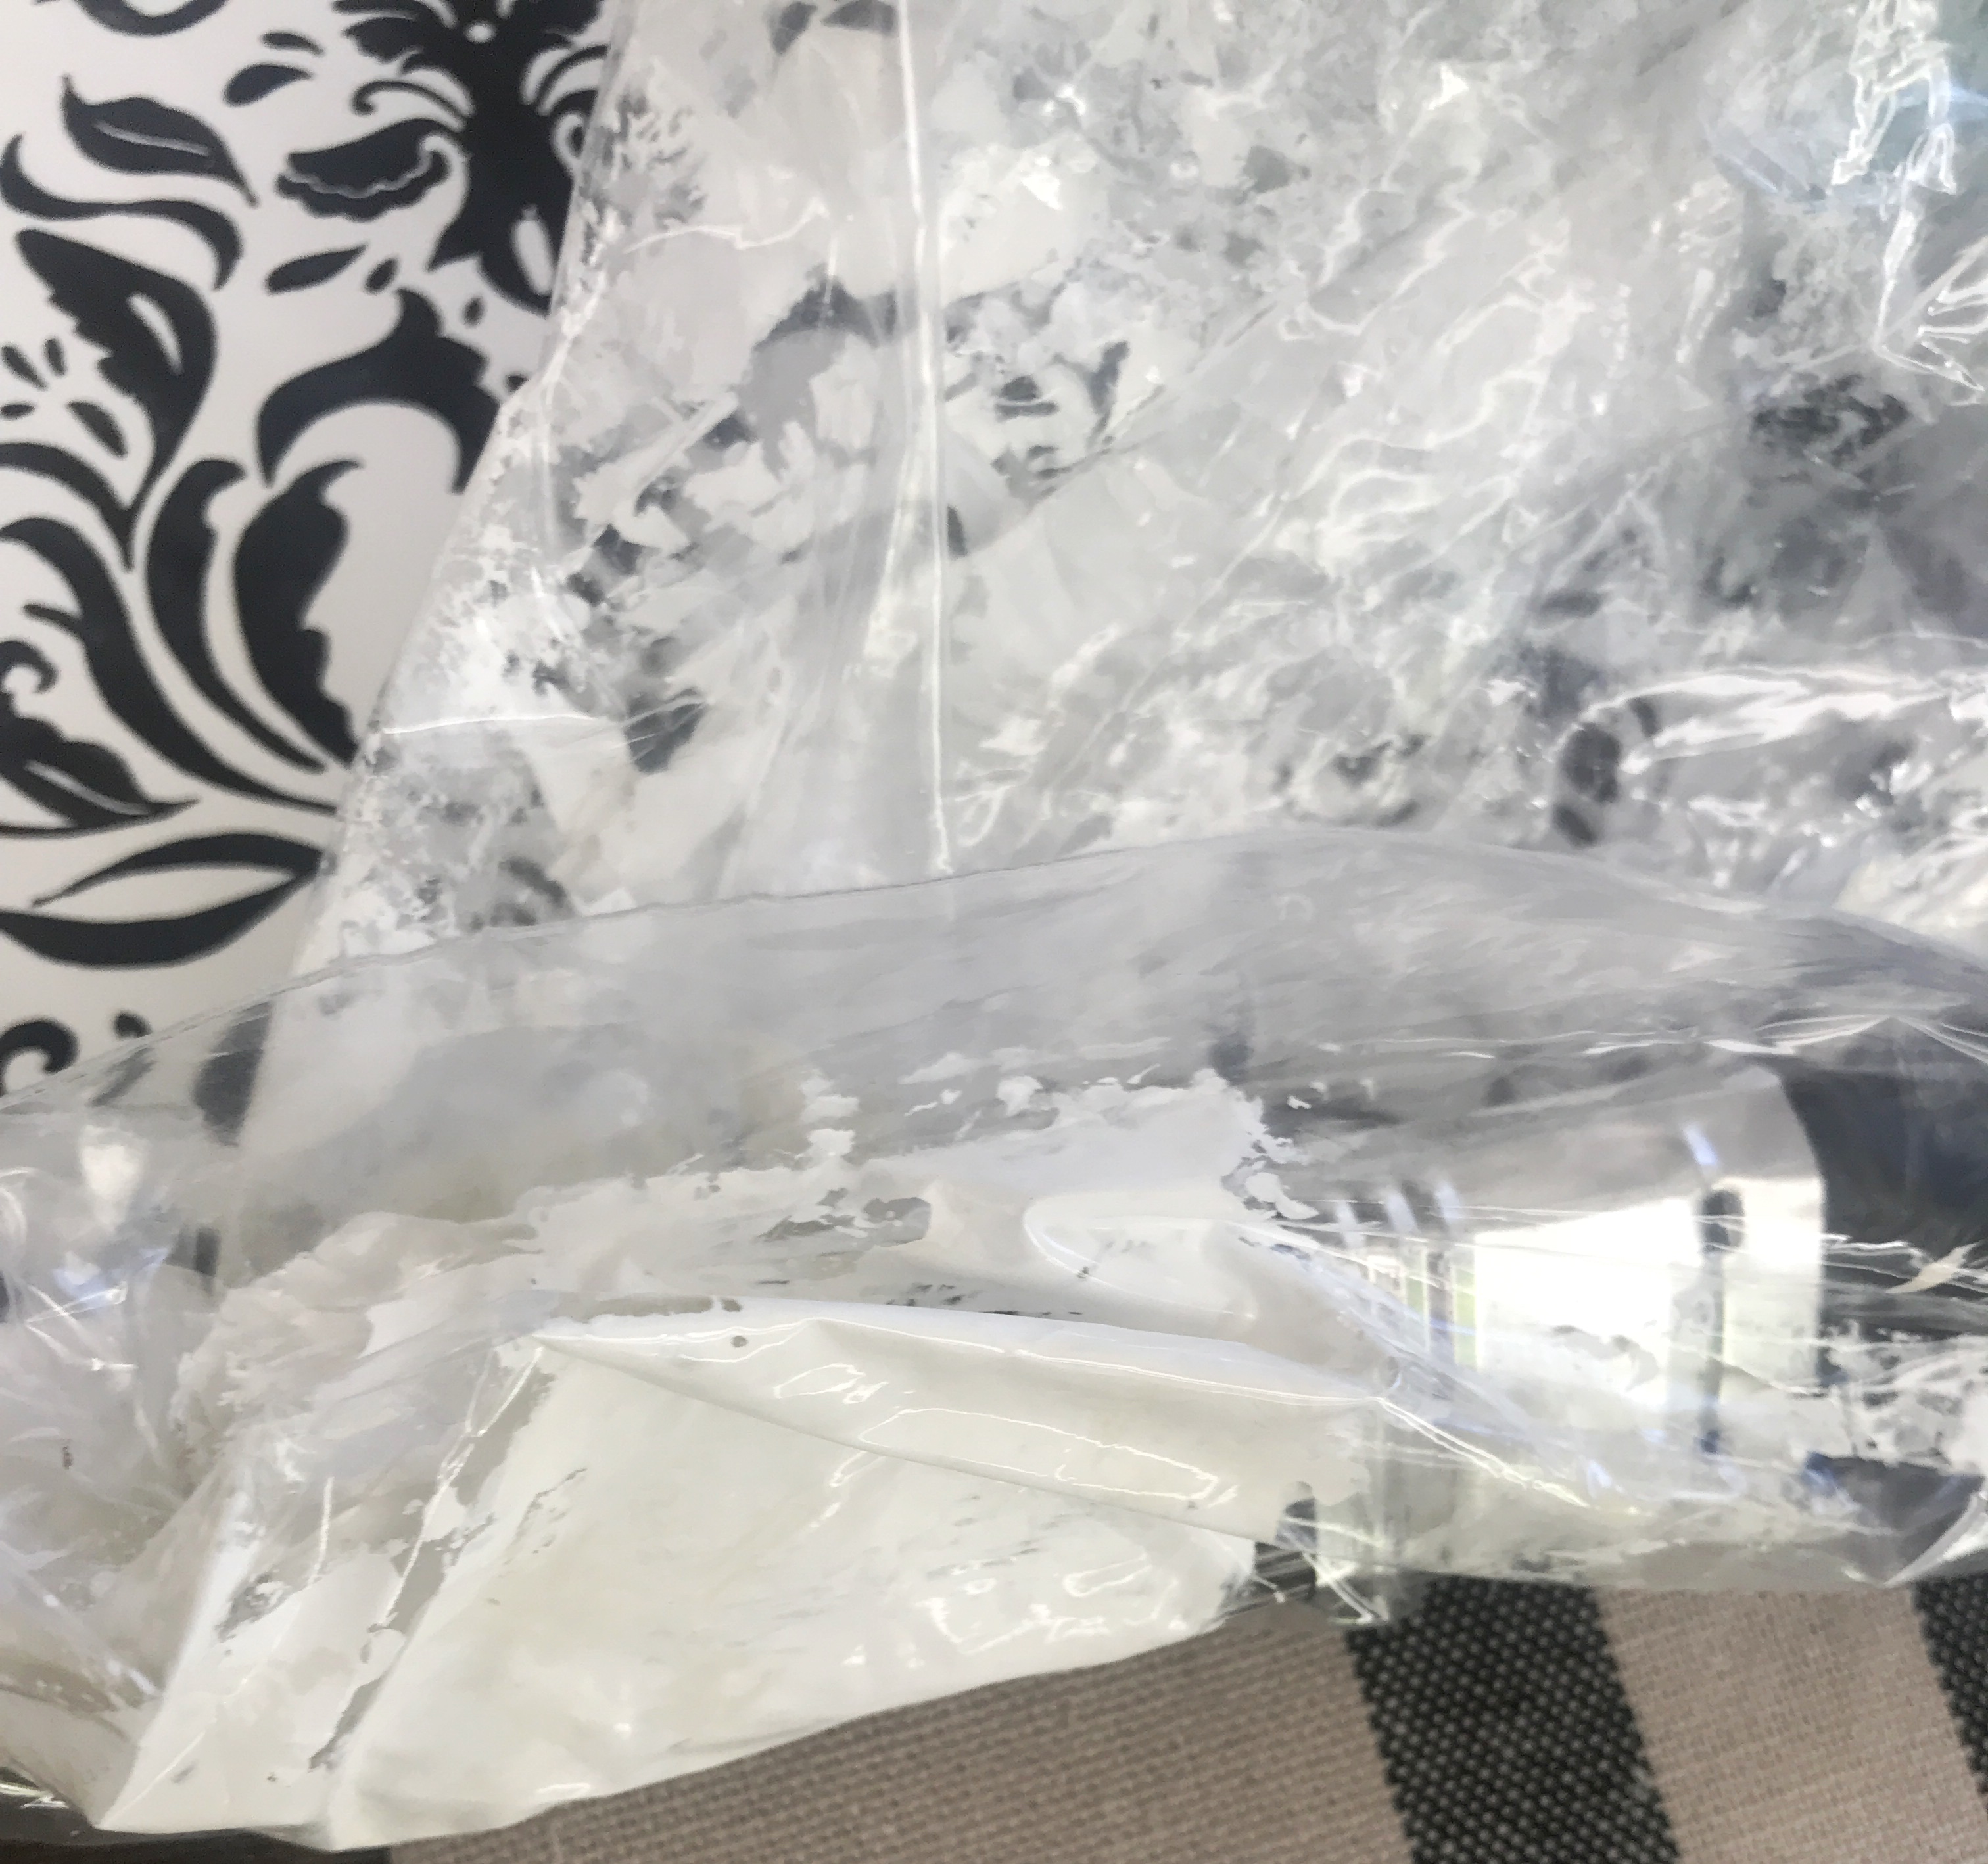
While those were drying I tore off 4 strips of packing tape with the sticky side up and placed my stones evenly on the tape, about 10 per piece. This allows you to paint the stones without them slipping around. I painted each stone with one coat and let them dry for at least 30 minutes before adding a second coat.

While those were drying I went back and painted the vases again with a second coat of paint. Whenever I am waiting for things to dry I keep my brushes in a plastic baggie. I just twist the bag a little bit to get any air out of it and then squeeze the paint out into the bag to coat the bag with paint around the bristles that have paint on them. You can even put the brushes wrapped in the baggie in the fridge and take them out to finish a project. They won’t dry out and you can go right back to using it. That way you’re not constantly having to clean out your brush if you know you’re going to use it for another job in the future. Just a little tip!
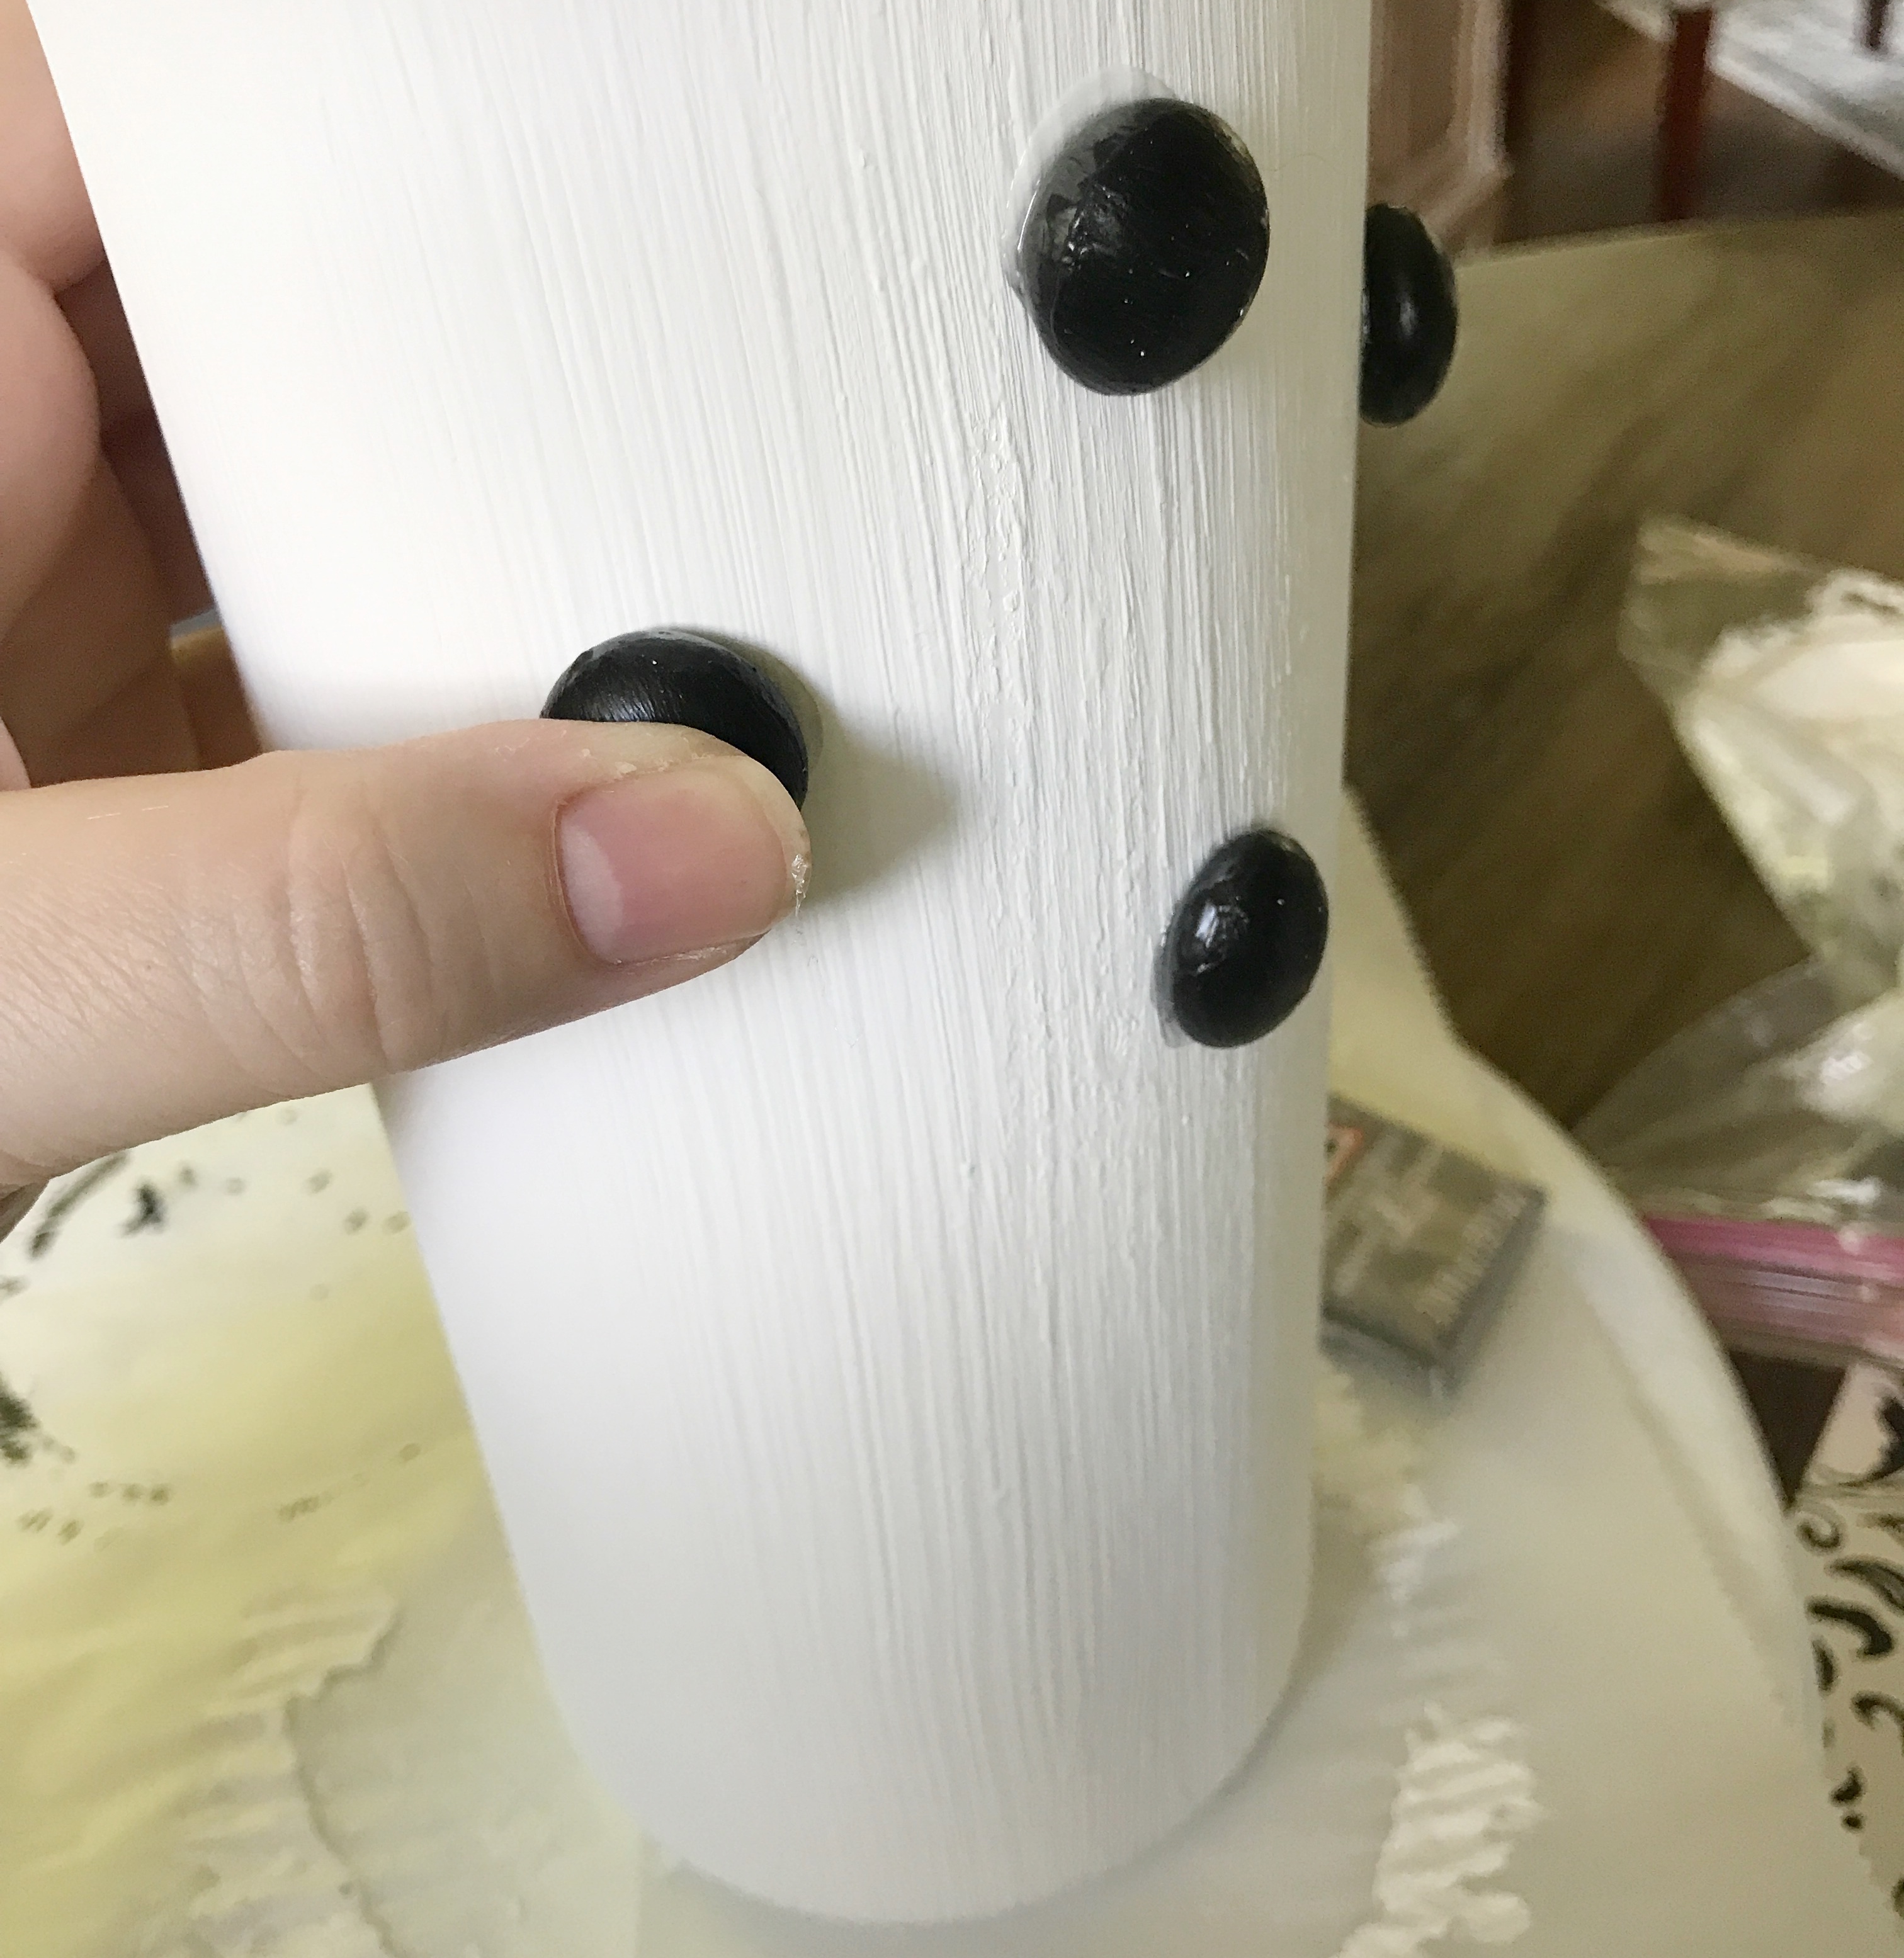
I let both the vases and the stones dry for at least two hours before I started gluing the stones to the vases. I then put a very small amount of E6000 glue on the back of each stone and placed the black stones on the white vase and the white stones on the black vase. After applying the glue I blew on it a little bit before placing it on the vase. This allows the glue to get tacky. Kind of like when you’re applying false lashes. 🙂 I then placed the stone where I wanted it to go and held it in place for a good 30 seconds before moving on to the next one. You might notice the stones slipping a bit but don’t you worry, you can go back and move them up and hold them in place. The smaller vase took 20 stones and the larger one took 28 since it had more area to cover. Just to give you an idea of how many to paint.
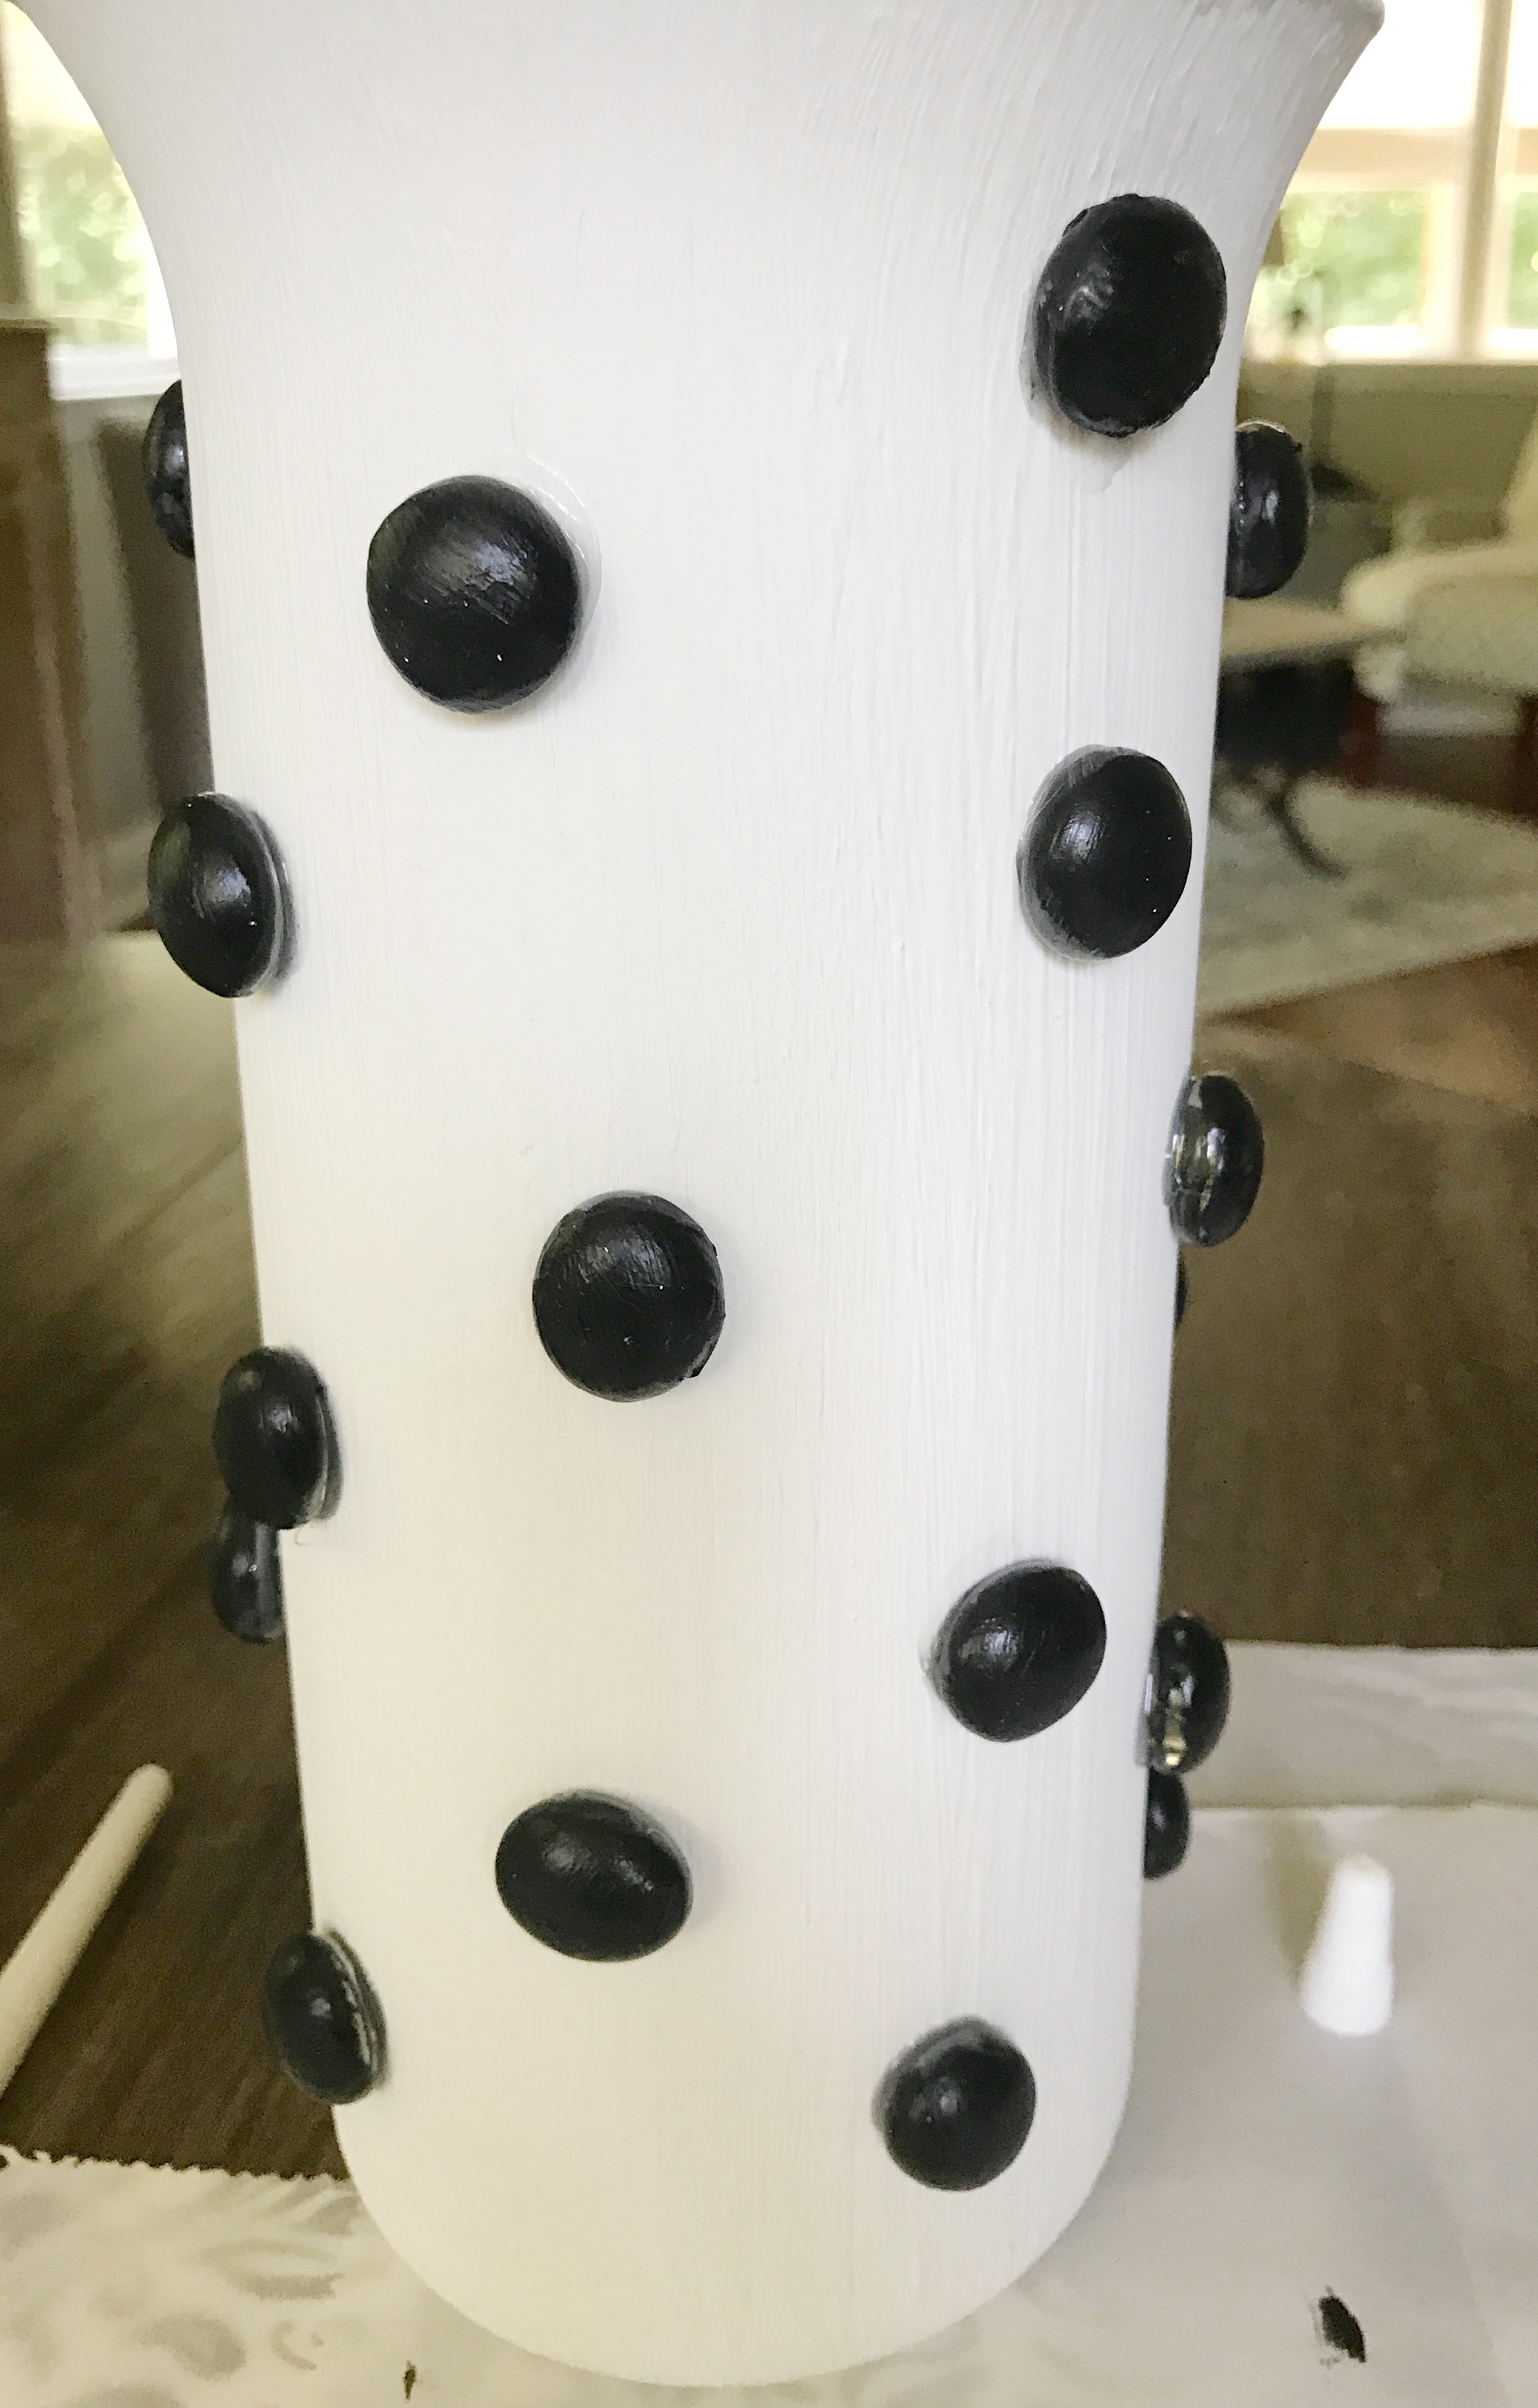
After gluing all the stones where I wanted them I let them dry overnight before styling them in their new home. I wanted that paint and glue to dry for a full 24 hours.
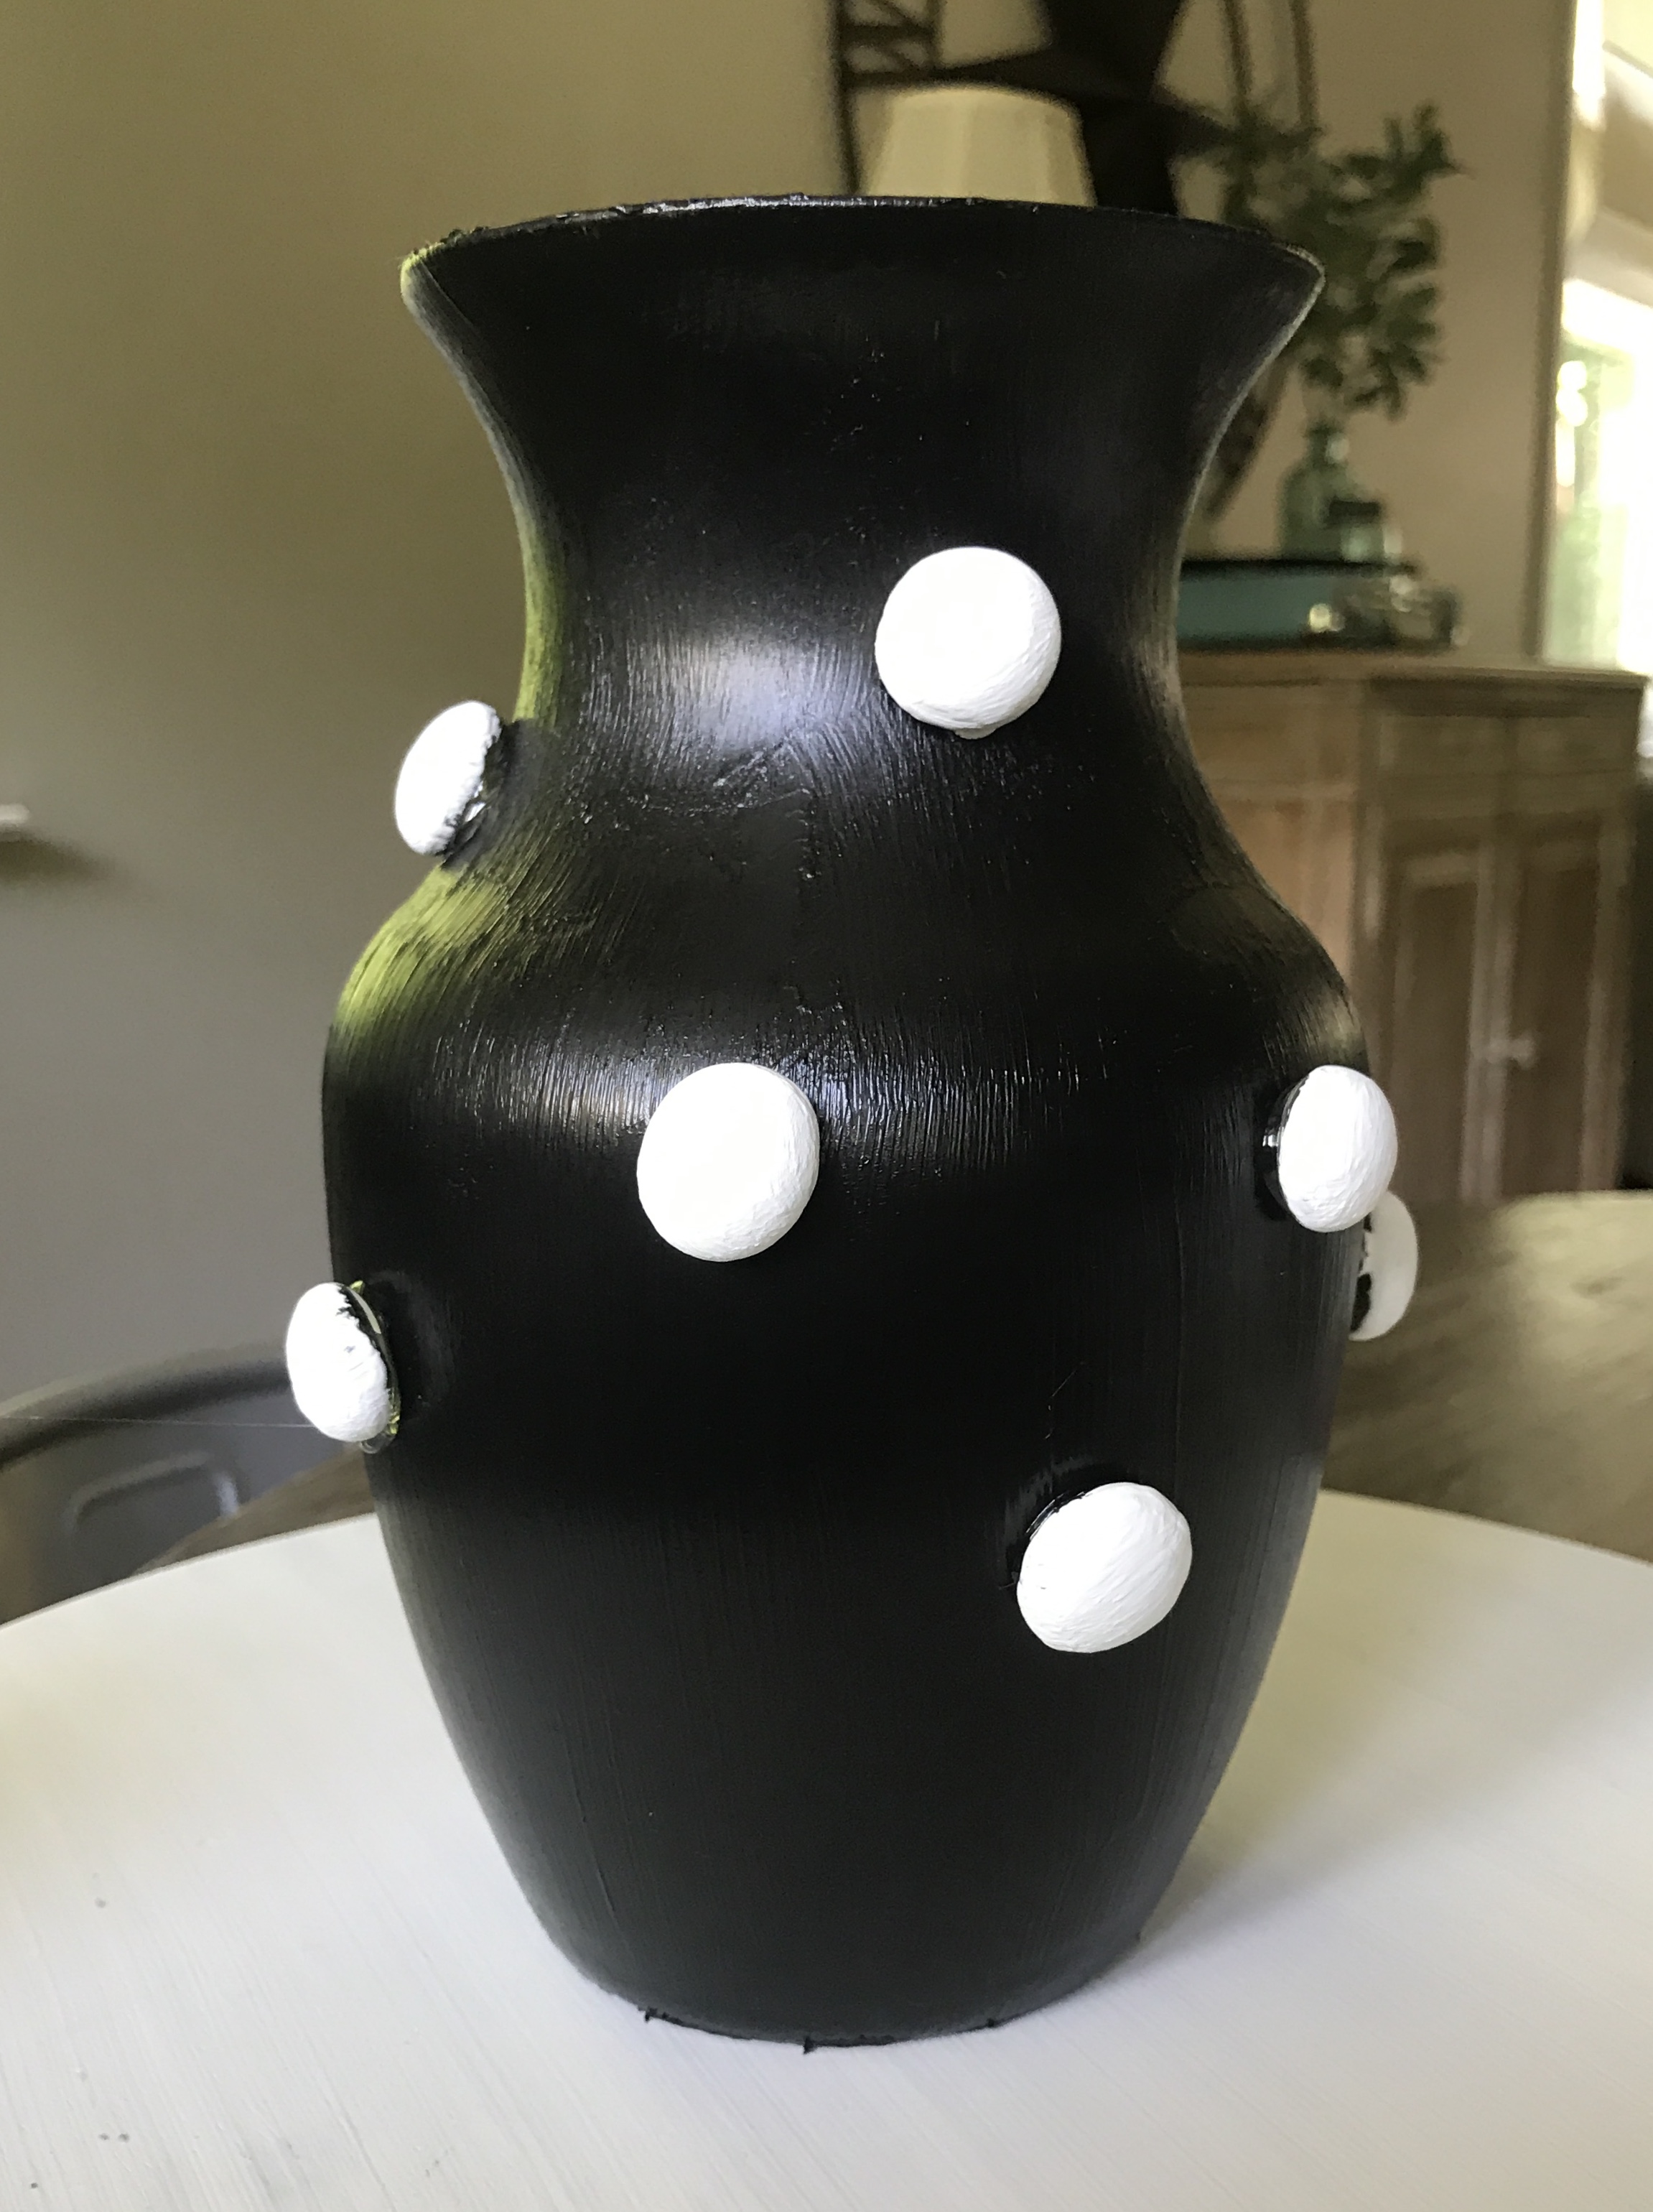
I love the way they turned out! They are so cool and so Kate! I especially love the black one with white polka dots! I hope you’ve enjoyed this quick and easy DIY today!
Thank you for flying by my nest today!
xoxo,
Robyn 🙂
*This post contains affiliate links. Please read full disclosure above.


You May Also Like
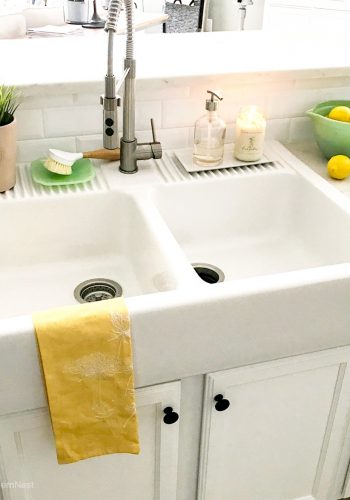
IKEA Farmhouse Sink Review
Fusion Mineral Paint Algonquin
2 Comments
Vasilisa
These are absolutely adorable! Thank you for sharing.
robynssouthernnest
Thank you so much! I’m glad you liked them.